Progress over the past two weeks has been considerable.
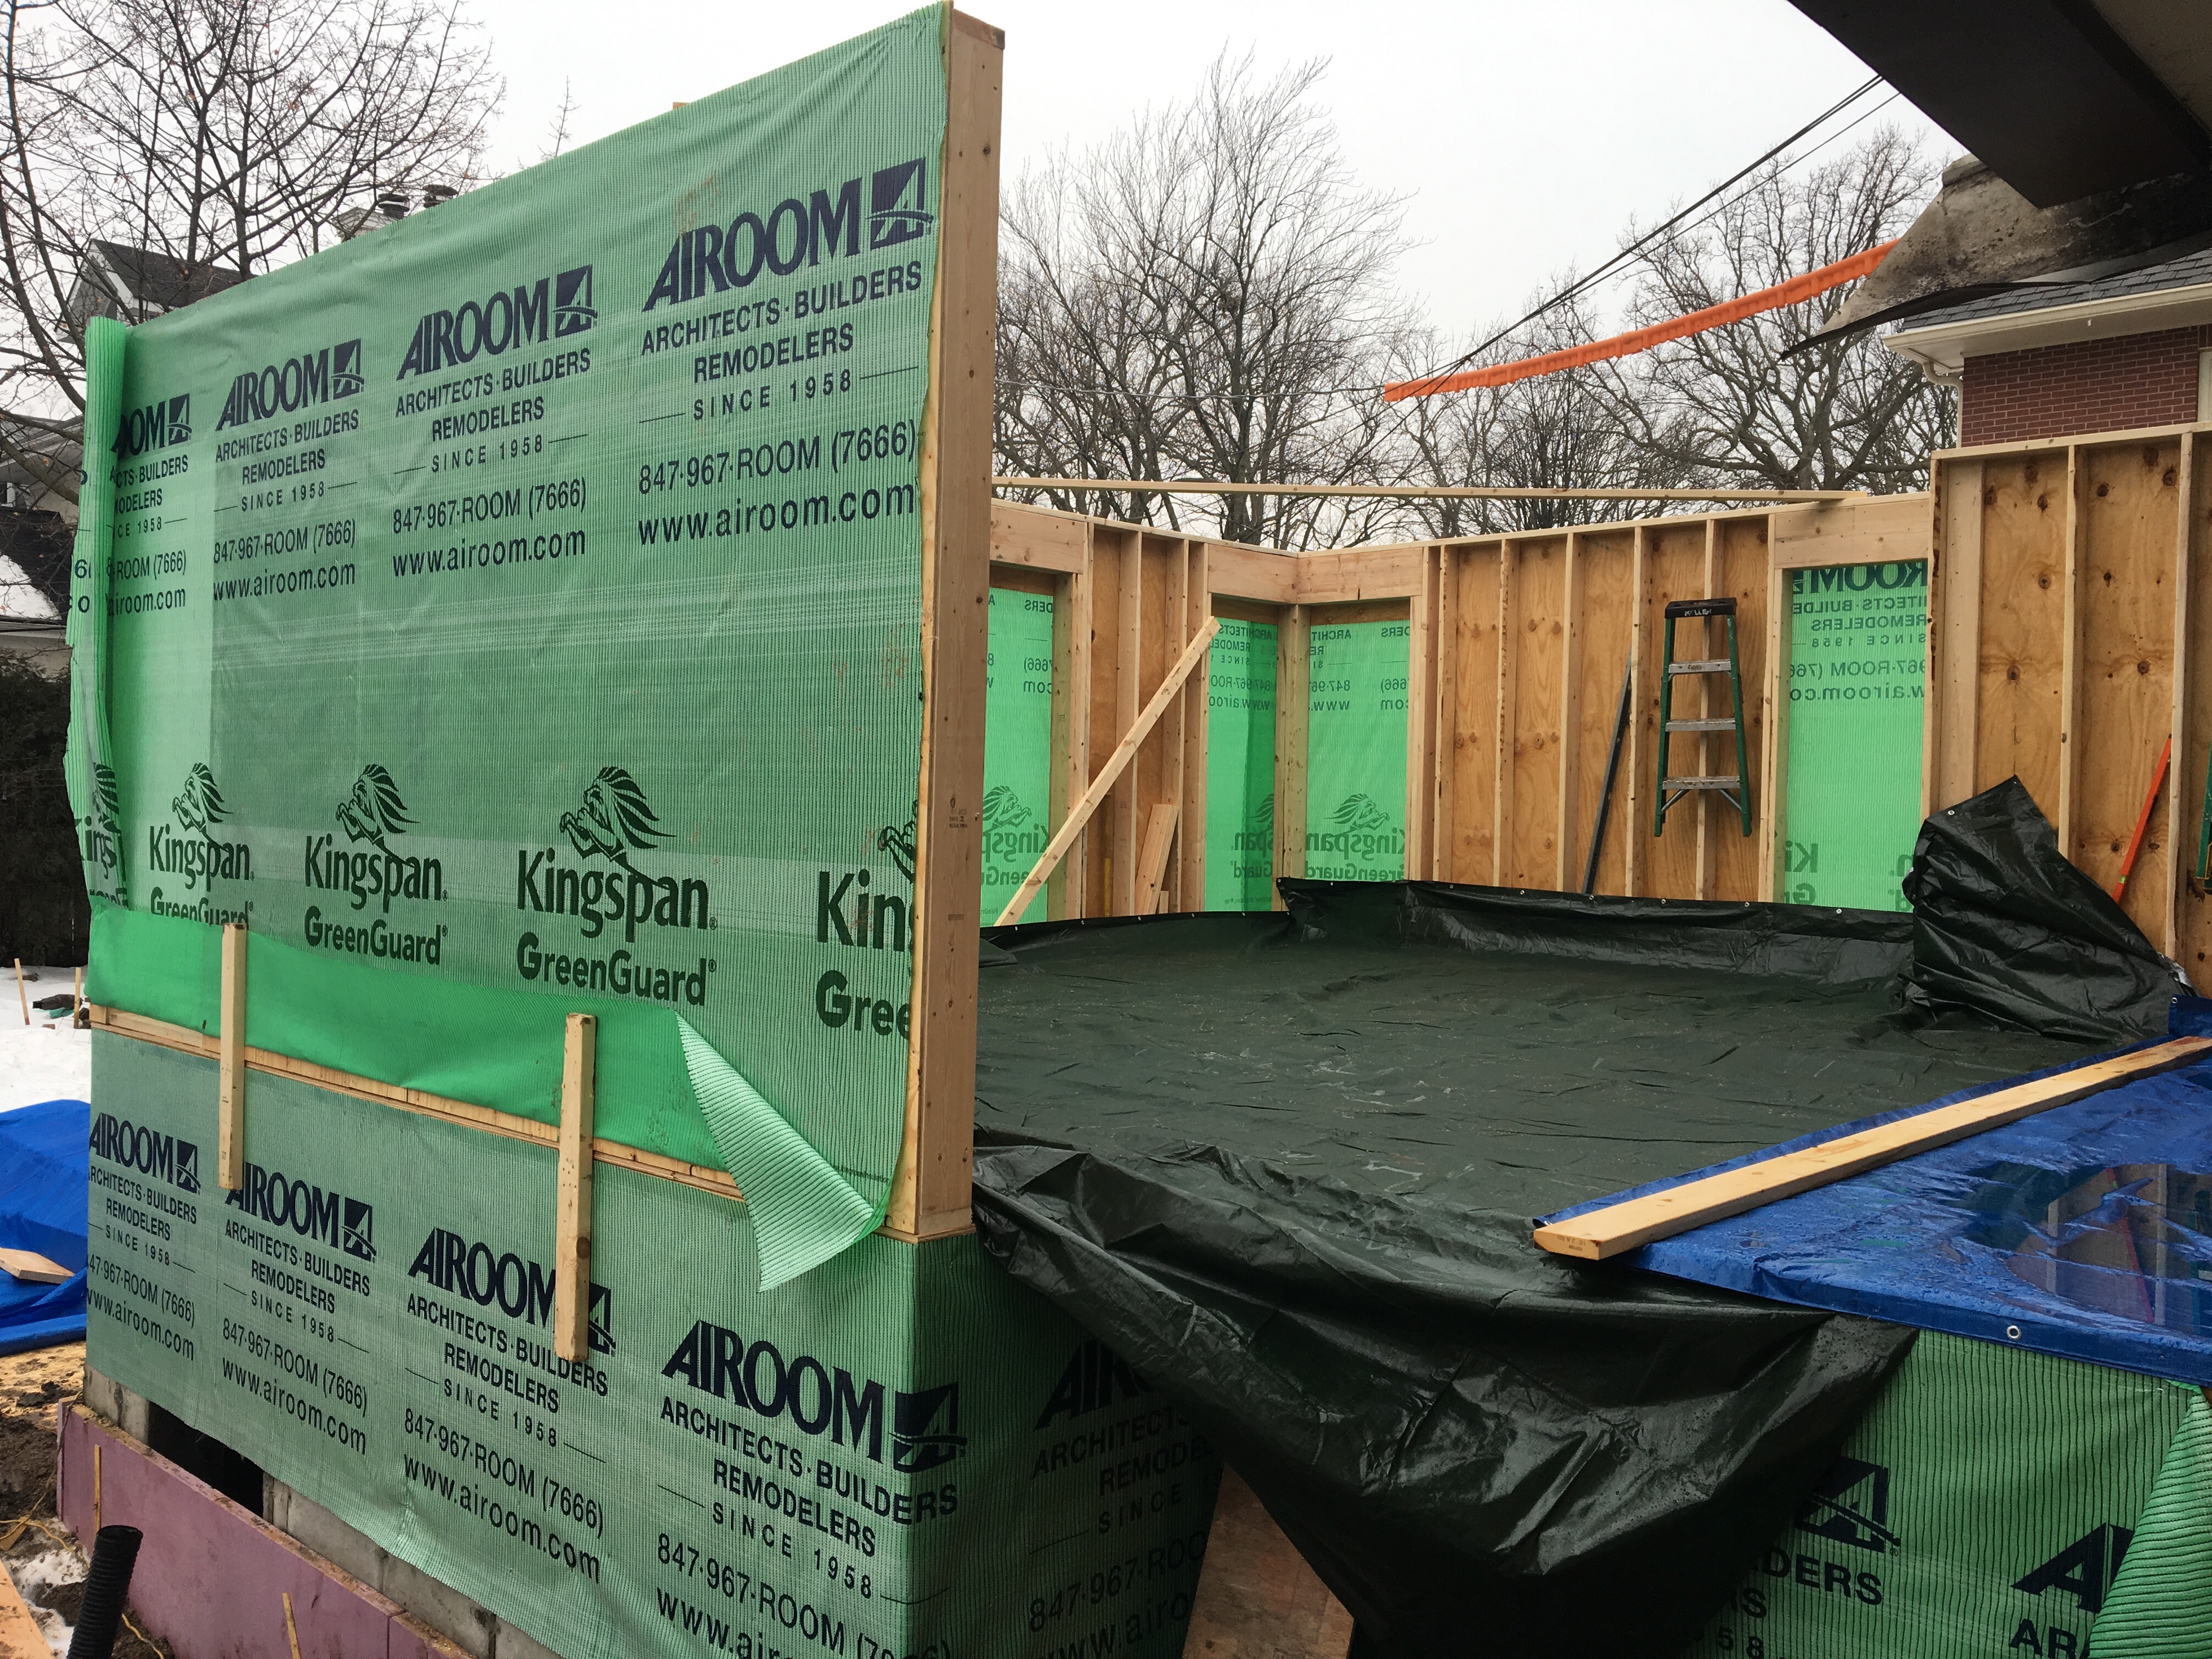
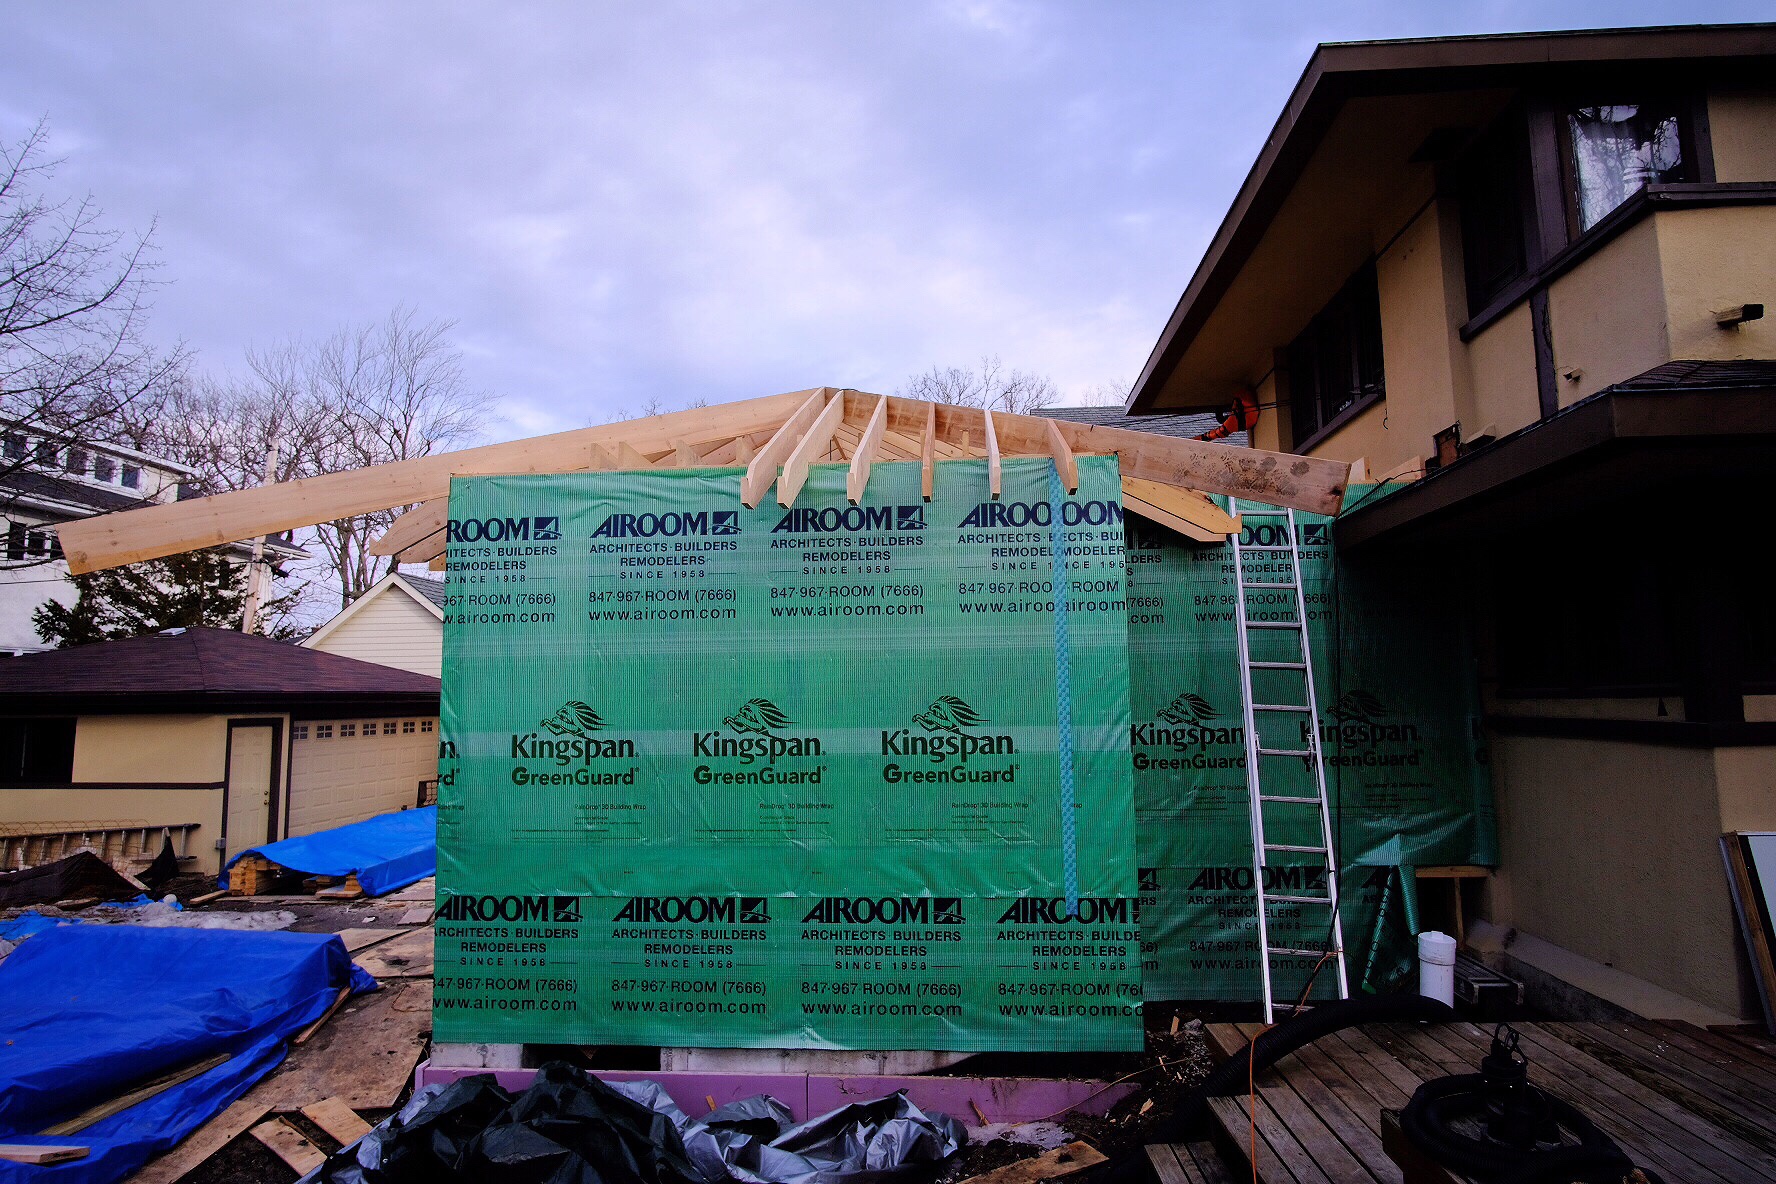
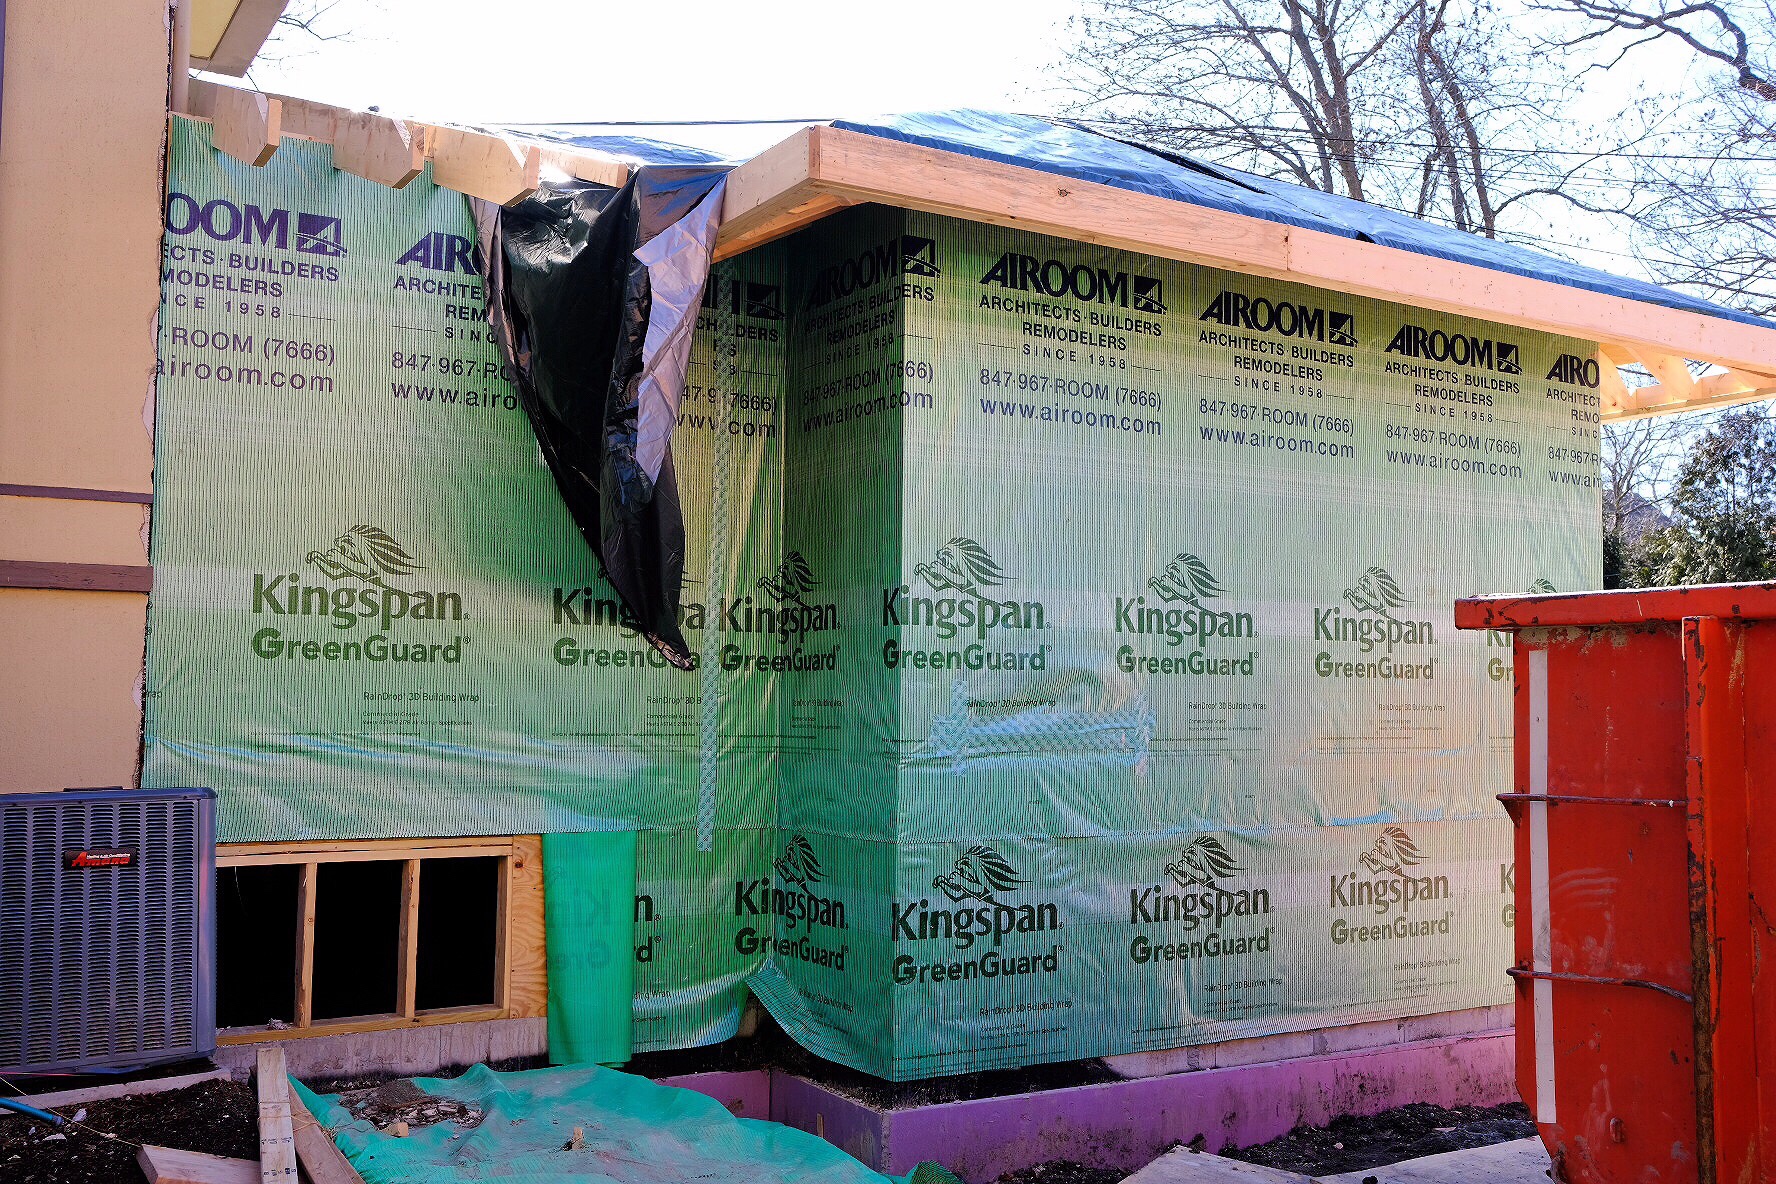
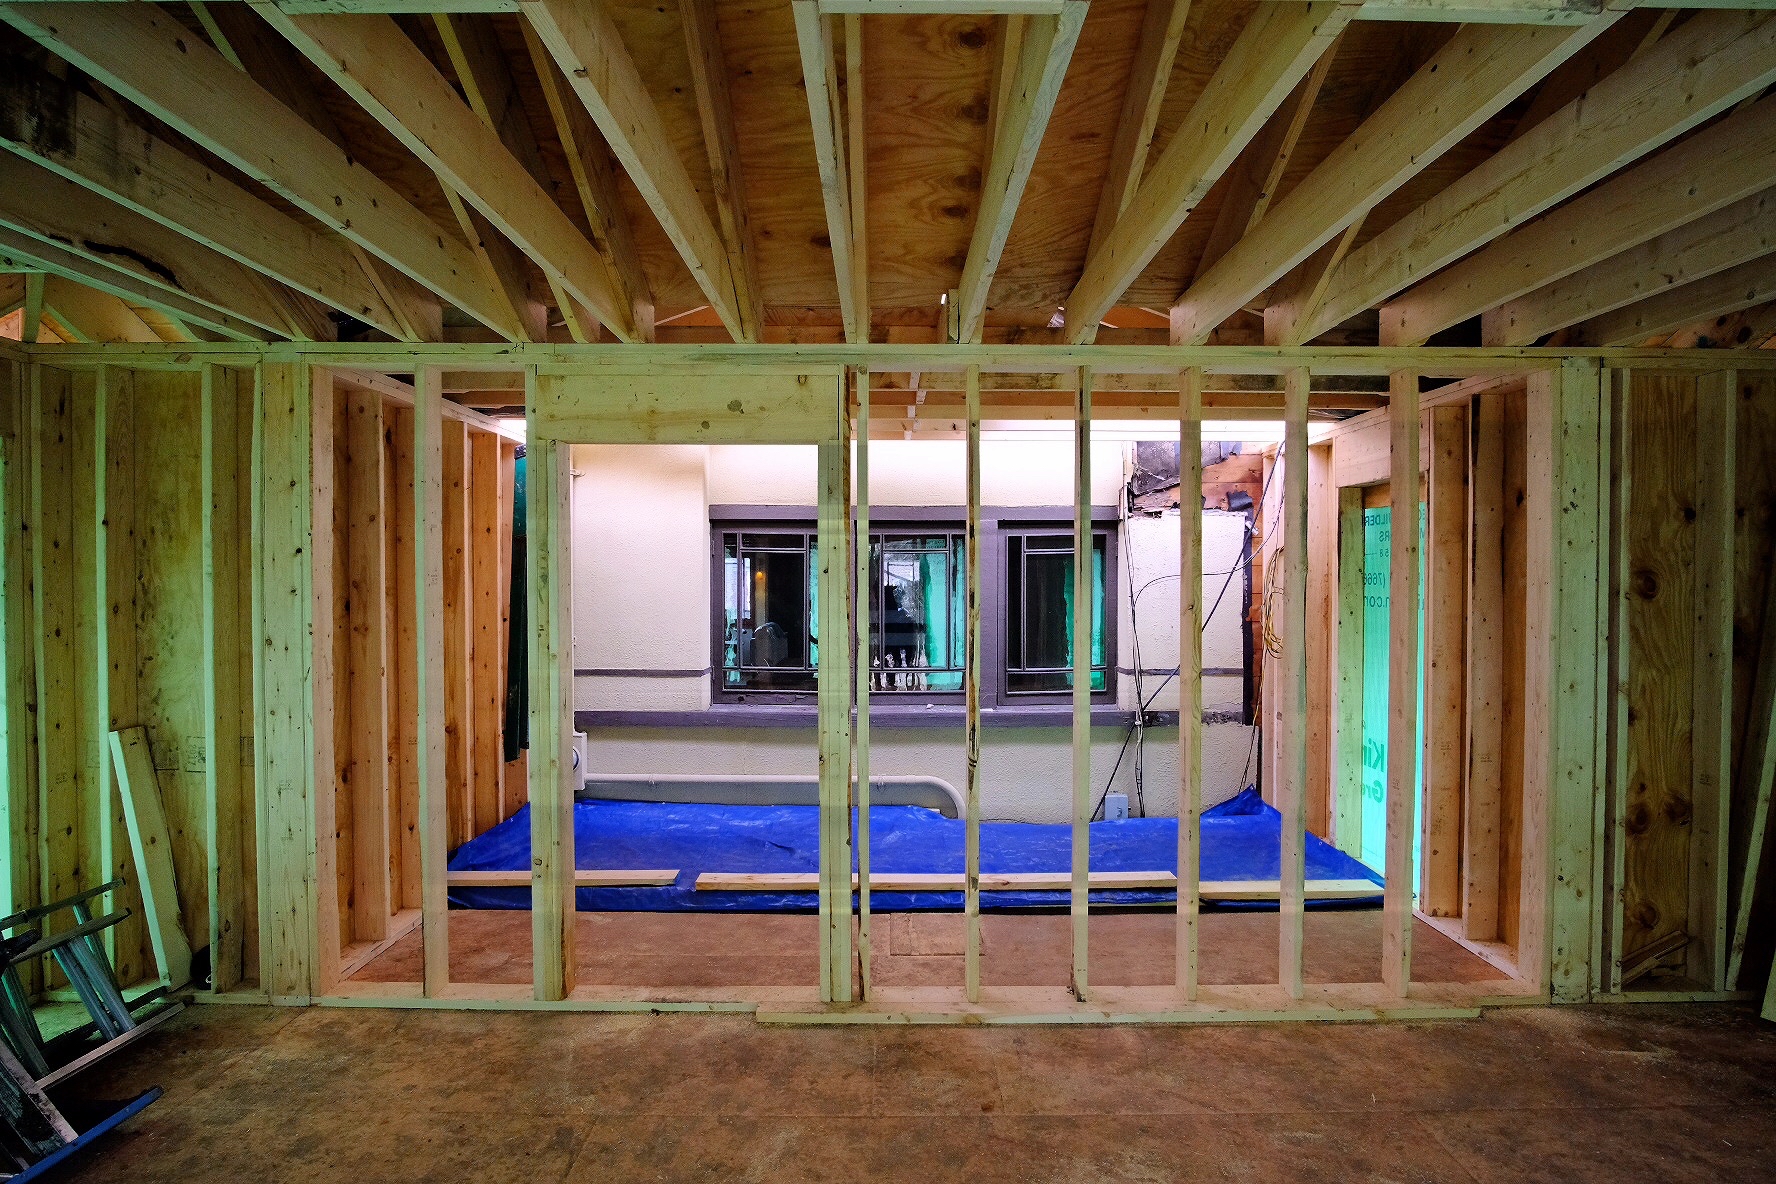
The framing of the addition is nearly complete. The carpenters are nearly finished with the roof. For the first time, we are able to see the true size and character of the addition.
(The basement framing hasn’t started yet because weather has prevented the concrete contractor from pouring the slab, so eventually the carpenters will need to return to finish that work and remove their temporary LVL beam. When they return, they will also pour the piers needed for structural support on the inside of the house.)
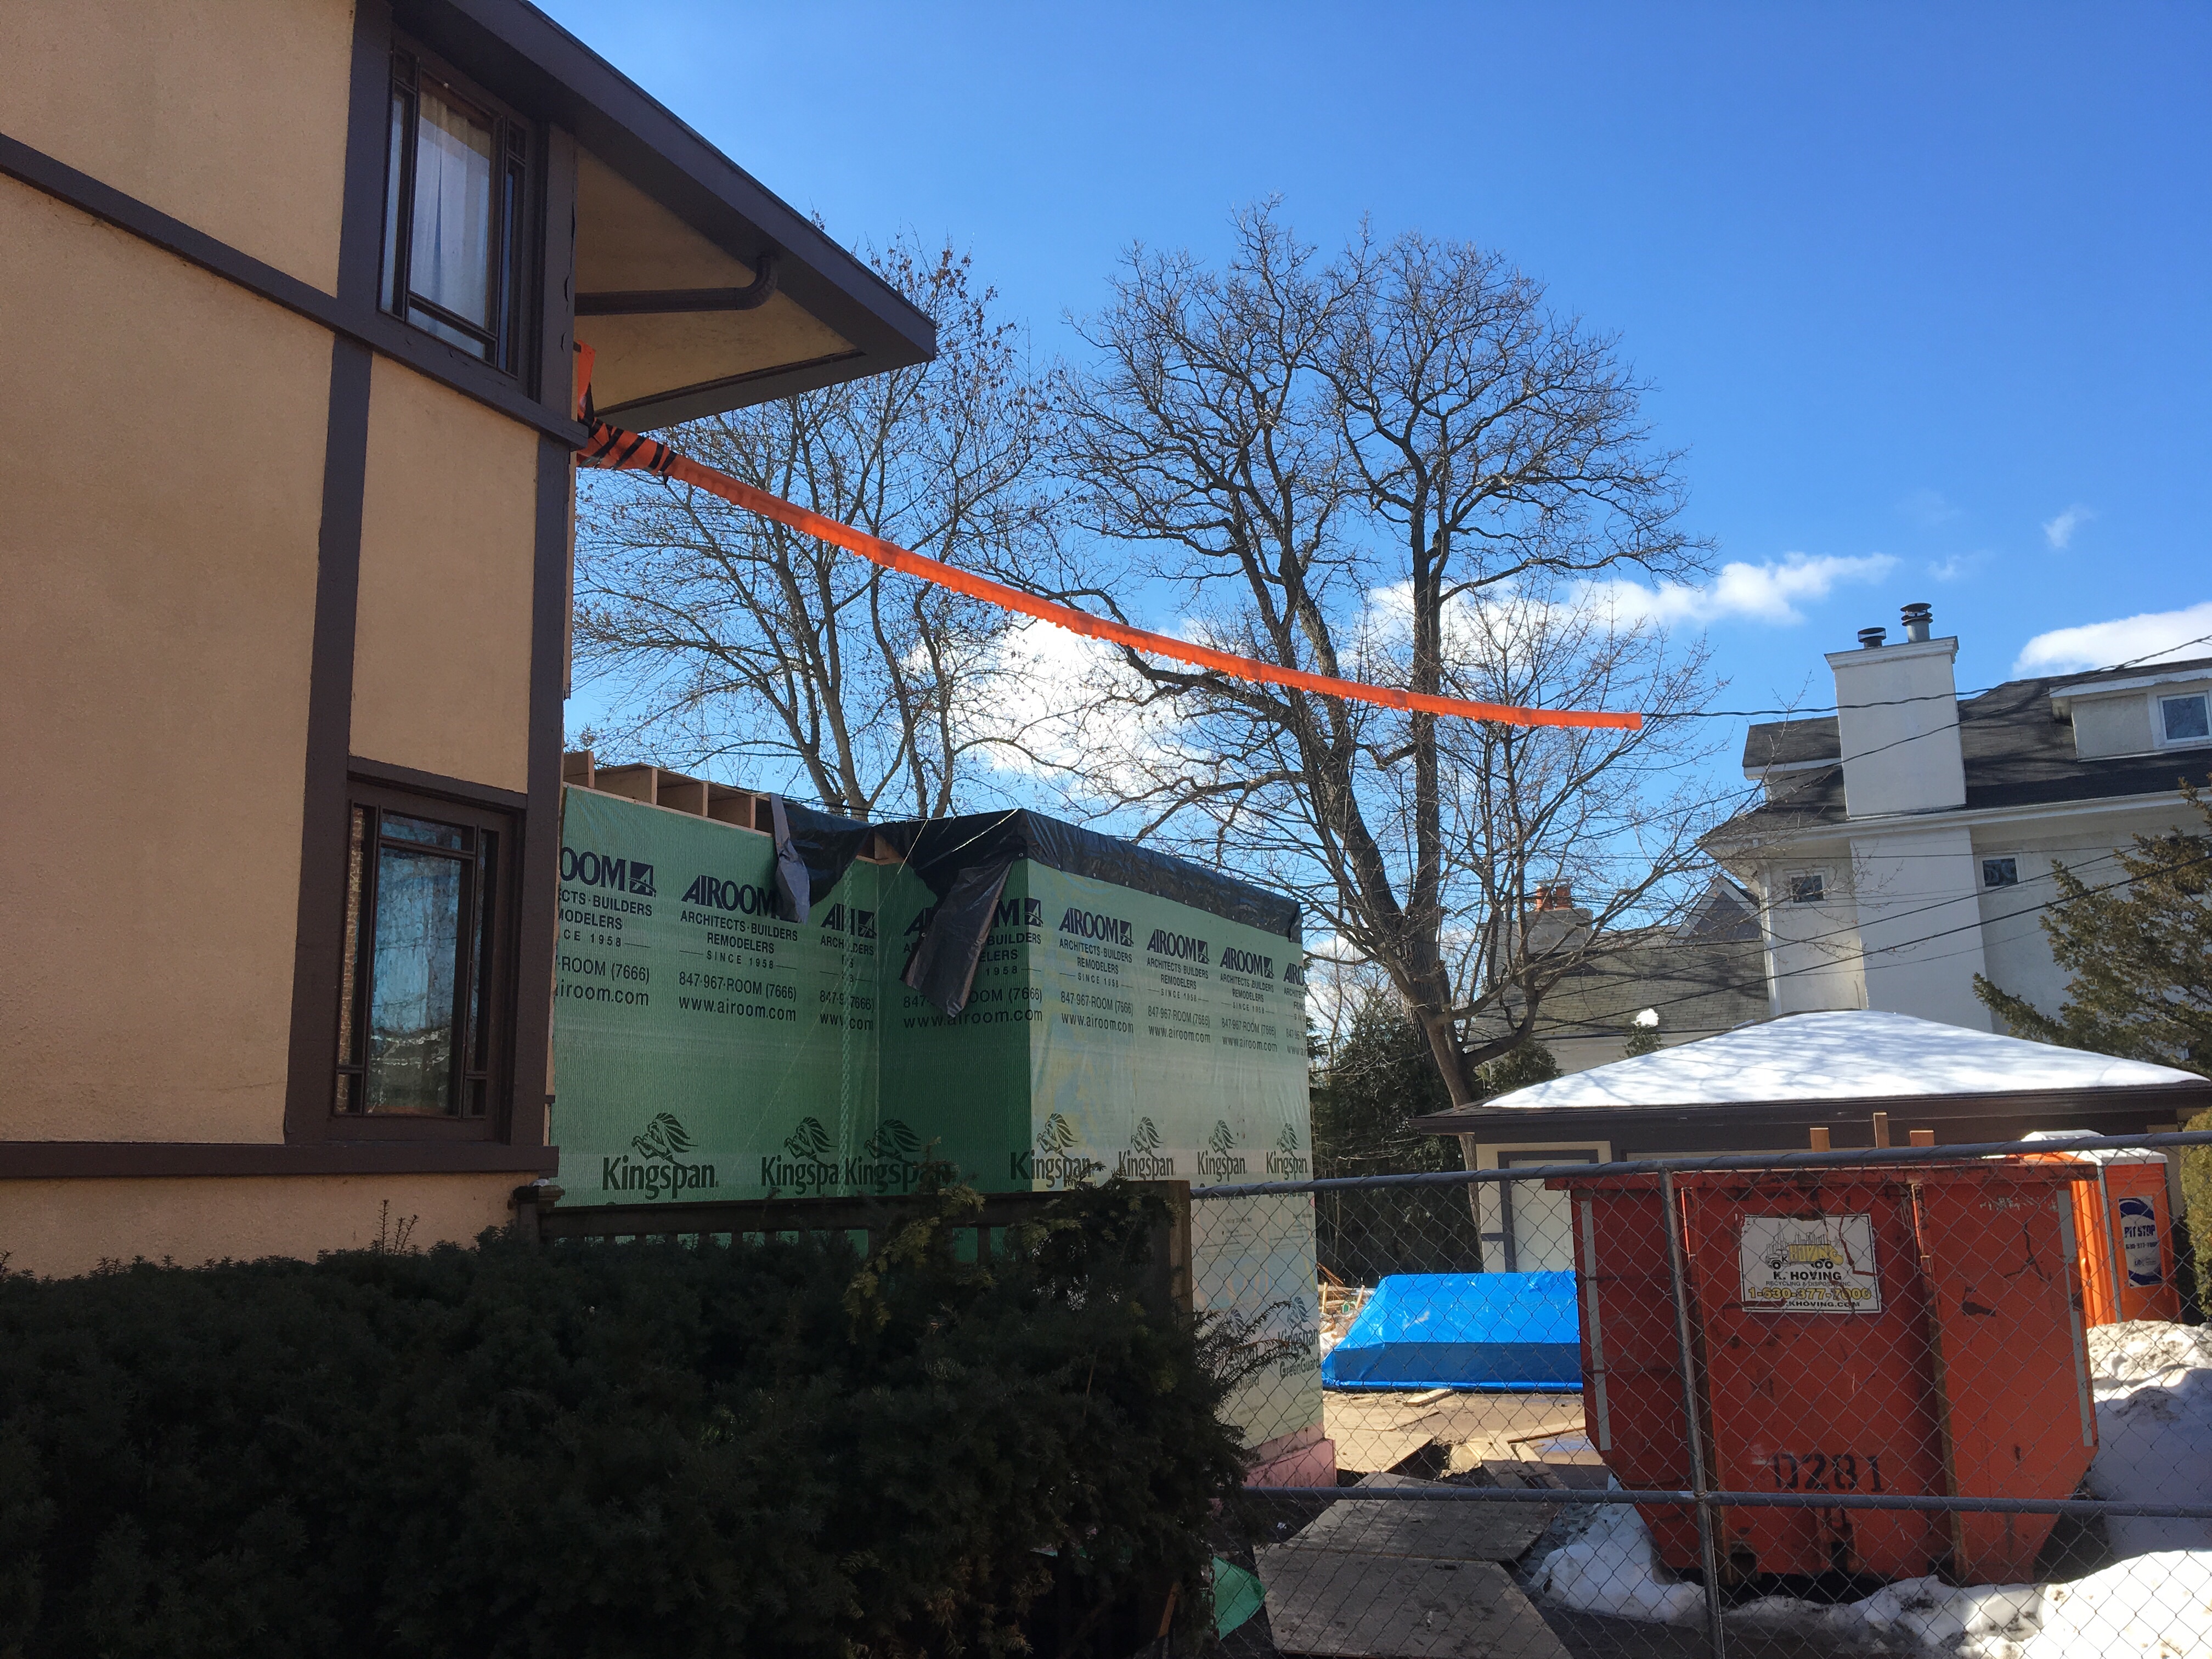
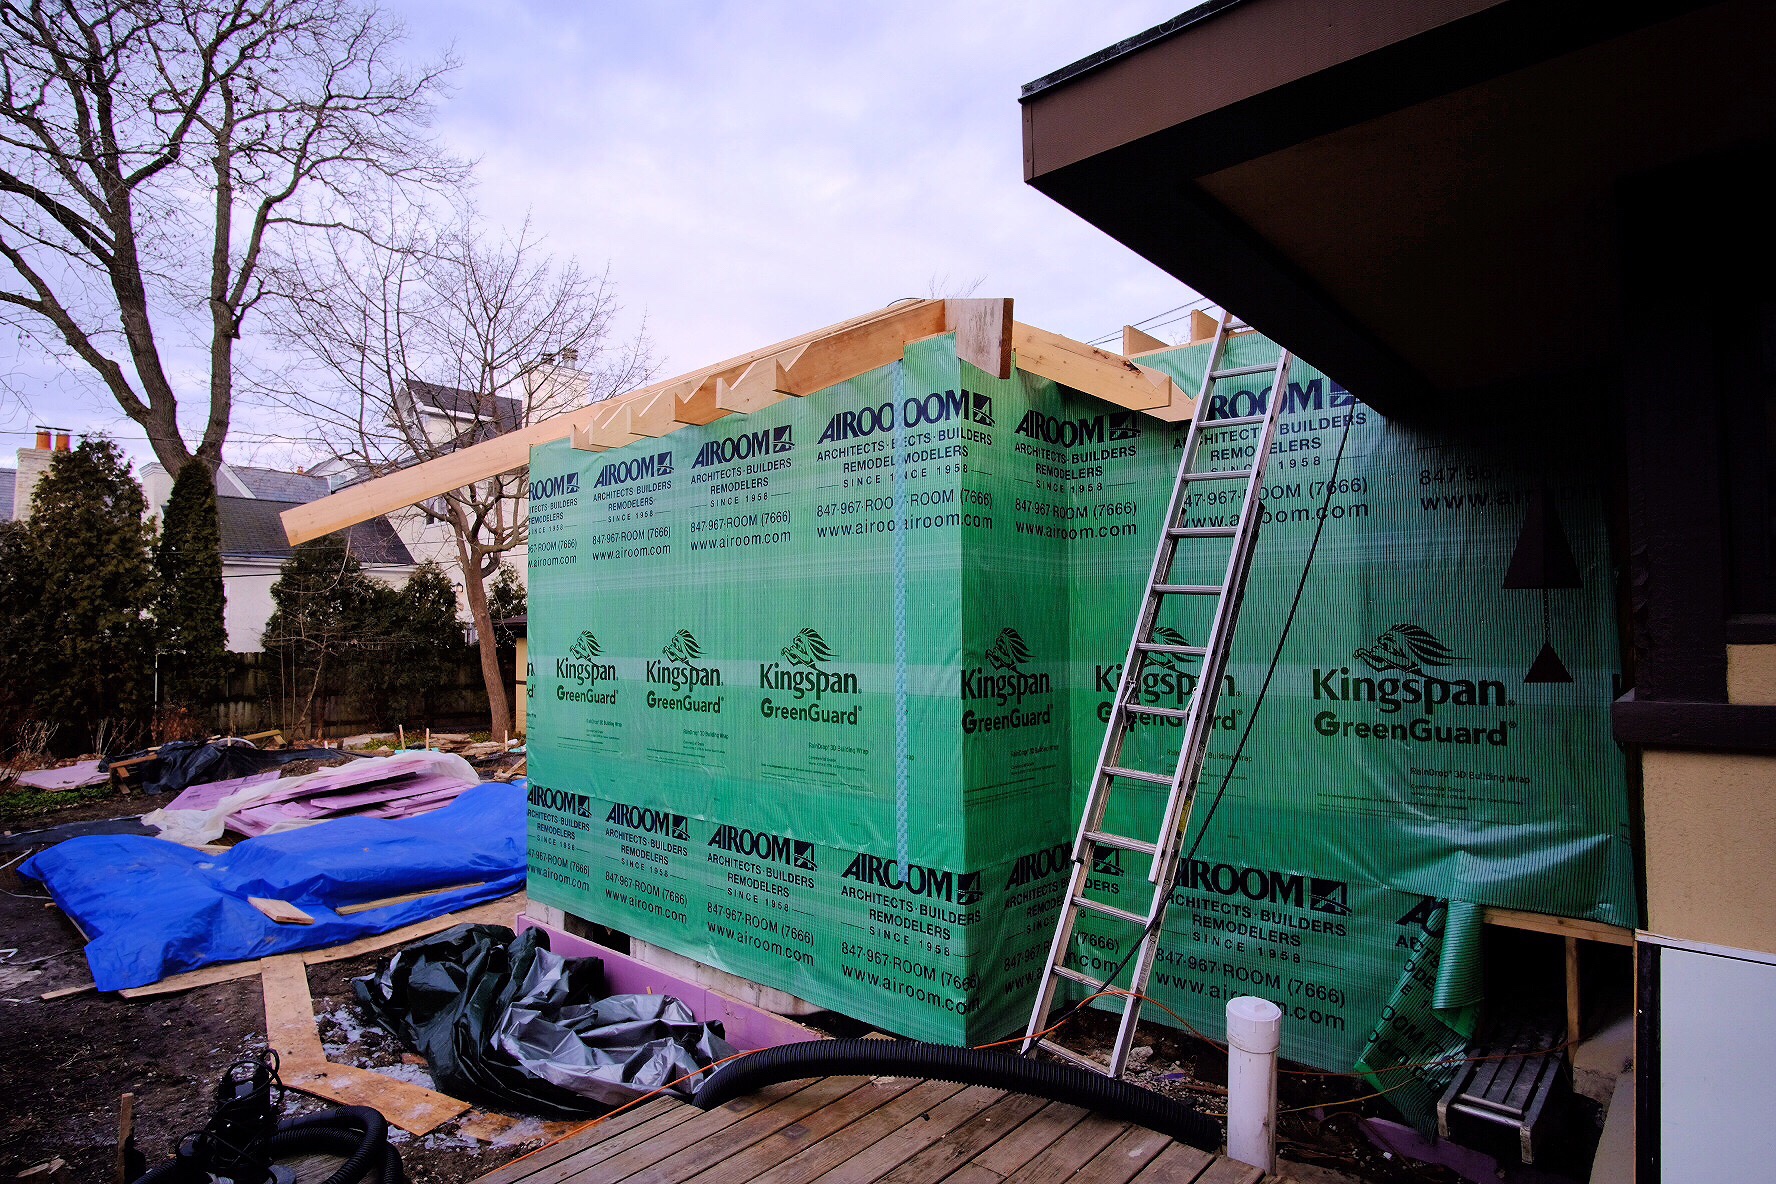
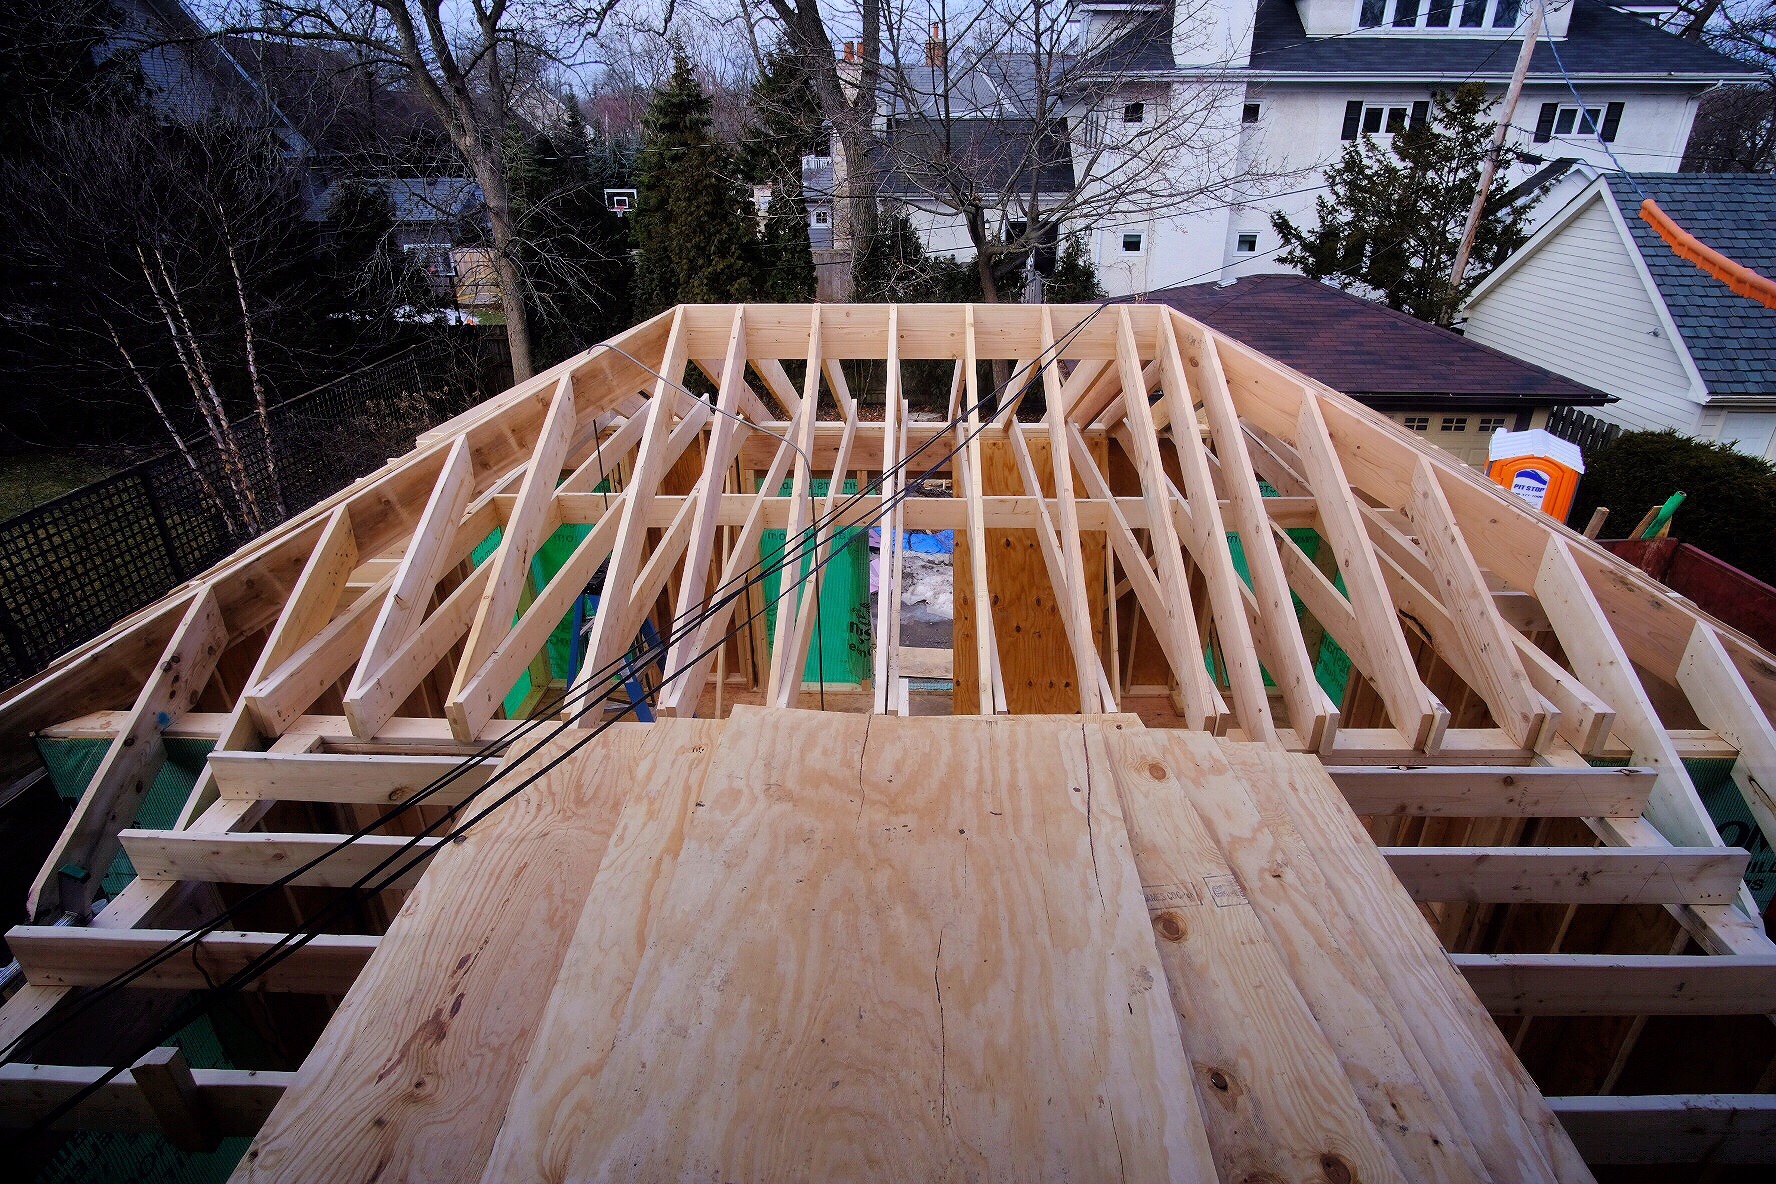
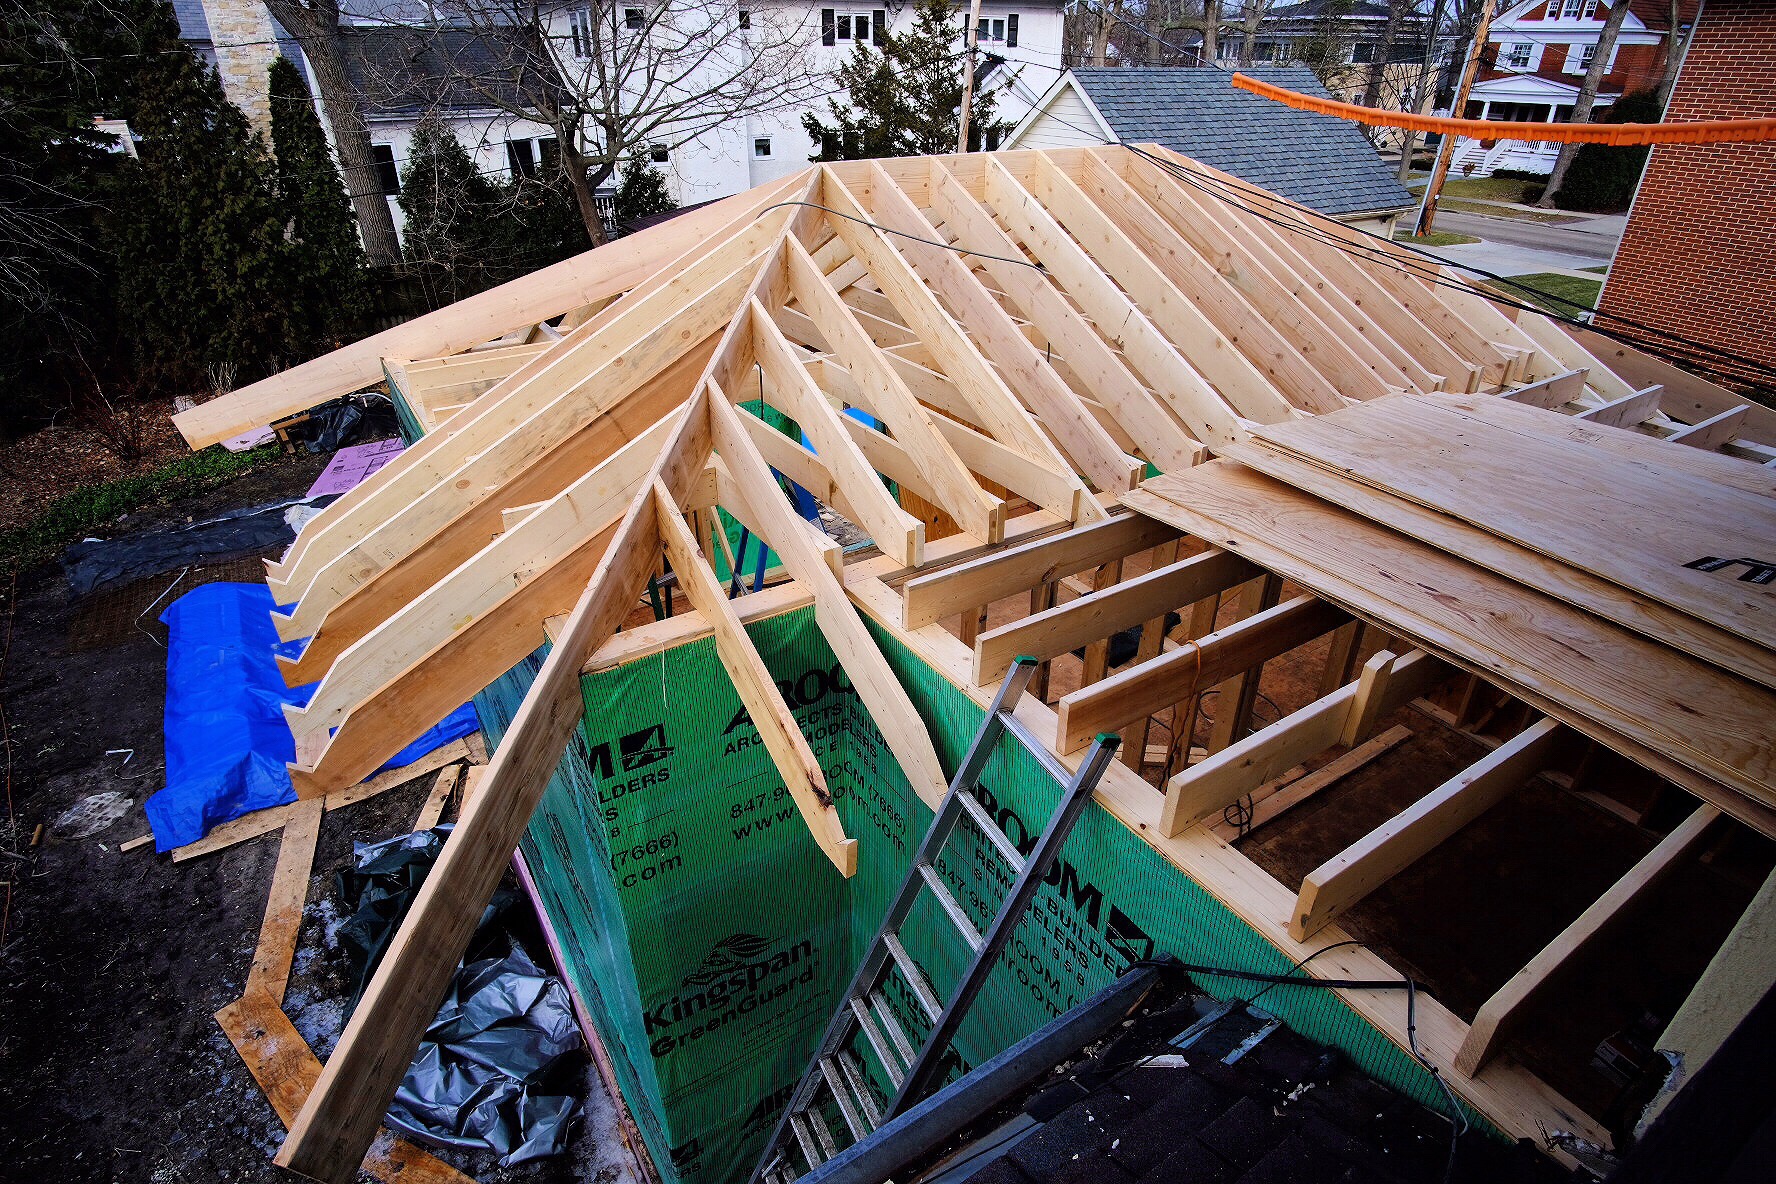
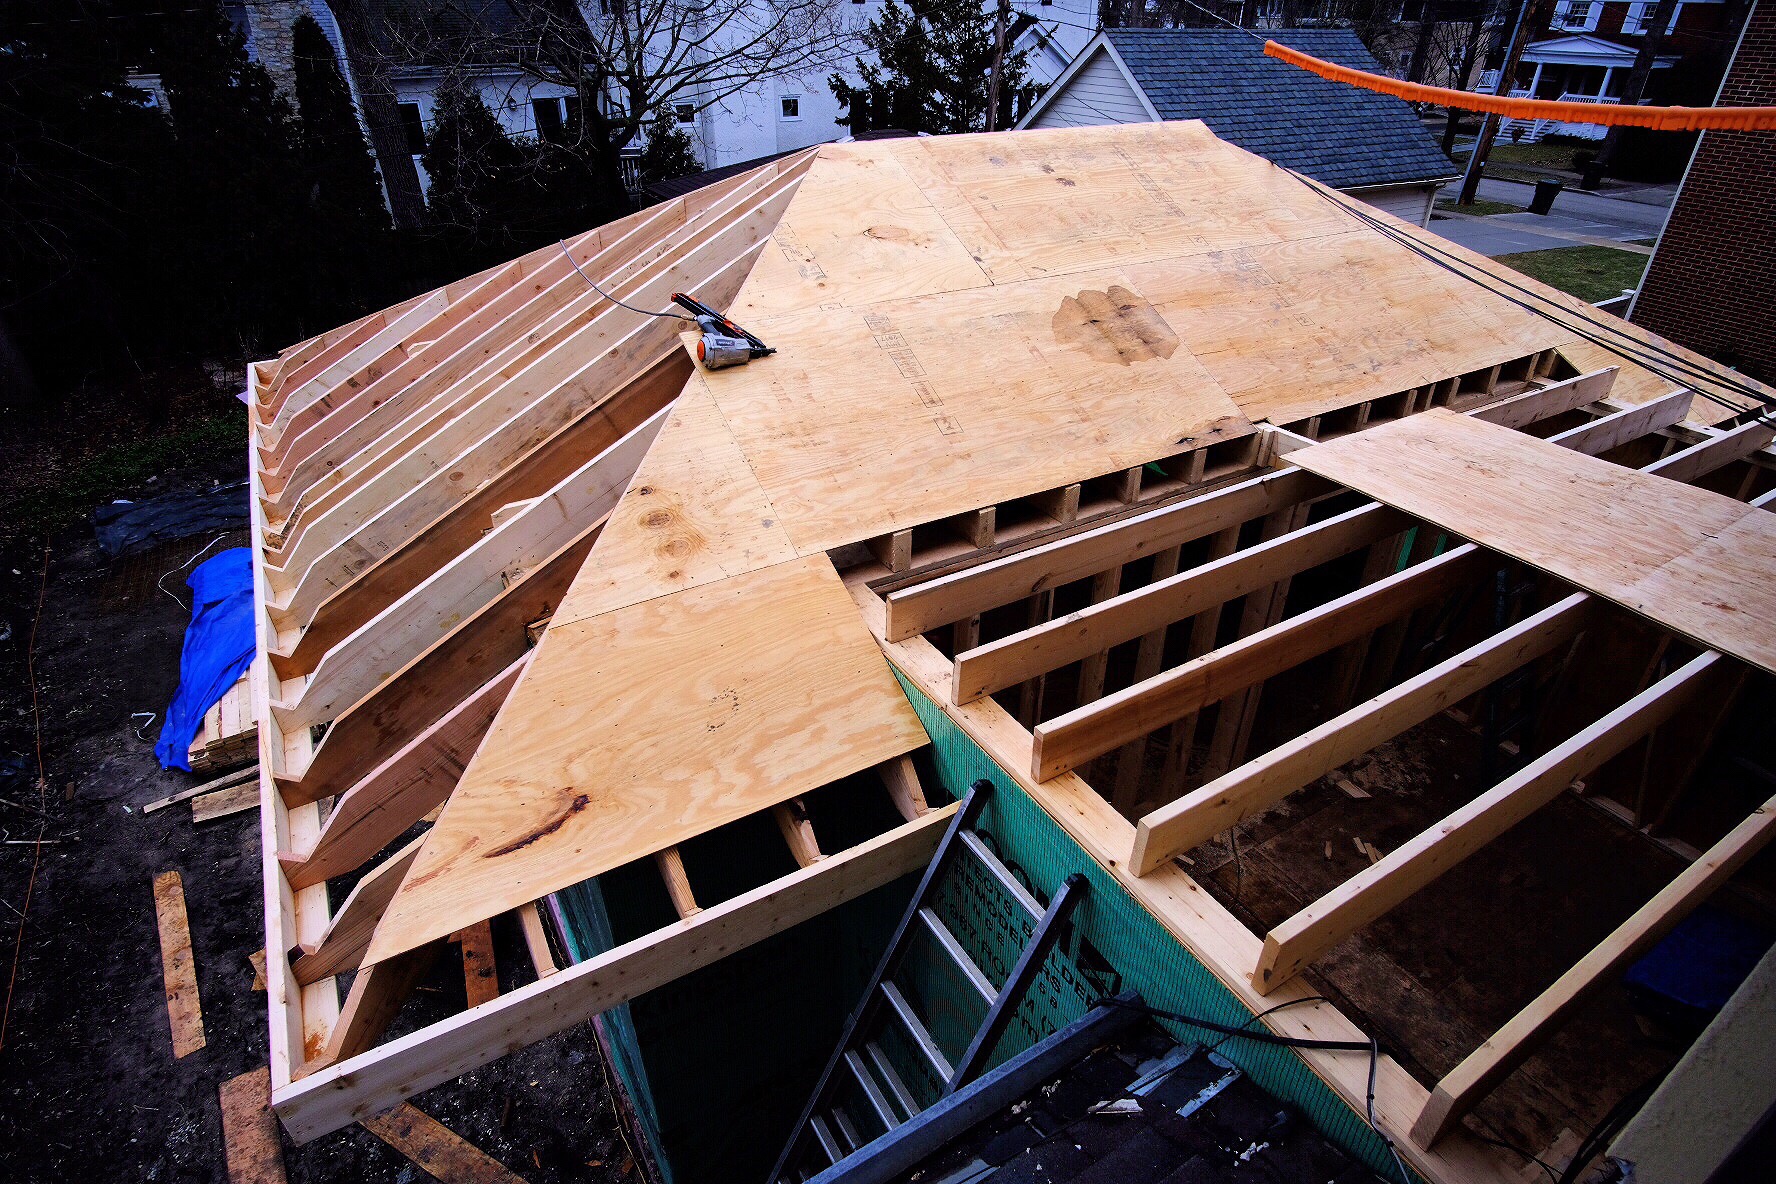
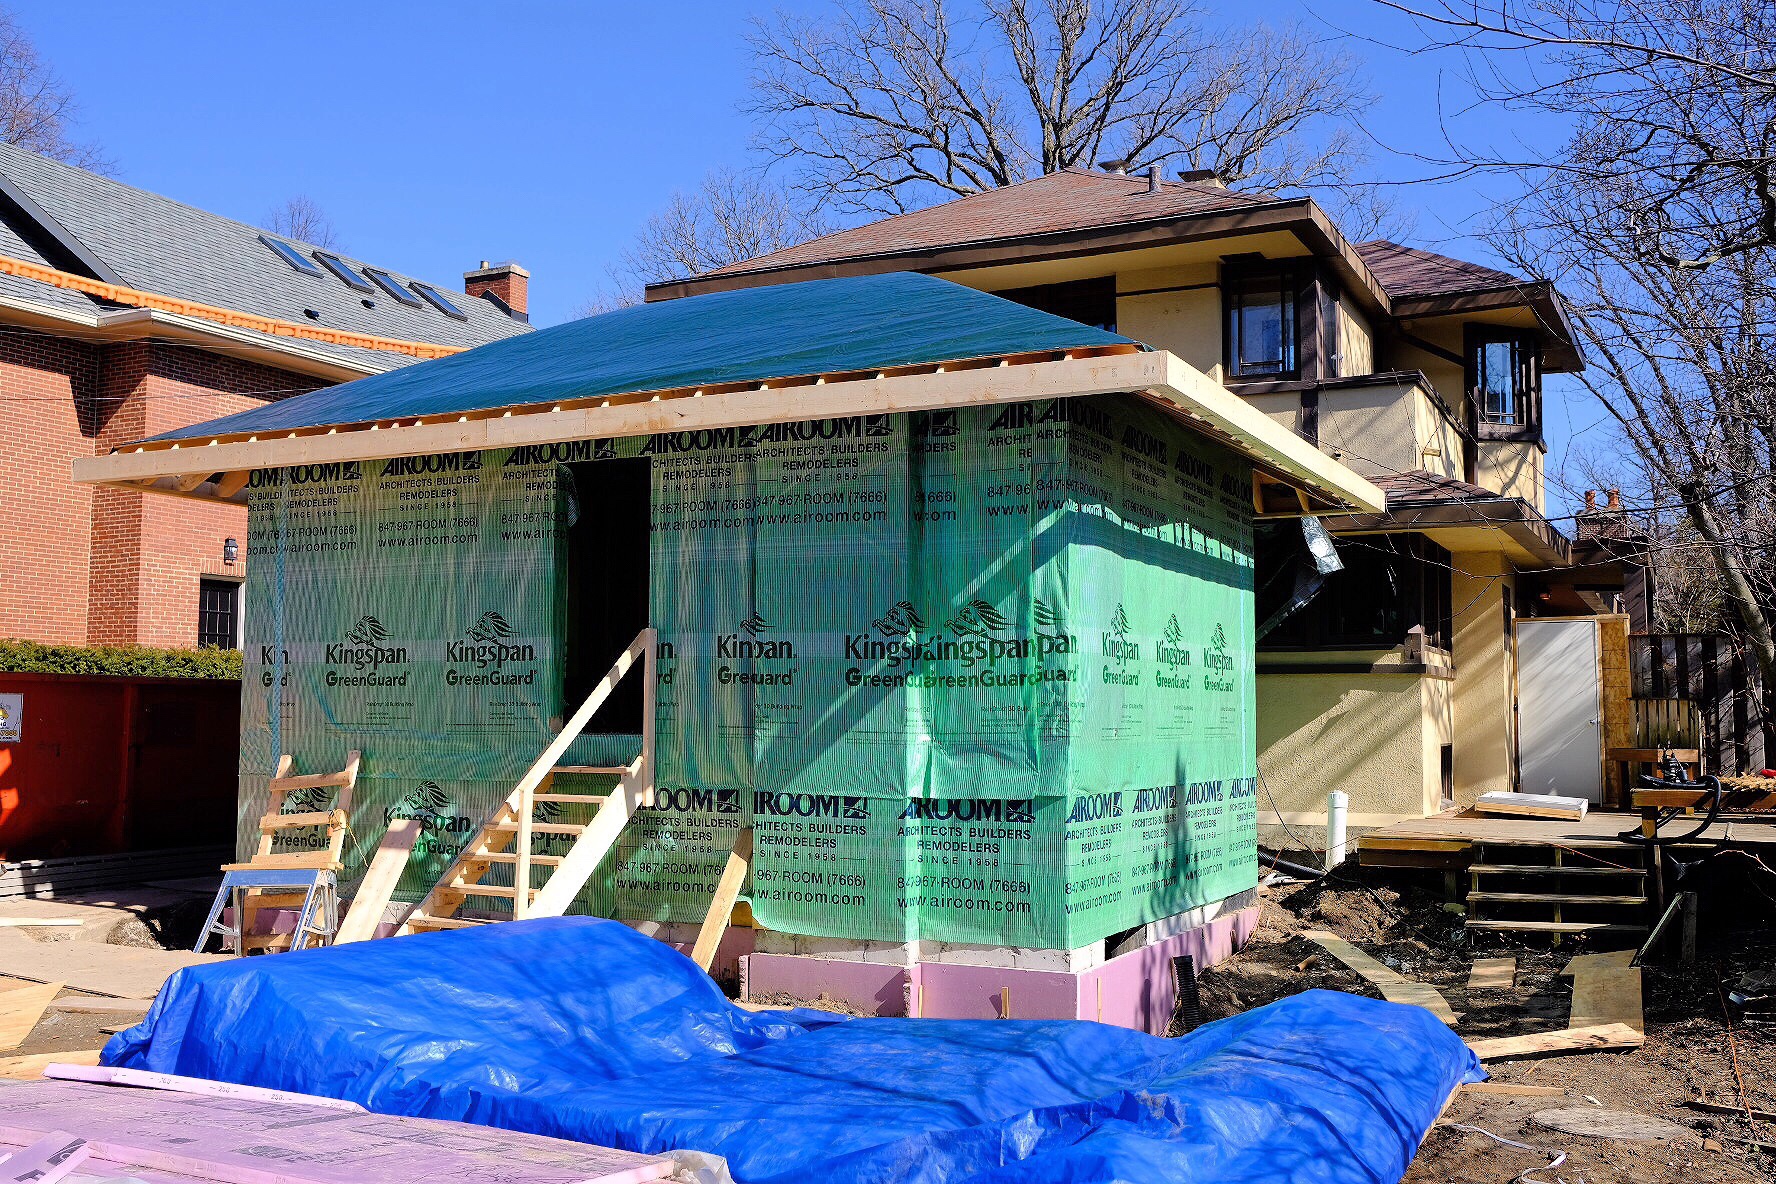

The addition is designed with a hip roof to match the roof angle and internal concealed gutter system of the original house — and as this winter has shown us, that isn’t necessarily a good thing.
We had two huge ice dams that caused leaks into the house. An ice dam is caused by house heat rising and melting snow on the roof, which then refreezes into ice at the edge of the roof, forming a dam. As snow continues to melt, it backs up behind the dam, and enters the house. It is fundamentally a heat loss problem.
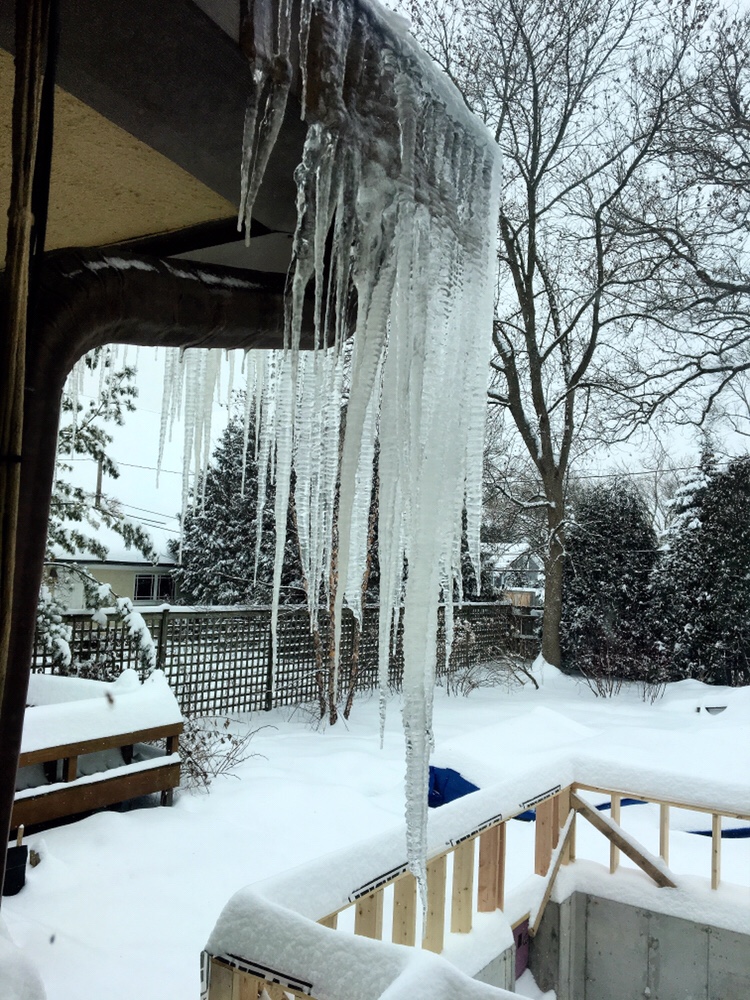
Attics are supposed to be both insulated to prevent heat loss, and sufficiently ventilated to keep the roof cold in the winter so that this doesn’t happen. Our master bedroom has a vaulted ceiling, and no attic. As a result, the two corners of the back of the house have ice dam problems. On one side, a previous owner installed a heating cable that we turn on when it snows, but our contractor unplugged it, and the ice dammed up and leaked into the kitchen, damaging the ceiling and wood floor. (Fortunately, both will be replaced as part of the renovation, but we want to address the fundamental problem so that it doesn’t happen again post-renovation.)
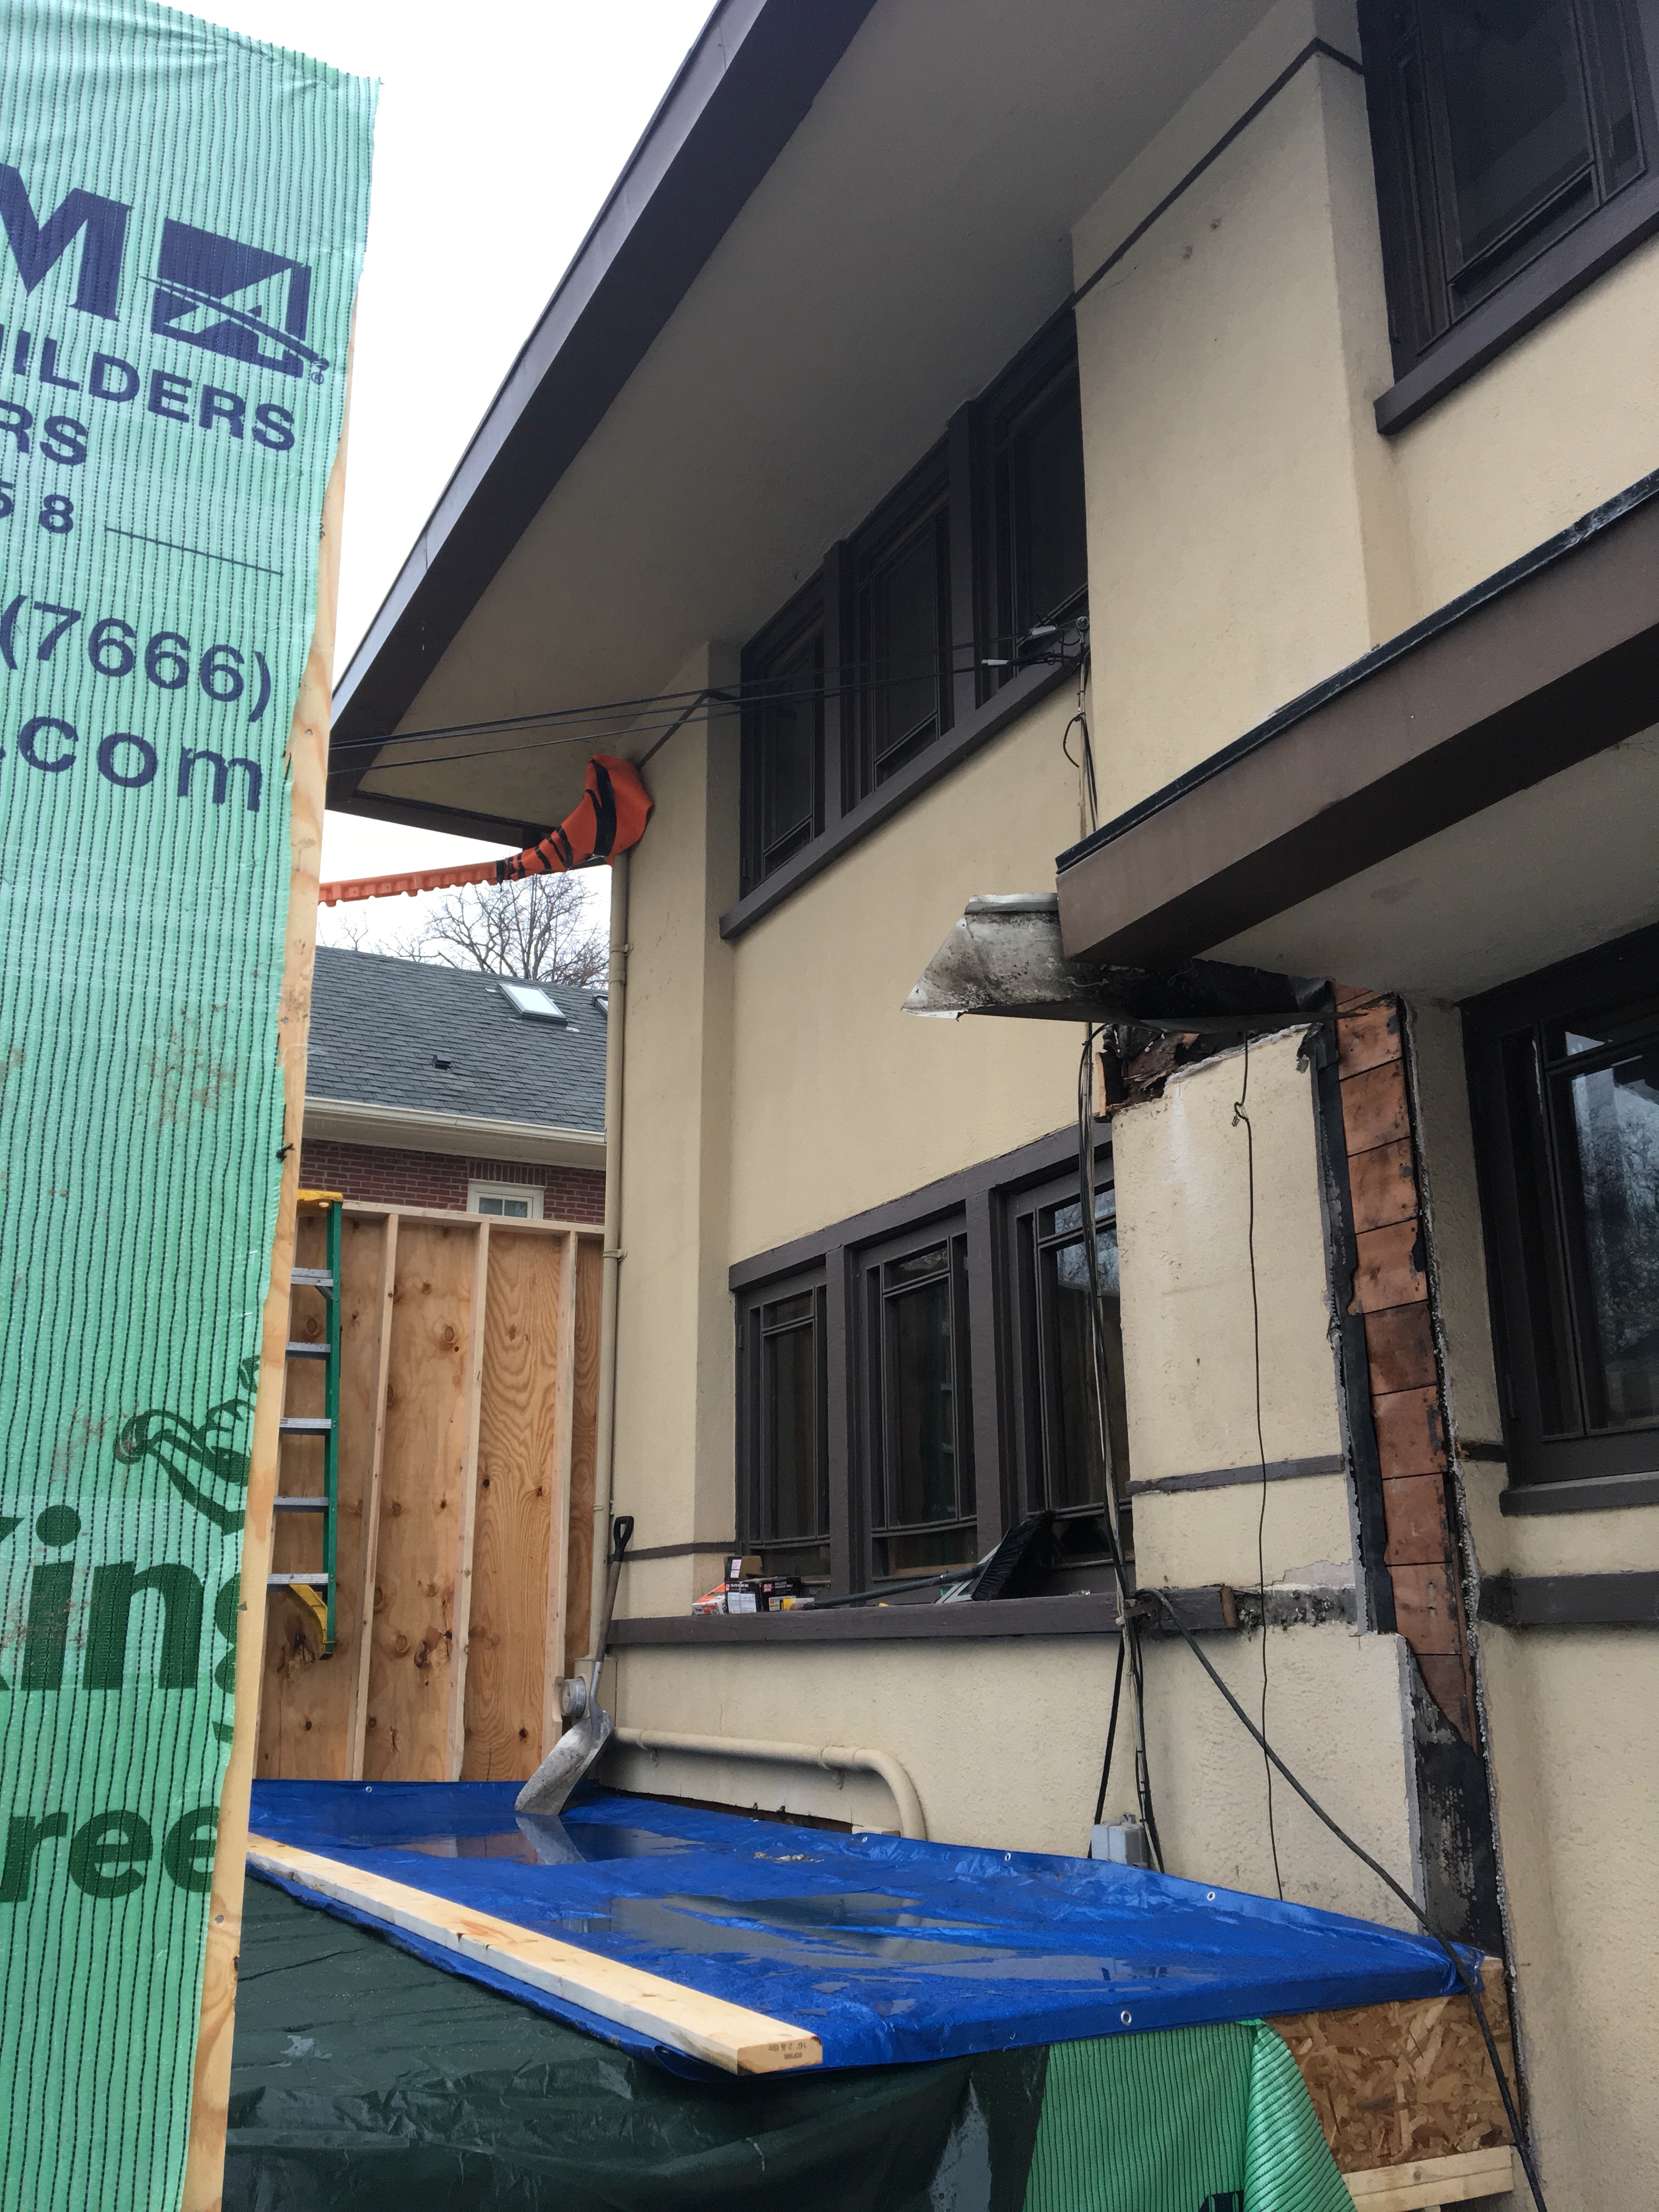
This led us to start calling roofing contractors to look at the roof and gutters. We knew the gutters had problems, such as incorrect pitch in sections where the house has settled. We also detest the cheap red-brown shingles on the house. This house would have originally had cedar wood shingles, and since we intend to install something closer to that look for the addition, we want to replace the old roof to match the new.
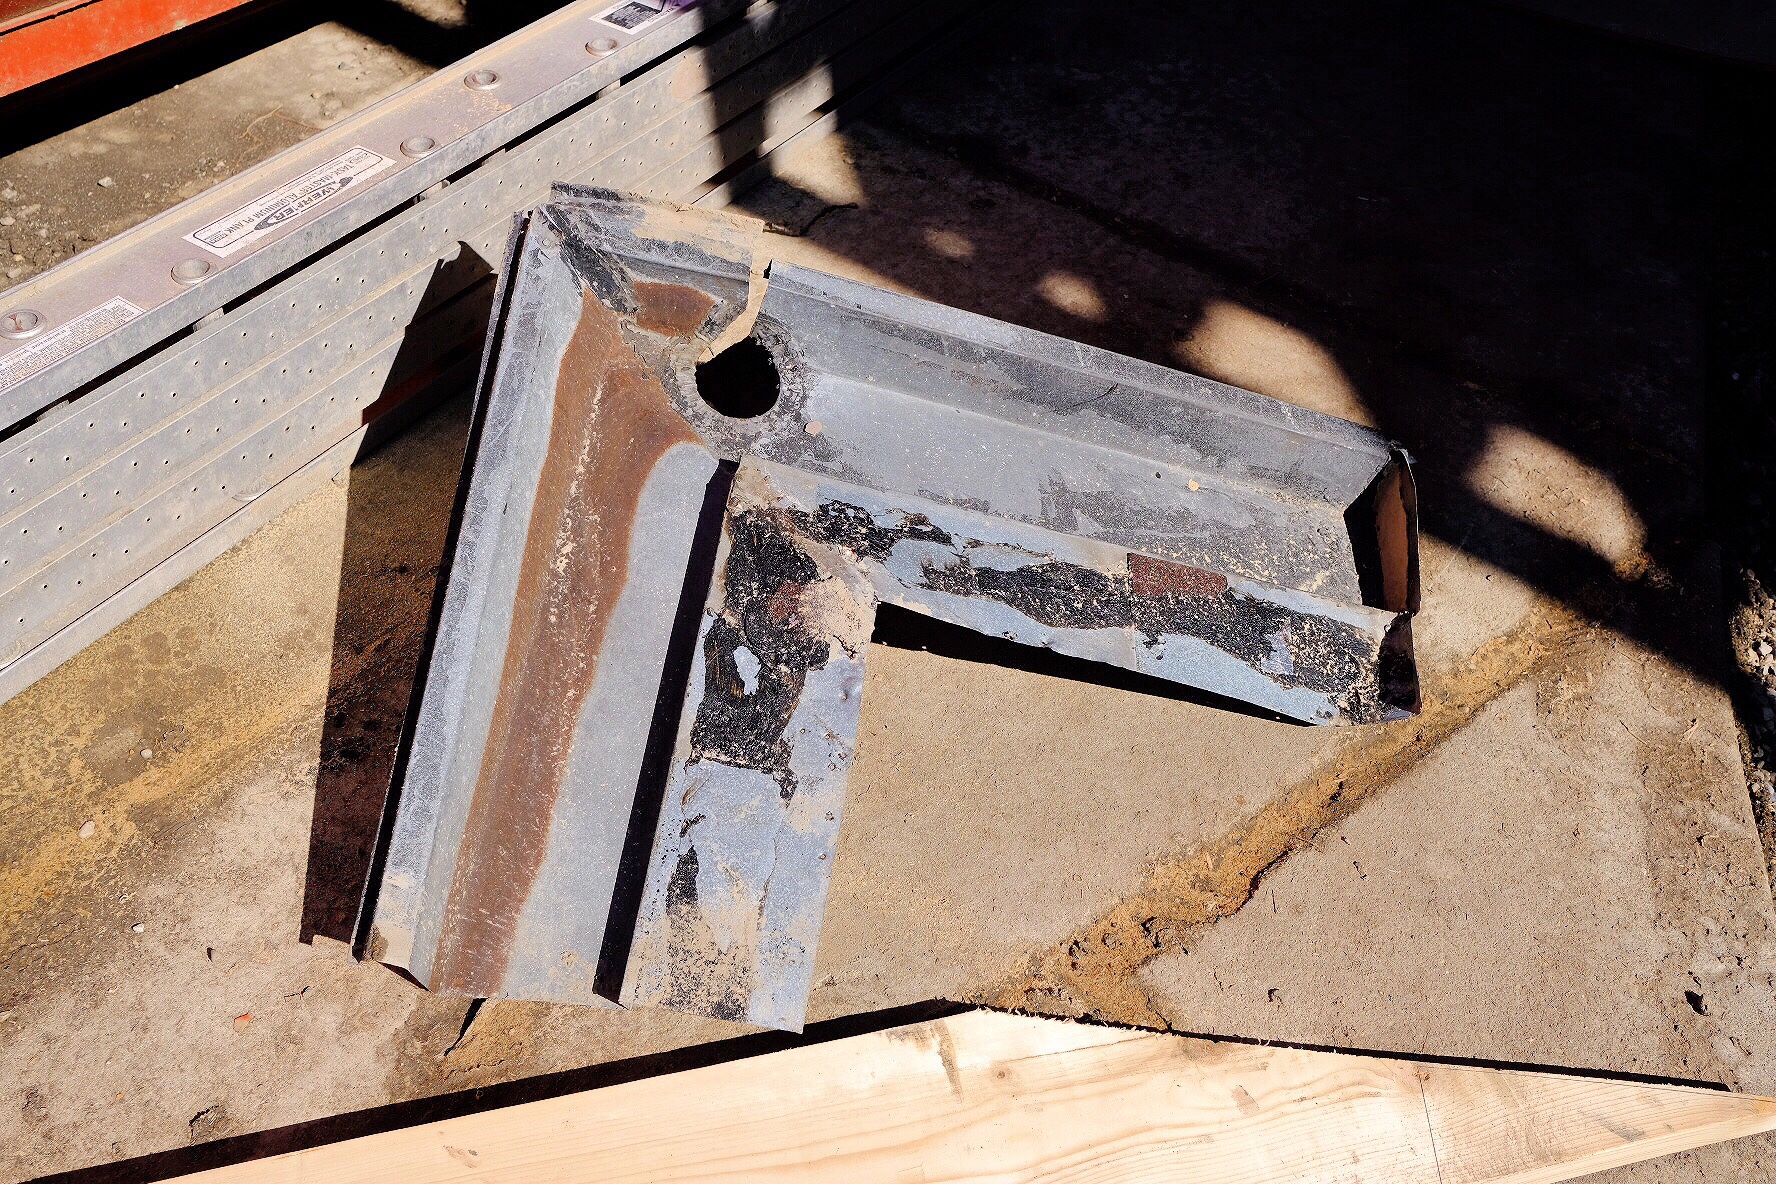
When the carpenters cut away a section of our eaves to connect the addition roof line and gutter, we could see the old shingles in cross-section. There are four layers: one cedar (probably original to the house), and three layers of asphalt shingles on top of it. It looks like we will need to tear off the whole roof (I think the maximum number of layers permitted is two).
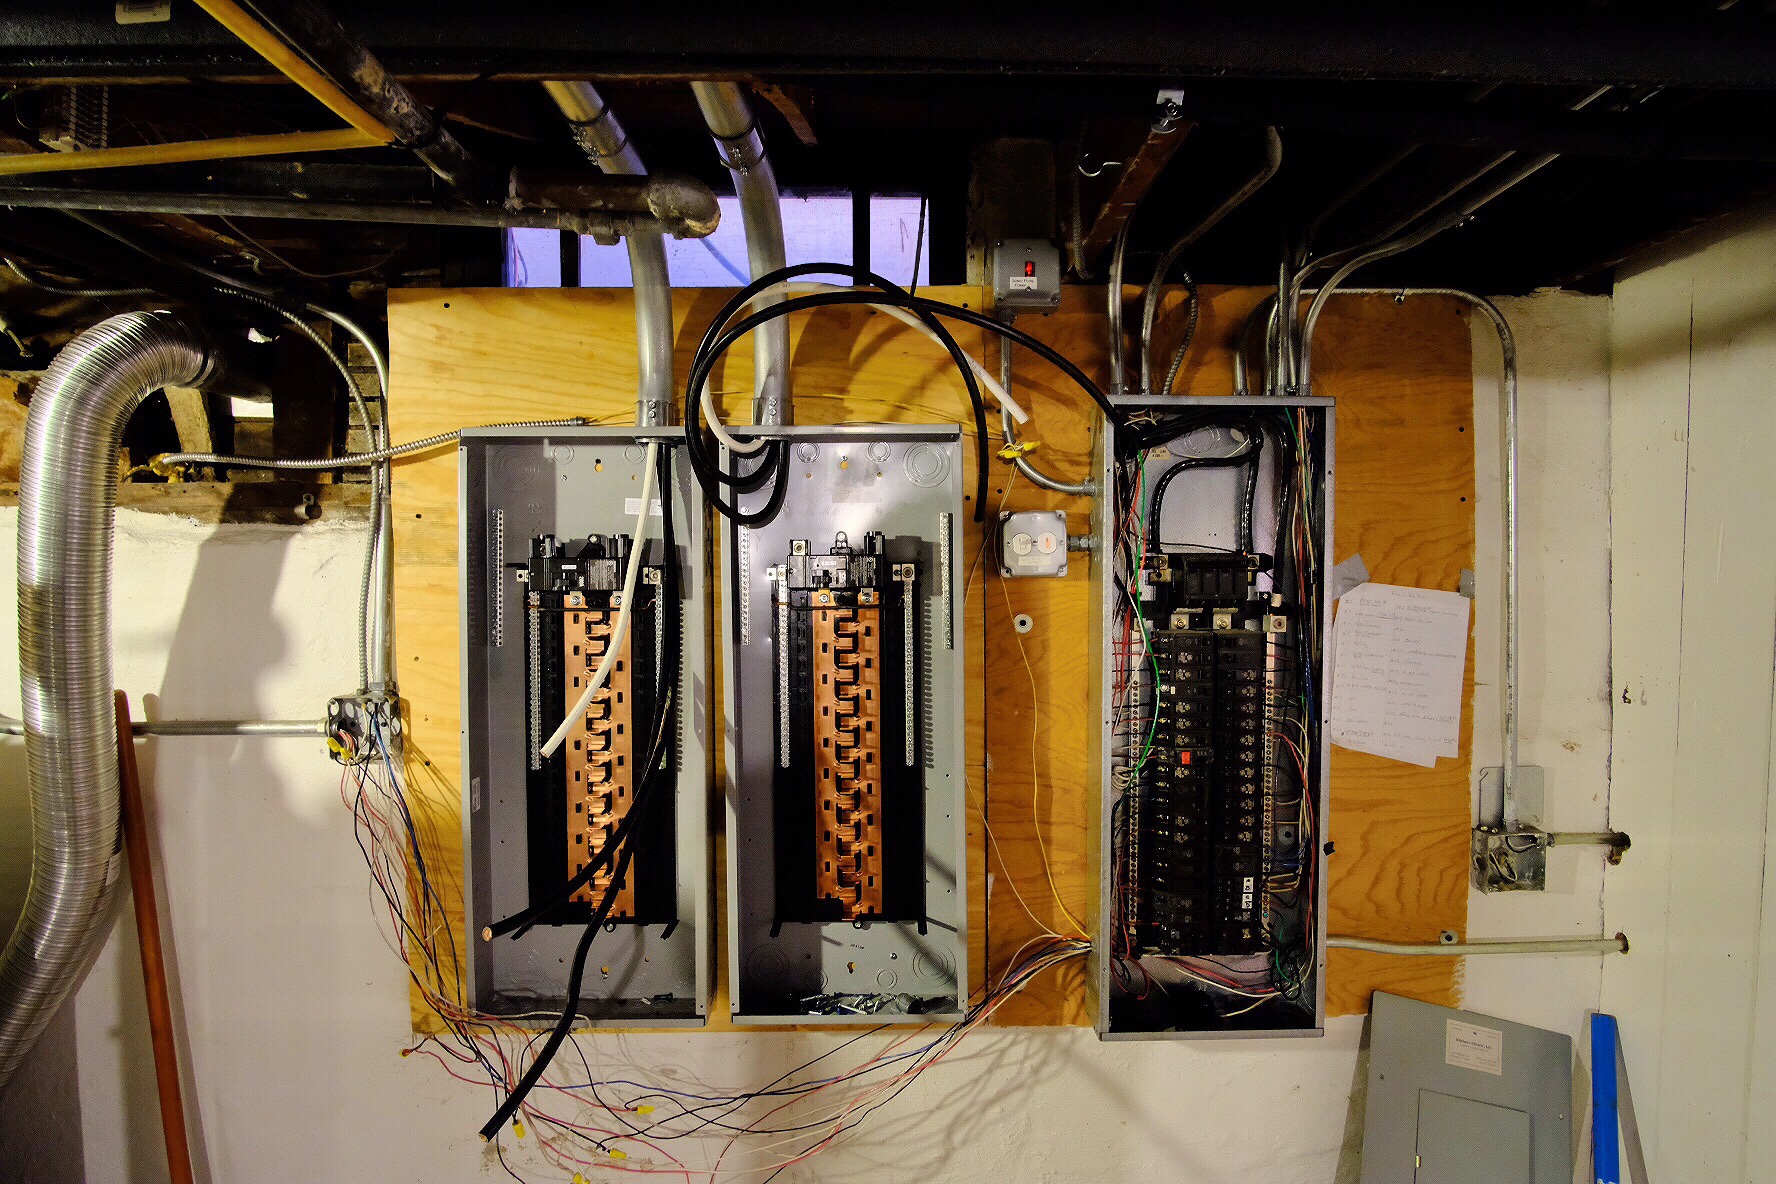
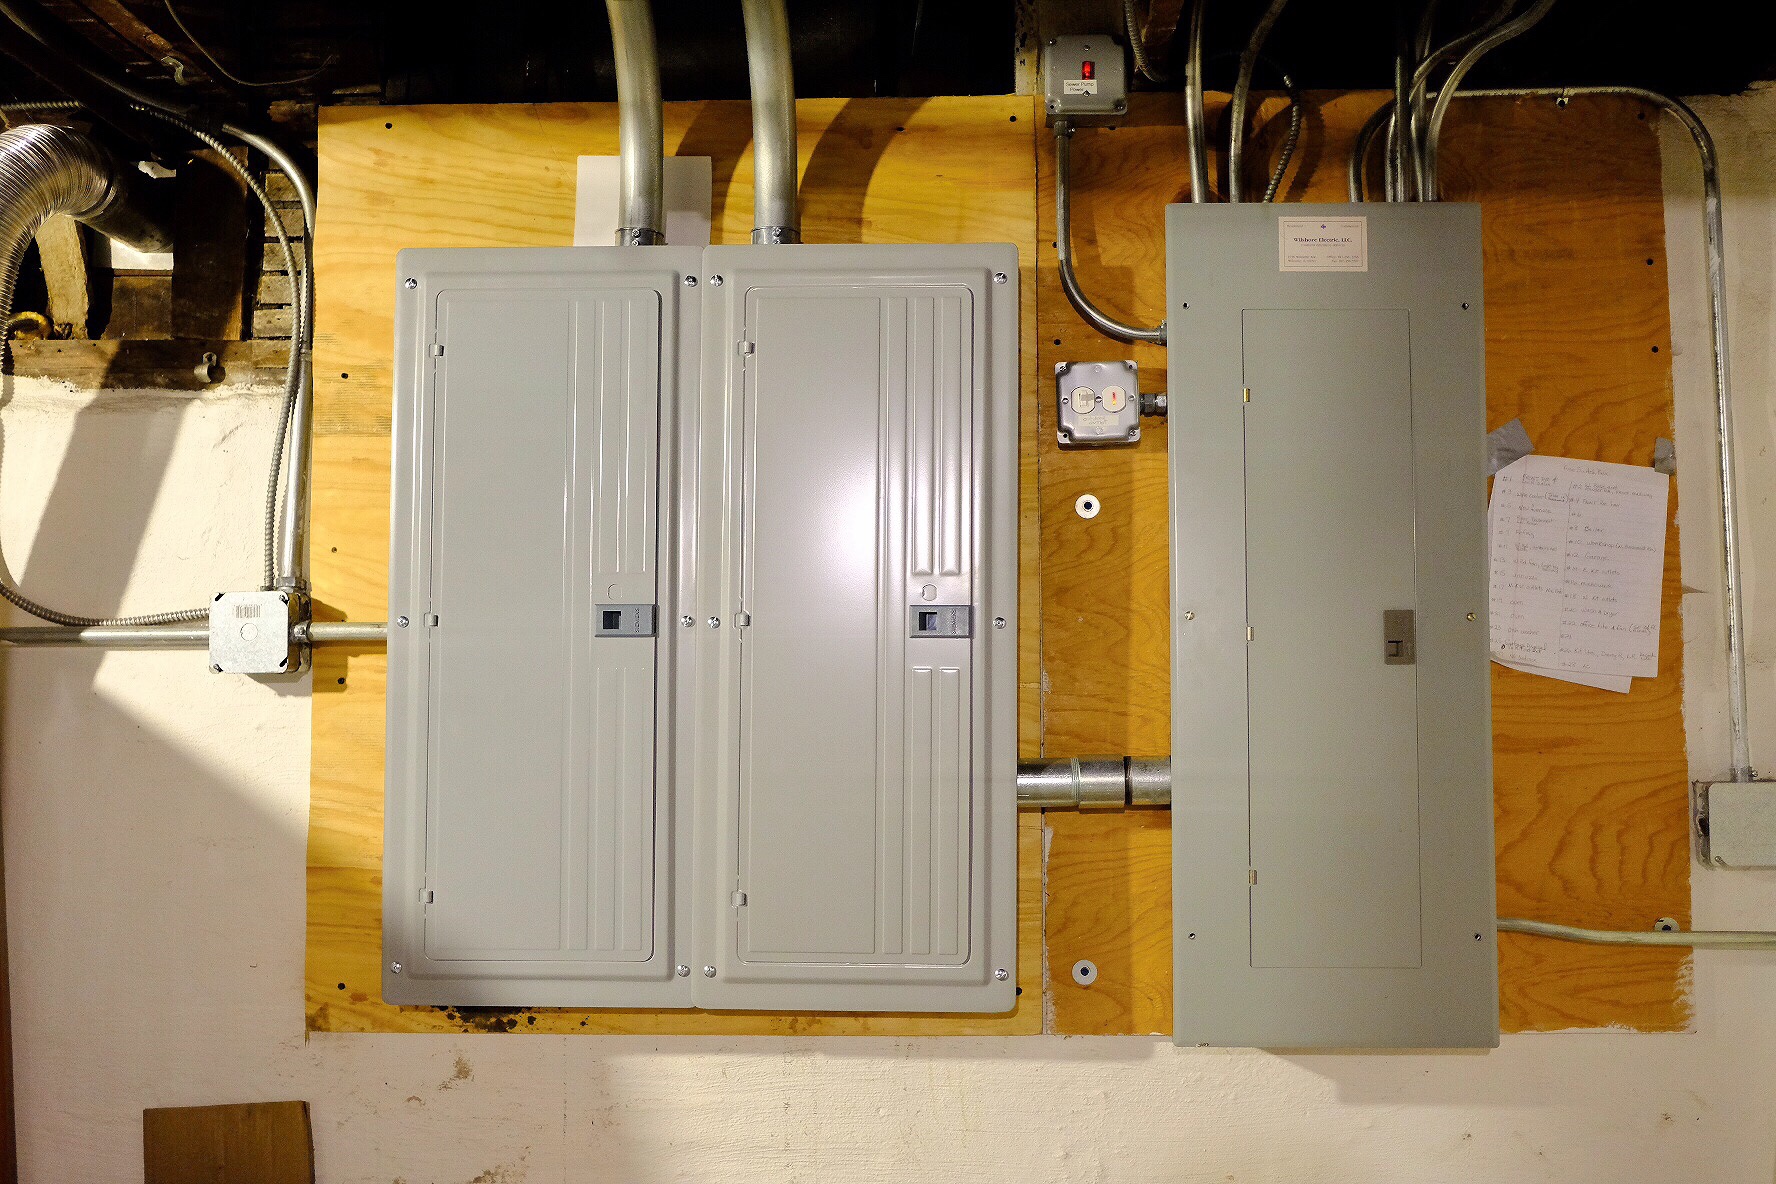
The electricians came out last week to install the new electrical meter and two new interior 200 amp electrical panels (for a total of 400 amps). They will keep our existing panel and use it as a junction box. Once the new electrical service arrives, we will need to install circuit breakers in the new panels and then rewire everything from the old panel to the new one.
The surprise for me was how little say we have over placement of the meter or transformer. The village dictates everything, and they don’t seem to be concerned with aesthetics, which I think is both a shame (given the architecture of our home) and unreasonable (given the $18k cost of the permit).
The electrical meter is an ugly box that is about 4 feet tall and will connect the underground wiring to the inside of the house. The meter itself shows how much electricity the home is using so that the village’s power utility can properly bill us. The transformer is a giant green box that converts high voltage to low voltage that can be used by homes. Usually these transformers are overhead, but when there is underground electricity, they can be at ground level in giant green boxes.
Our original plan was for the ugly transformer to be in the back yard behind the garage, and the meter on the addition hidden under the stairs.
Instead, our electrician placed the meter right under a window at the front of our house, blocking a water spigot, and in plain view from the sidewalk in front. When I asked the electrician about this, he told me that this was where the inspector told him it had to be, and suggested we move the water spigot and plant a bush. So I’ll just add those to the growing list of post-renovation expenses and projects.
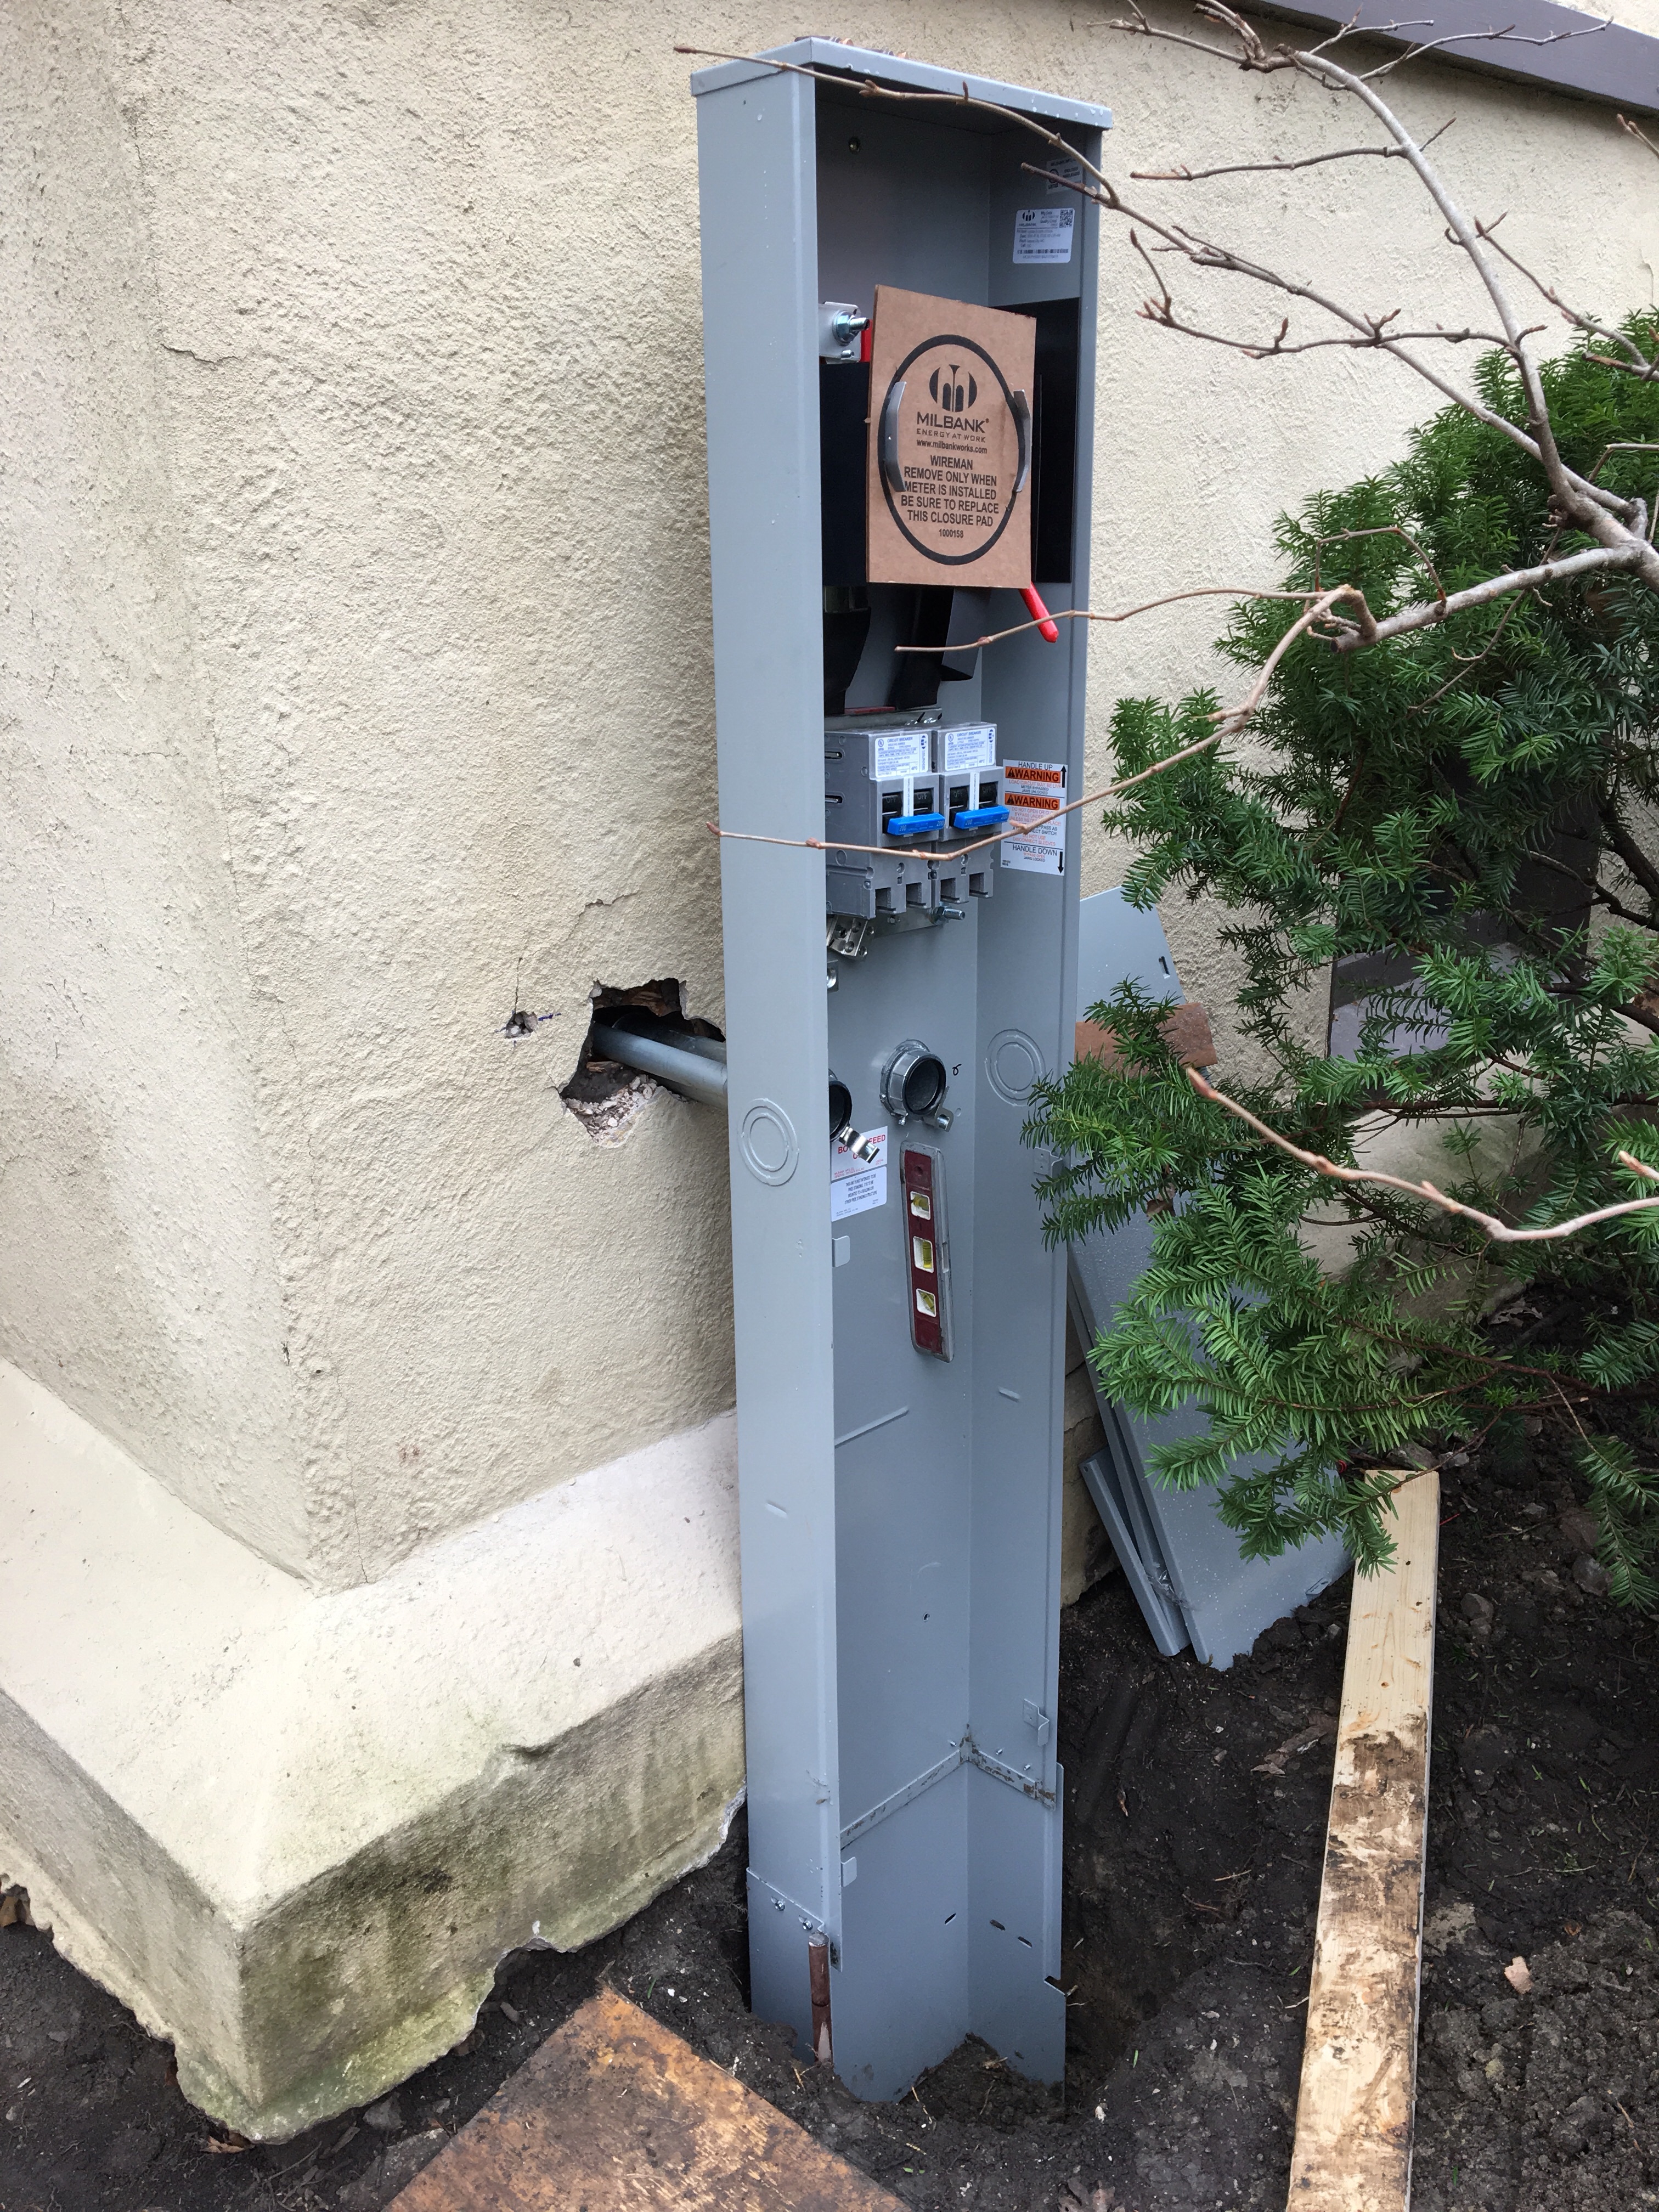

The other interesting thing about the water meter is that our house has a “curb” surrounding it, which prevents the meter from being installed flush with the house. It sticks out by about 8″, which looks terrible. Fortunately, our contractor already had a plan to address that by filling the gap and covering it in stucco to make it appear more seamless.
The next step is for us to pick shingles and get a quote on a new roof. Roofing the addition should begin soon.
I am impressed by how much you know about construction!
This has been a great learning process for me! I’m mostly repeating what the pros are telling me.