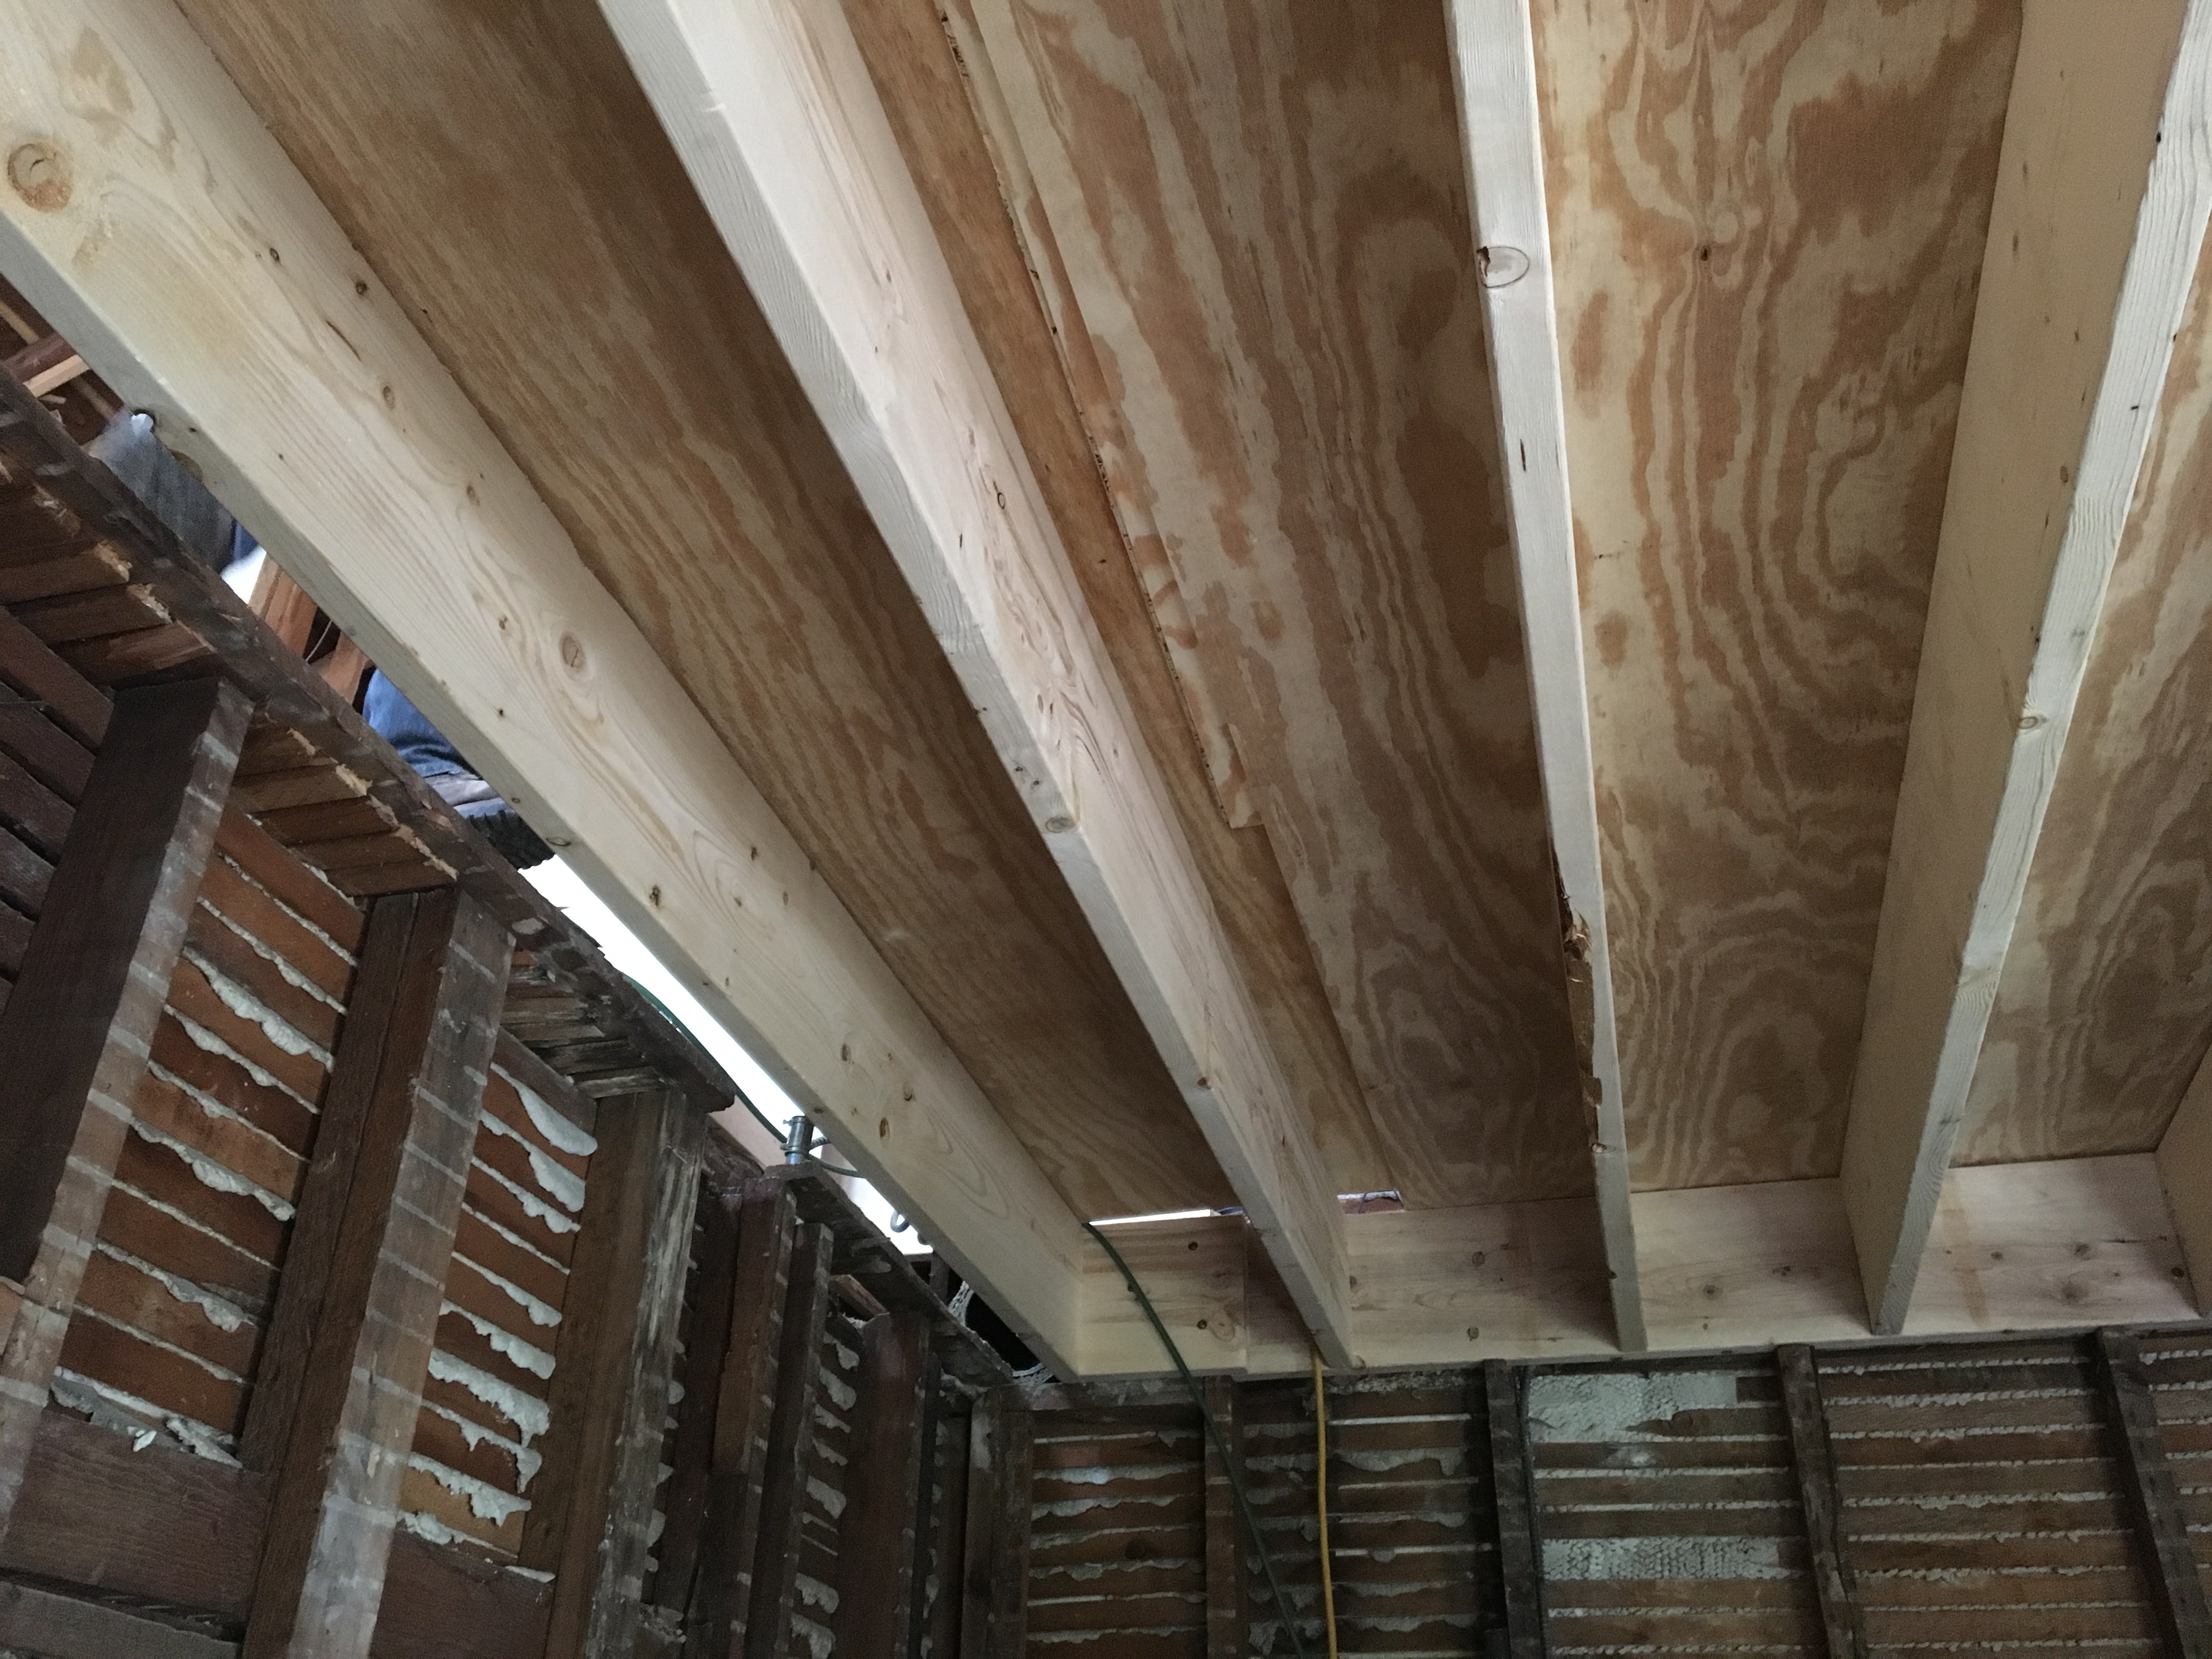
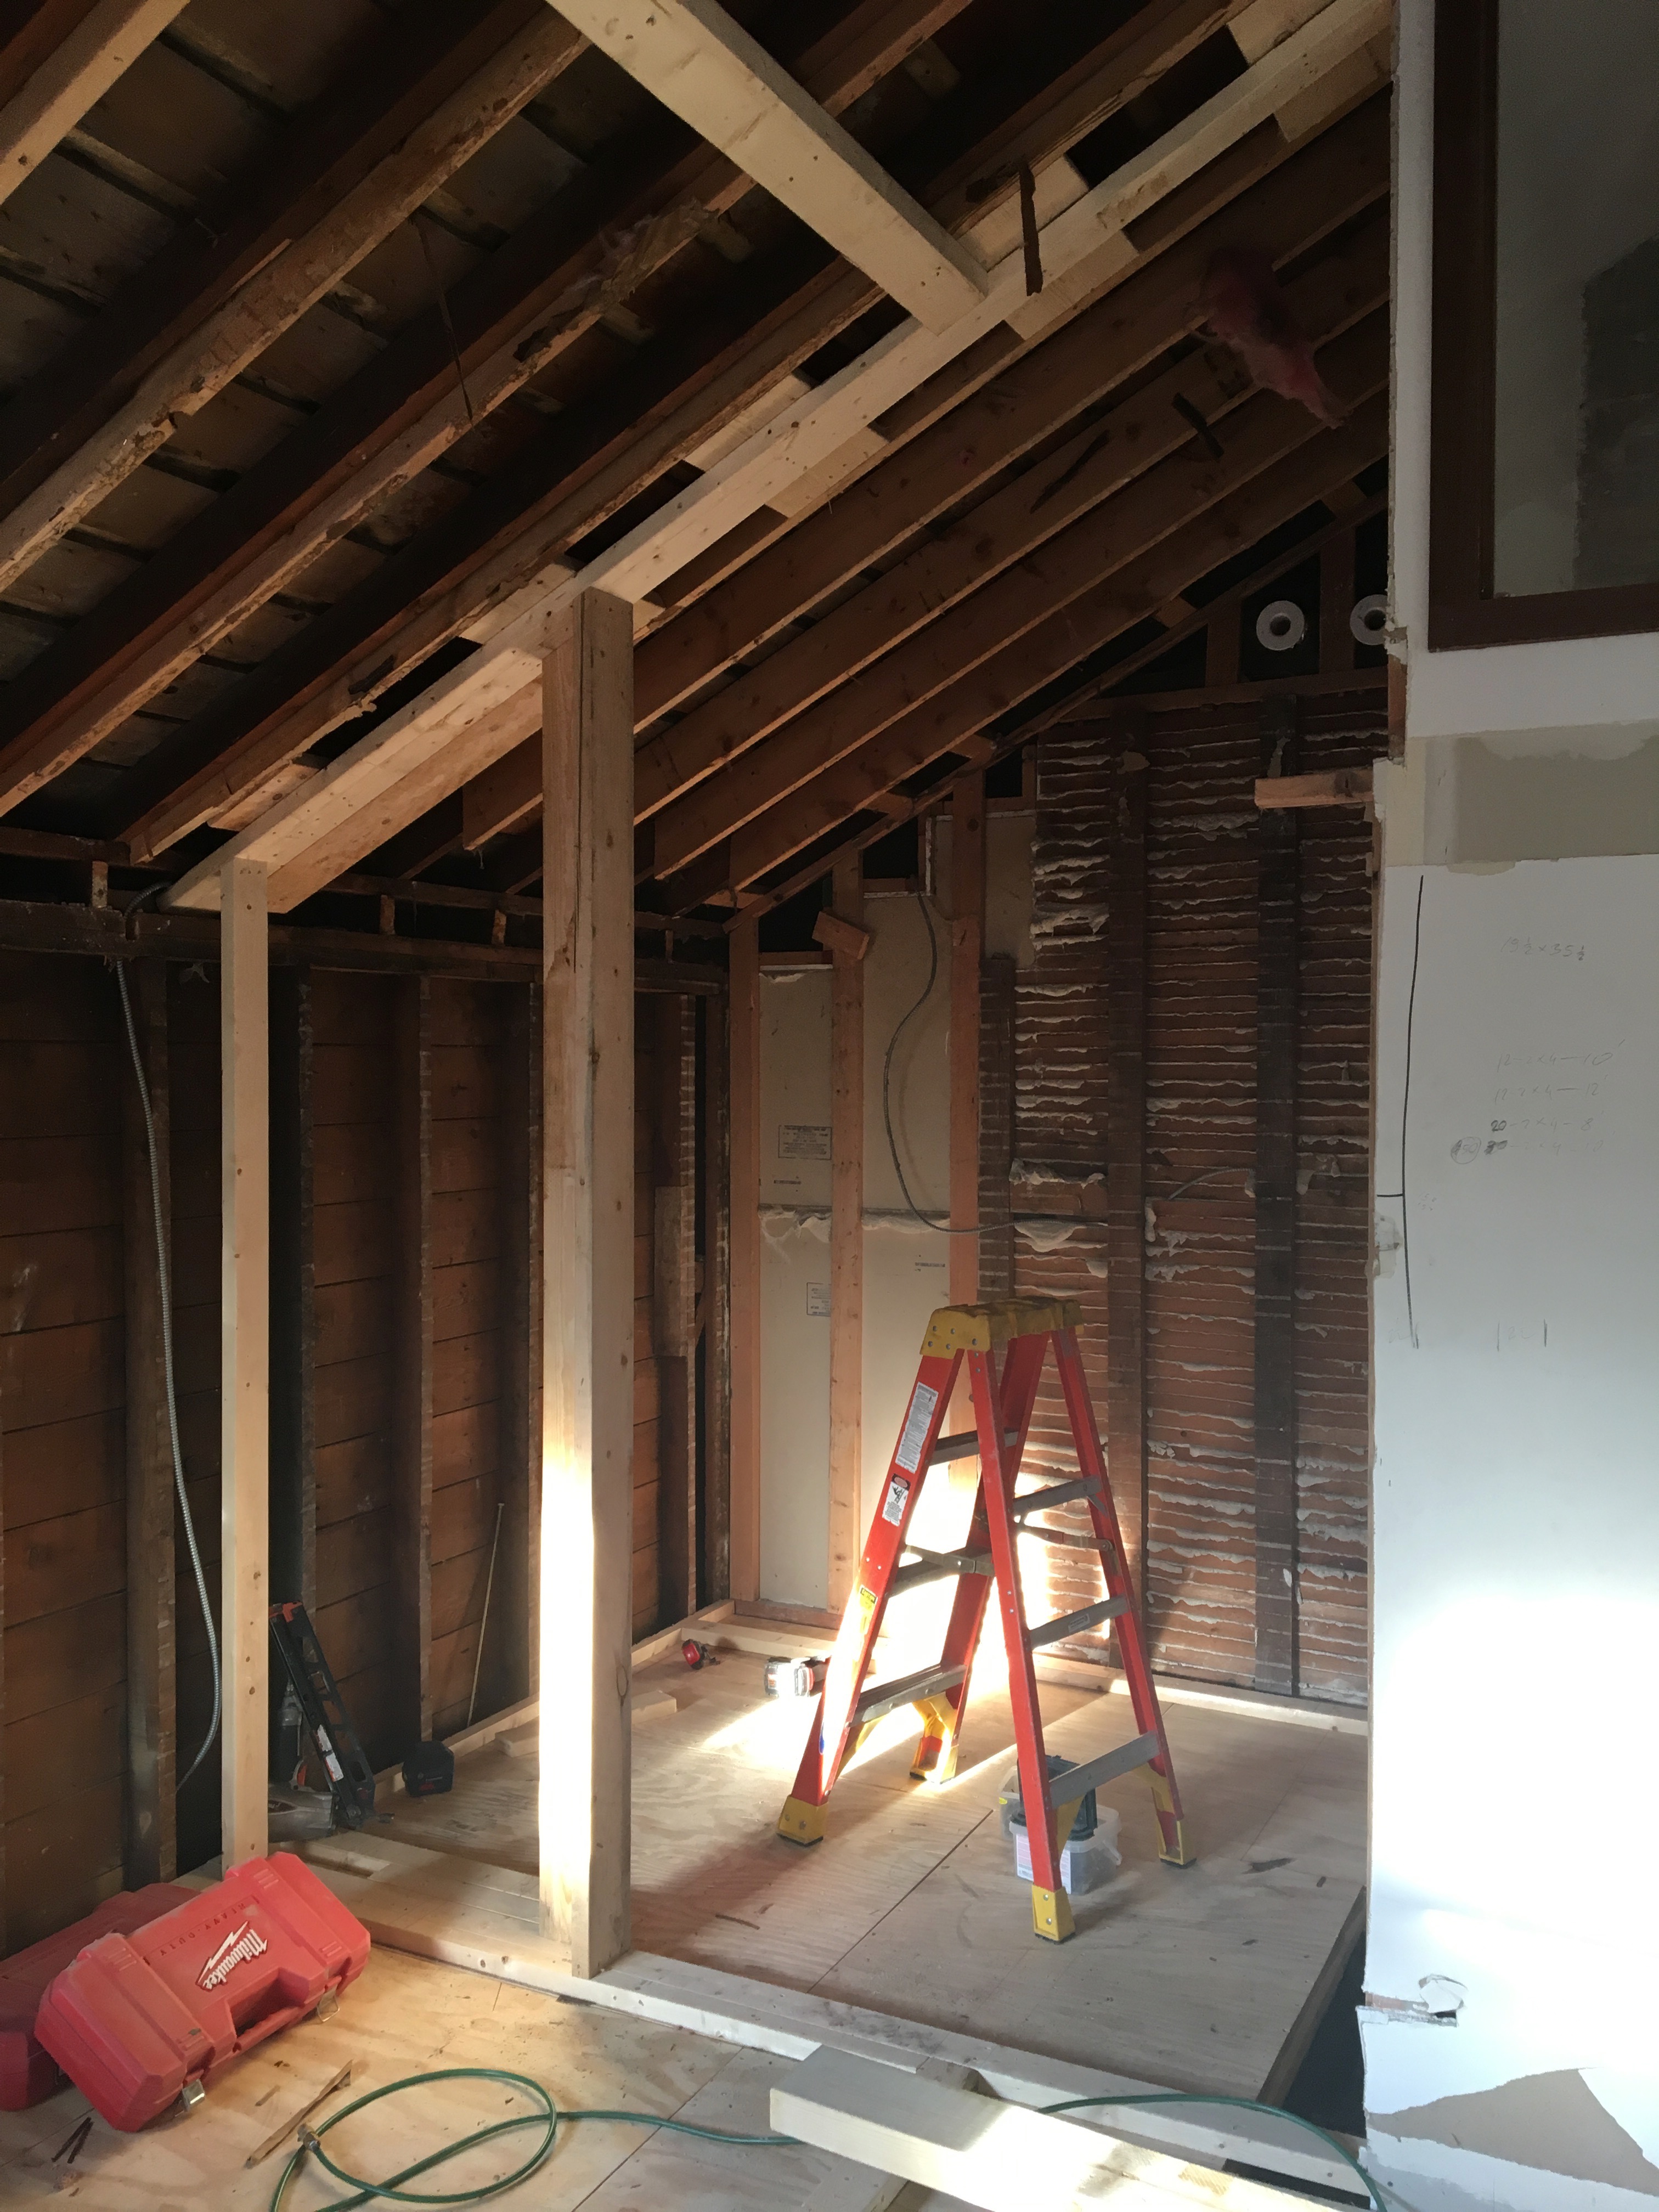
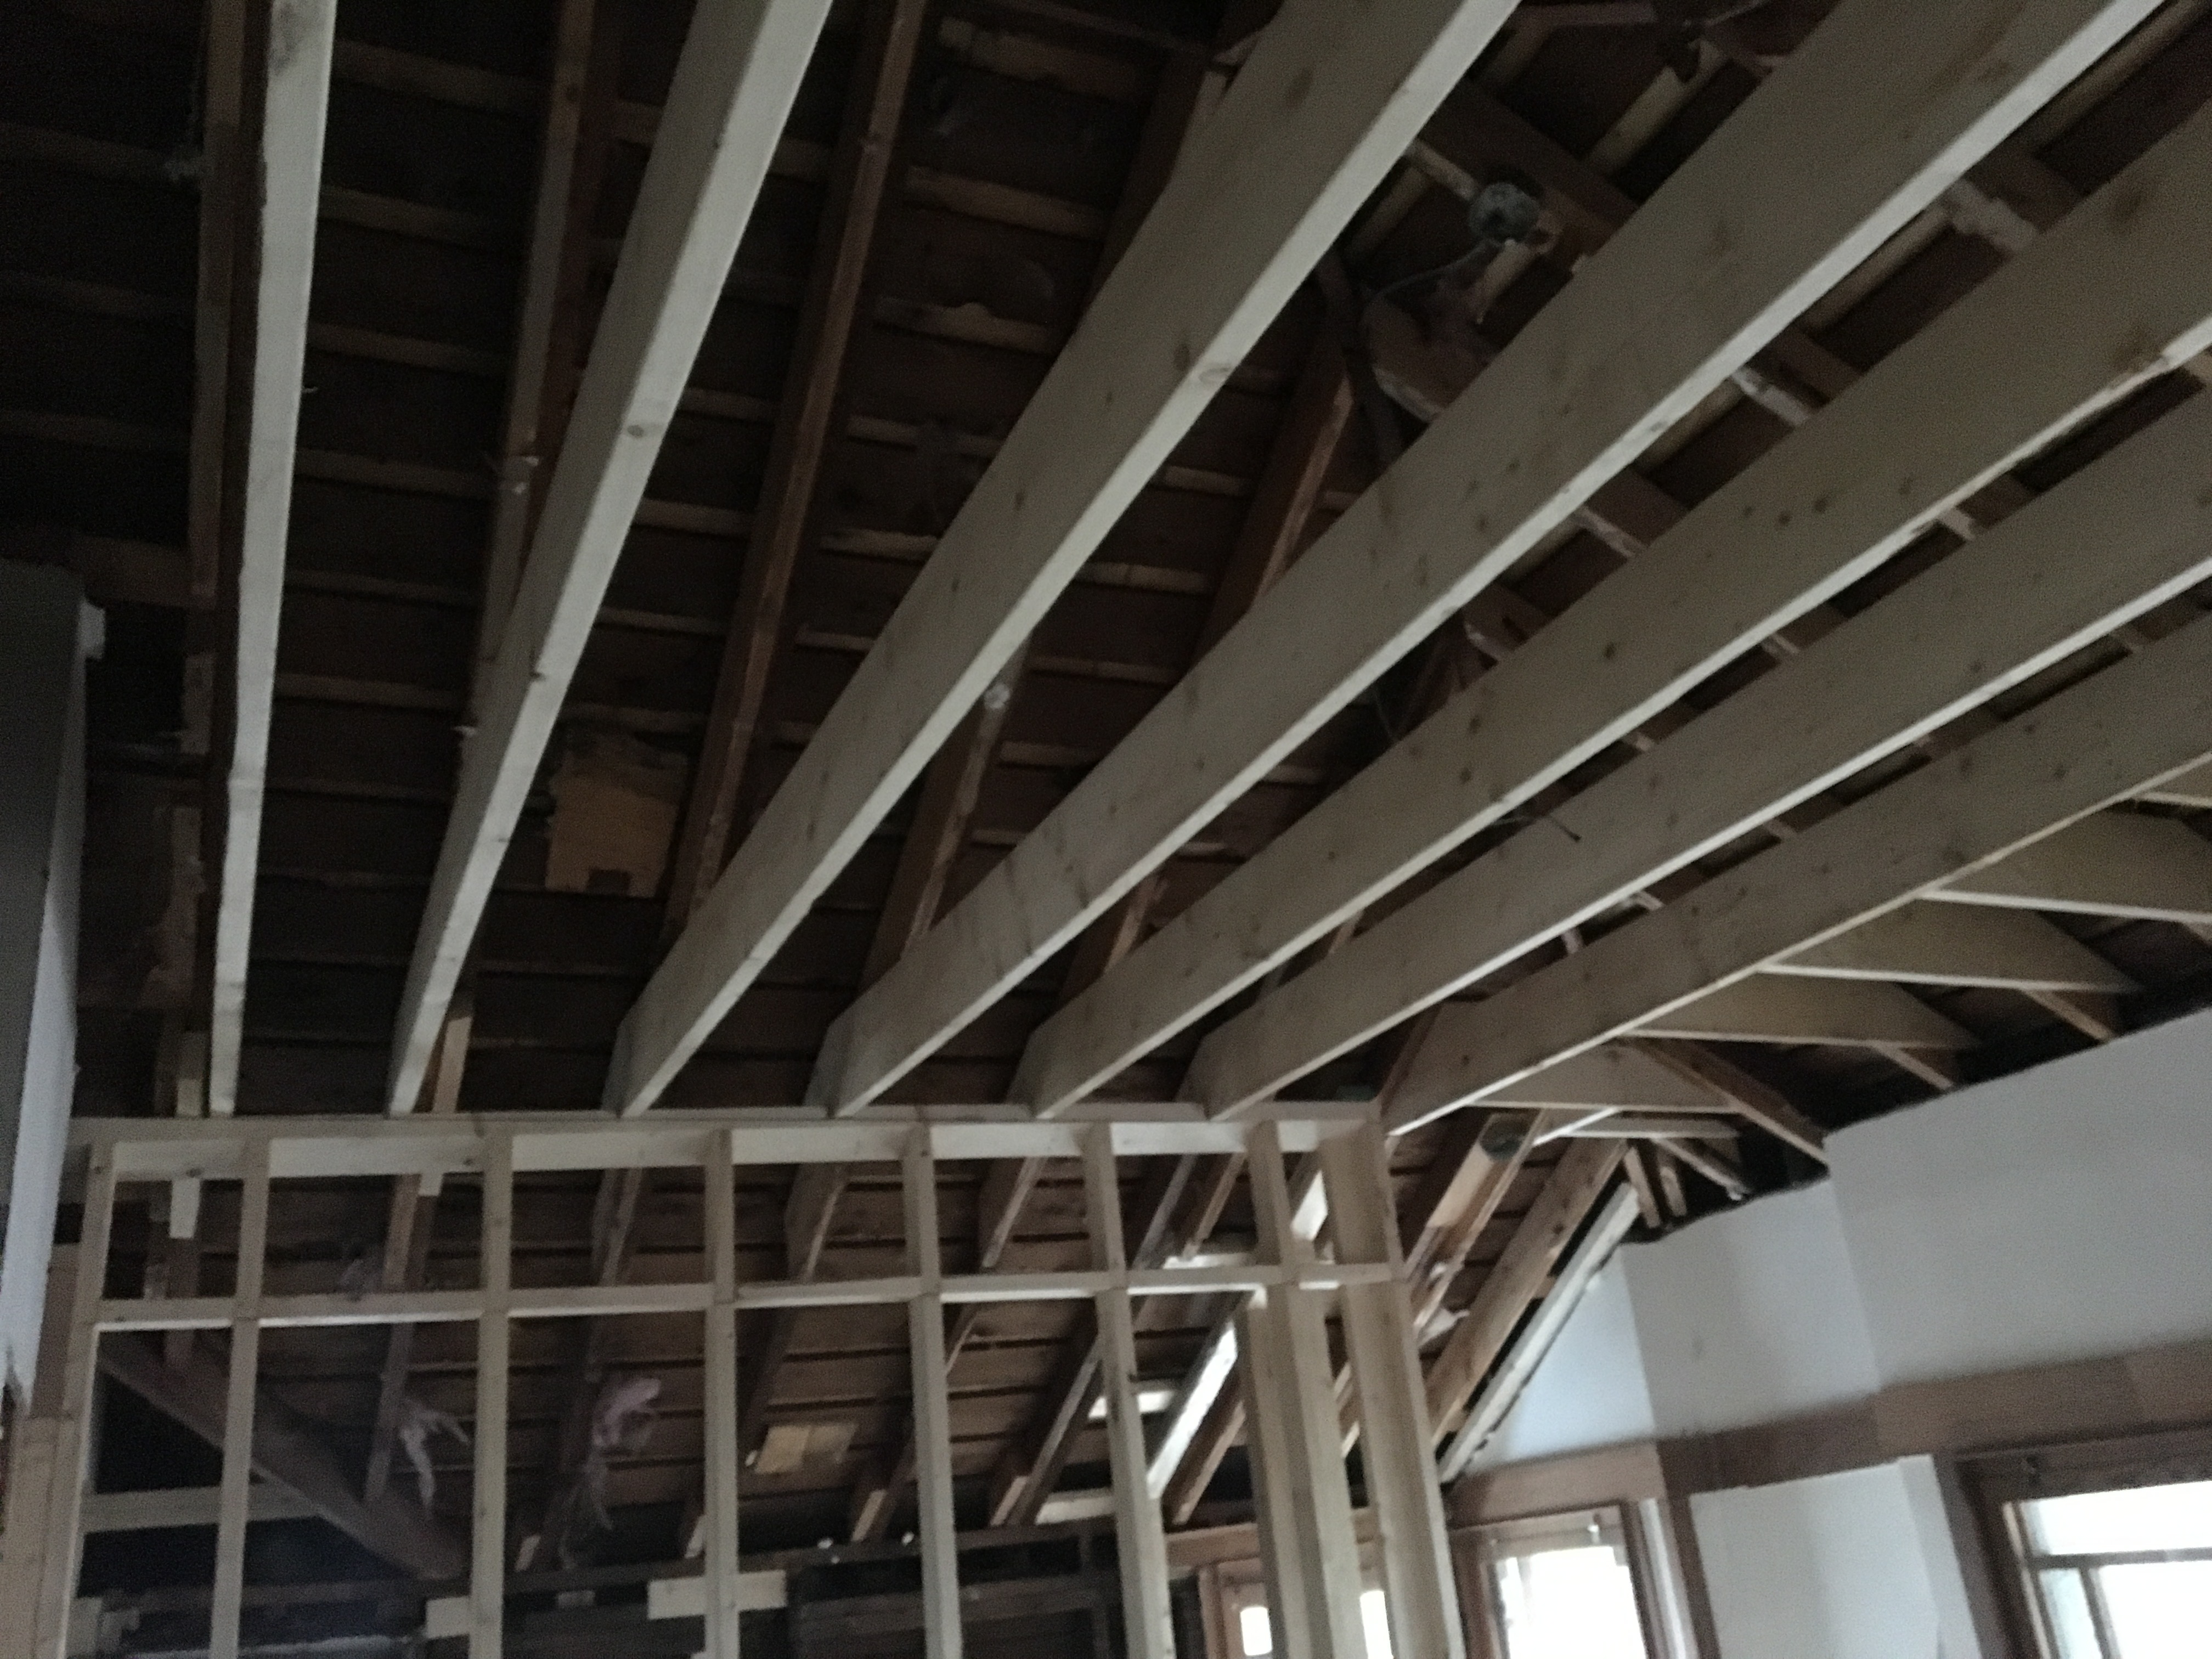
The framing and floor leveling for the second floor is now complete. The carpenters have also repaired many structural problems.
There has been progress on many fronts as the project races to completion (our extended work permit expires on June 30th).
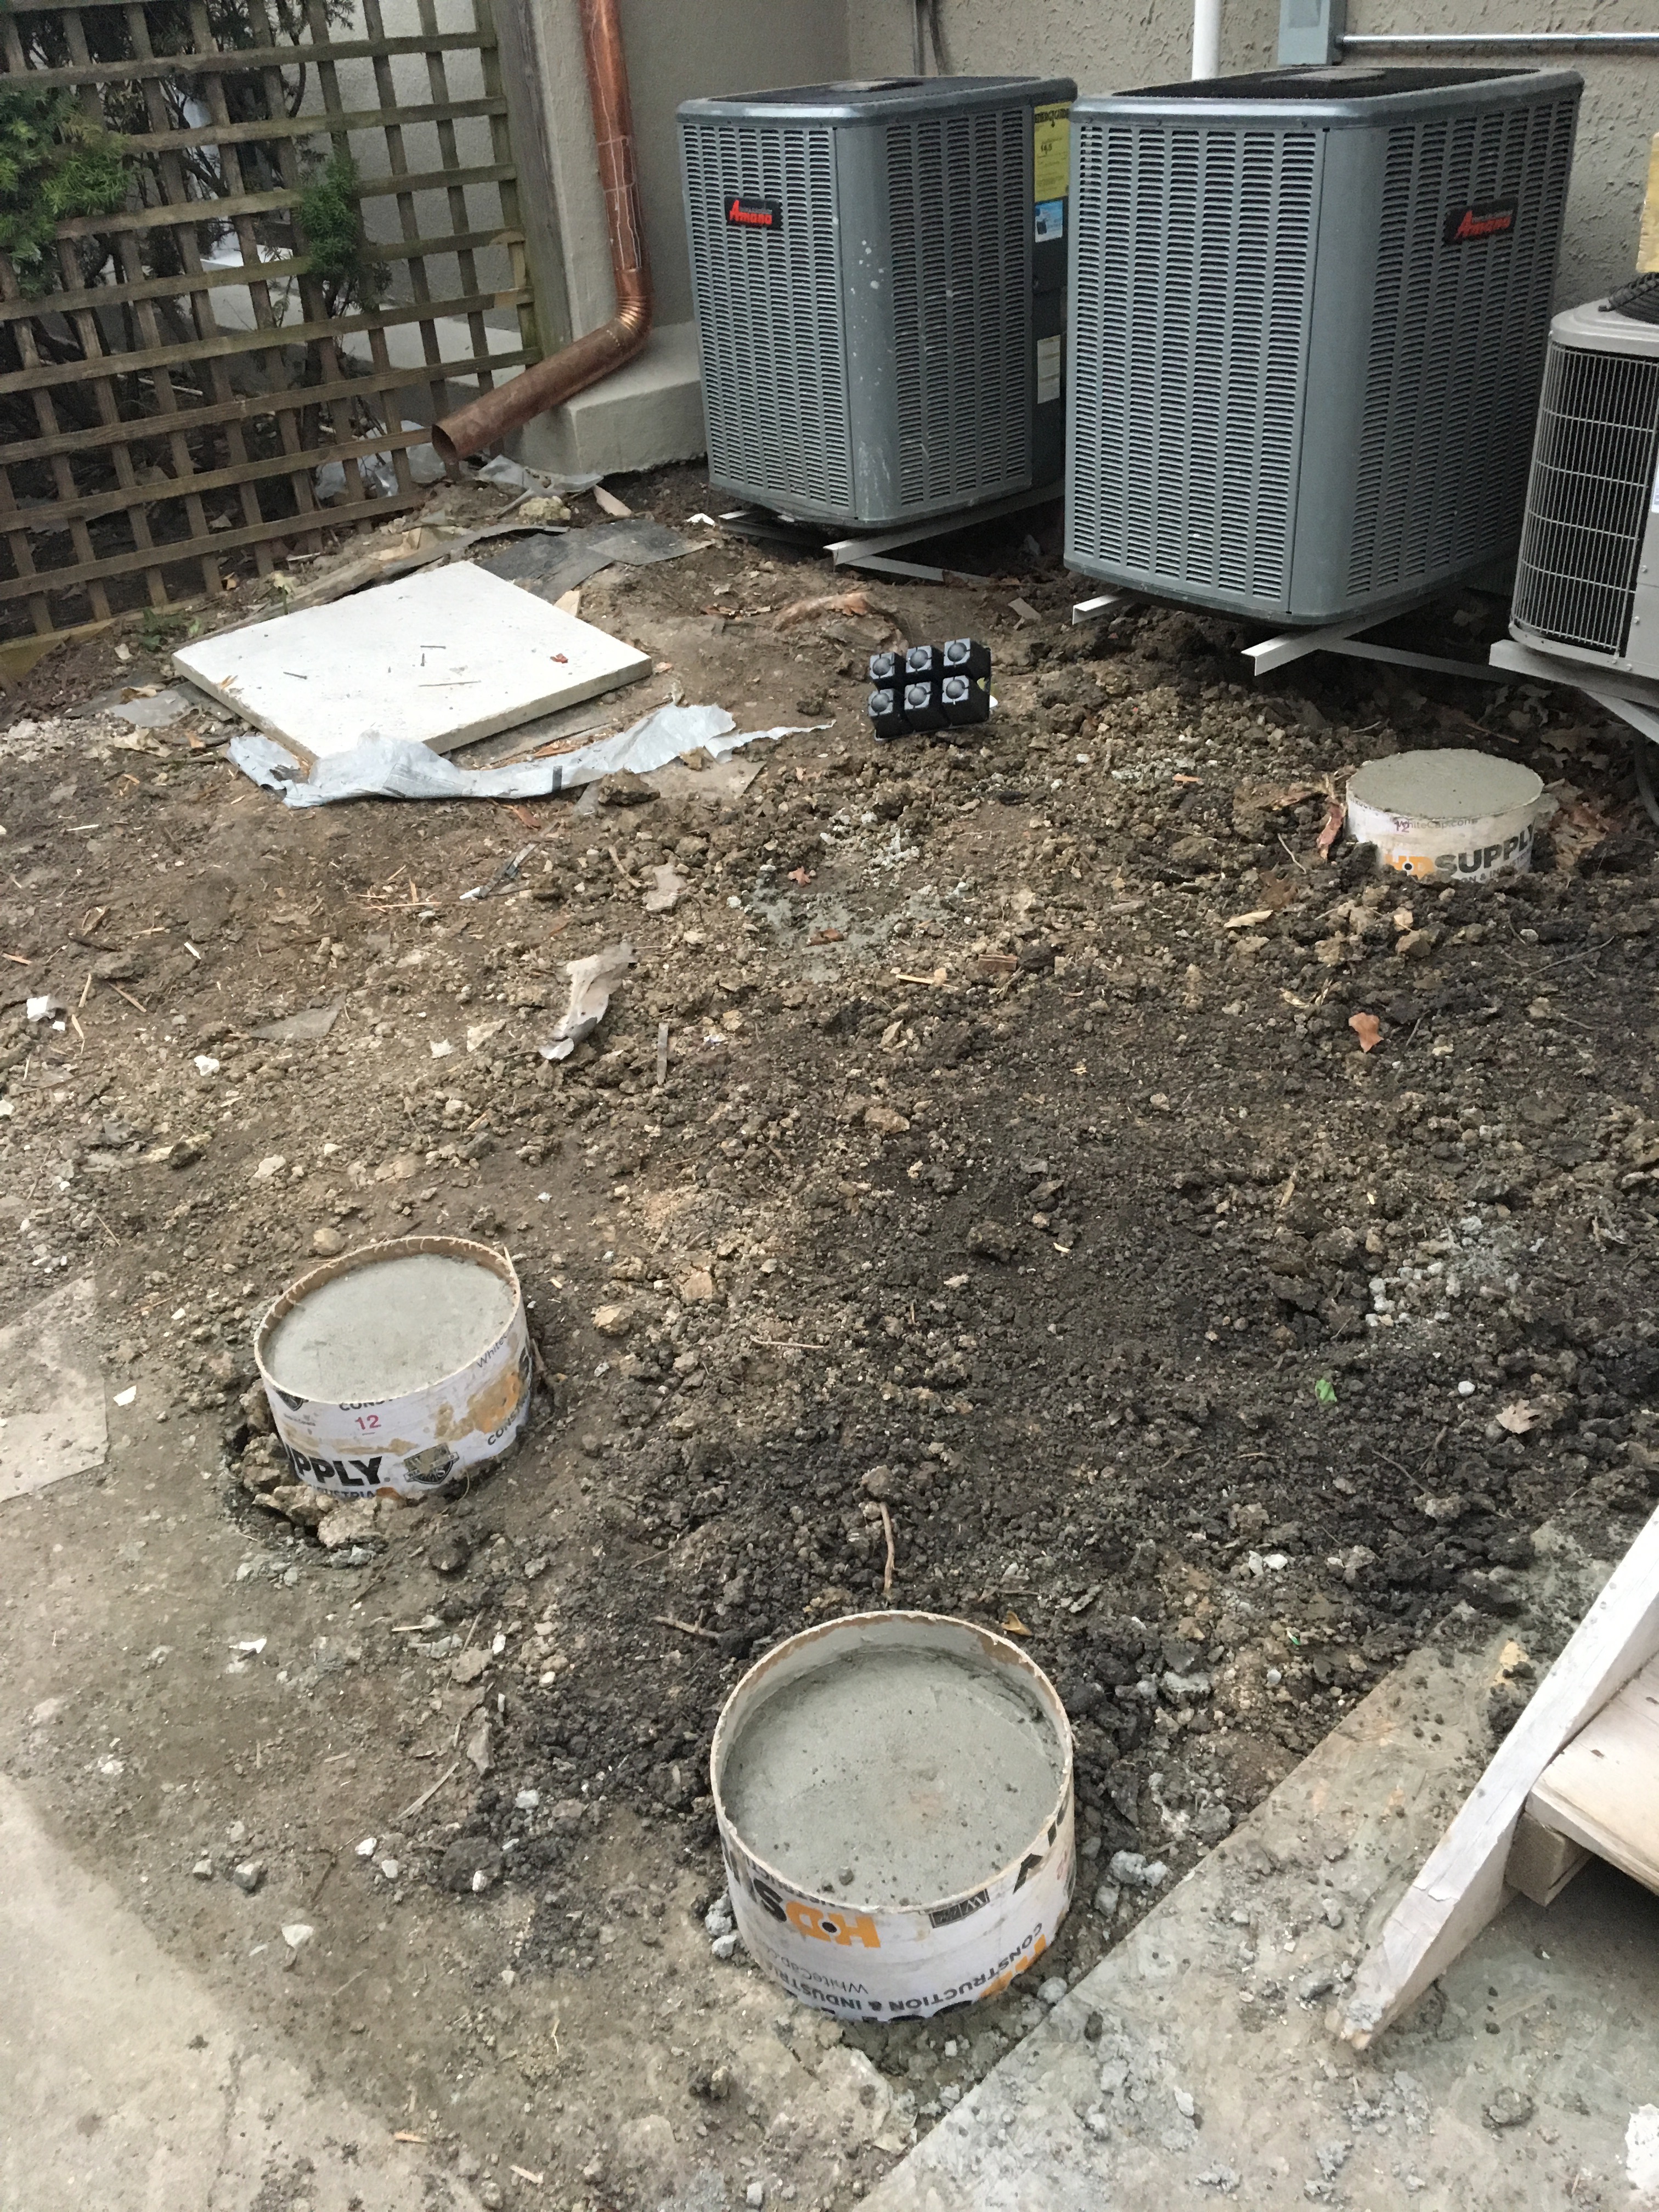
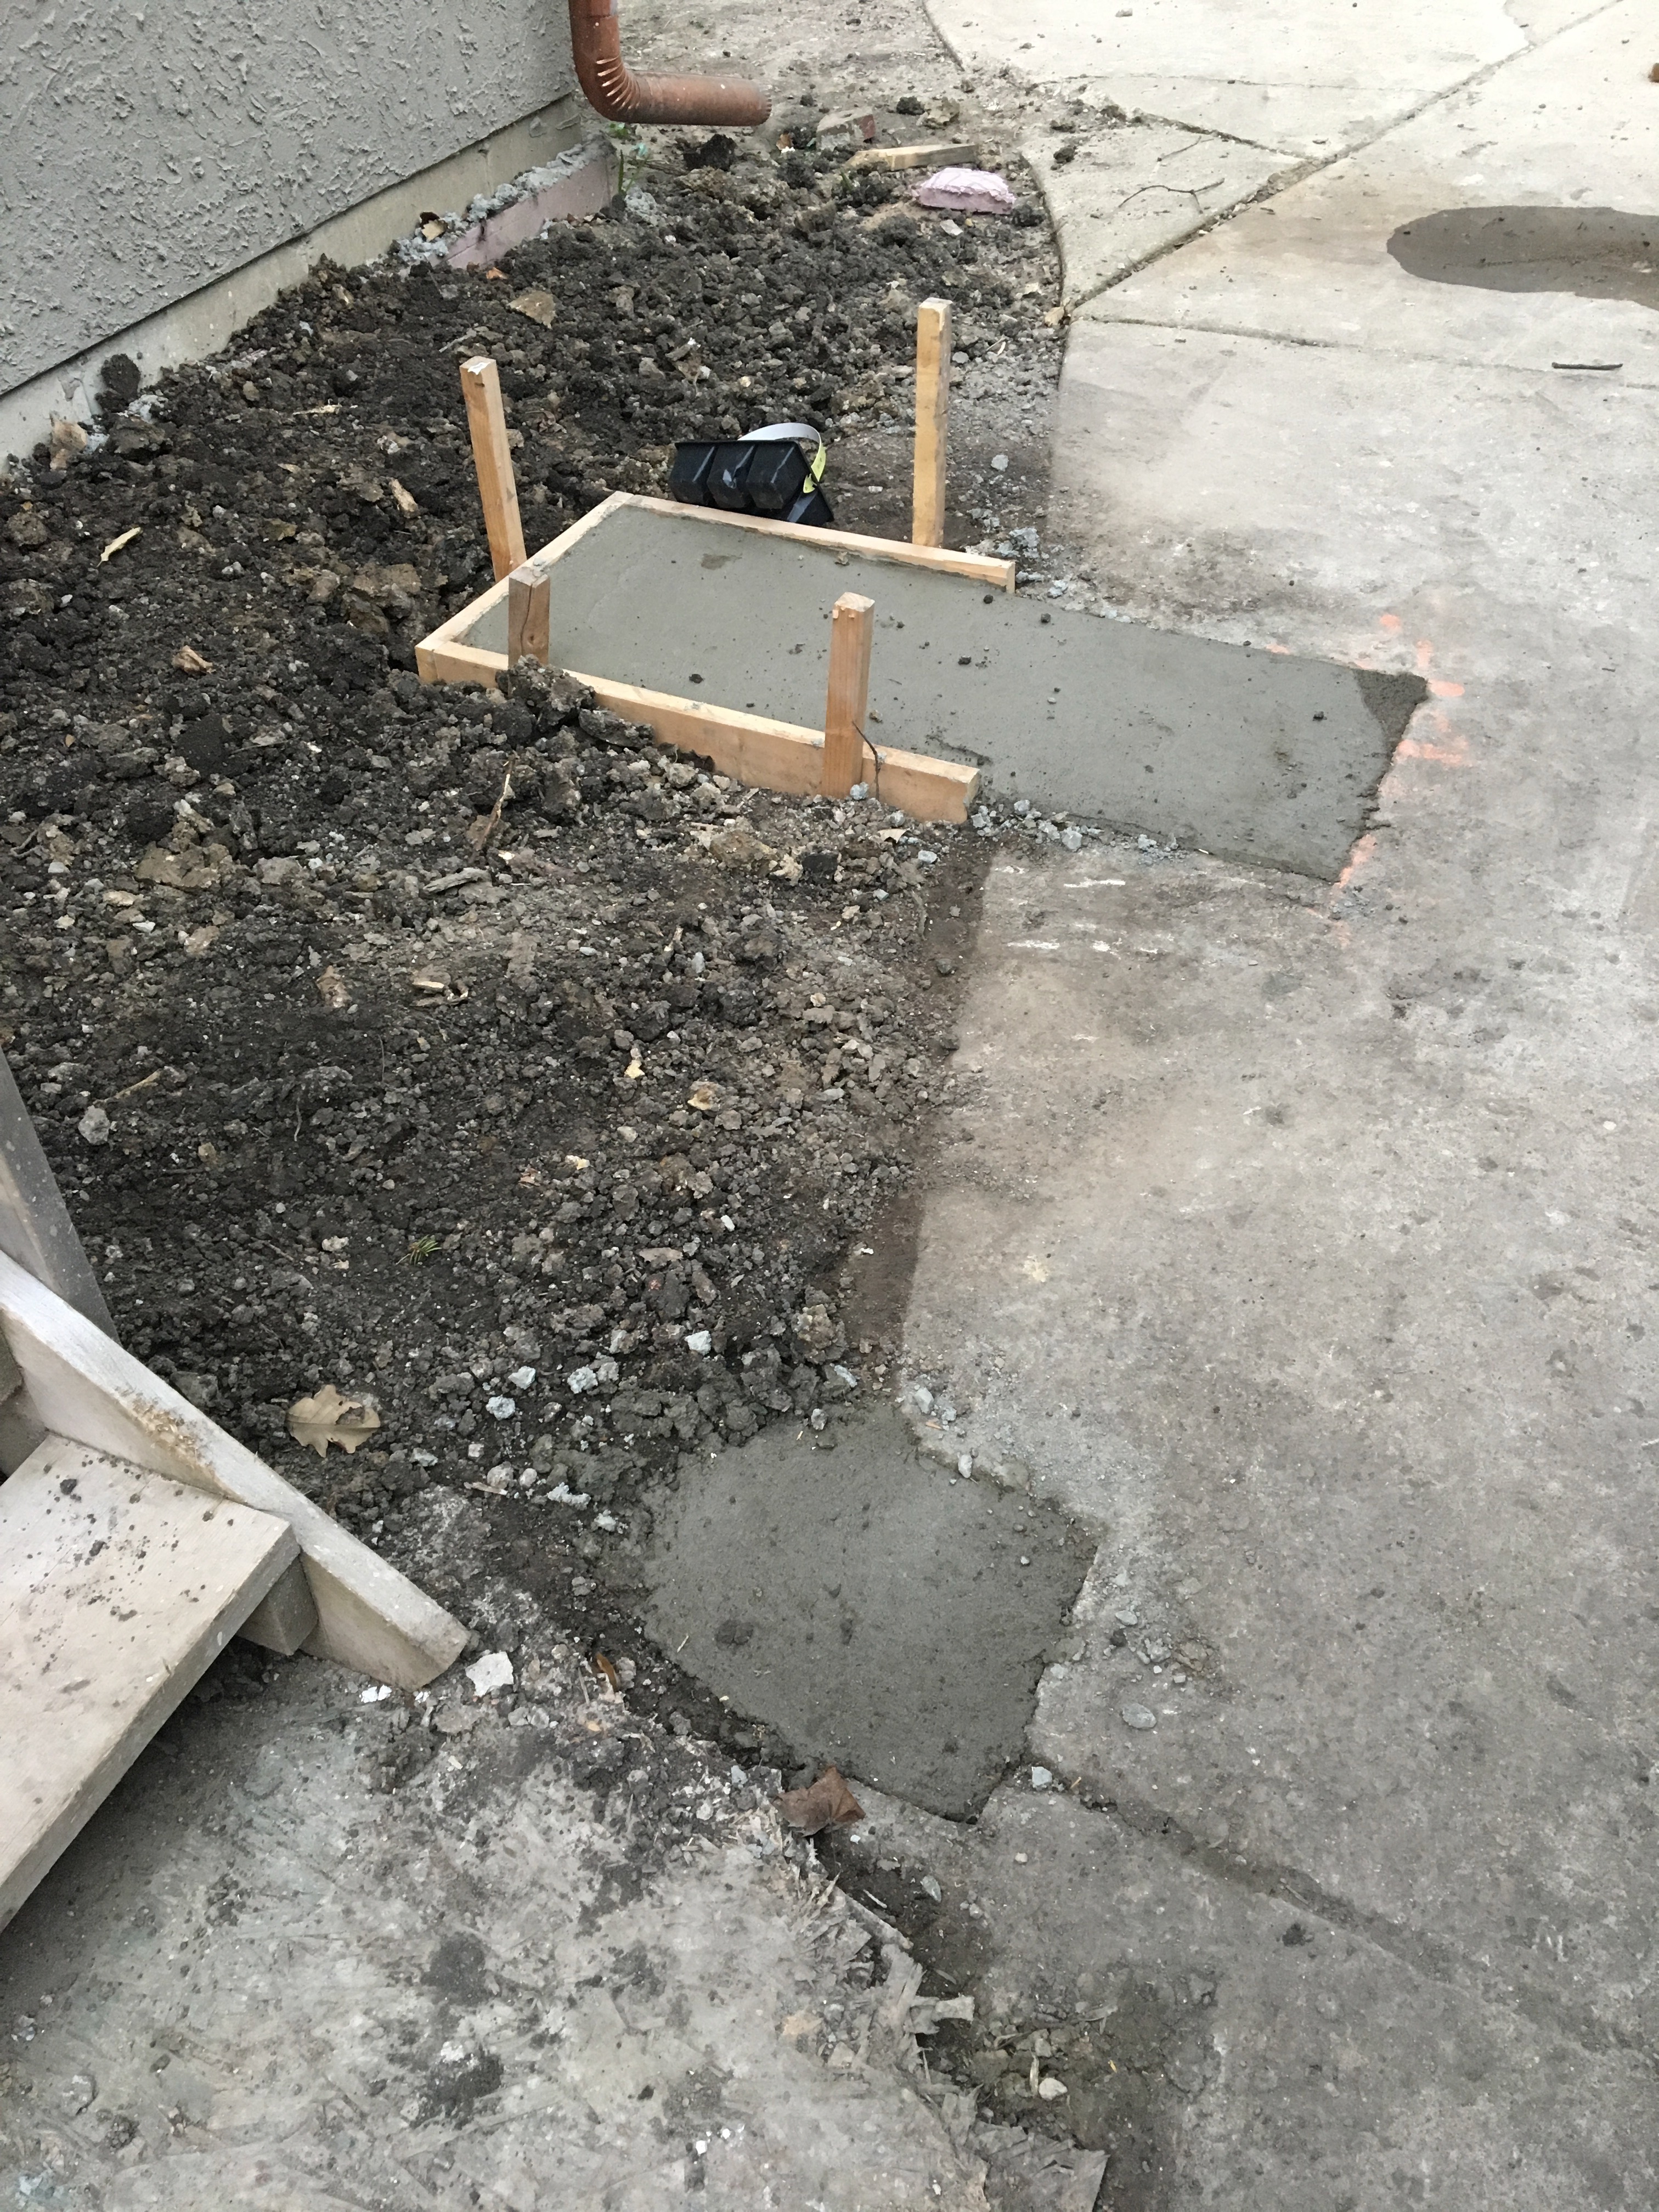
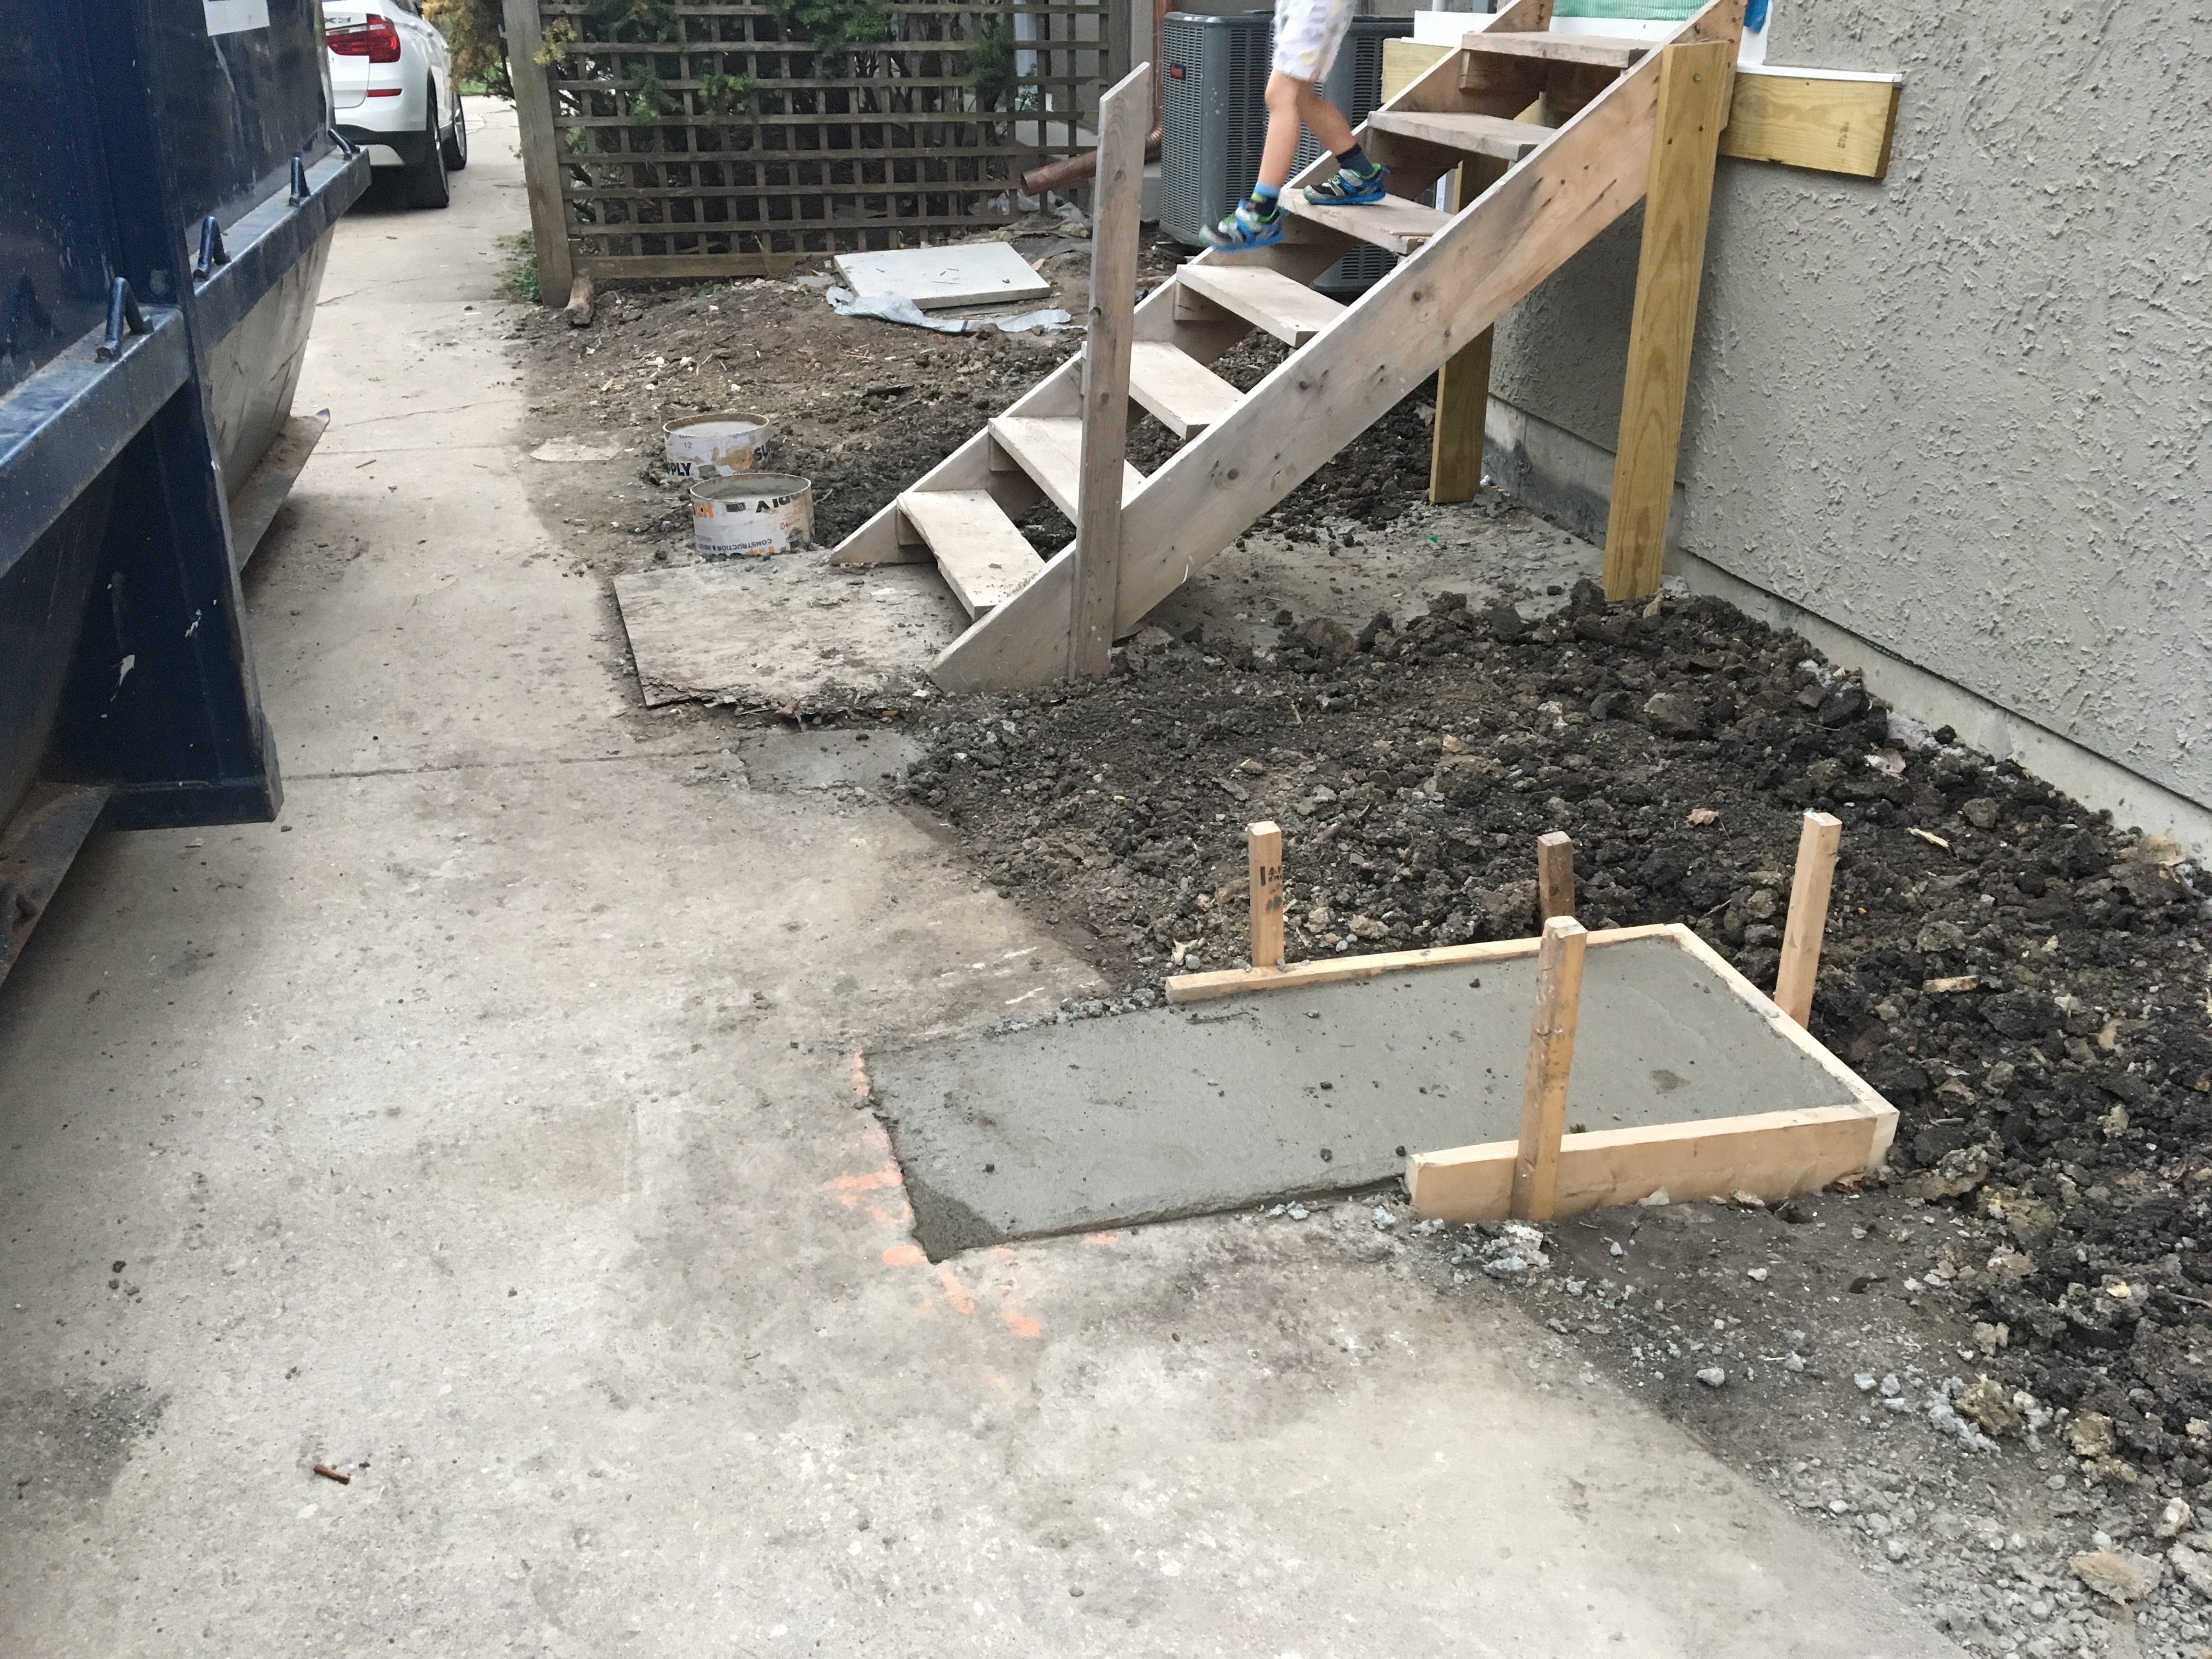
Concrete footings for our deck have been installed. (I hope they build this deck soon because we’re getting tired of taking the dirty, rickety temporary stairs up to our back door.)
The entire master bedroom floor has been torn out. This was originally not in the scope of the project, but after looking at the hallway and the bathrooms, it just made sense to do this as well.
The floor joists supporting the old bathroom (above the old kitchen) were completely destroyed. The entire floor had to be re-built.
The LVL to support the outside wall has been installed.
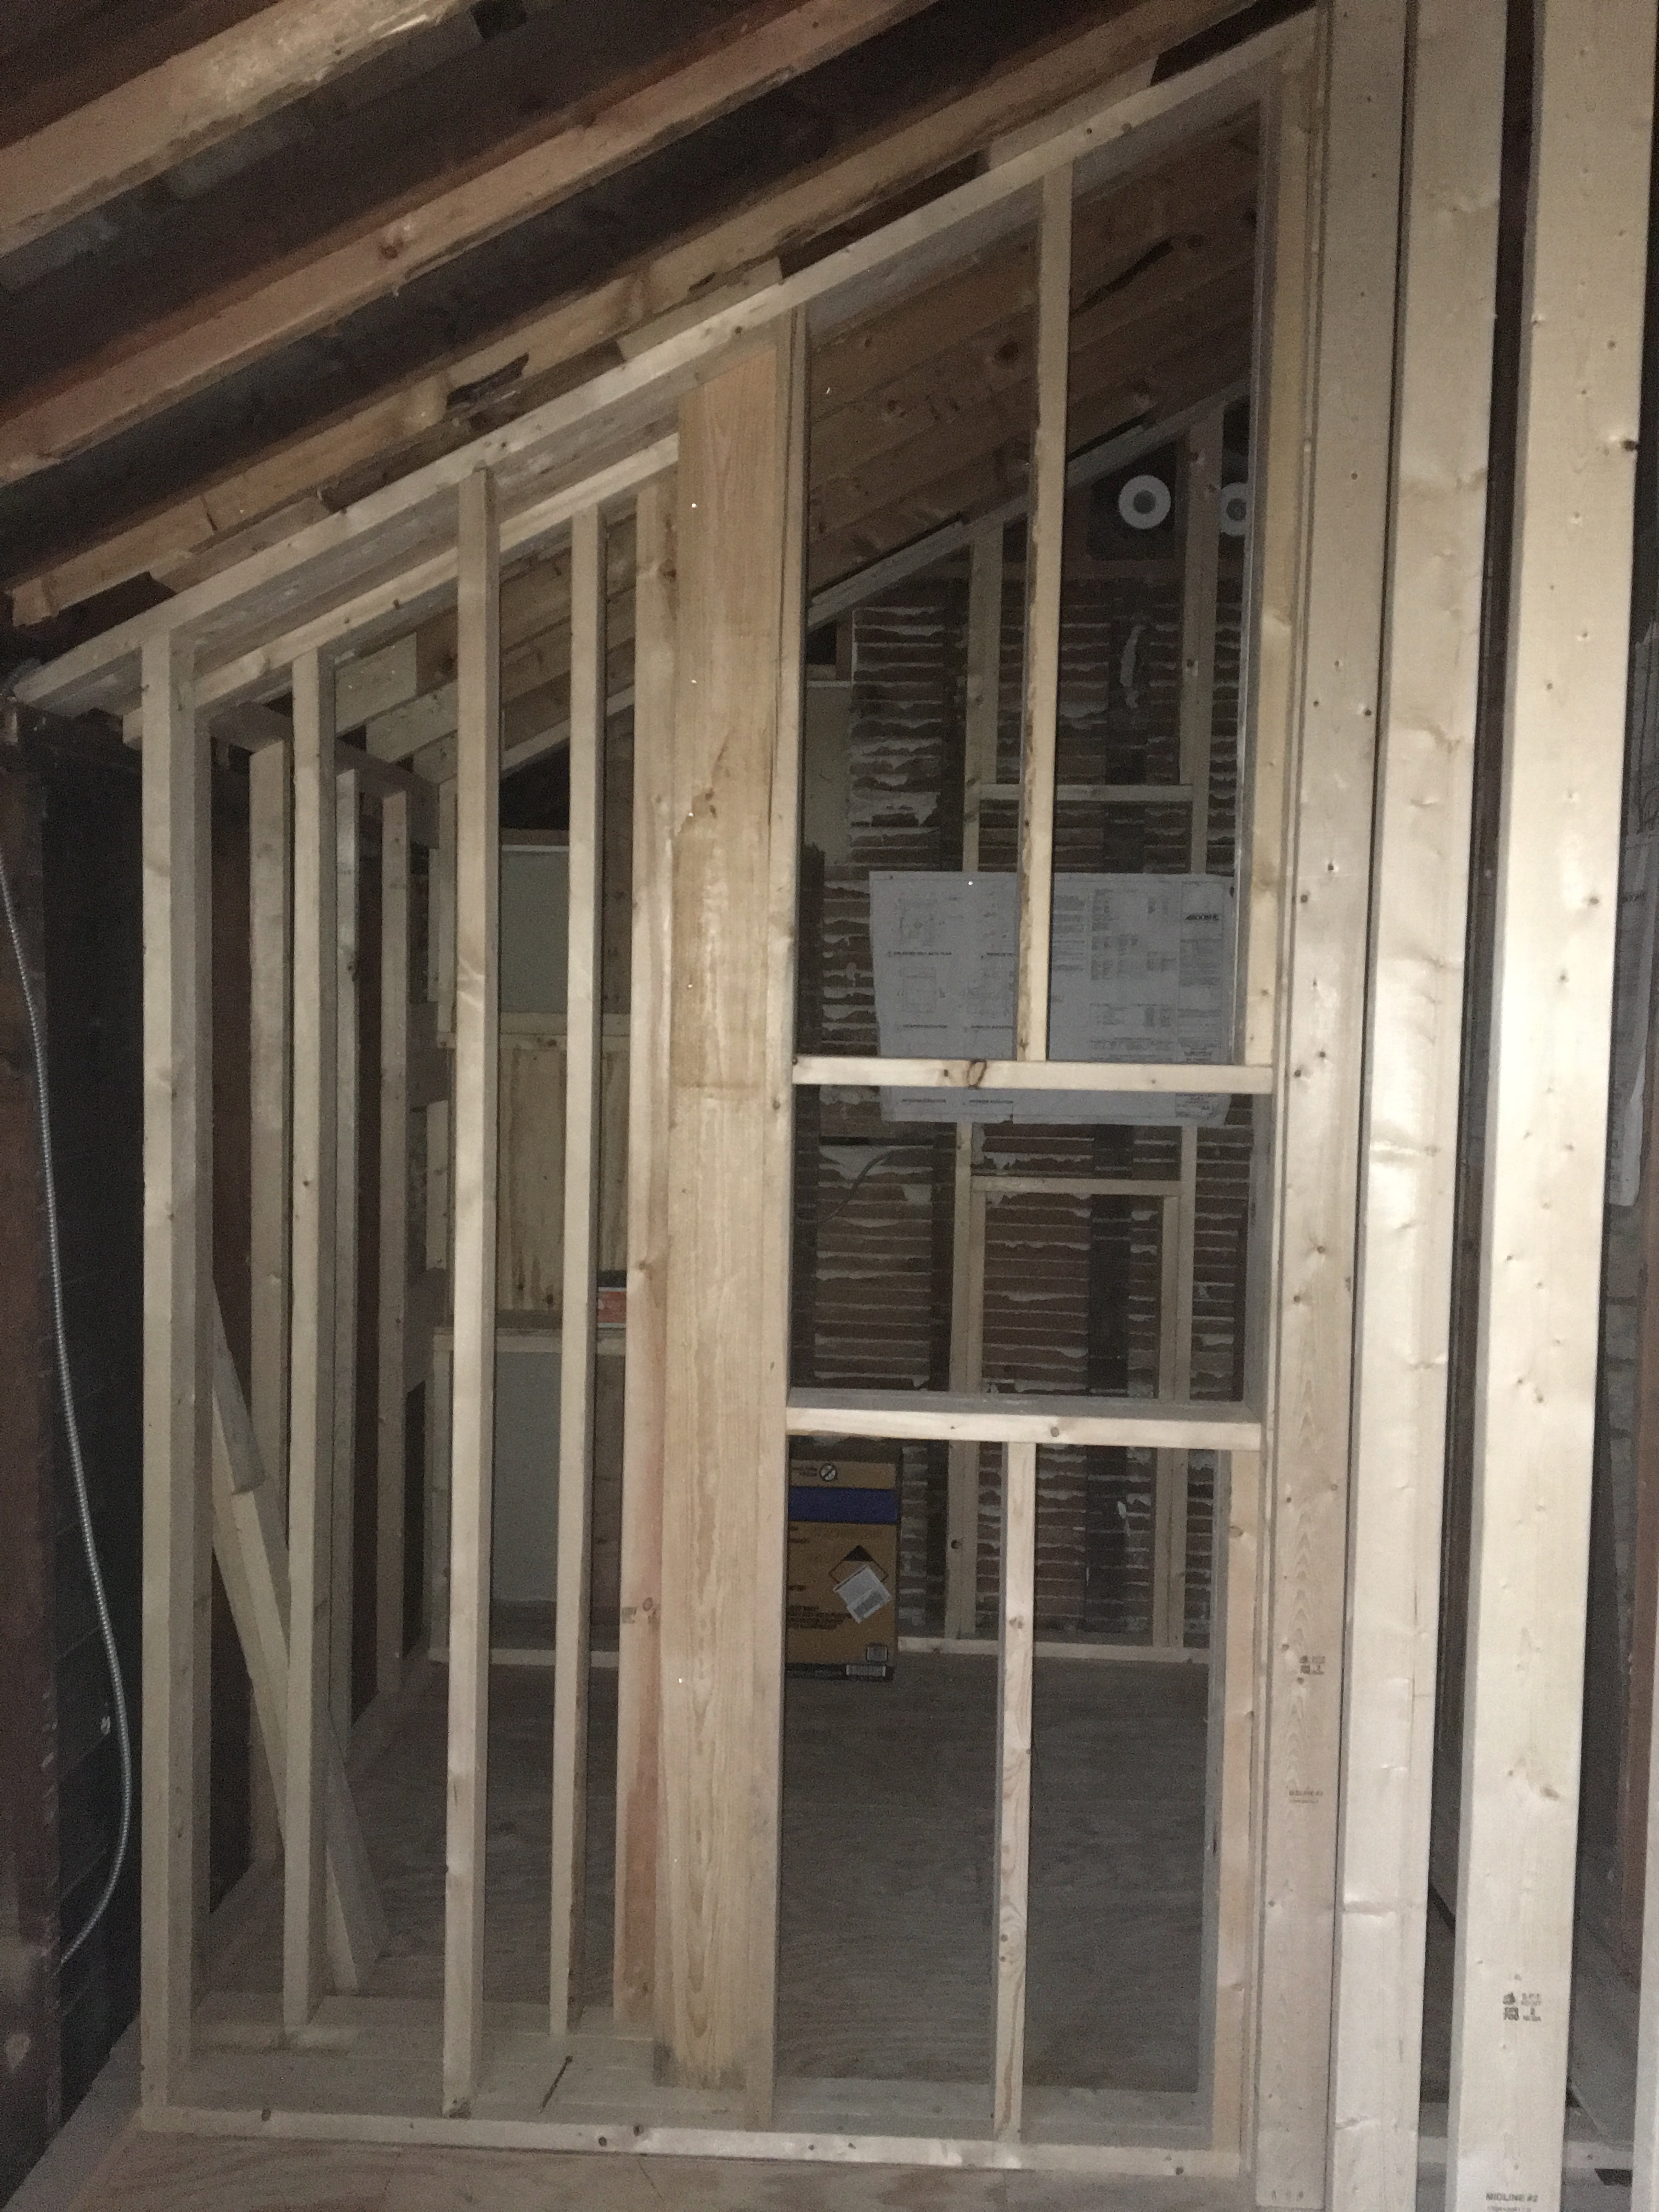
Here is the beginning of the framing for the hall bathroom.
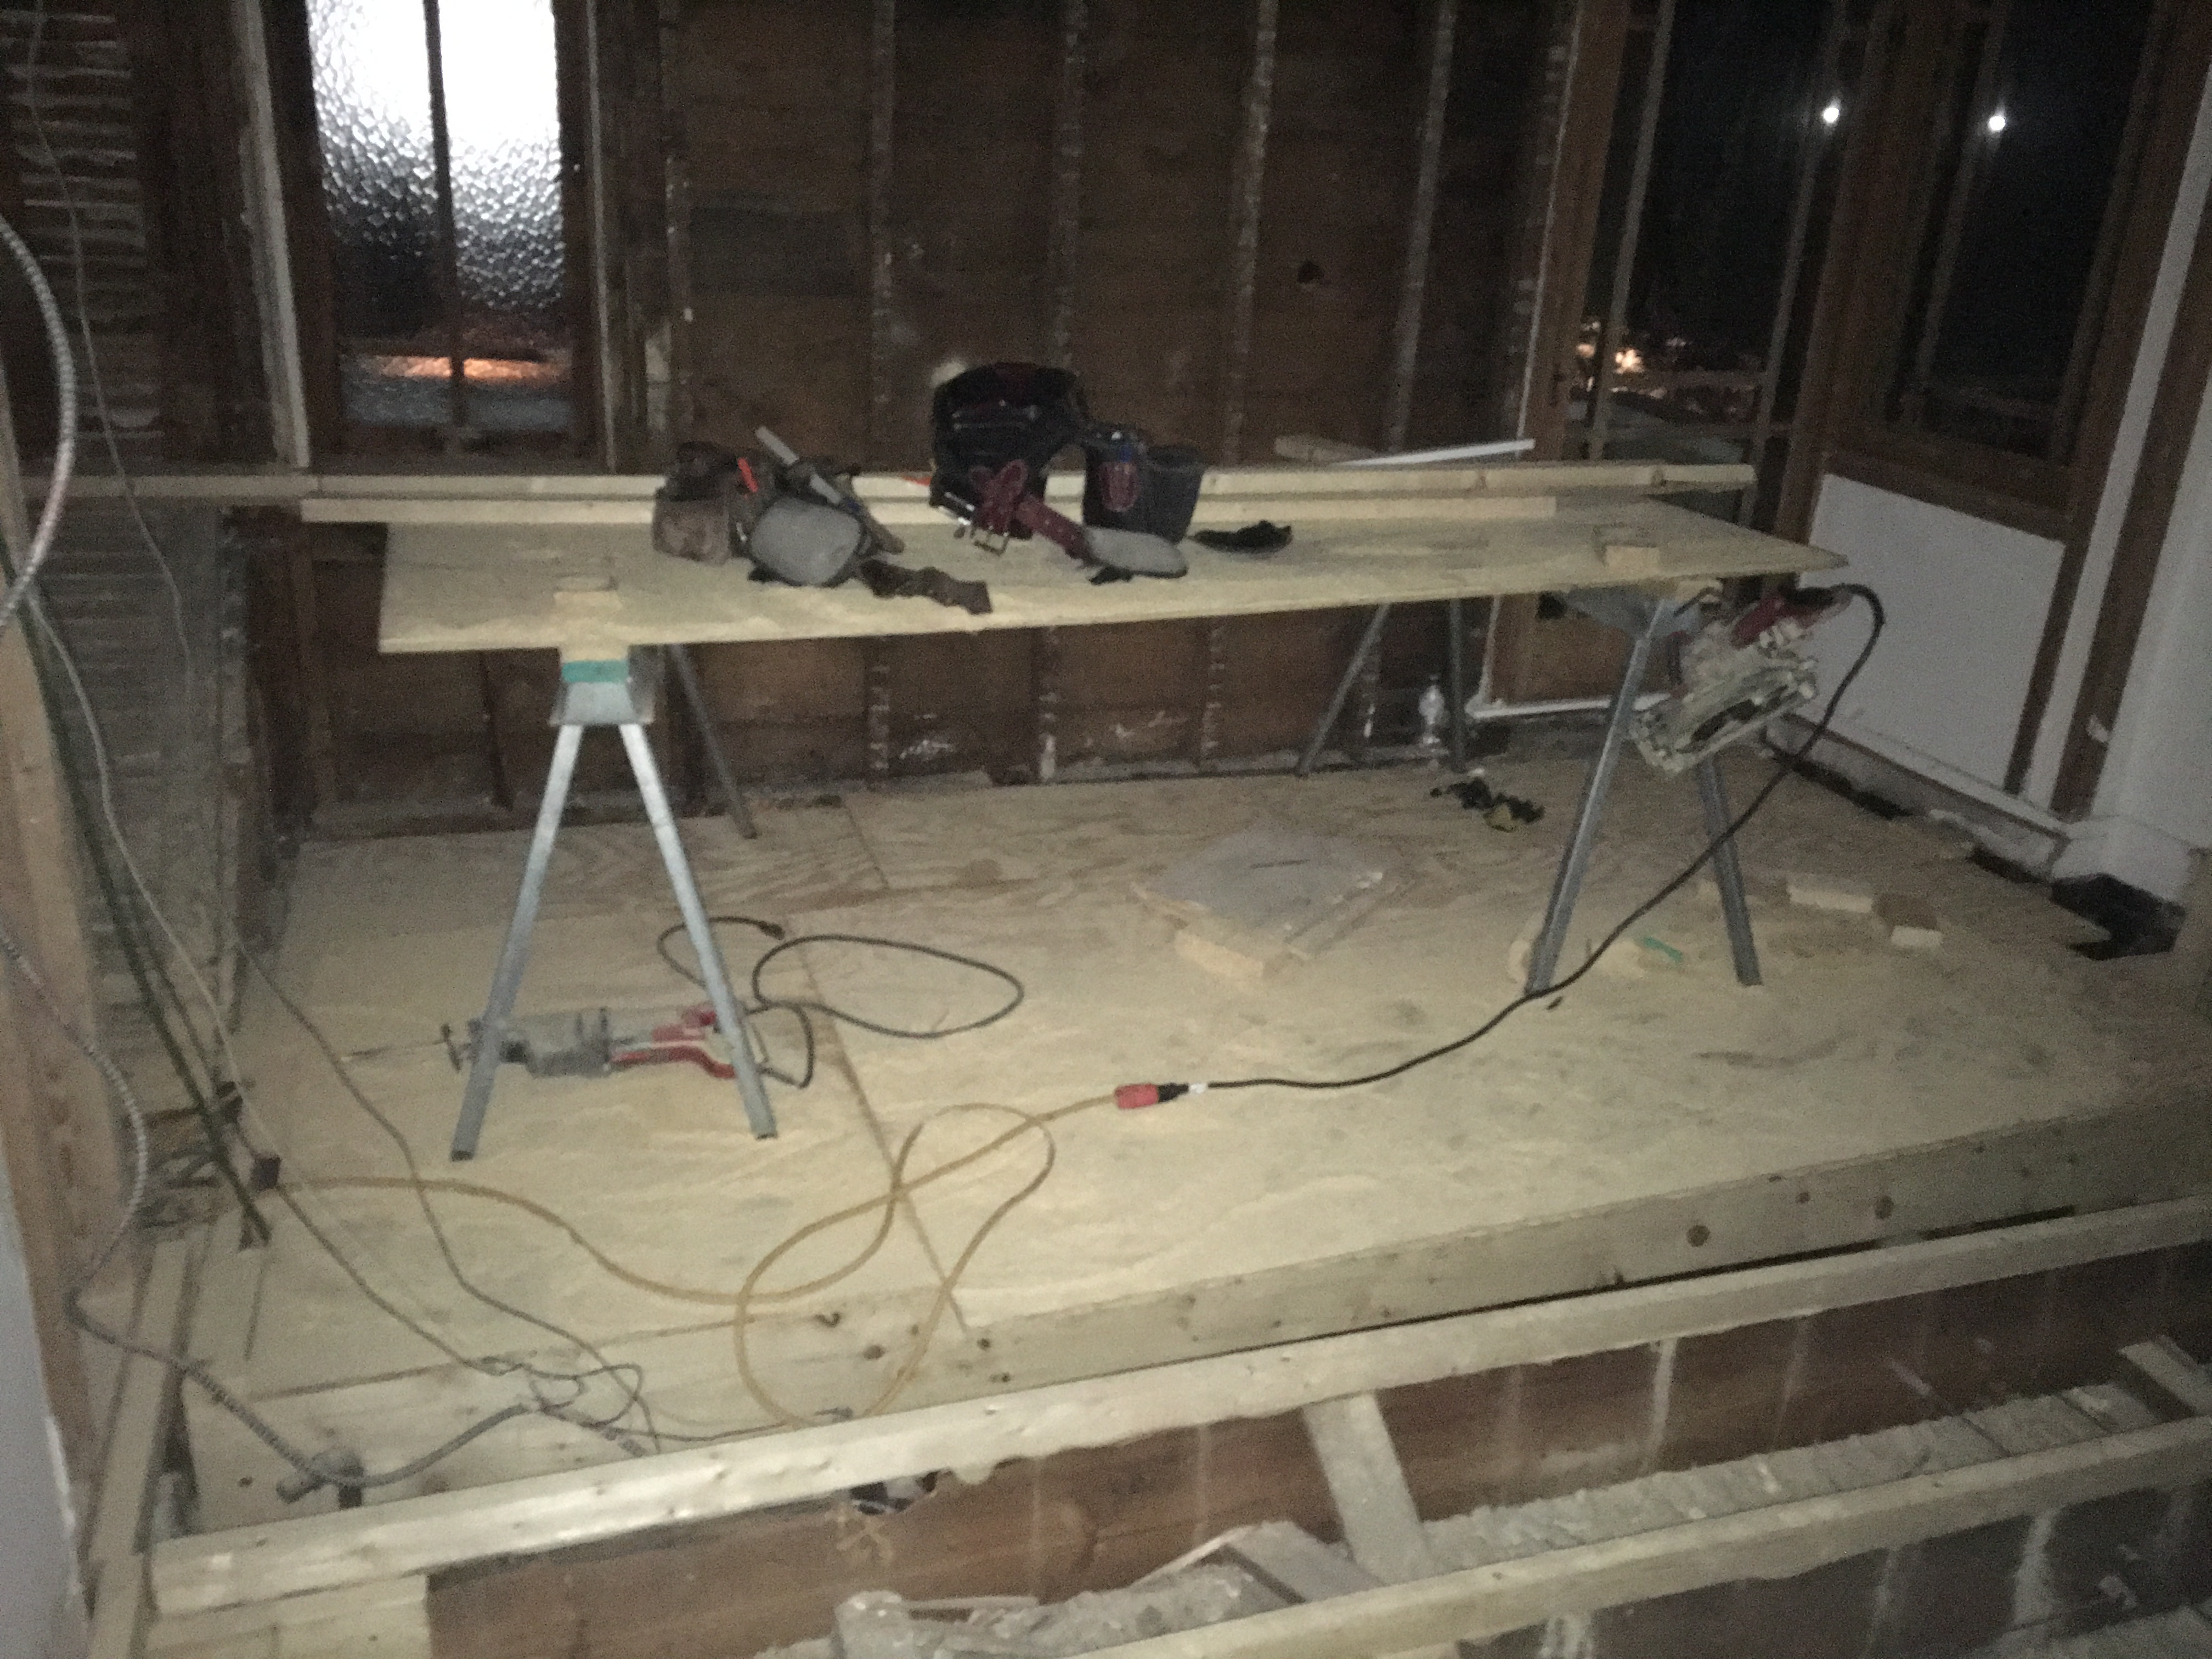
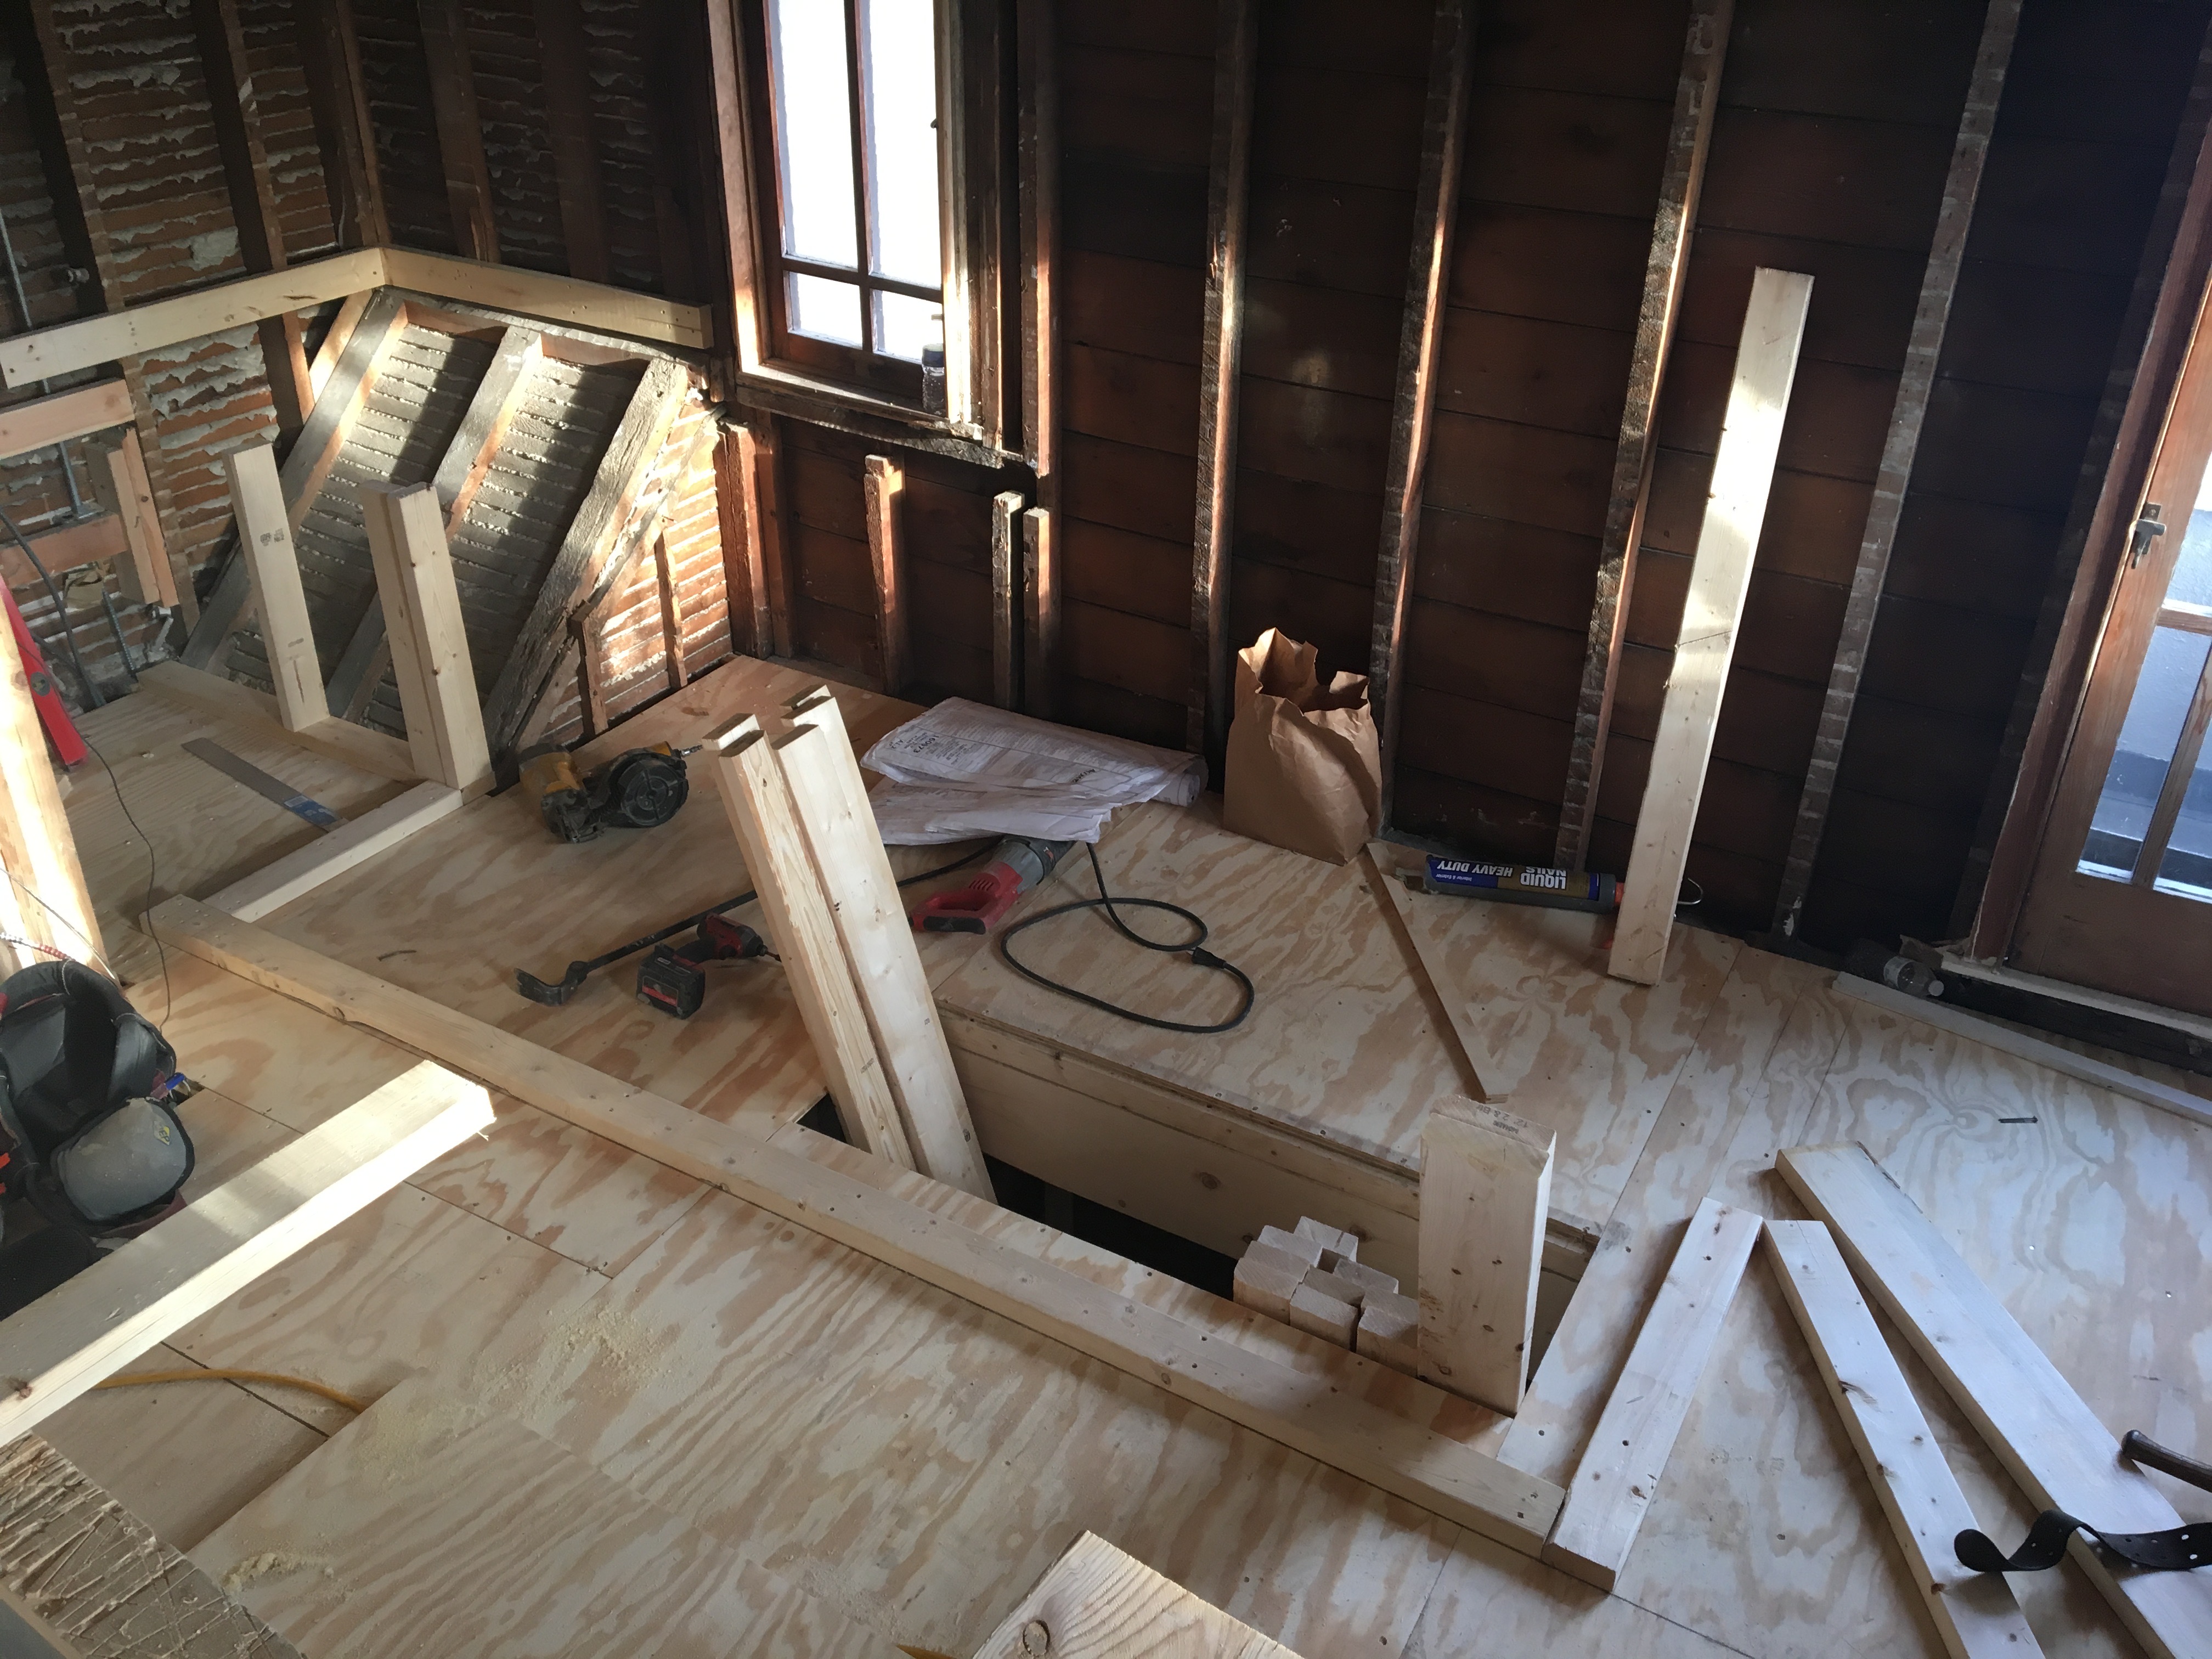
The carpenters came up with an ingenious way to get lumber upstairs. Just cut a hole in the floor and pass it up.
Beginning the framing of the master bathroom. Small but functional.

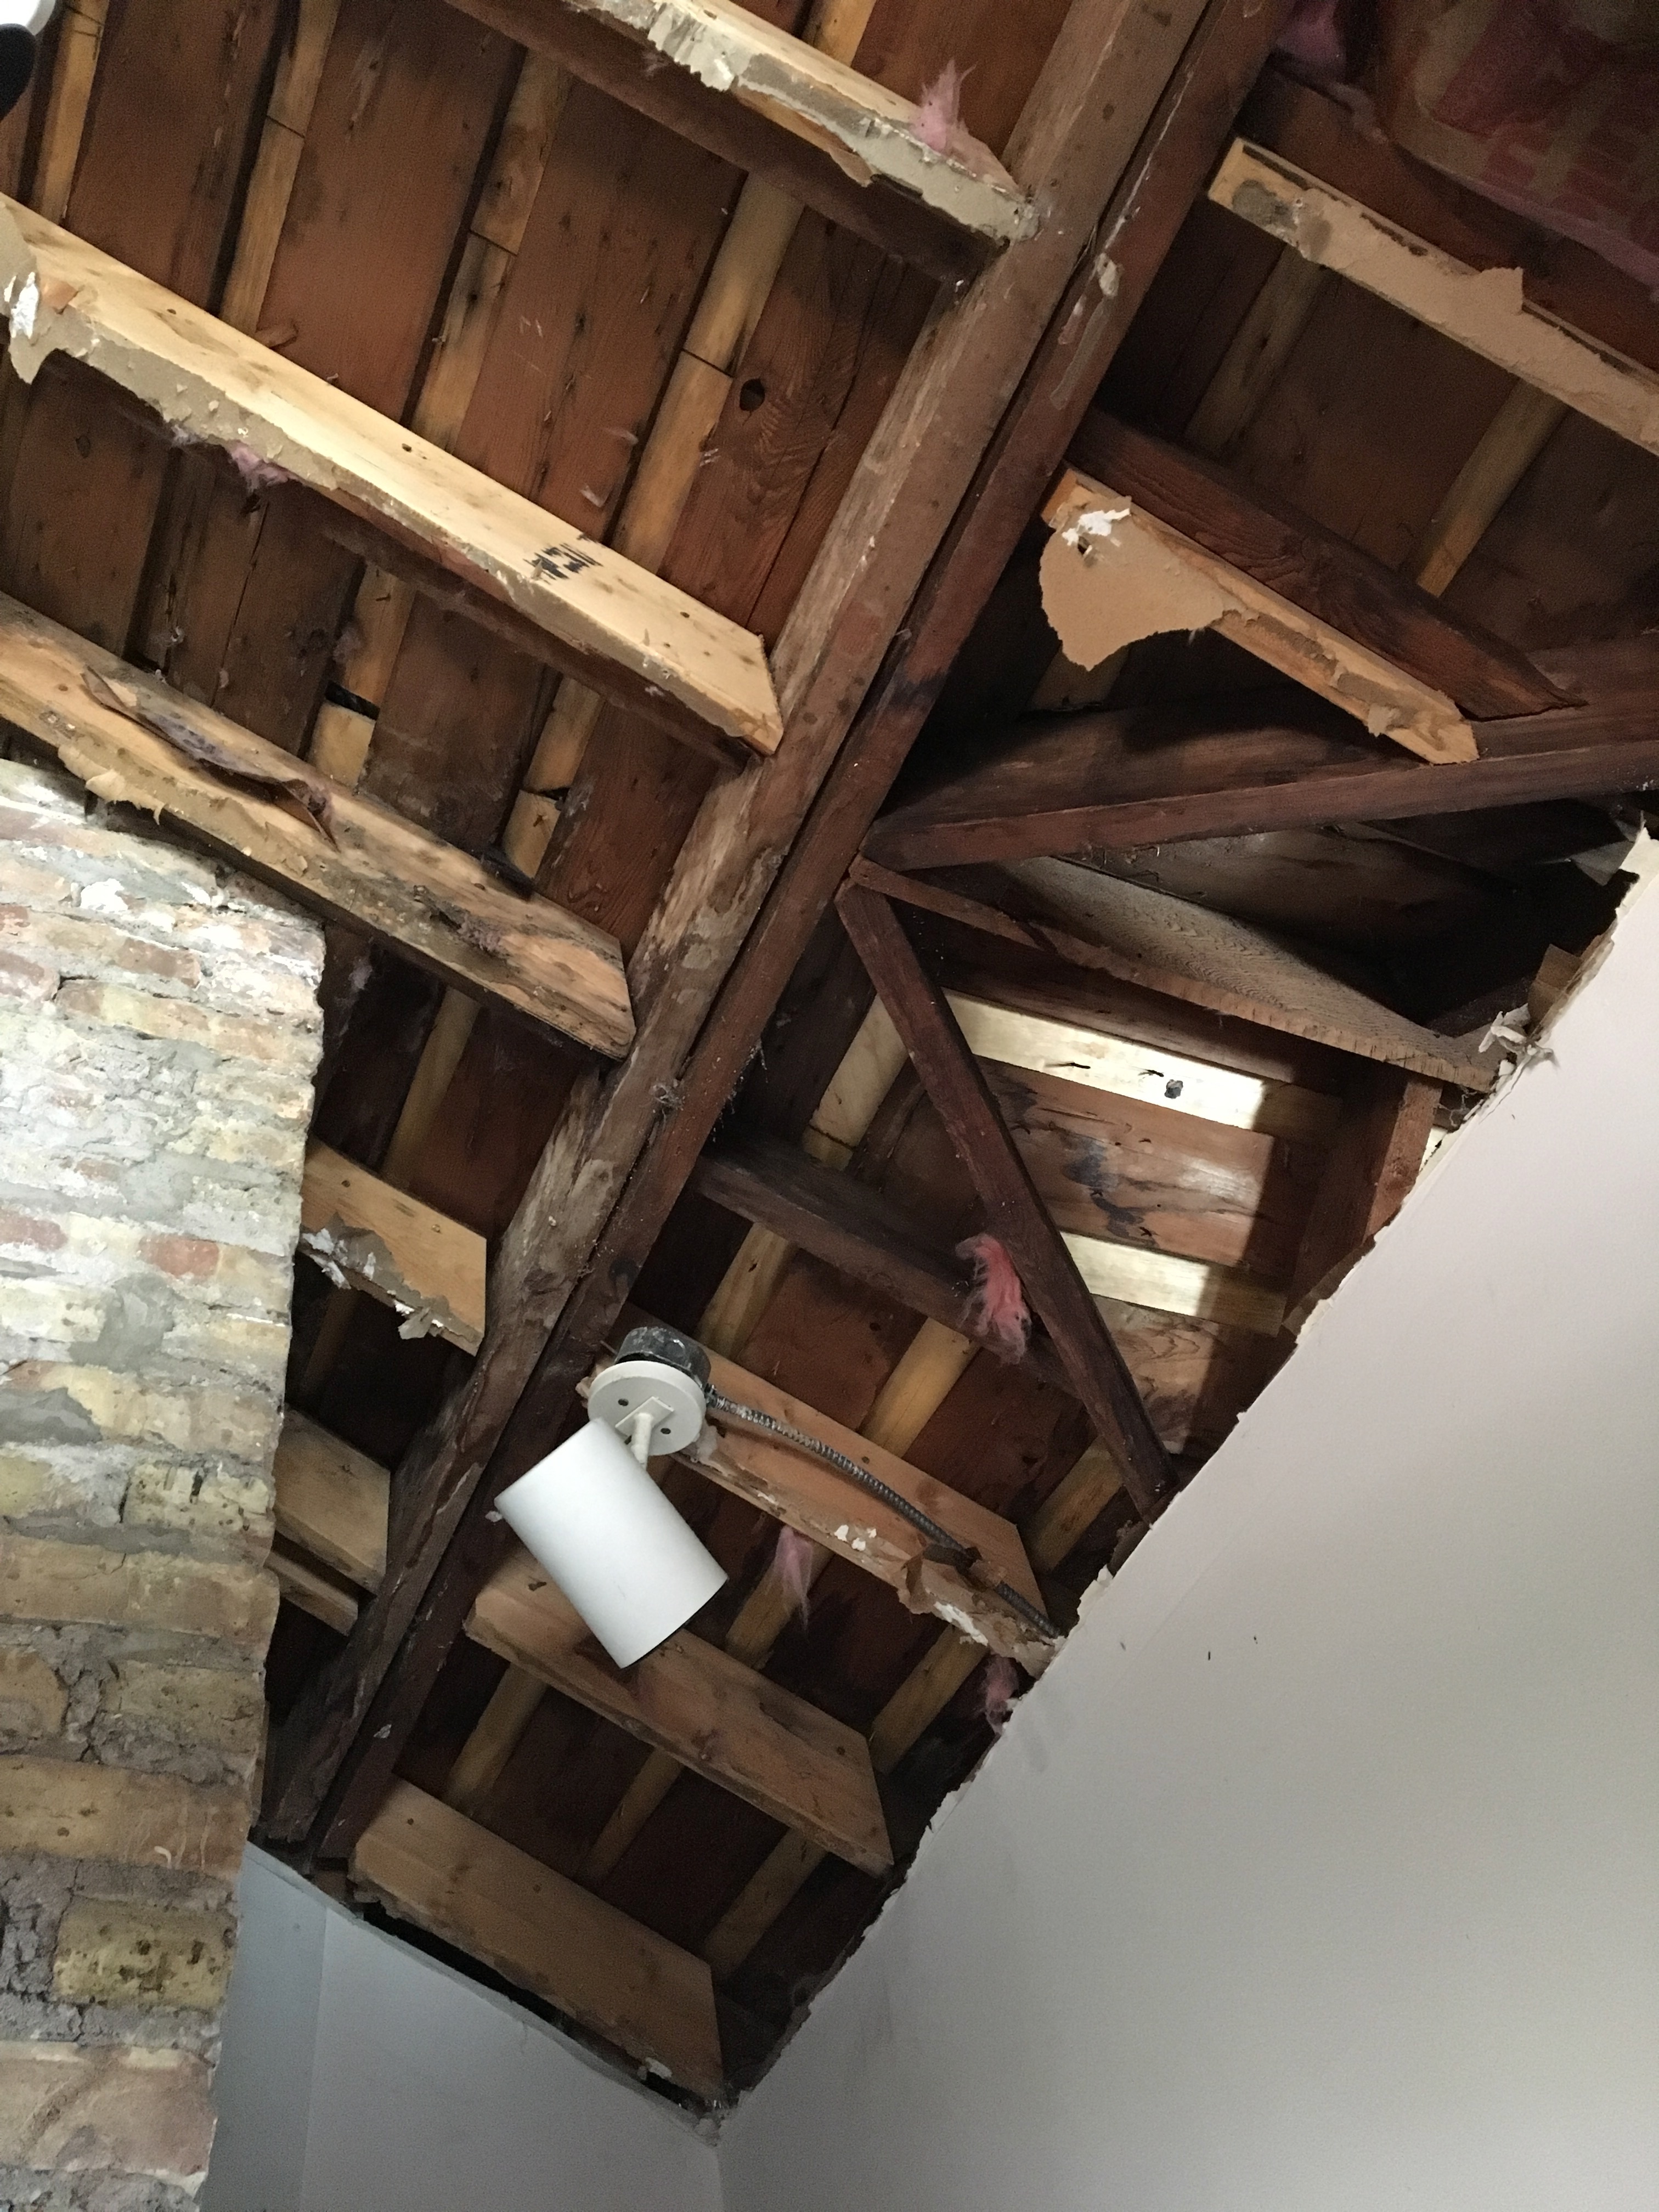
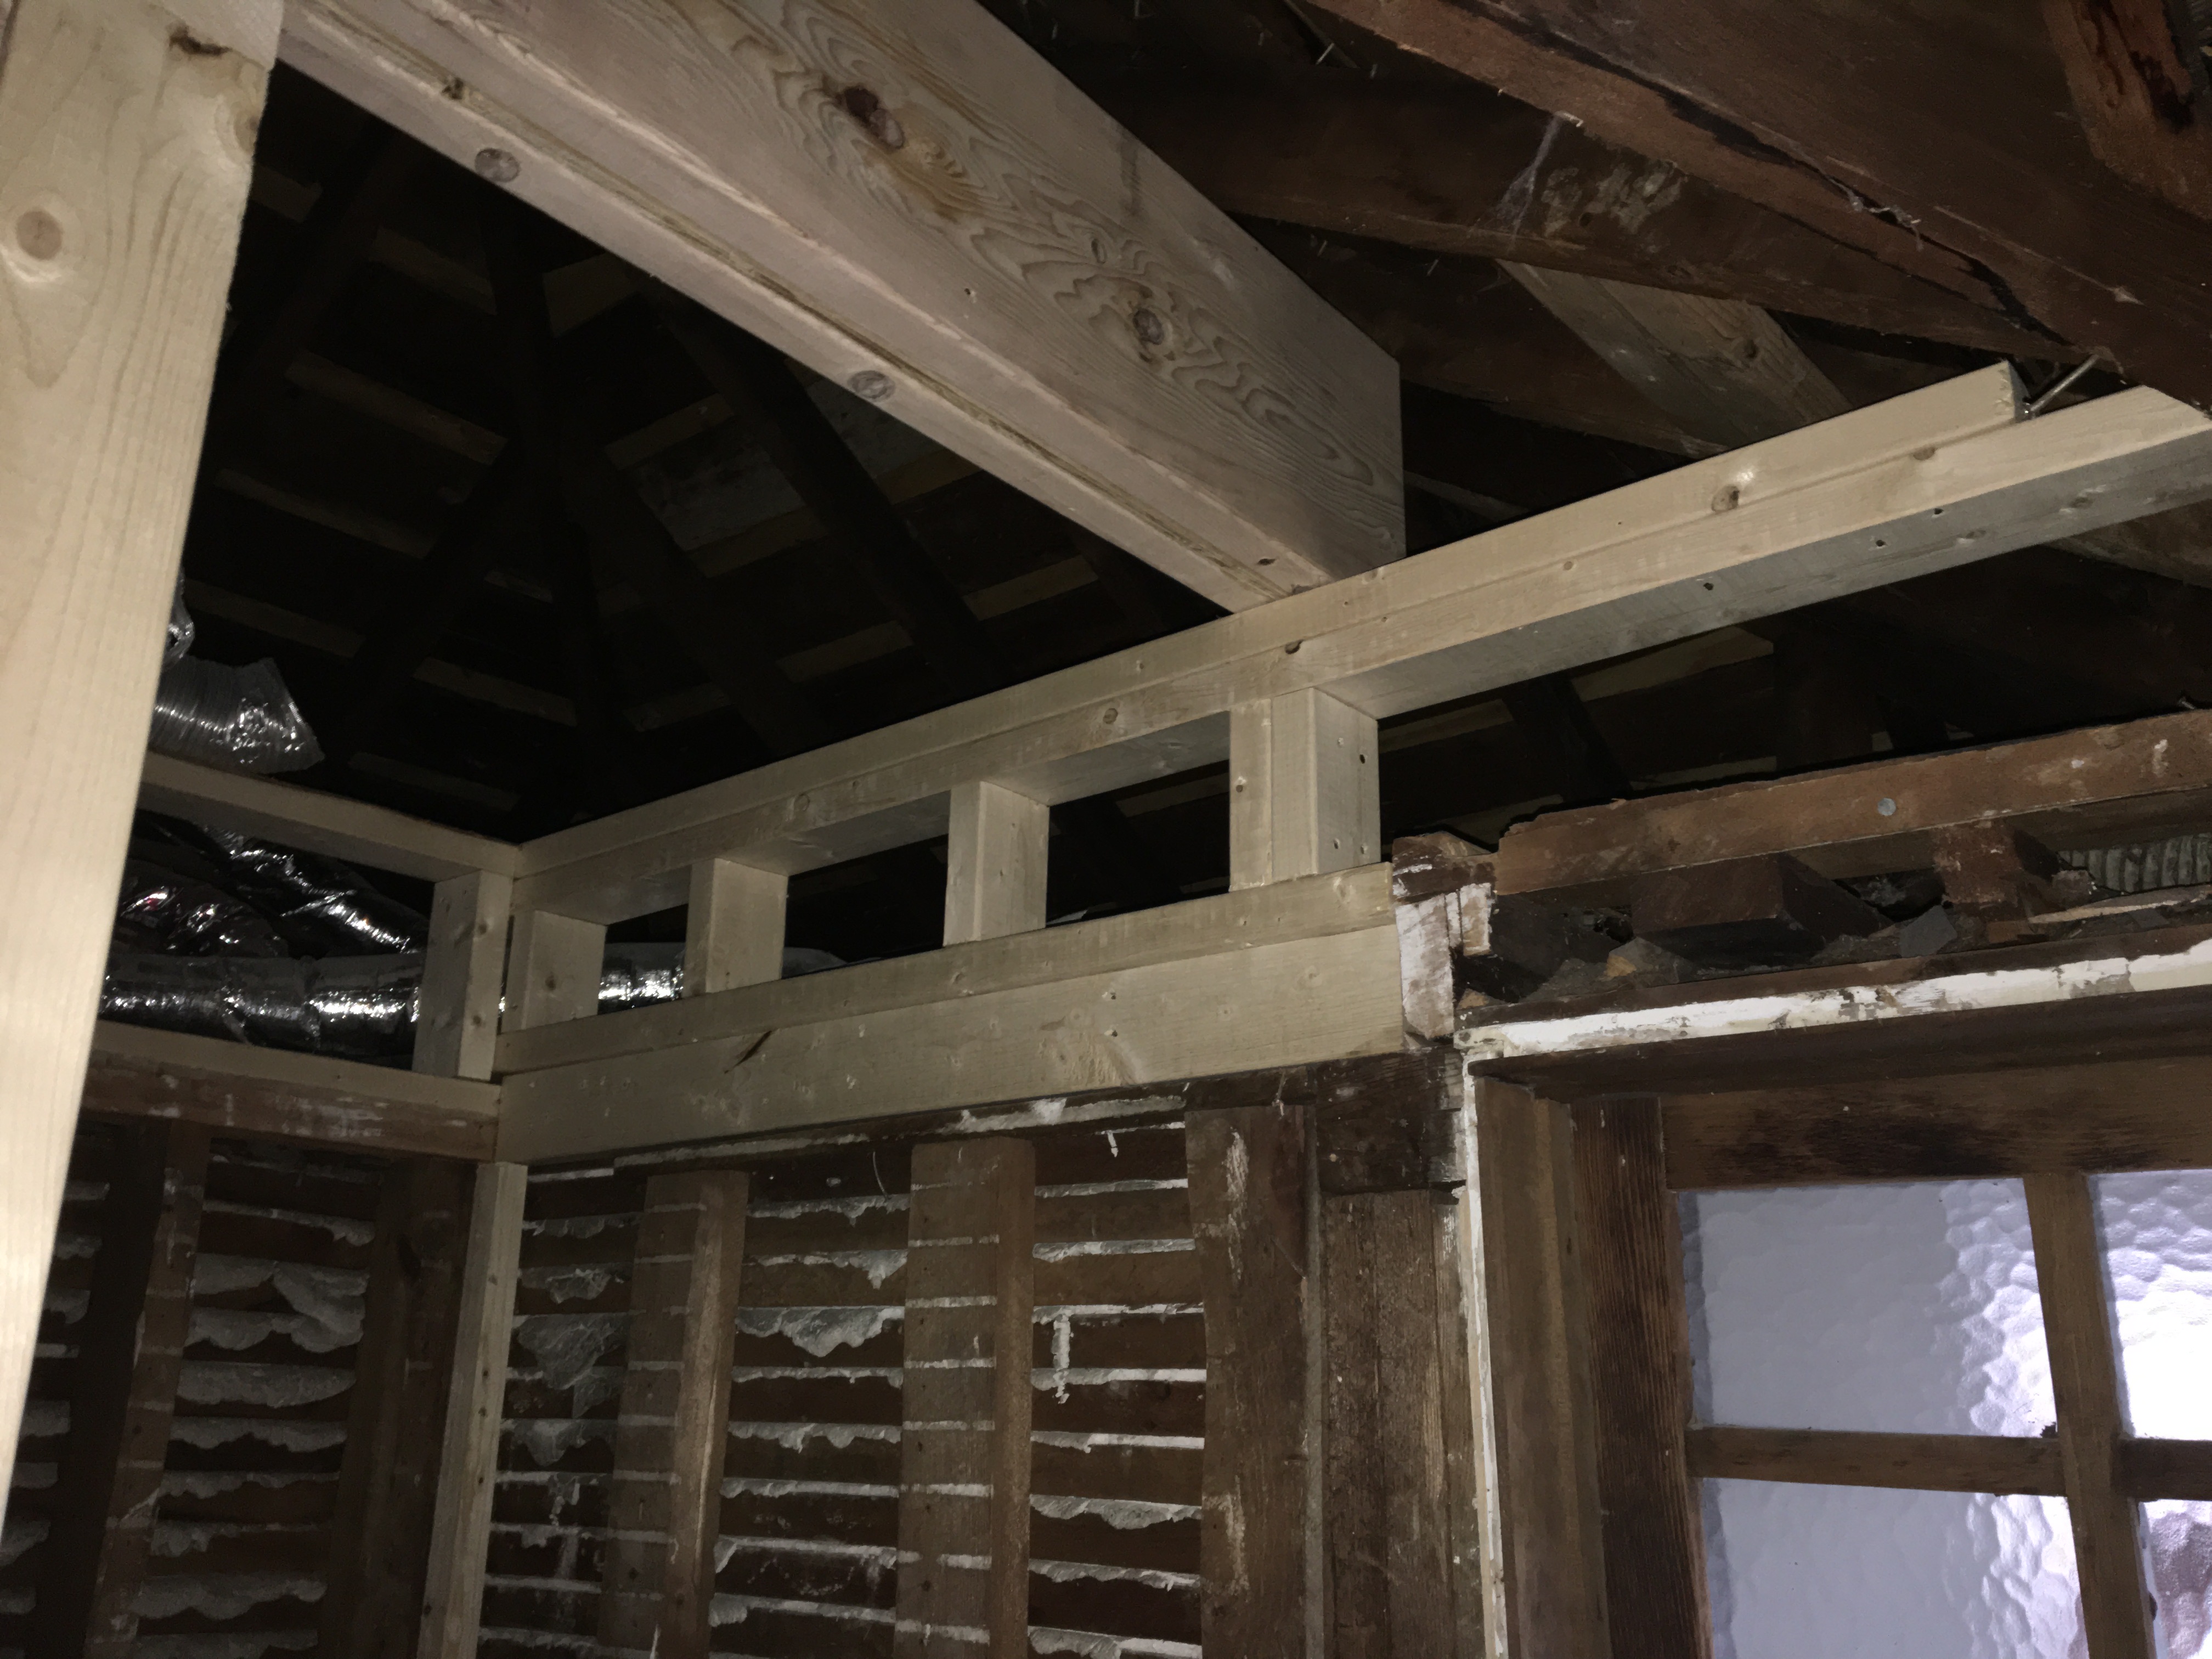
The master closet has been framed. The challenge here is that the ceiling has bowed, so this wall is not straight. At this point, the architect and builder decided we needed to do more work to support the roof by ripping out the rest of the ceiling and putting in collar ties.

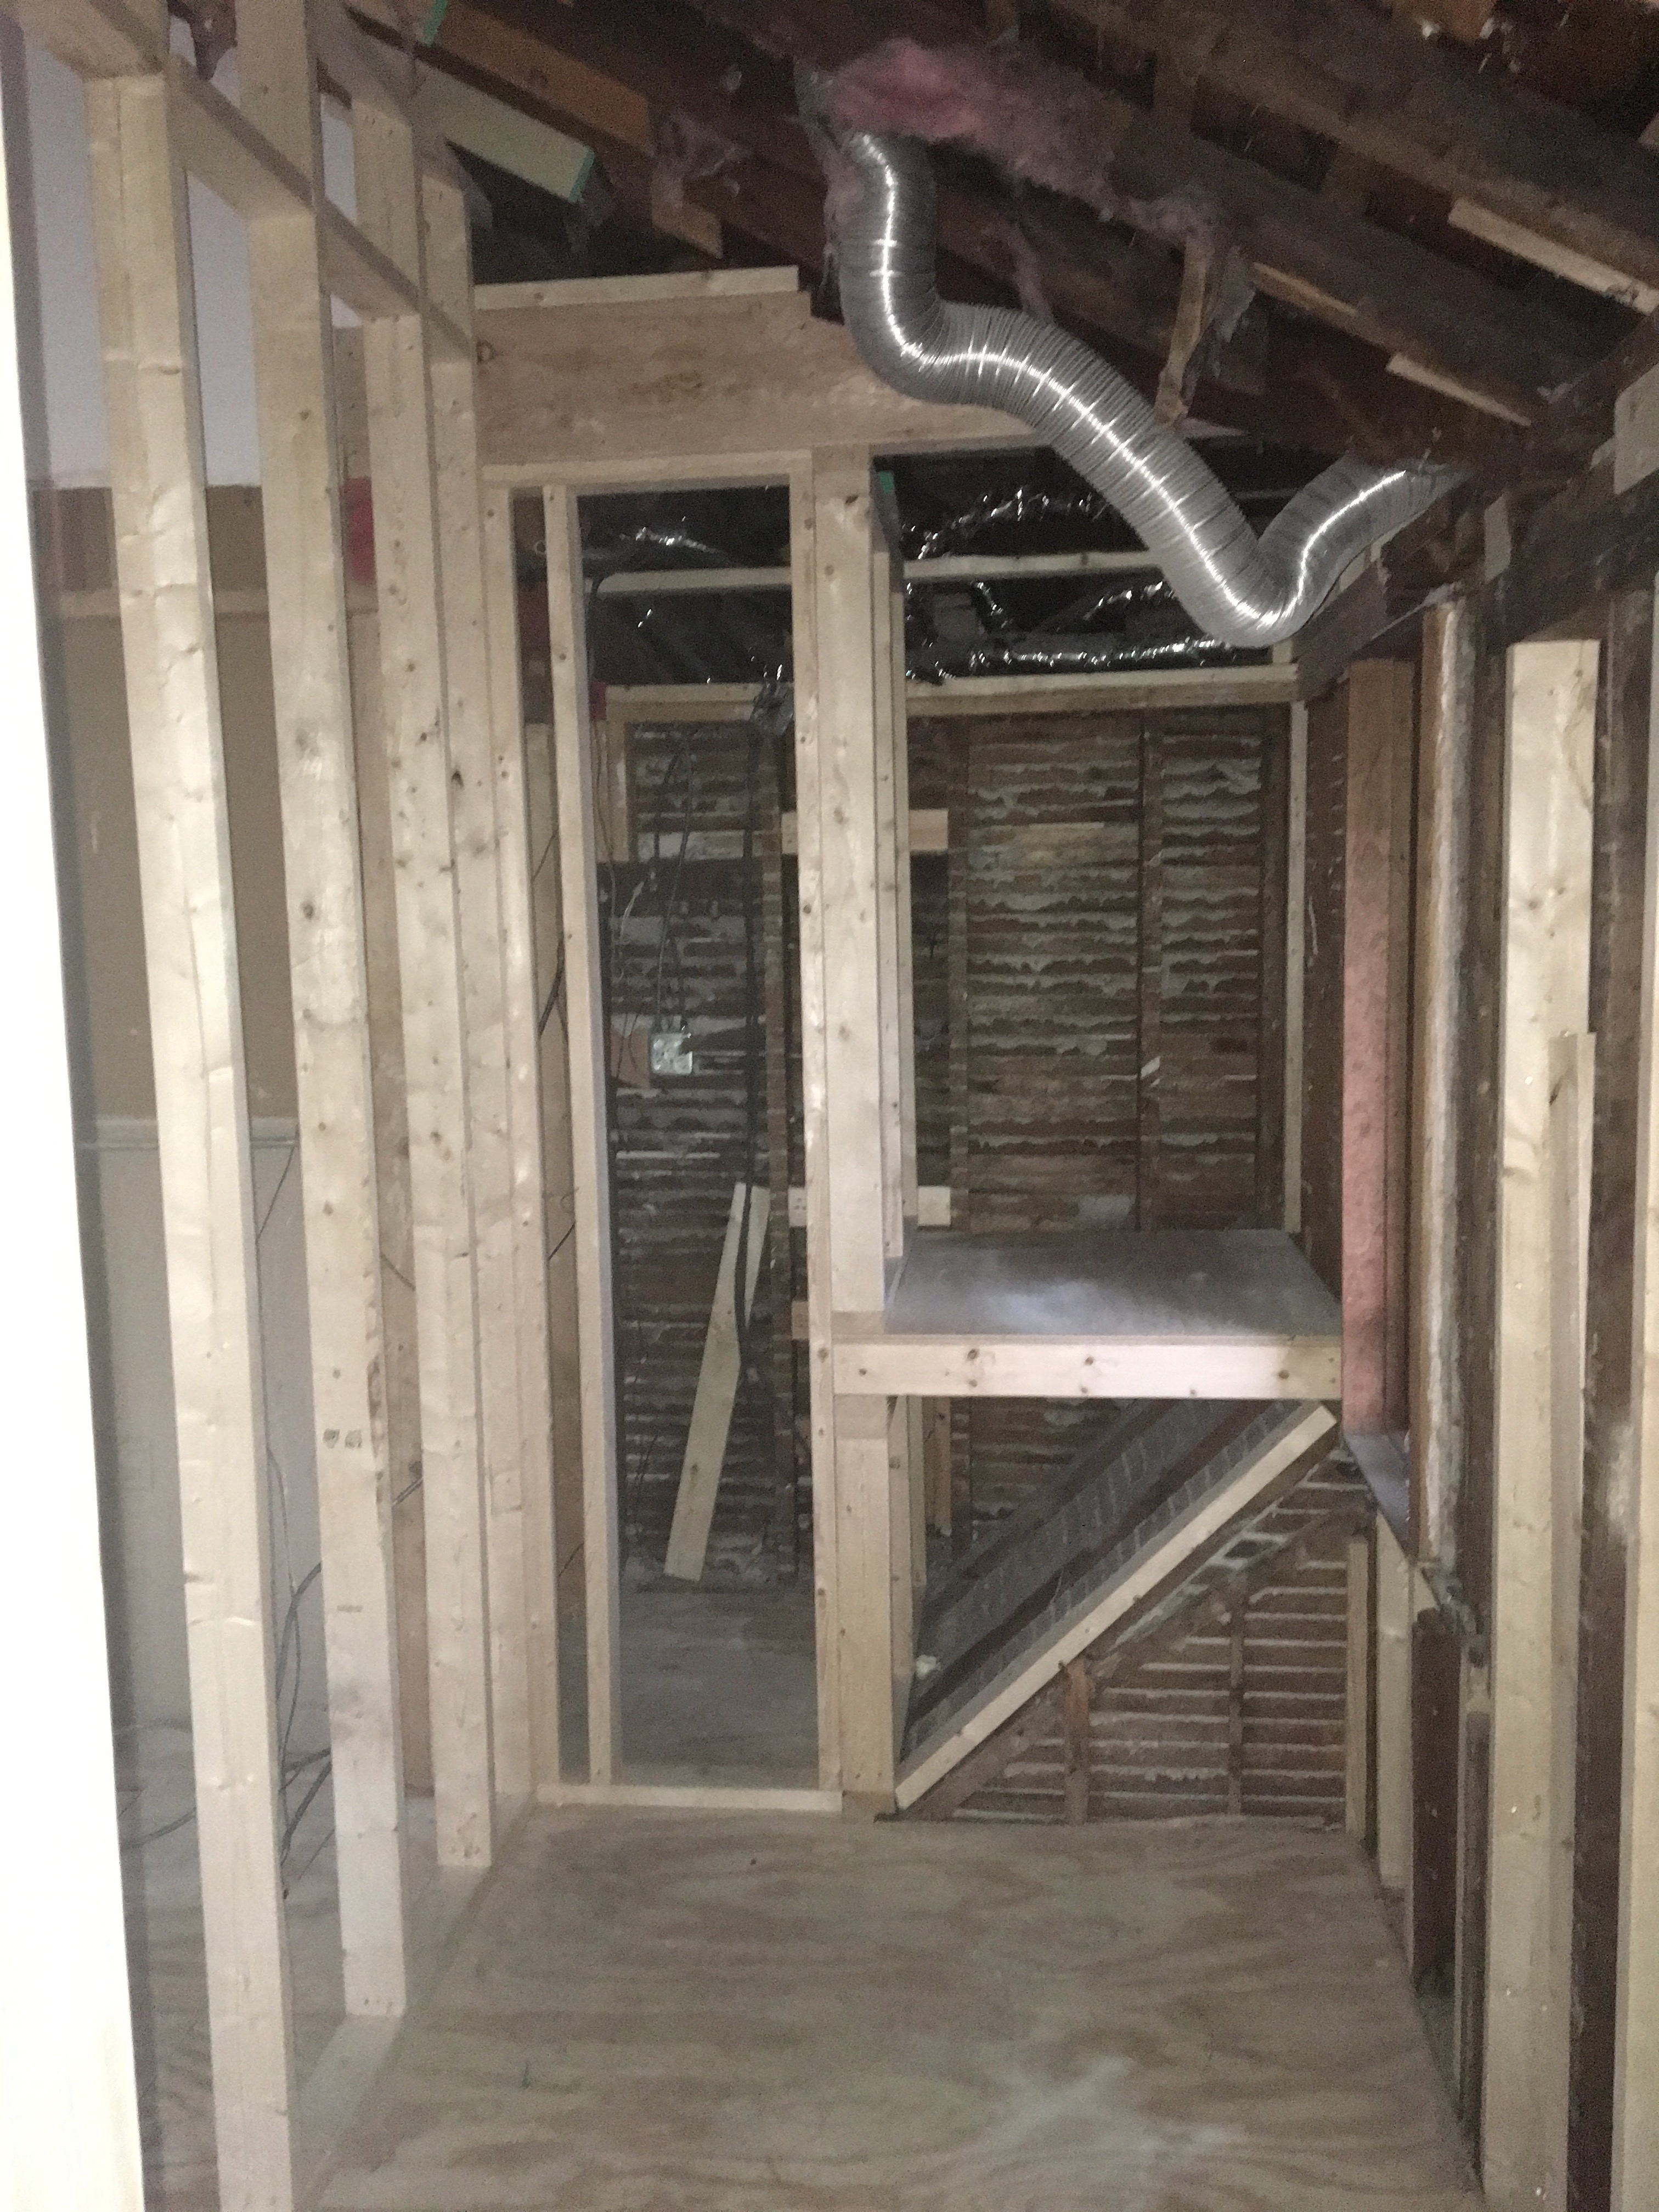
The master bathroom has been framed.
A view of the shower niche in the master bathroom; beyond is the hall bath.
The master closet has been framed, and beyond is a hall closet. The triangle is the top of the stairs. We squared it off to make it into storage space in the master closet. We’ll put some shelves in there.
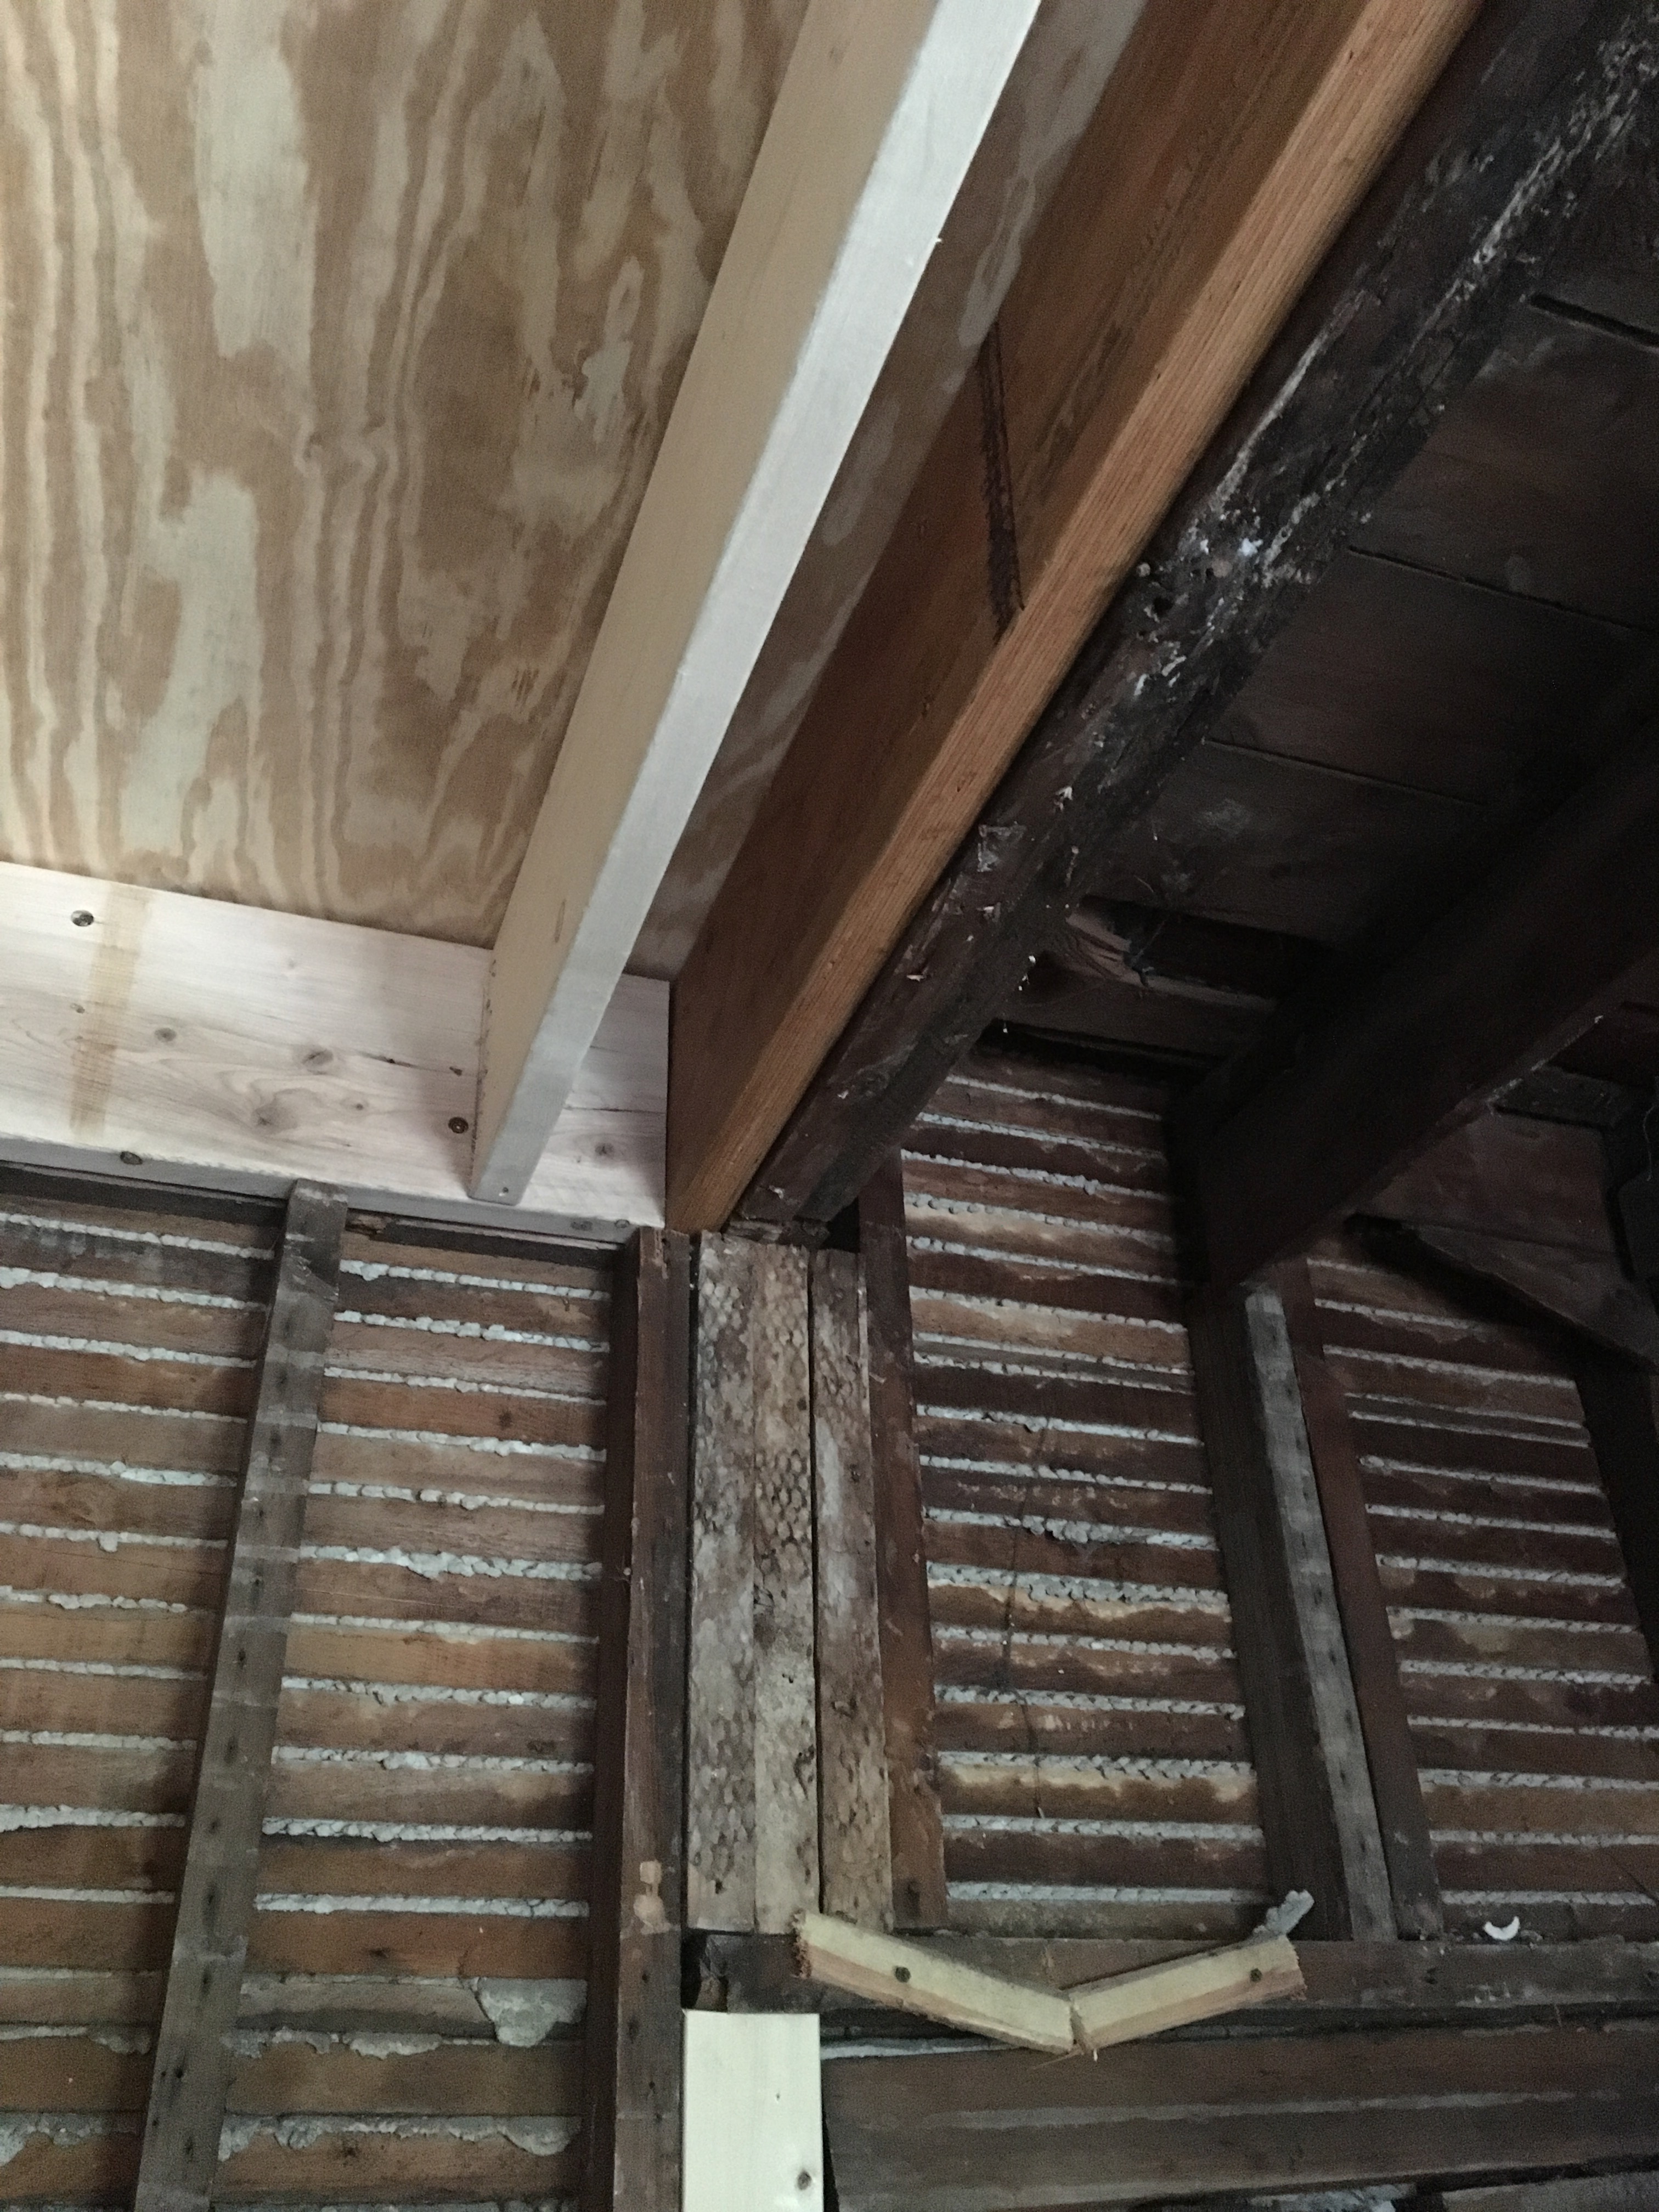
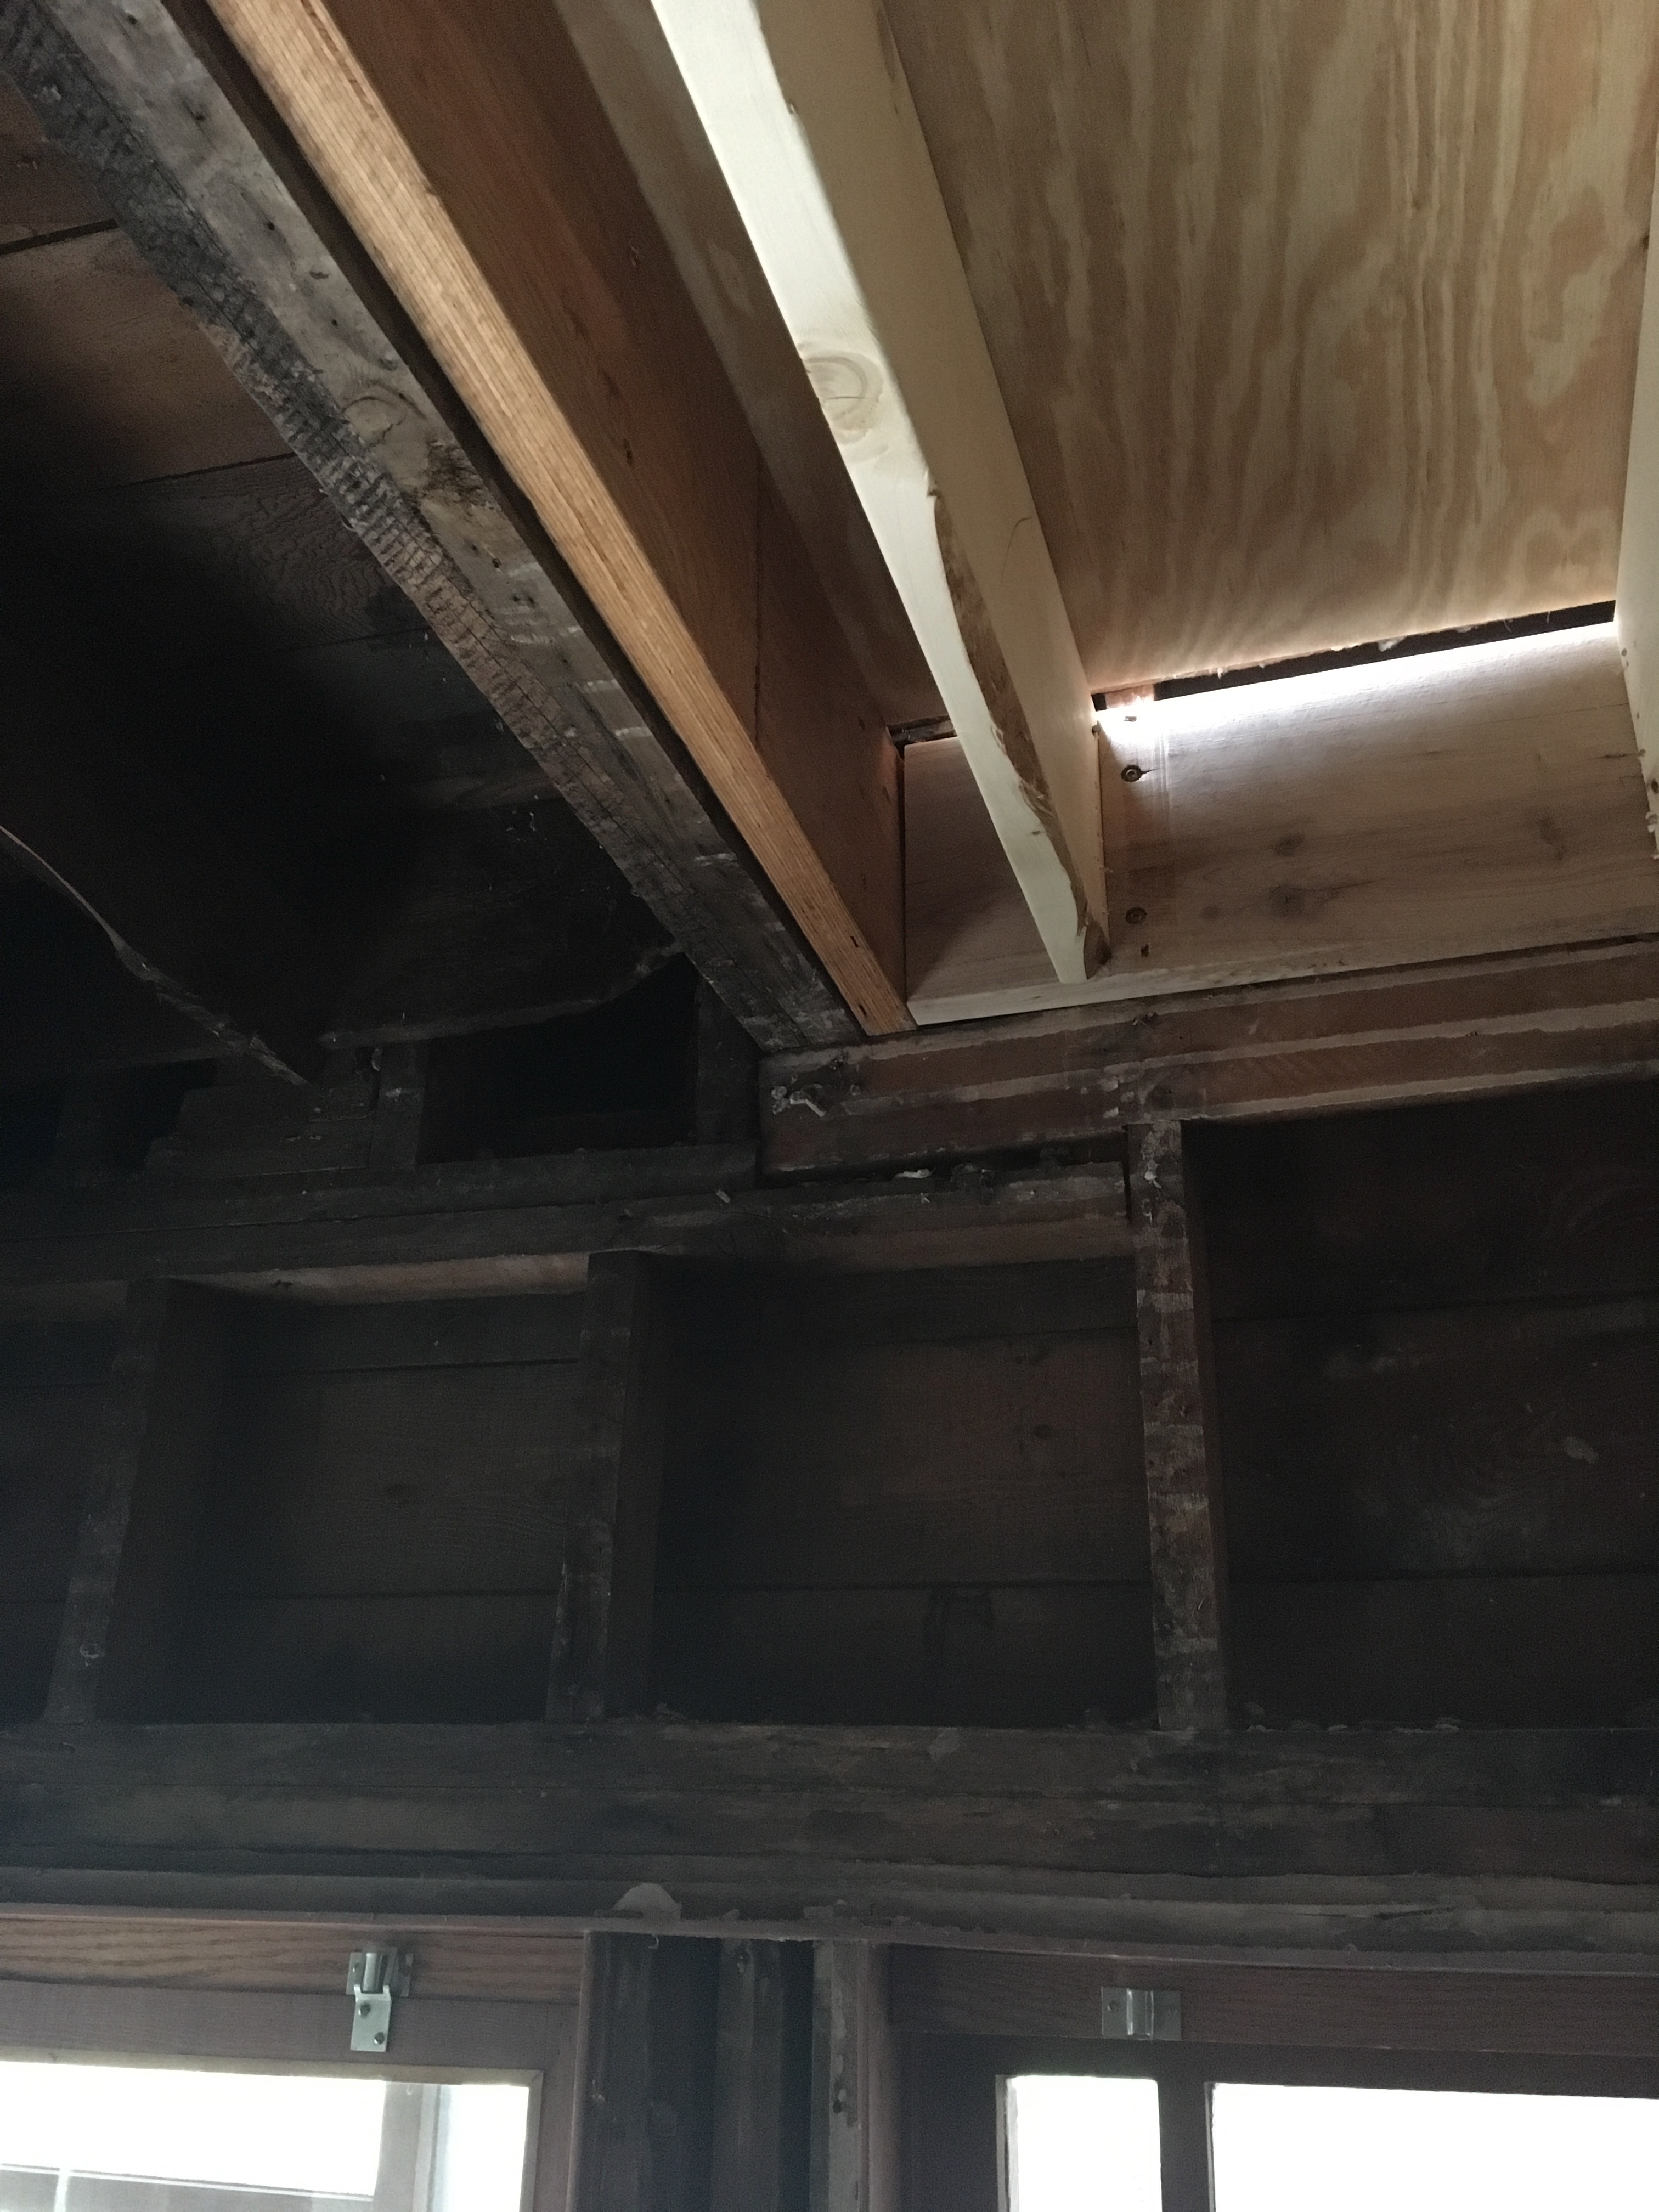
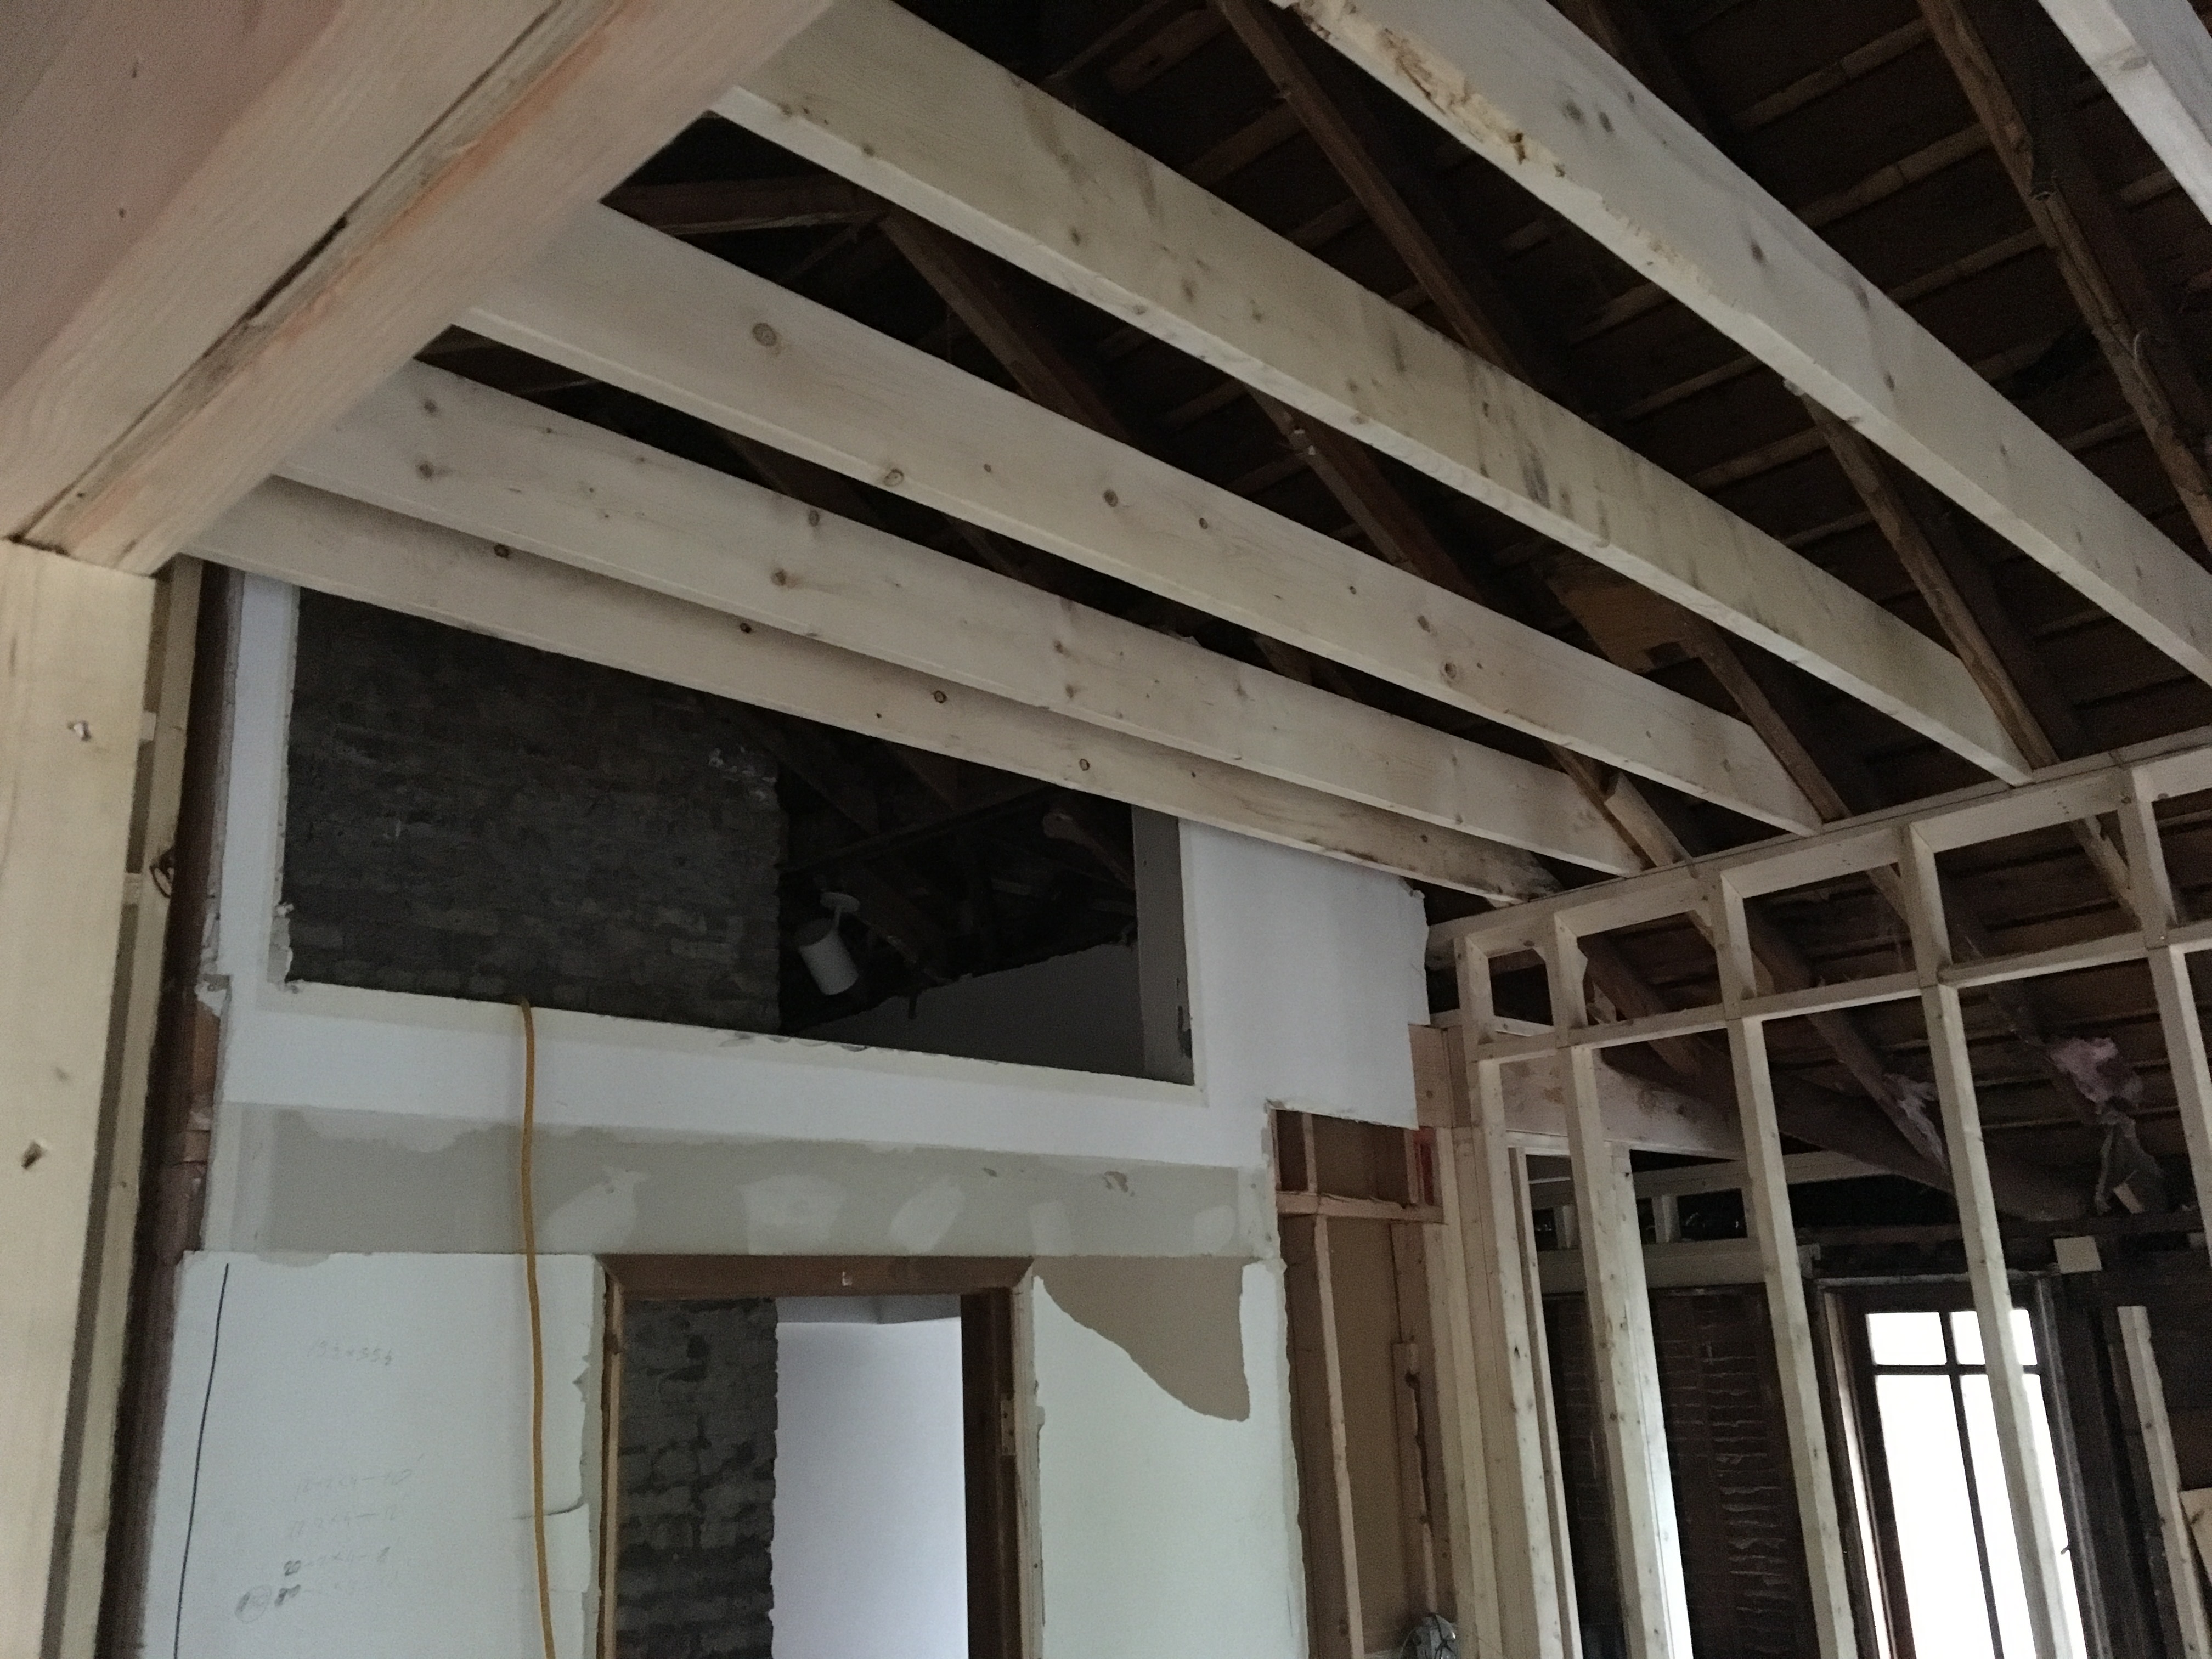
With the walls open, it became apparent that the framing was chopped up. Our builder recommended we keep the carpenters on the job for a bit longer and just have them go around and repair anything and everything. This cost us more money, but it would have been a shame to close up the walls without fixing things. For instance, the window below was not attached to anything because the studs had been completely cut through.


The demolition team came back and ripped out the rest of the ceiling, including the giant transom window over the master bedroom door.
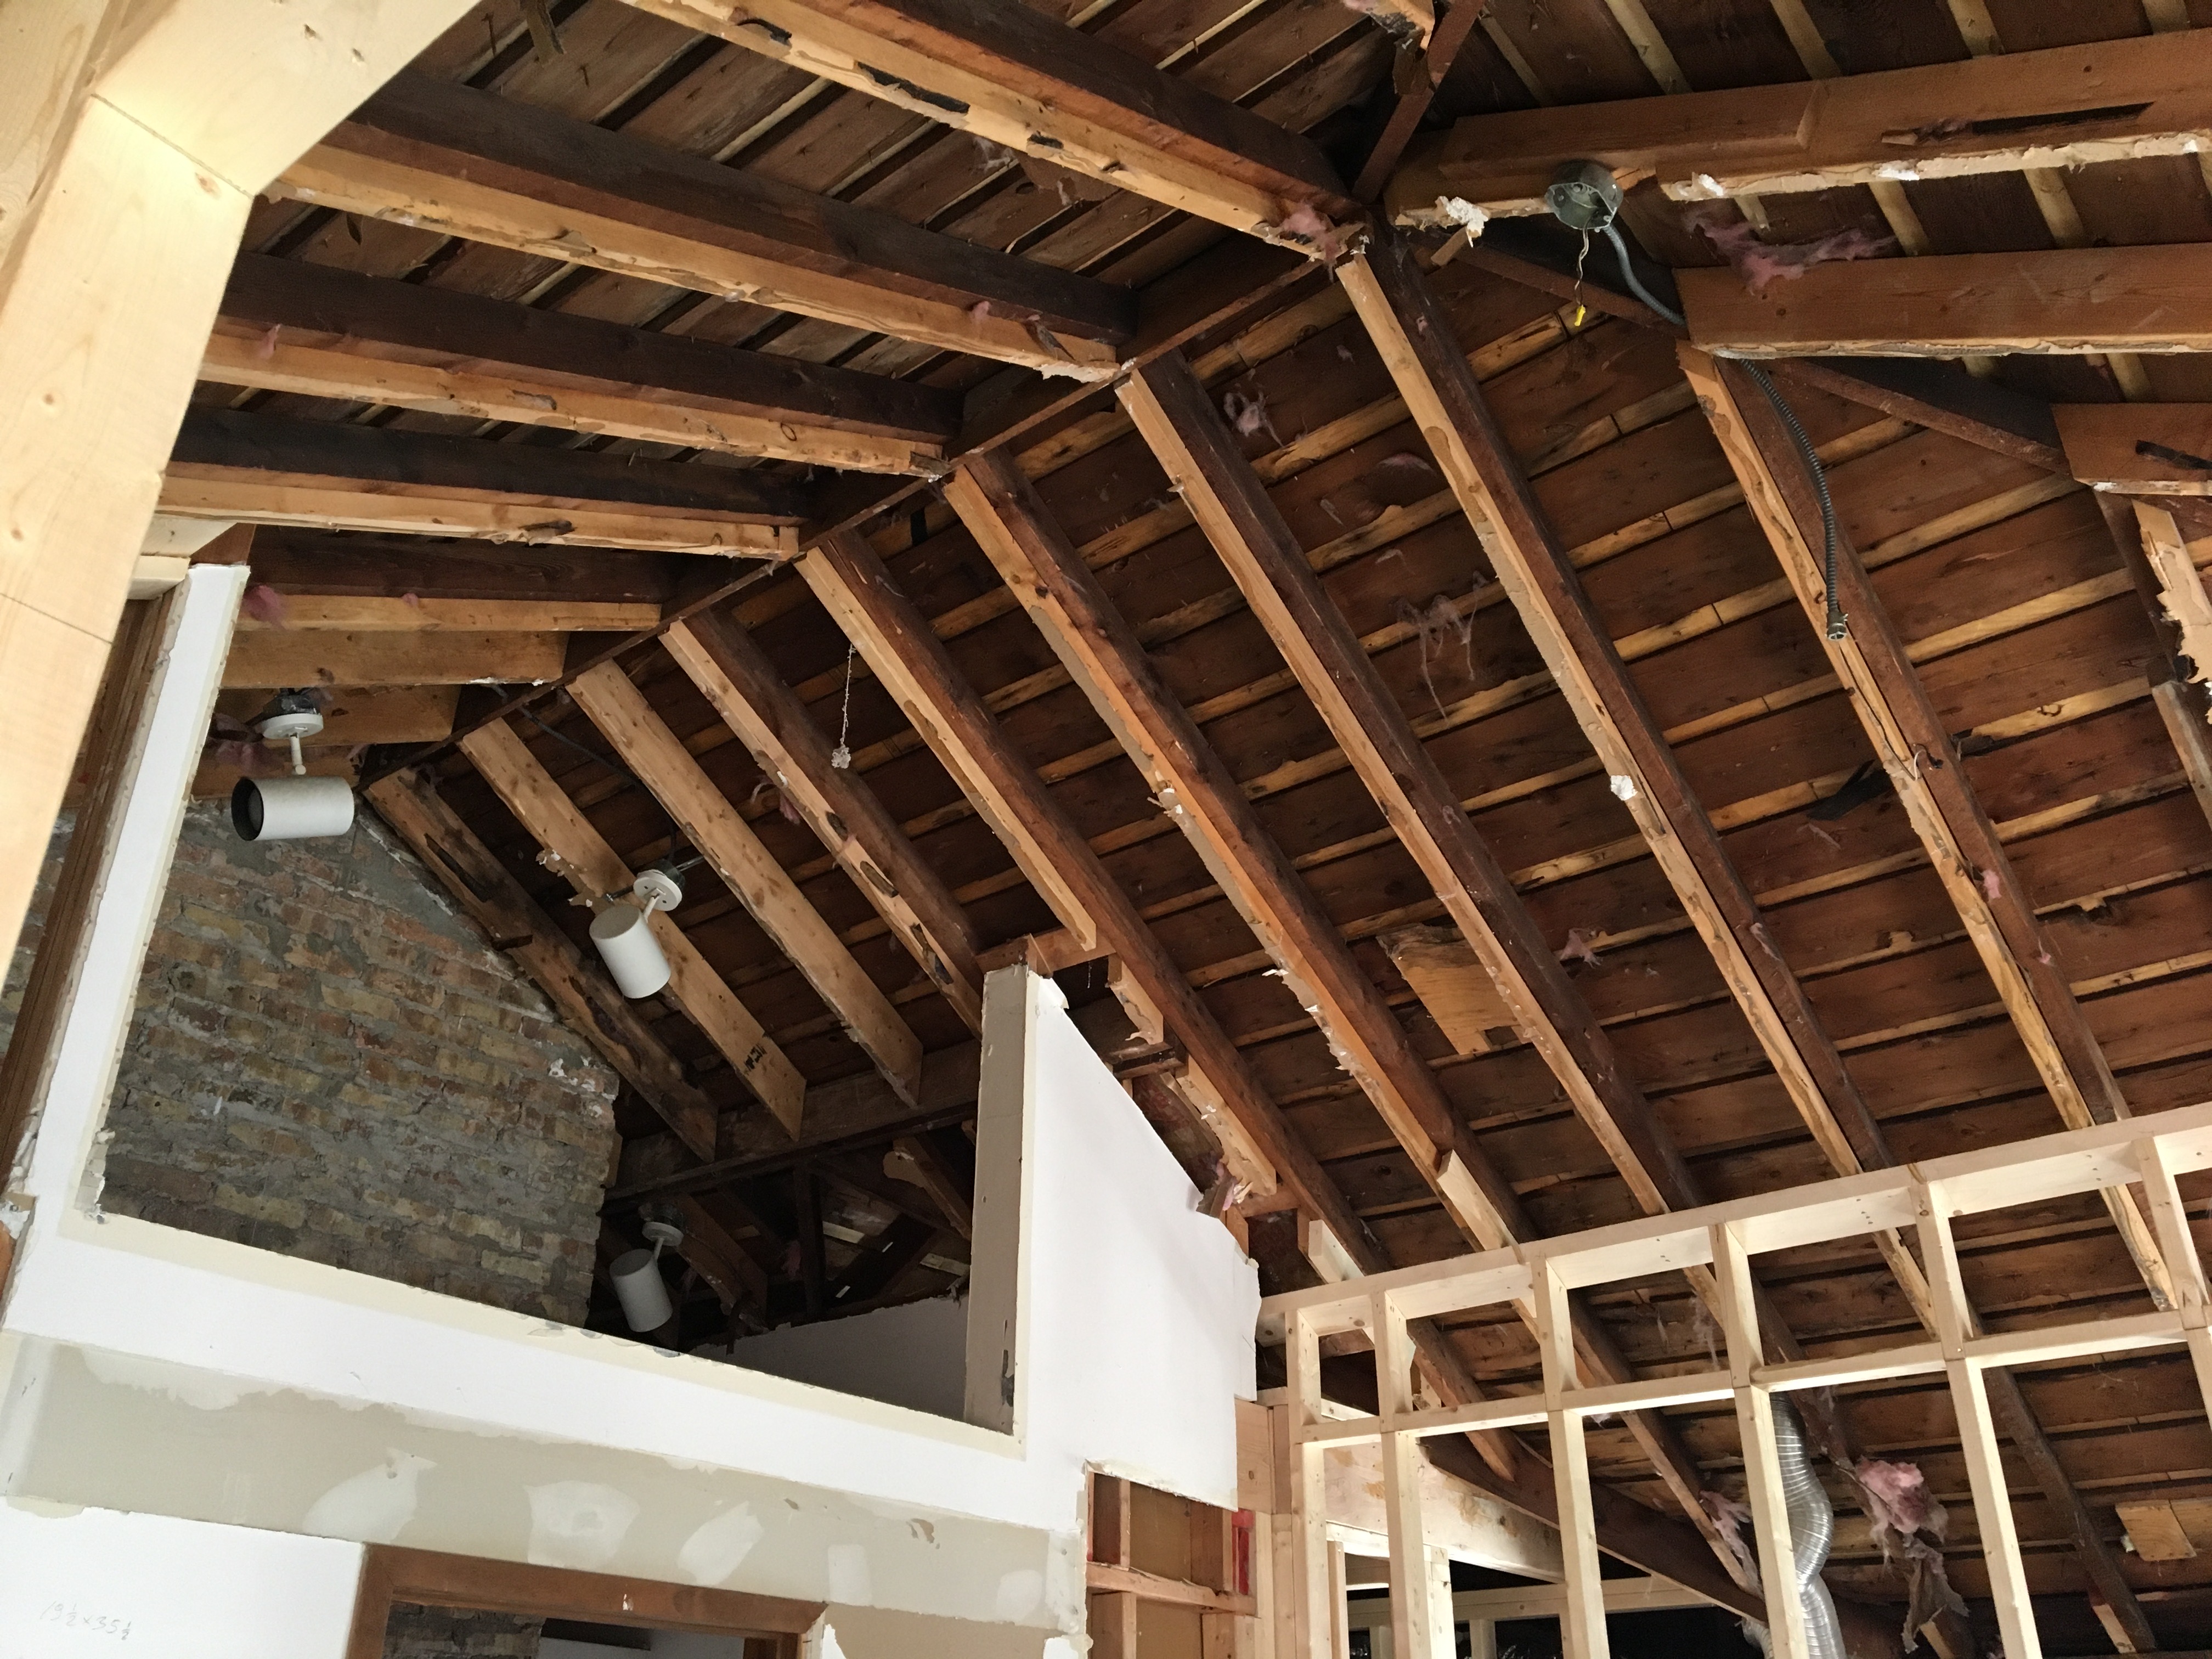
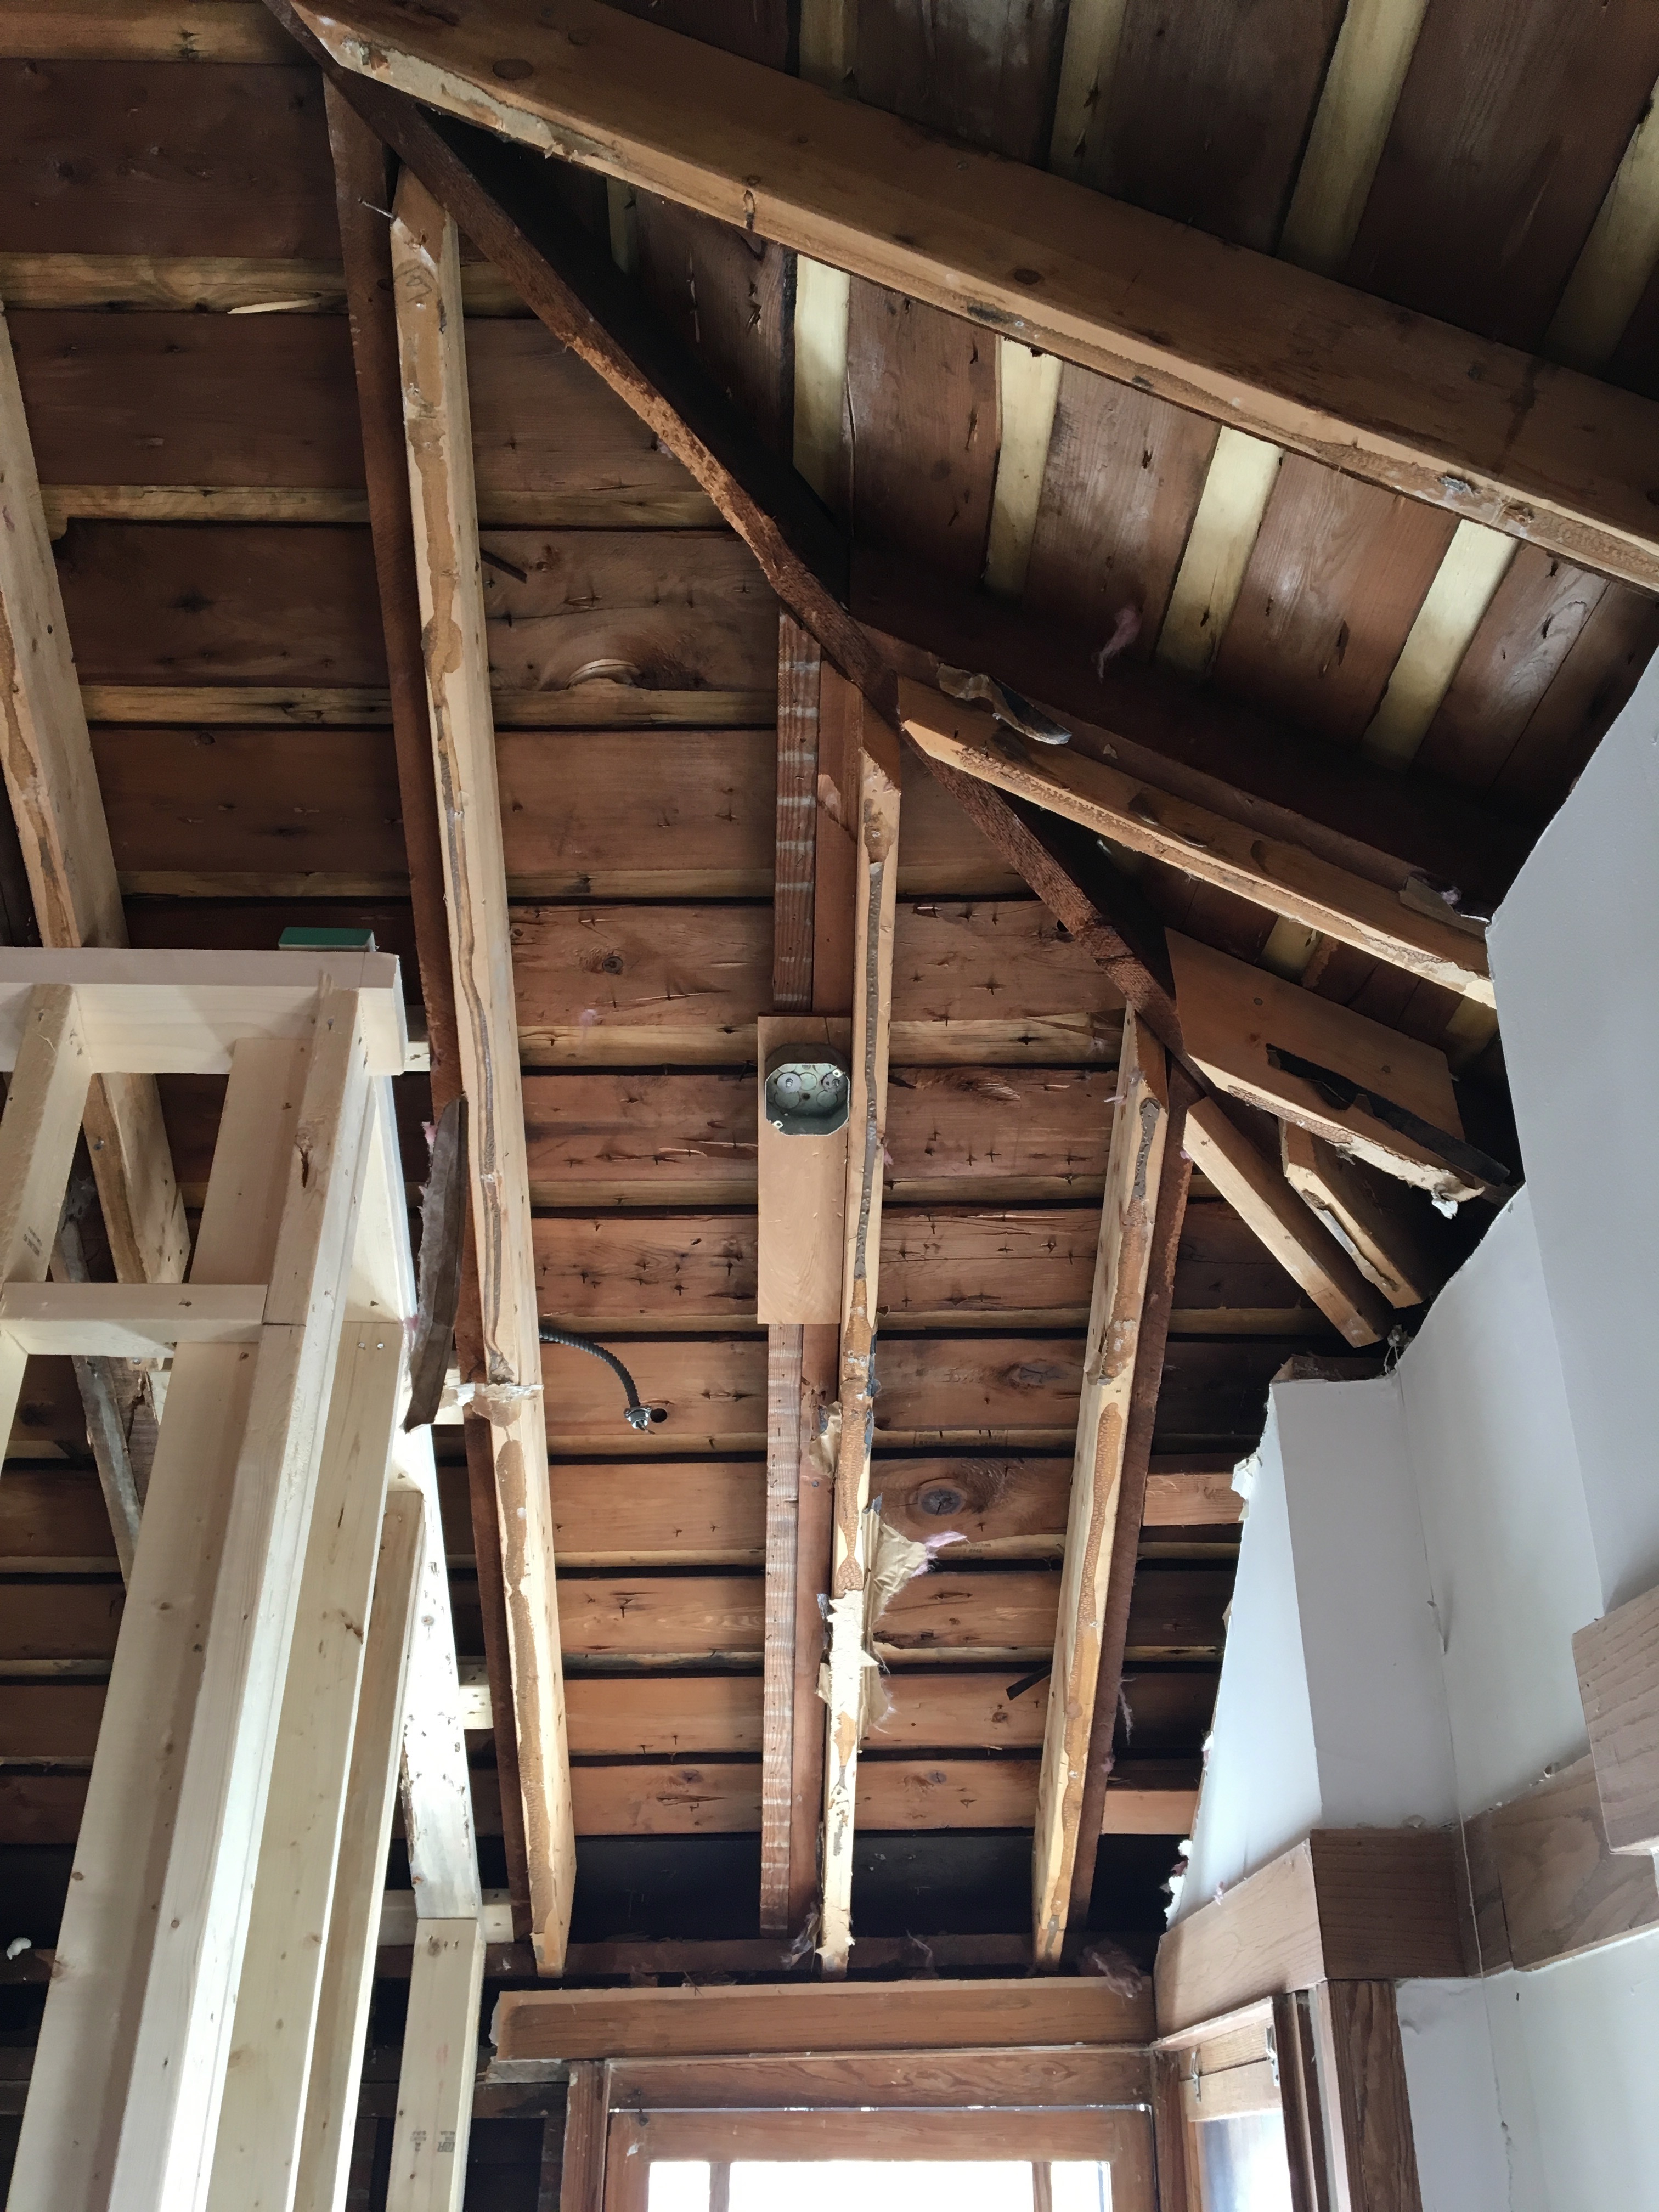
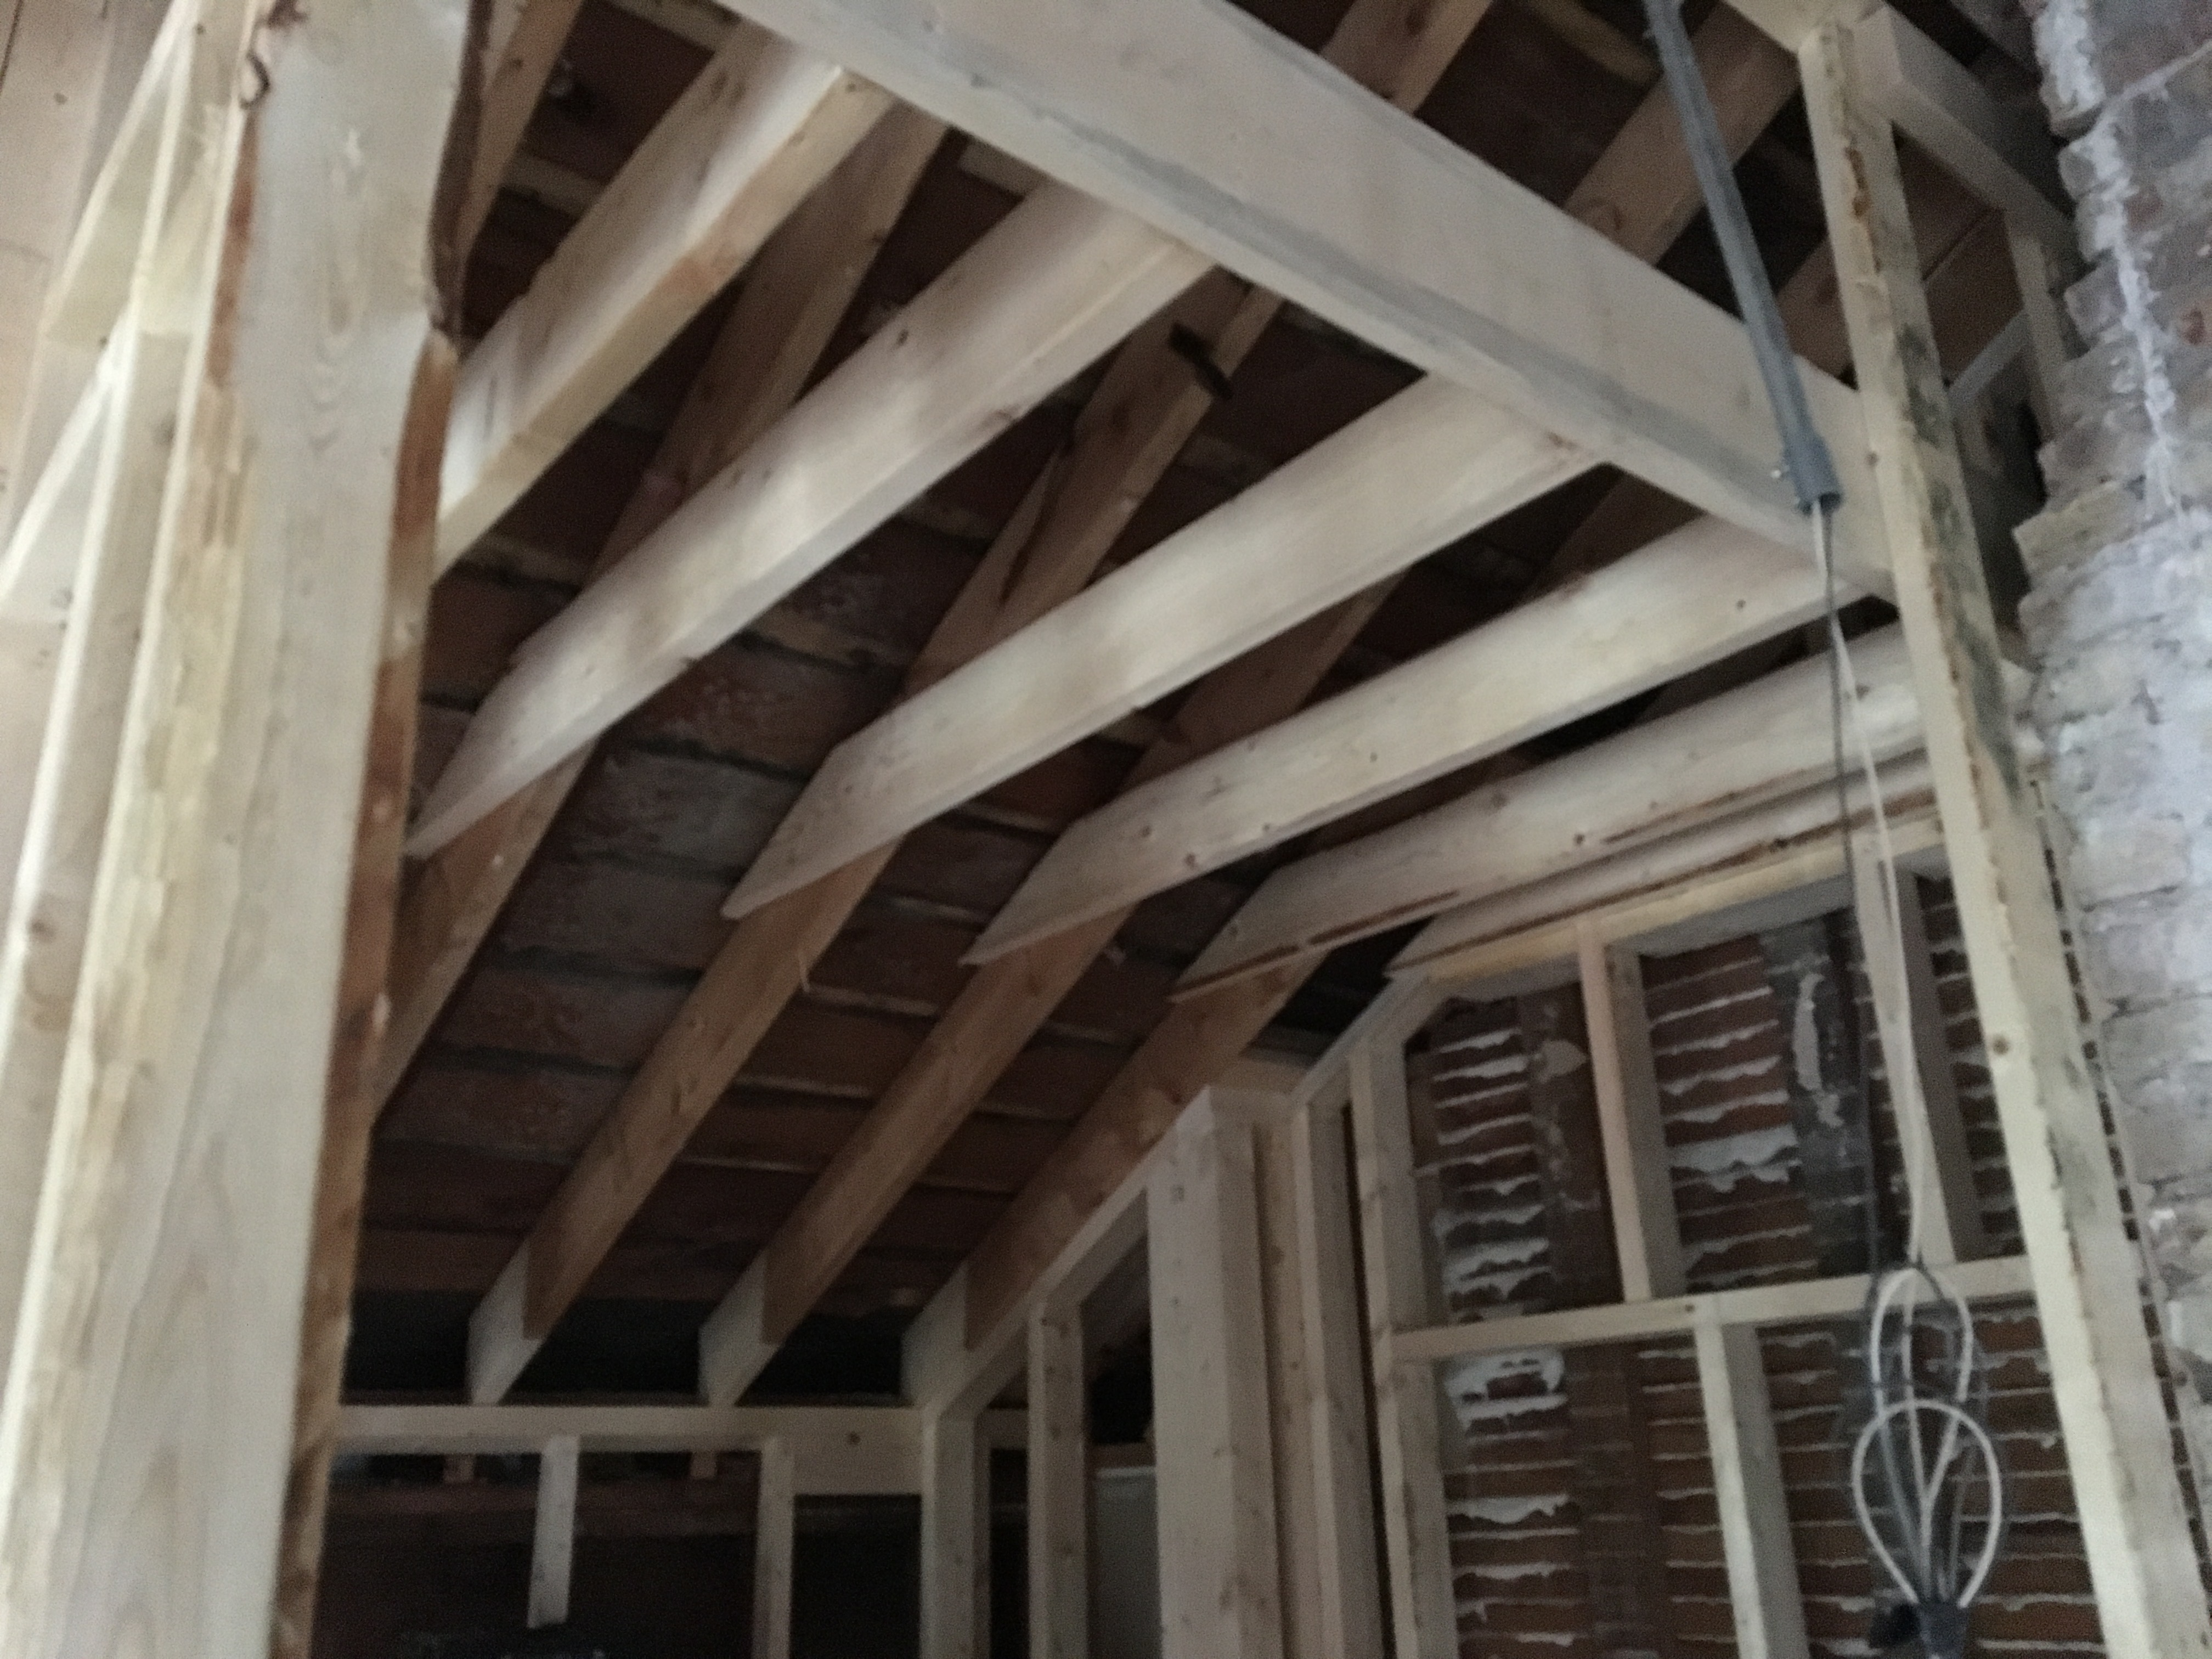
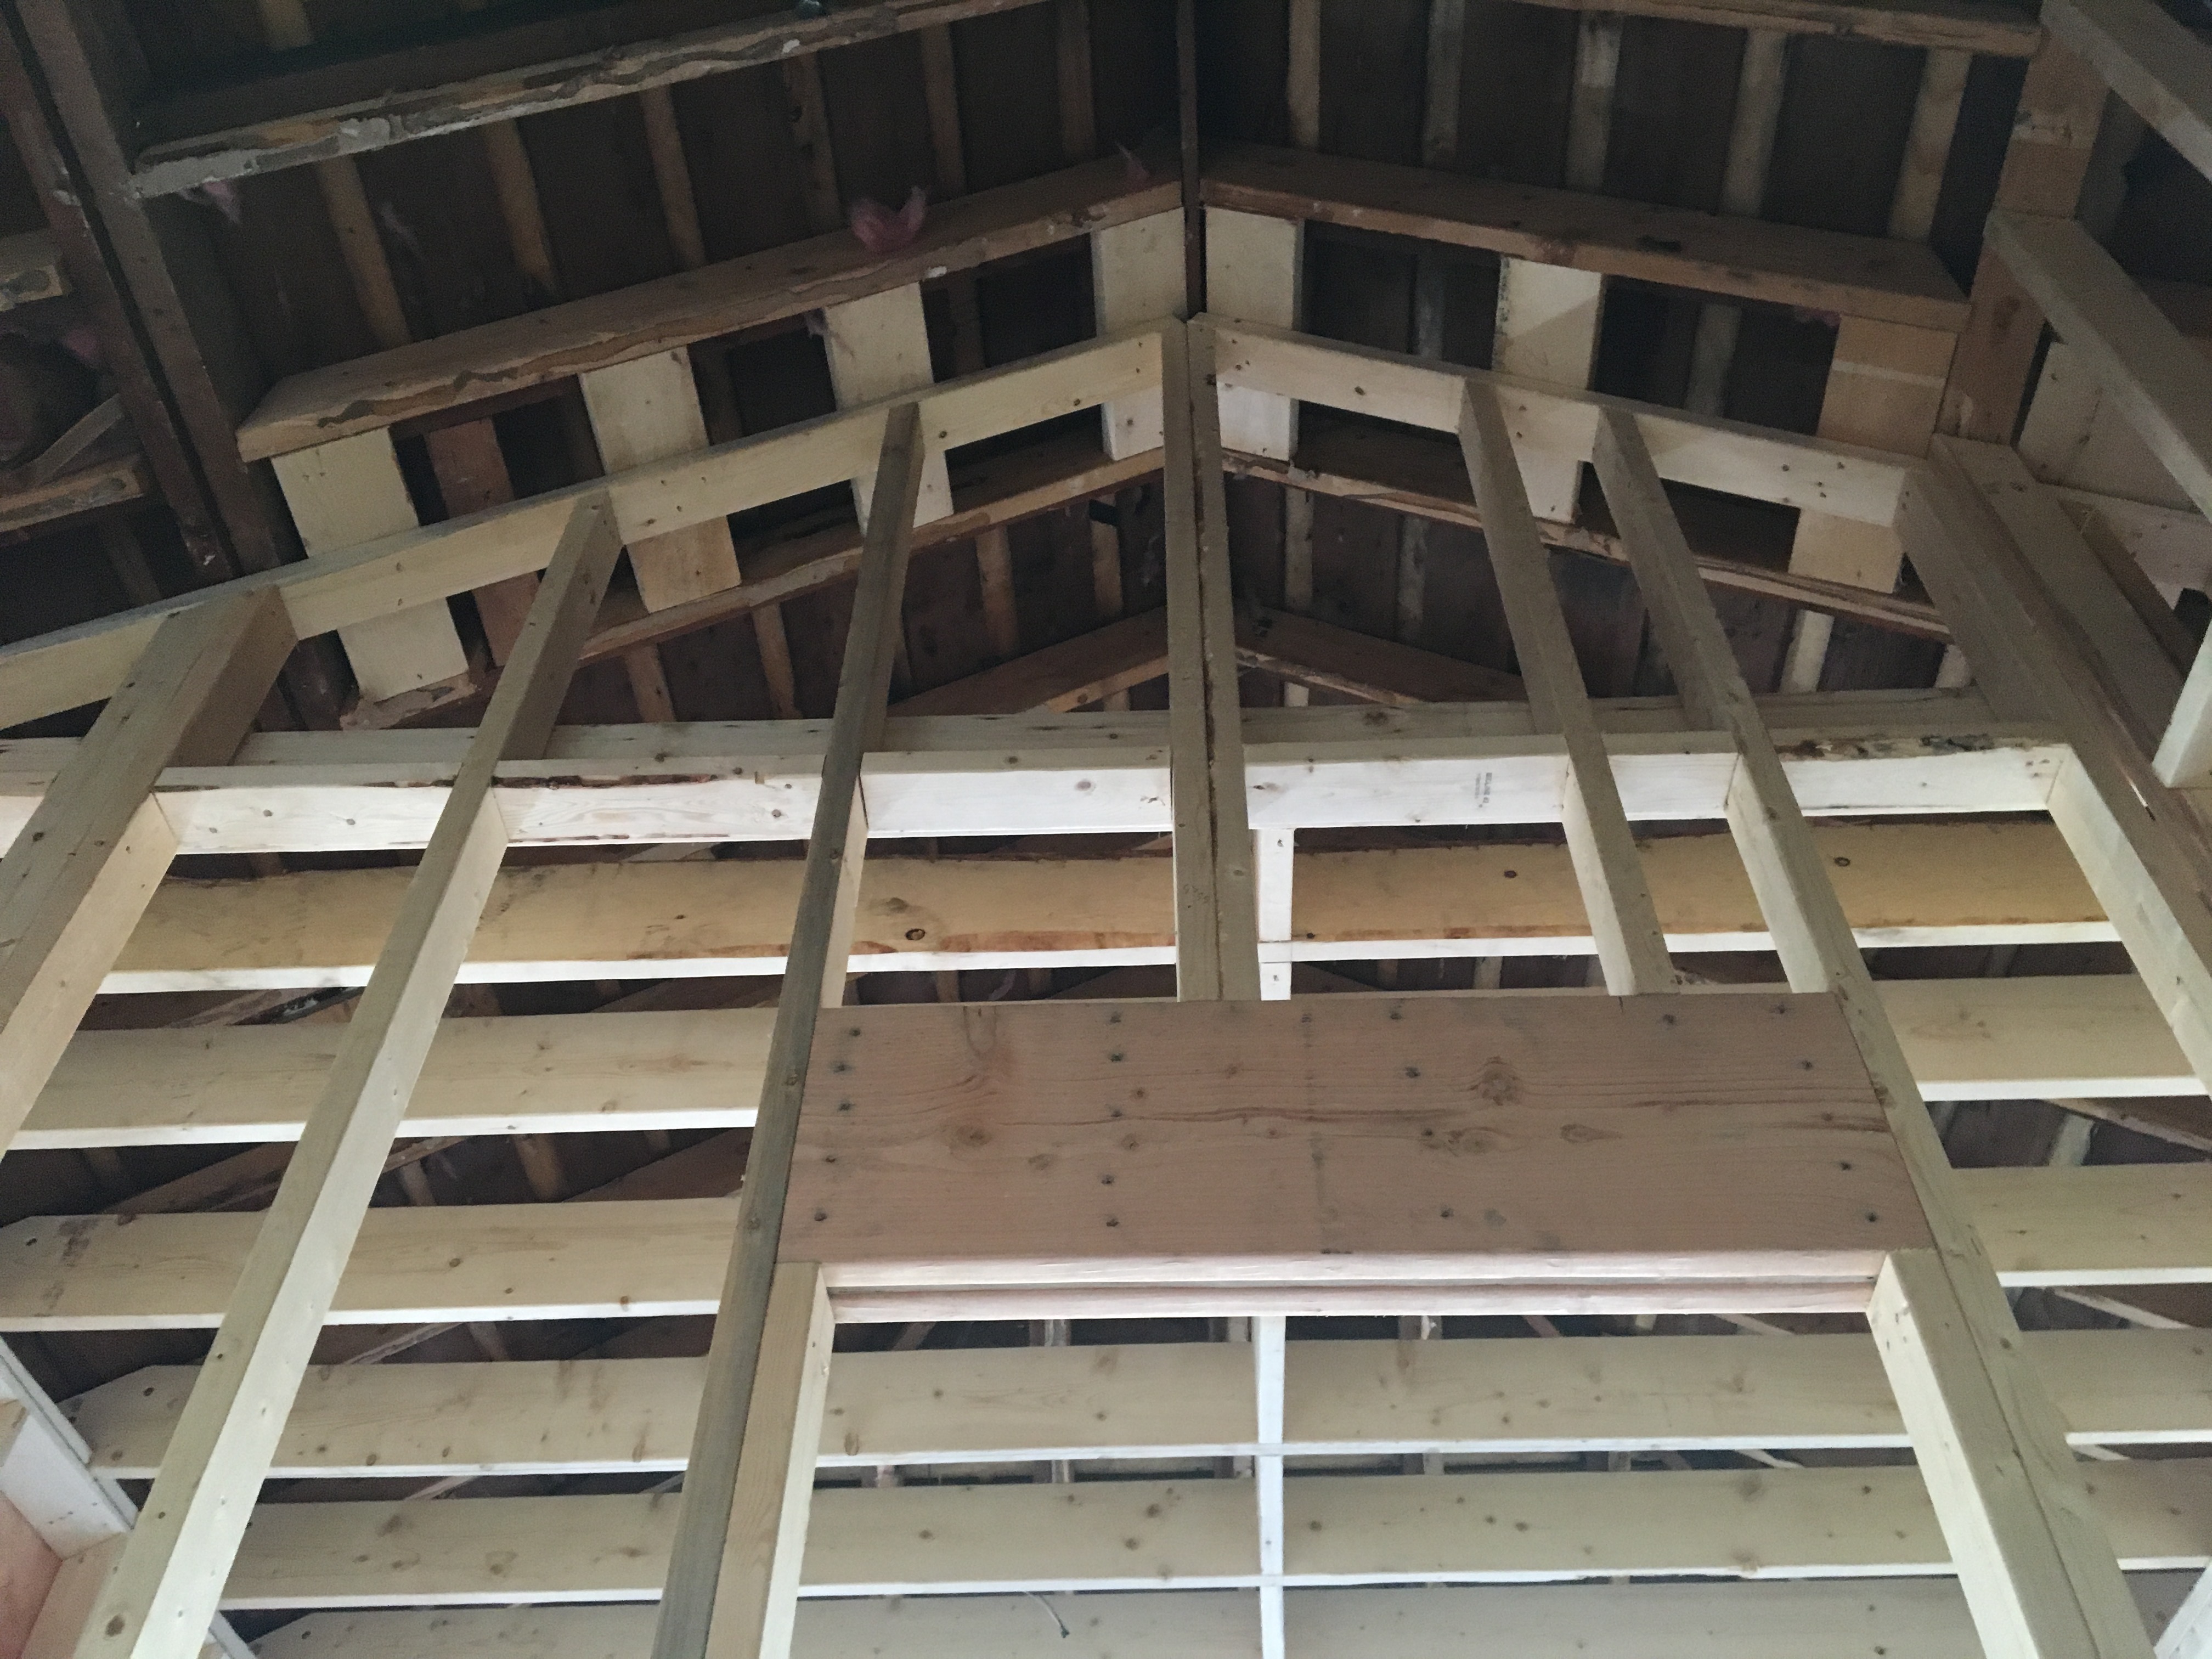
Then, collar ties were installed. This means we are losing the cathedral ceiling, but this will still be a very high ceiling.
The master bathroom gets a ceiling. We’ll have to find some slim can lights.
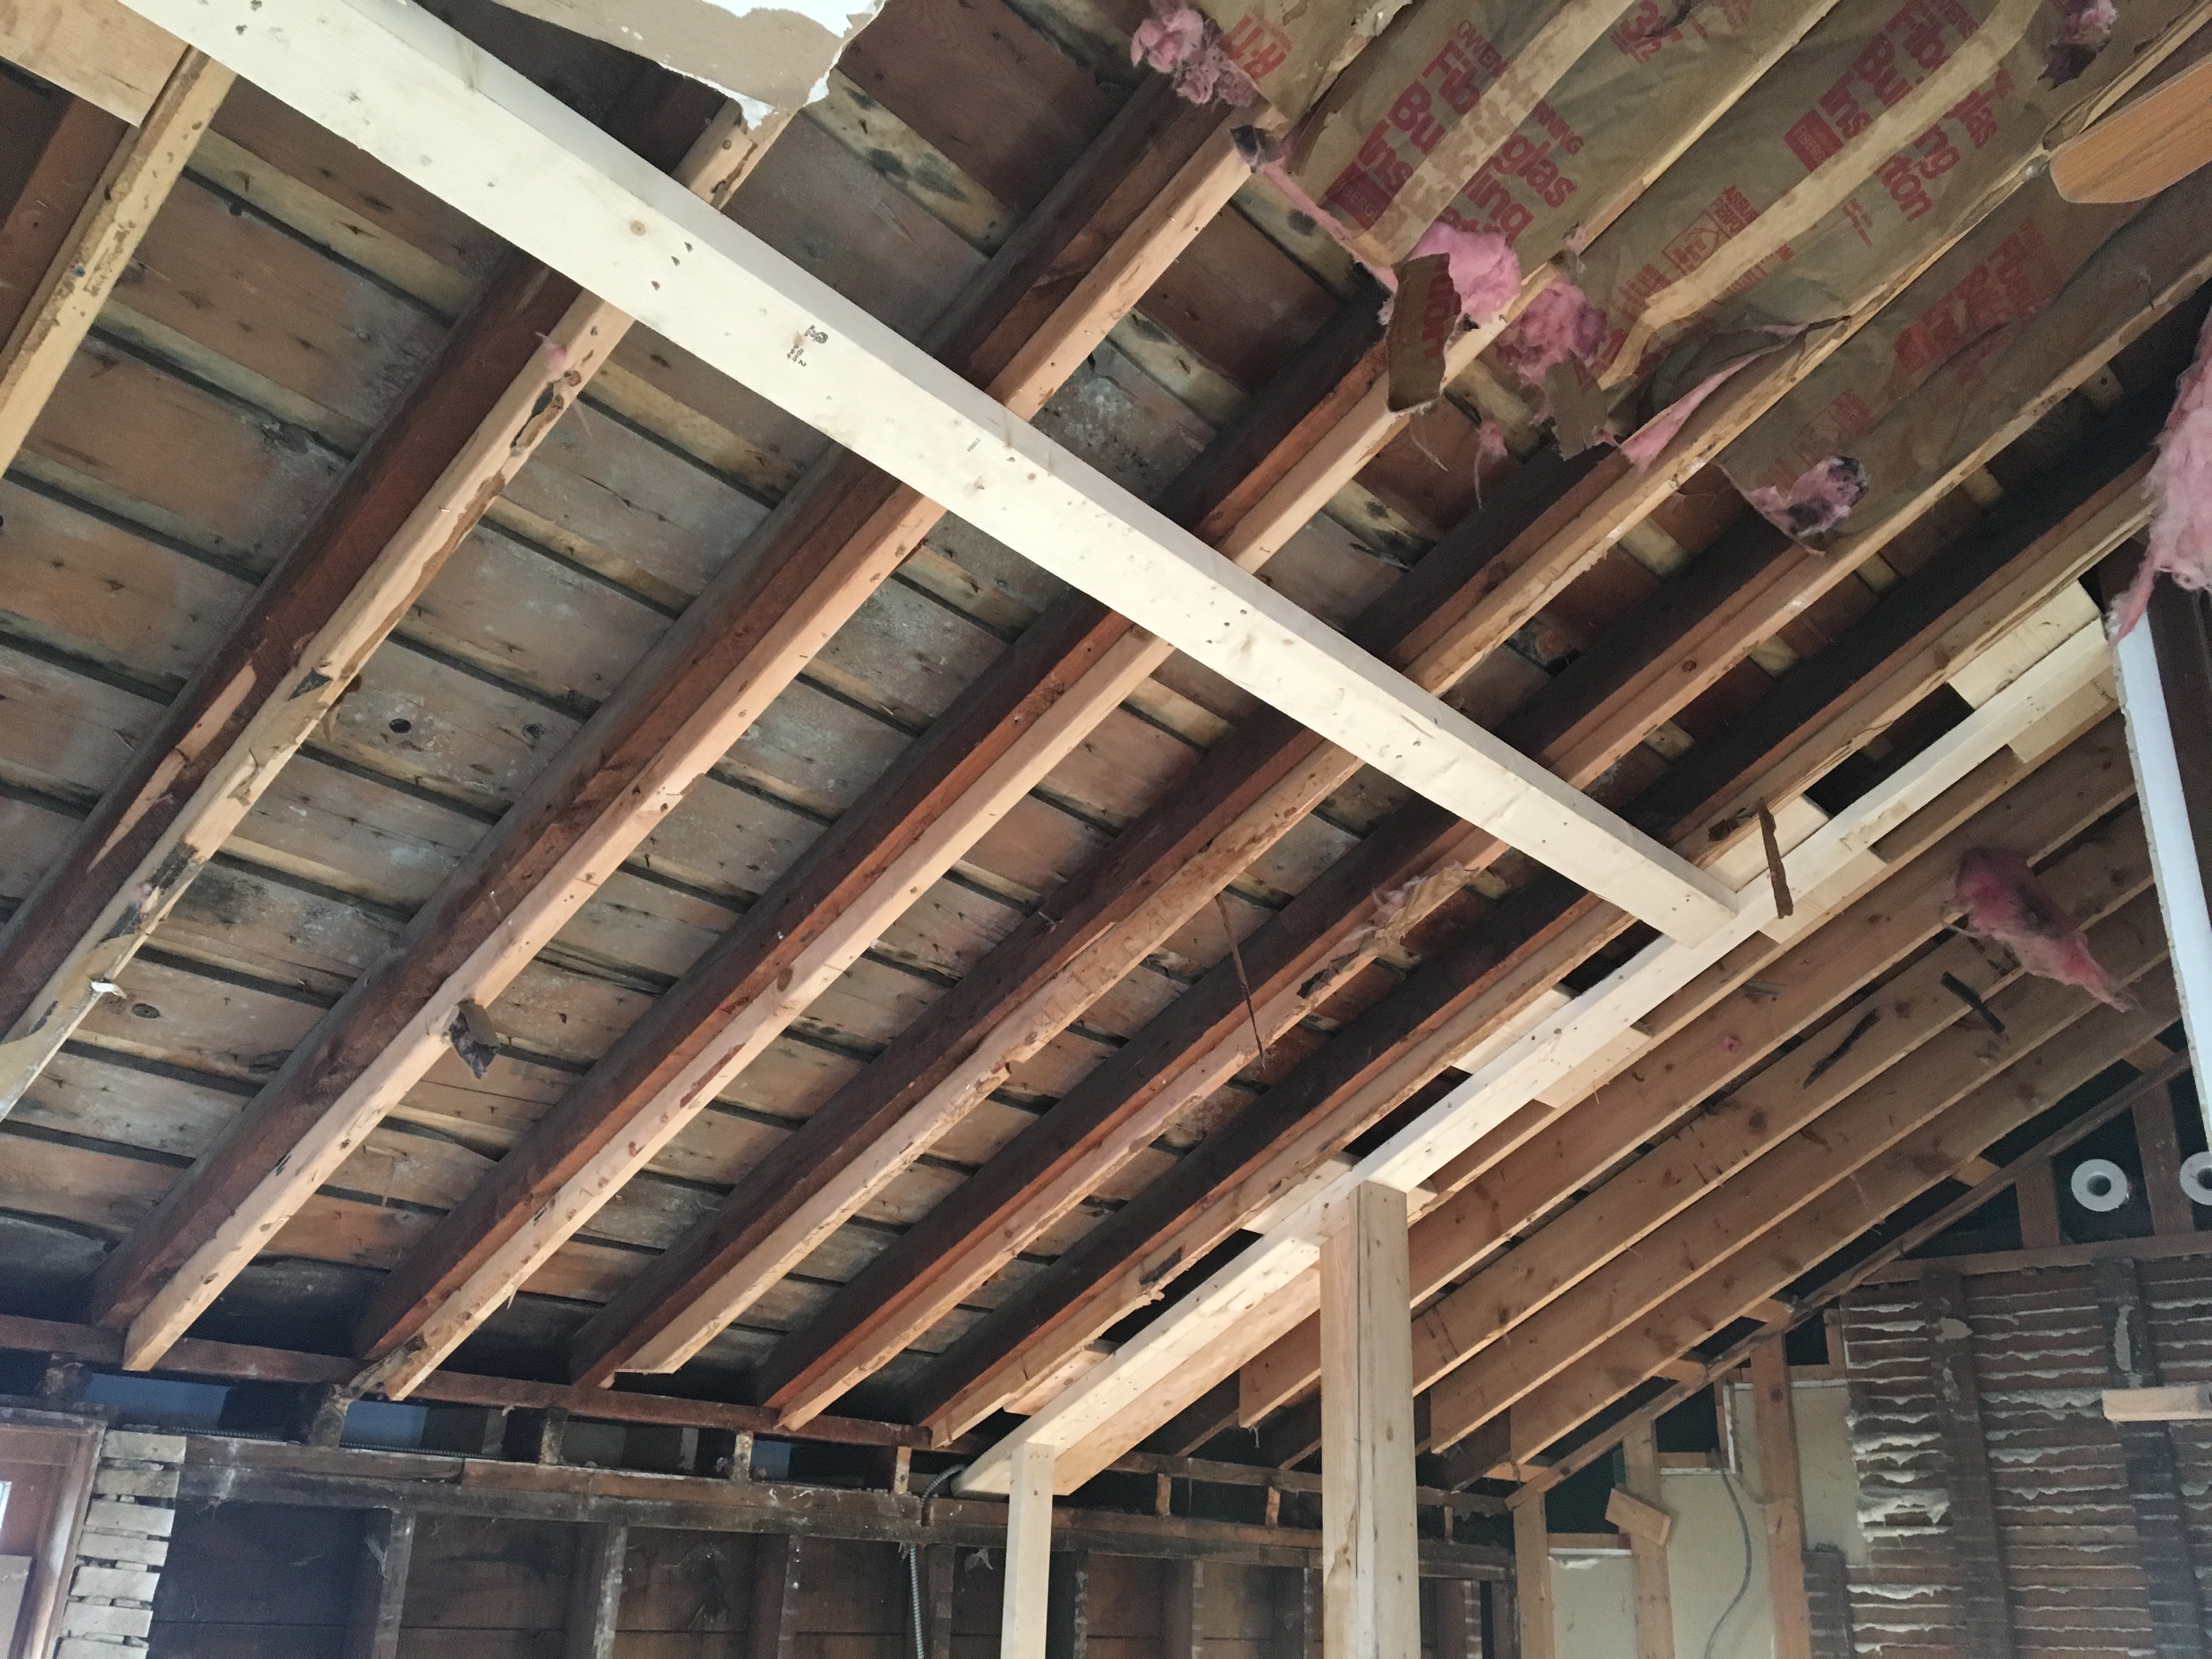
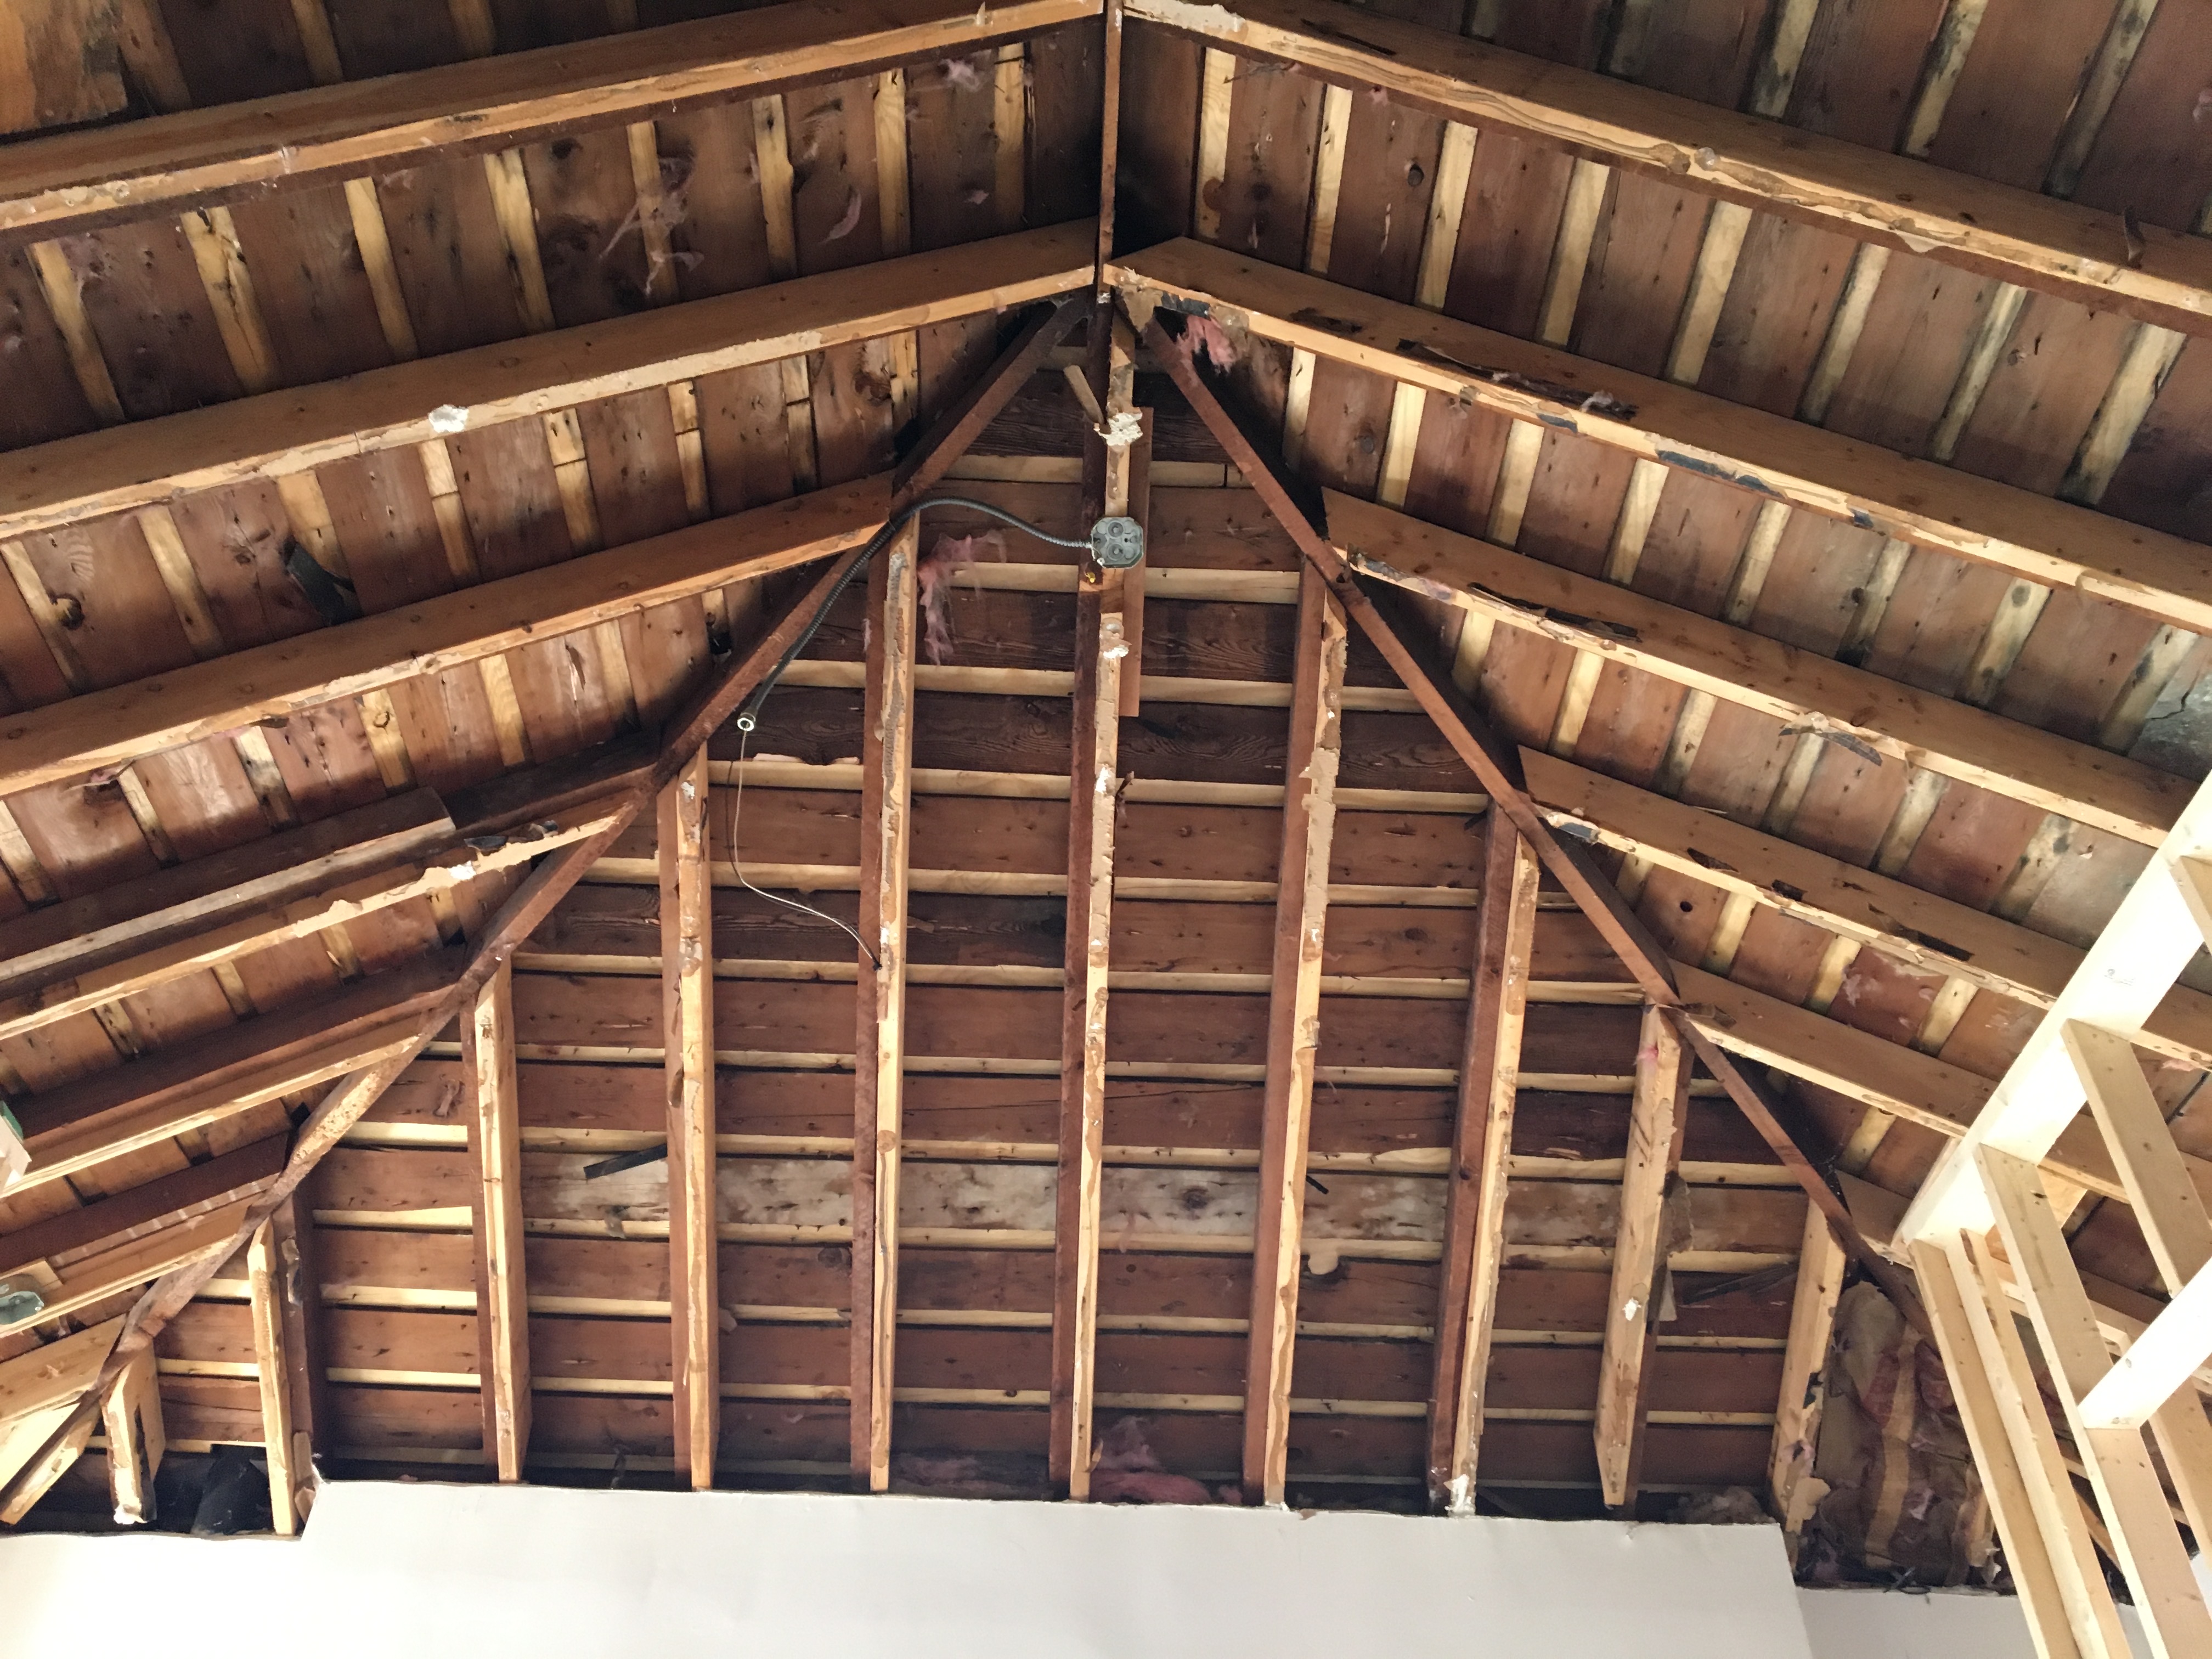
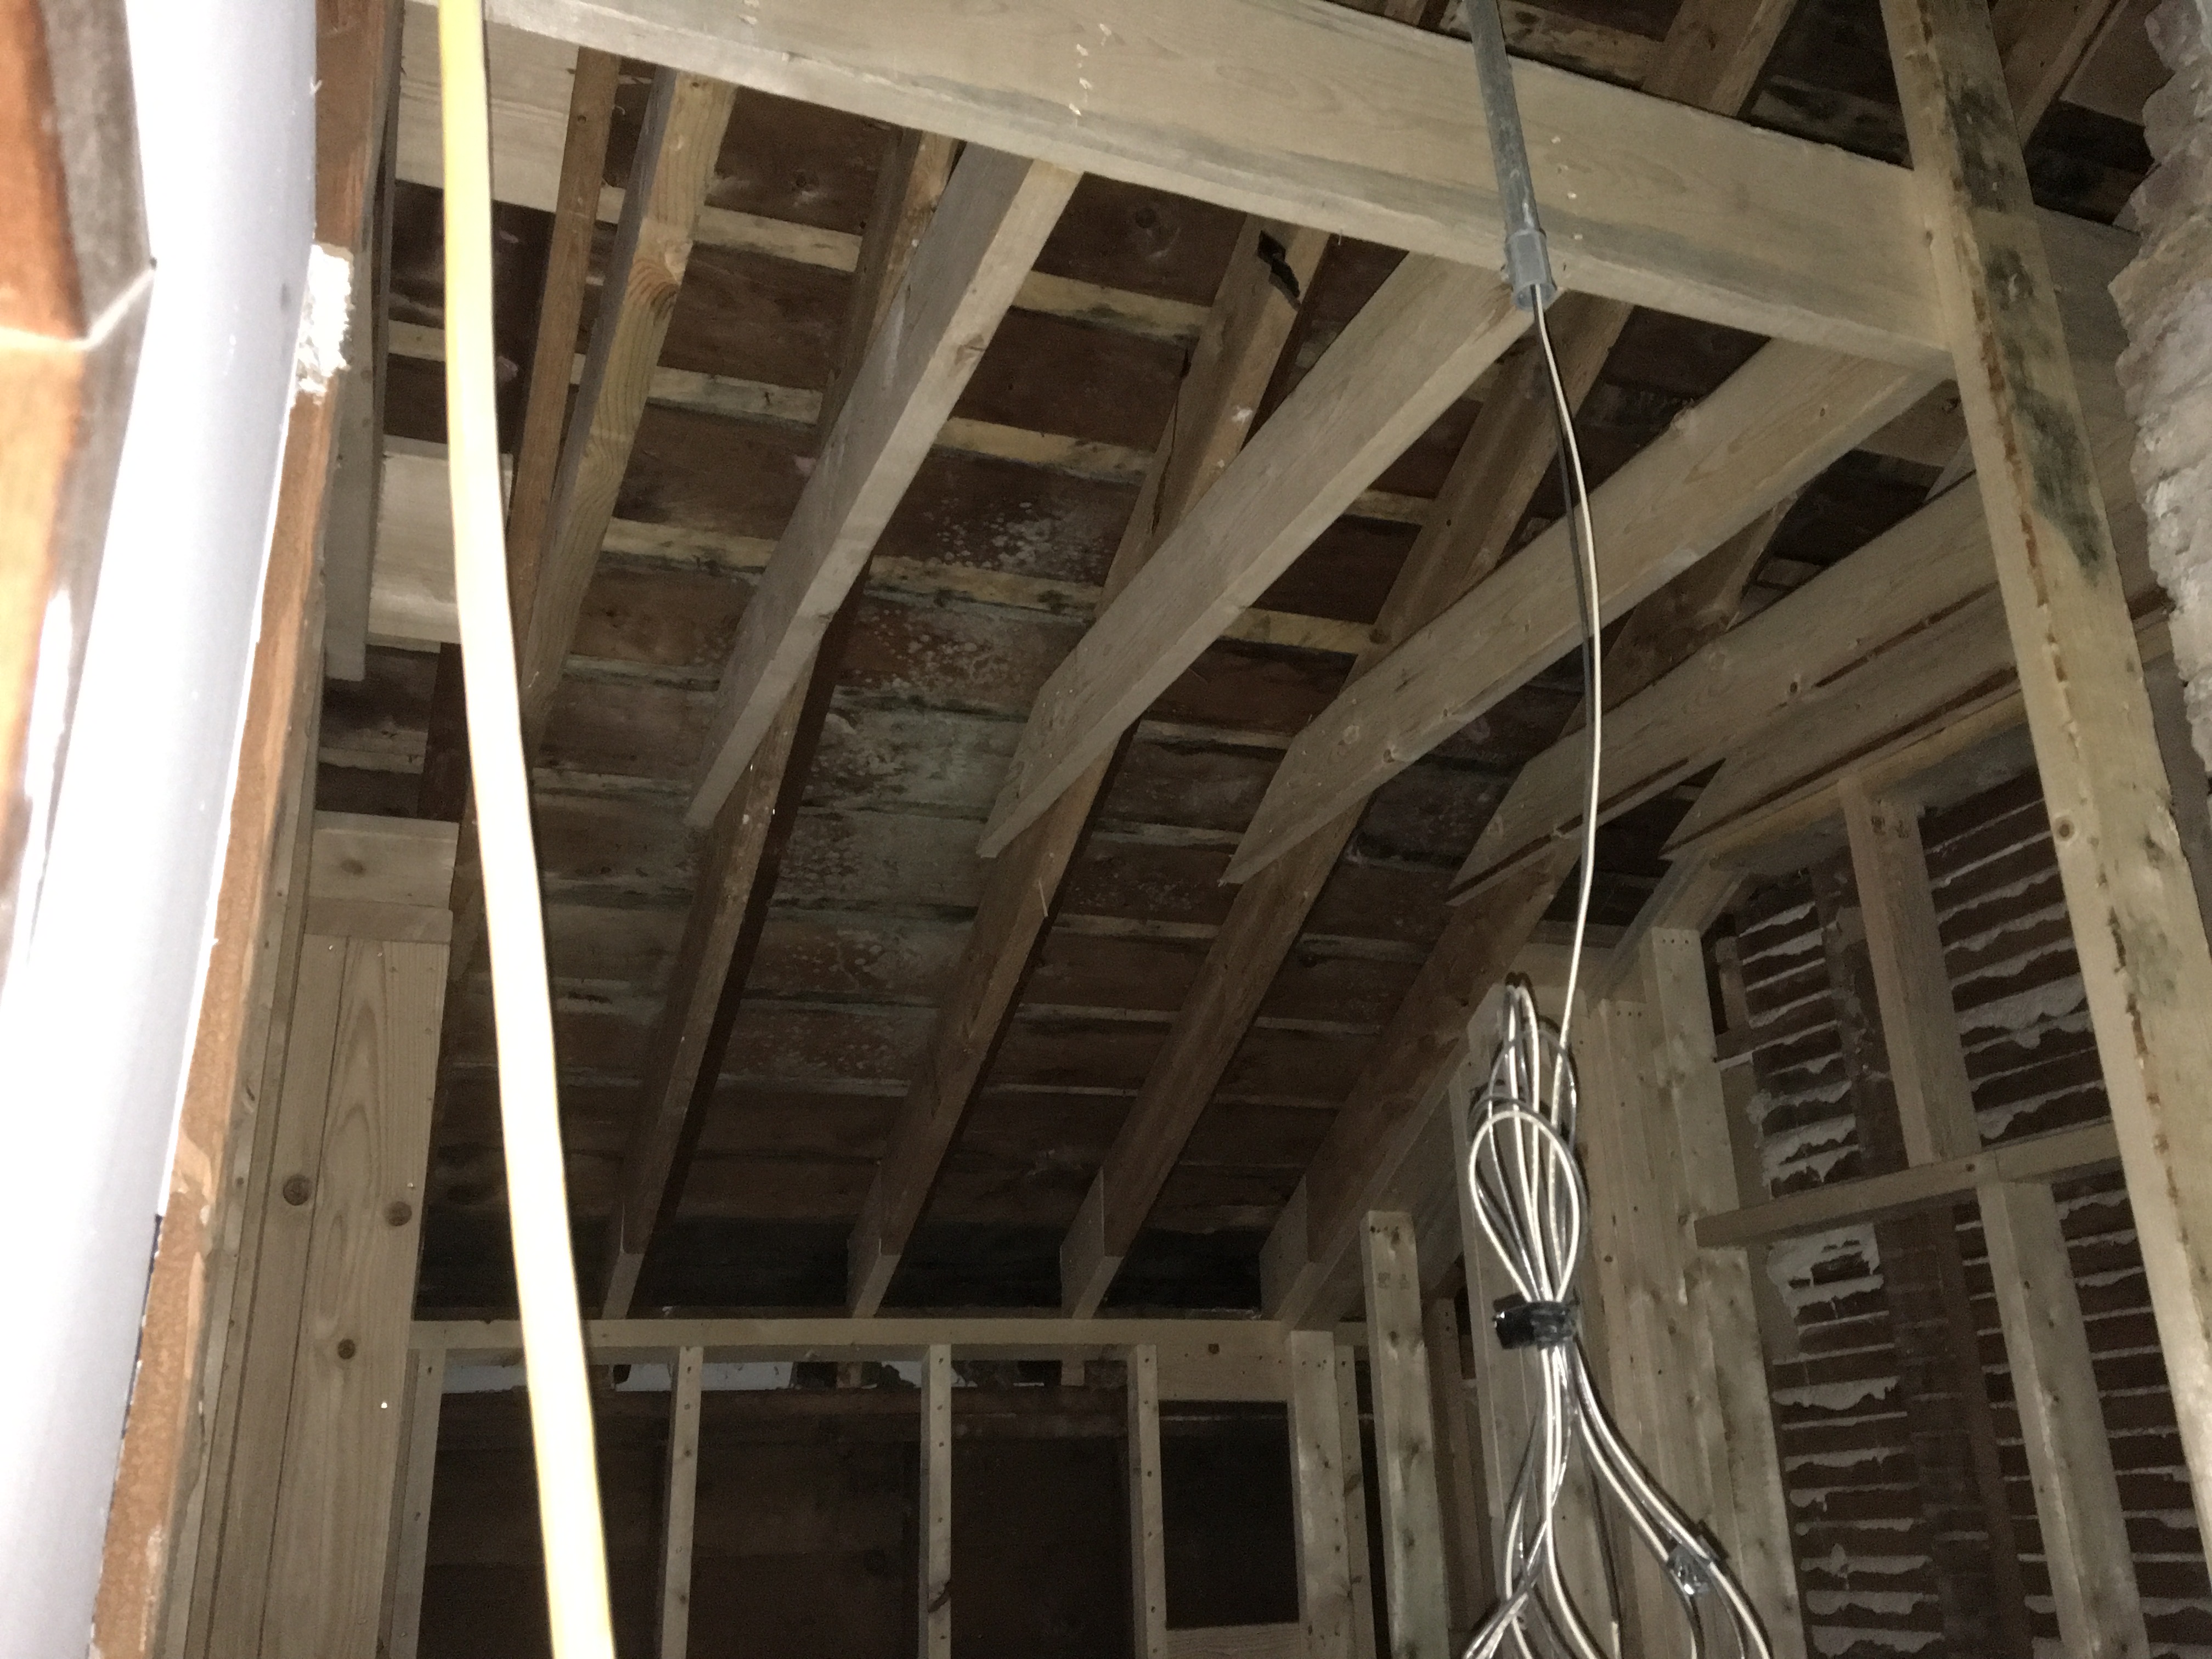
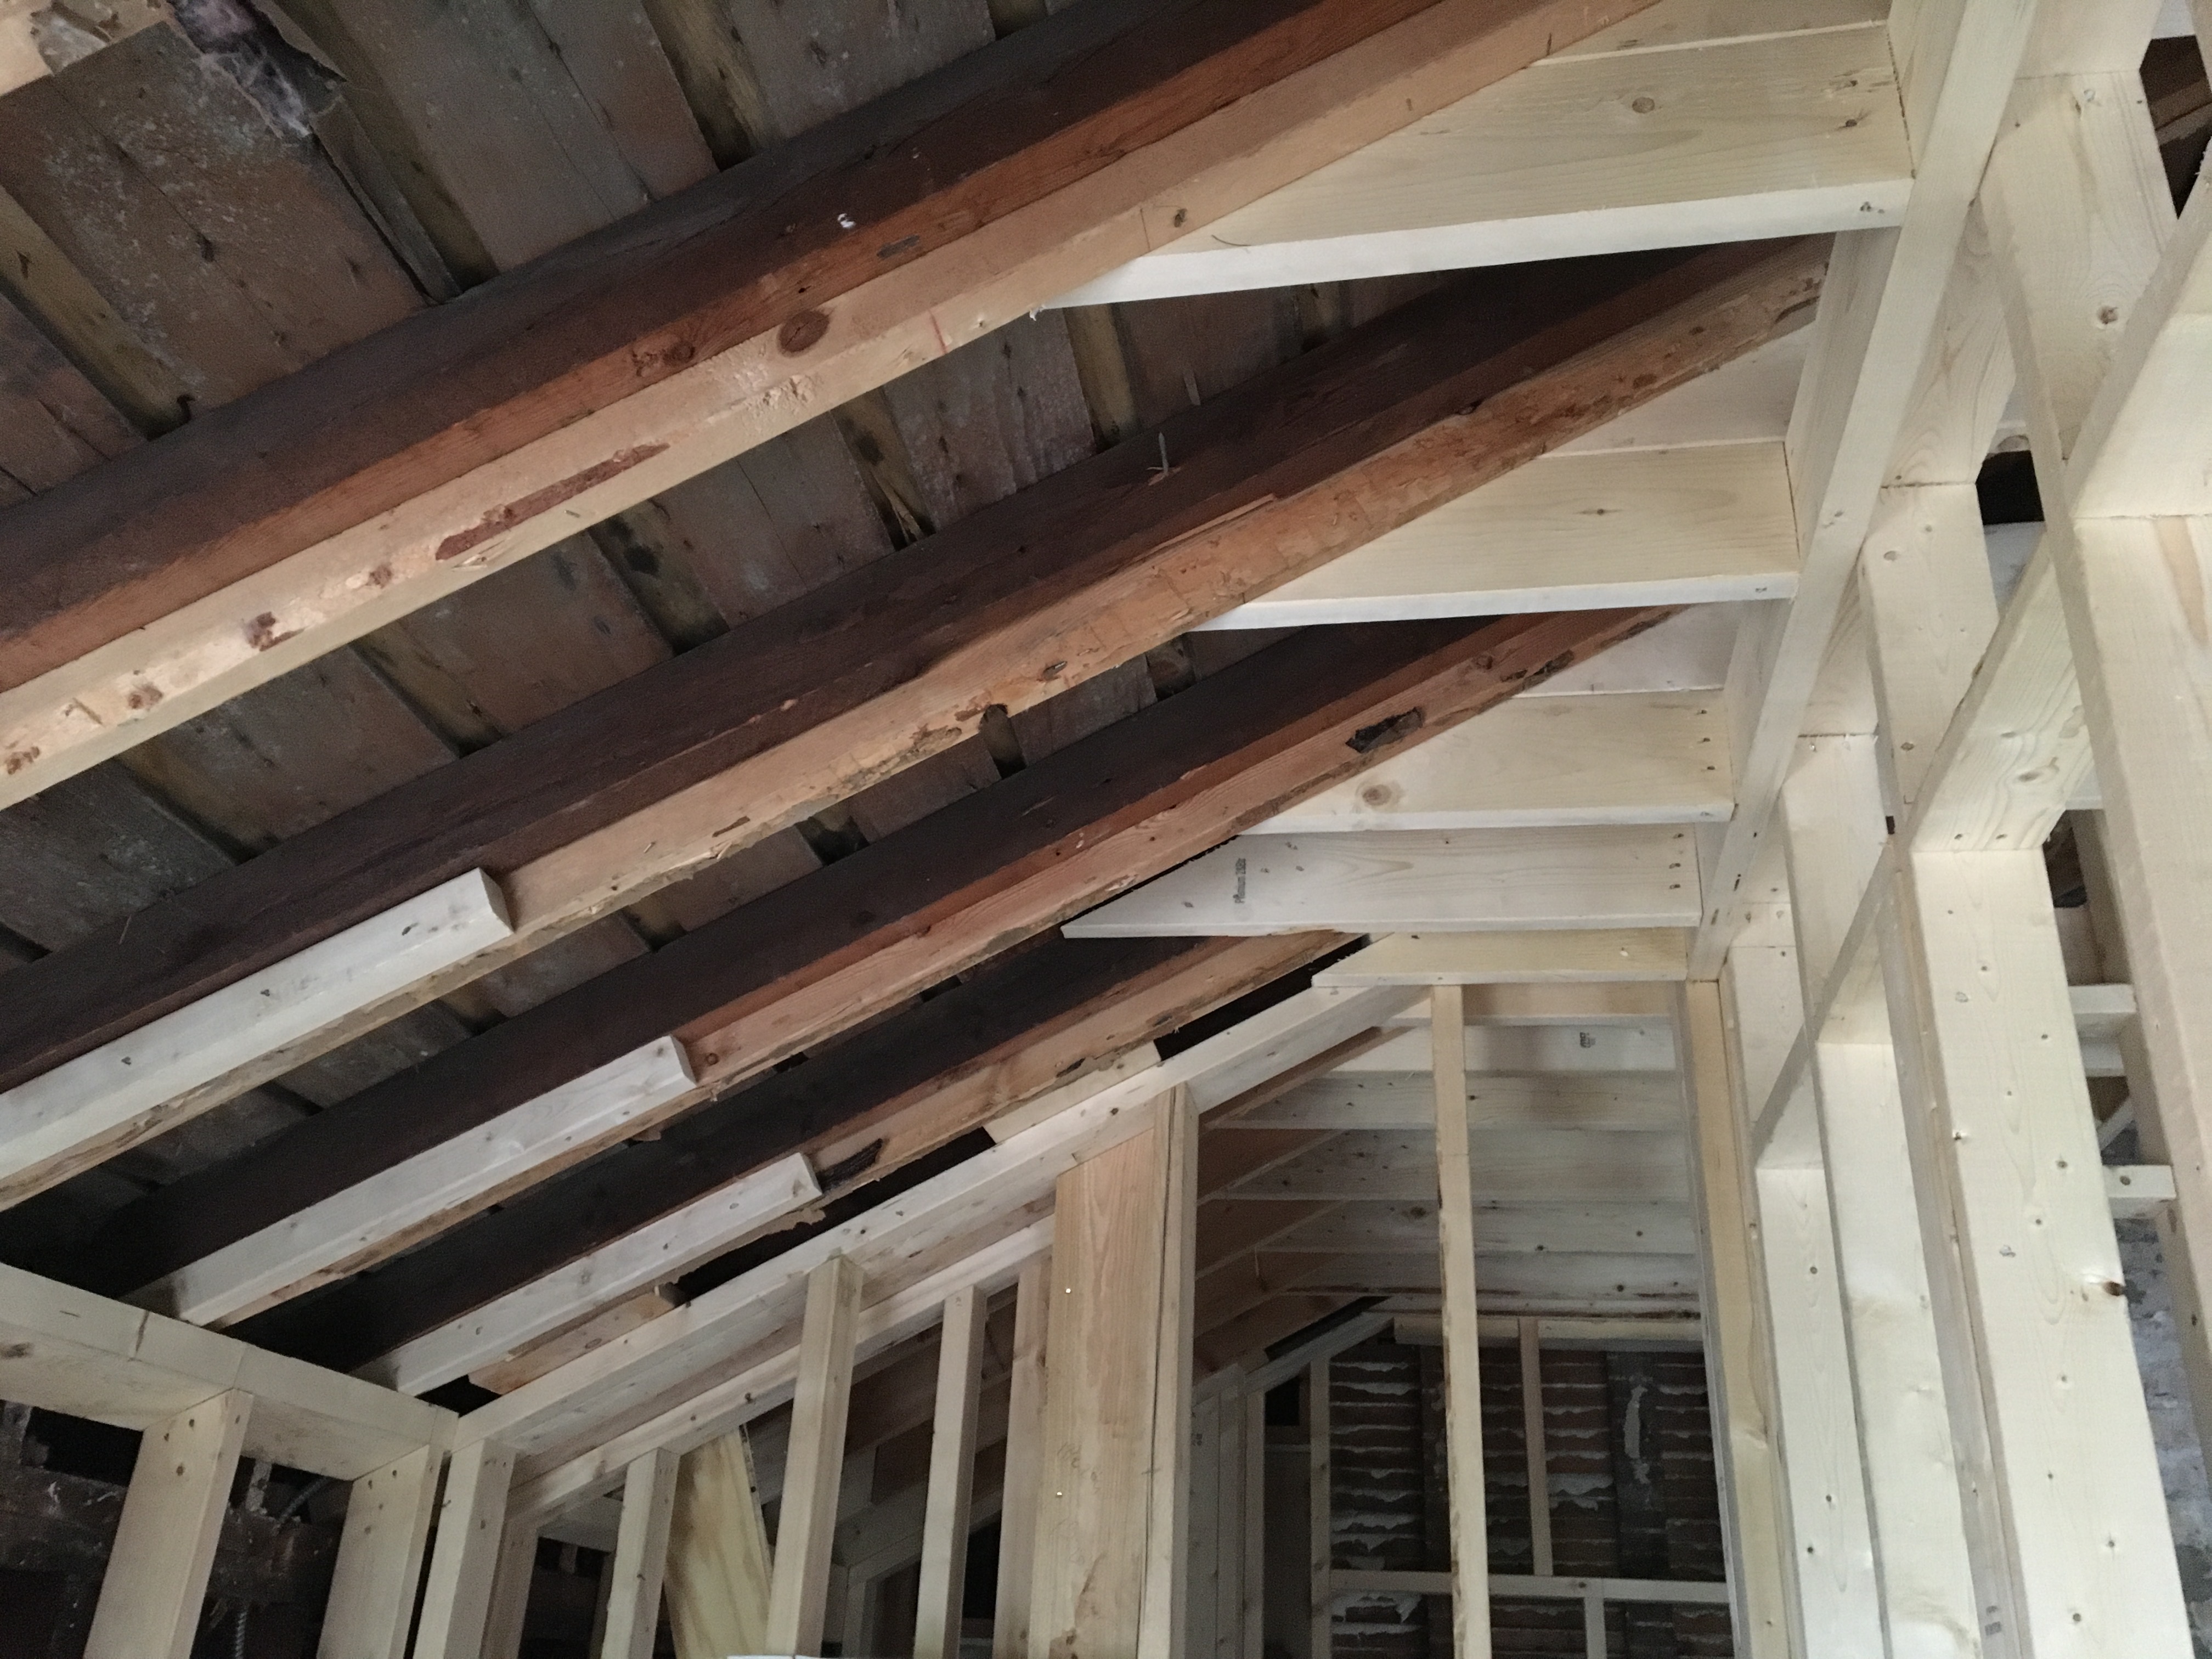
Below you can see how out-of-level the roof is. The carpenters did a phenomenal job leveling the ceiling so that everything will wind up looking square and nice. If you zoom in on the photo below, you can see the chalk line that represents level. Each collar tie is resting right on that line so that our ceiling will be perfectly flat and level.
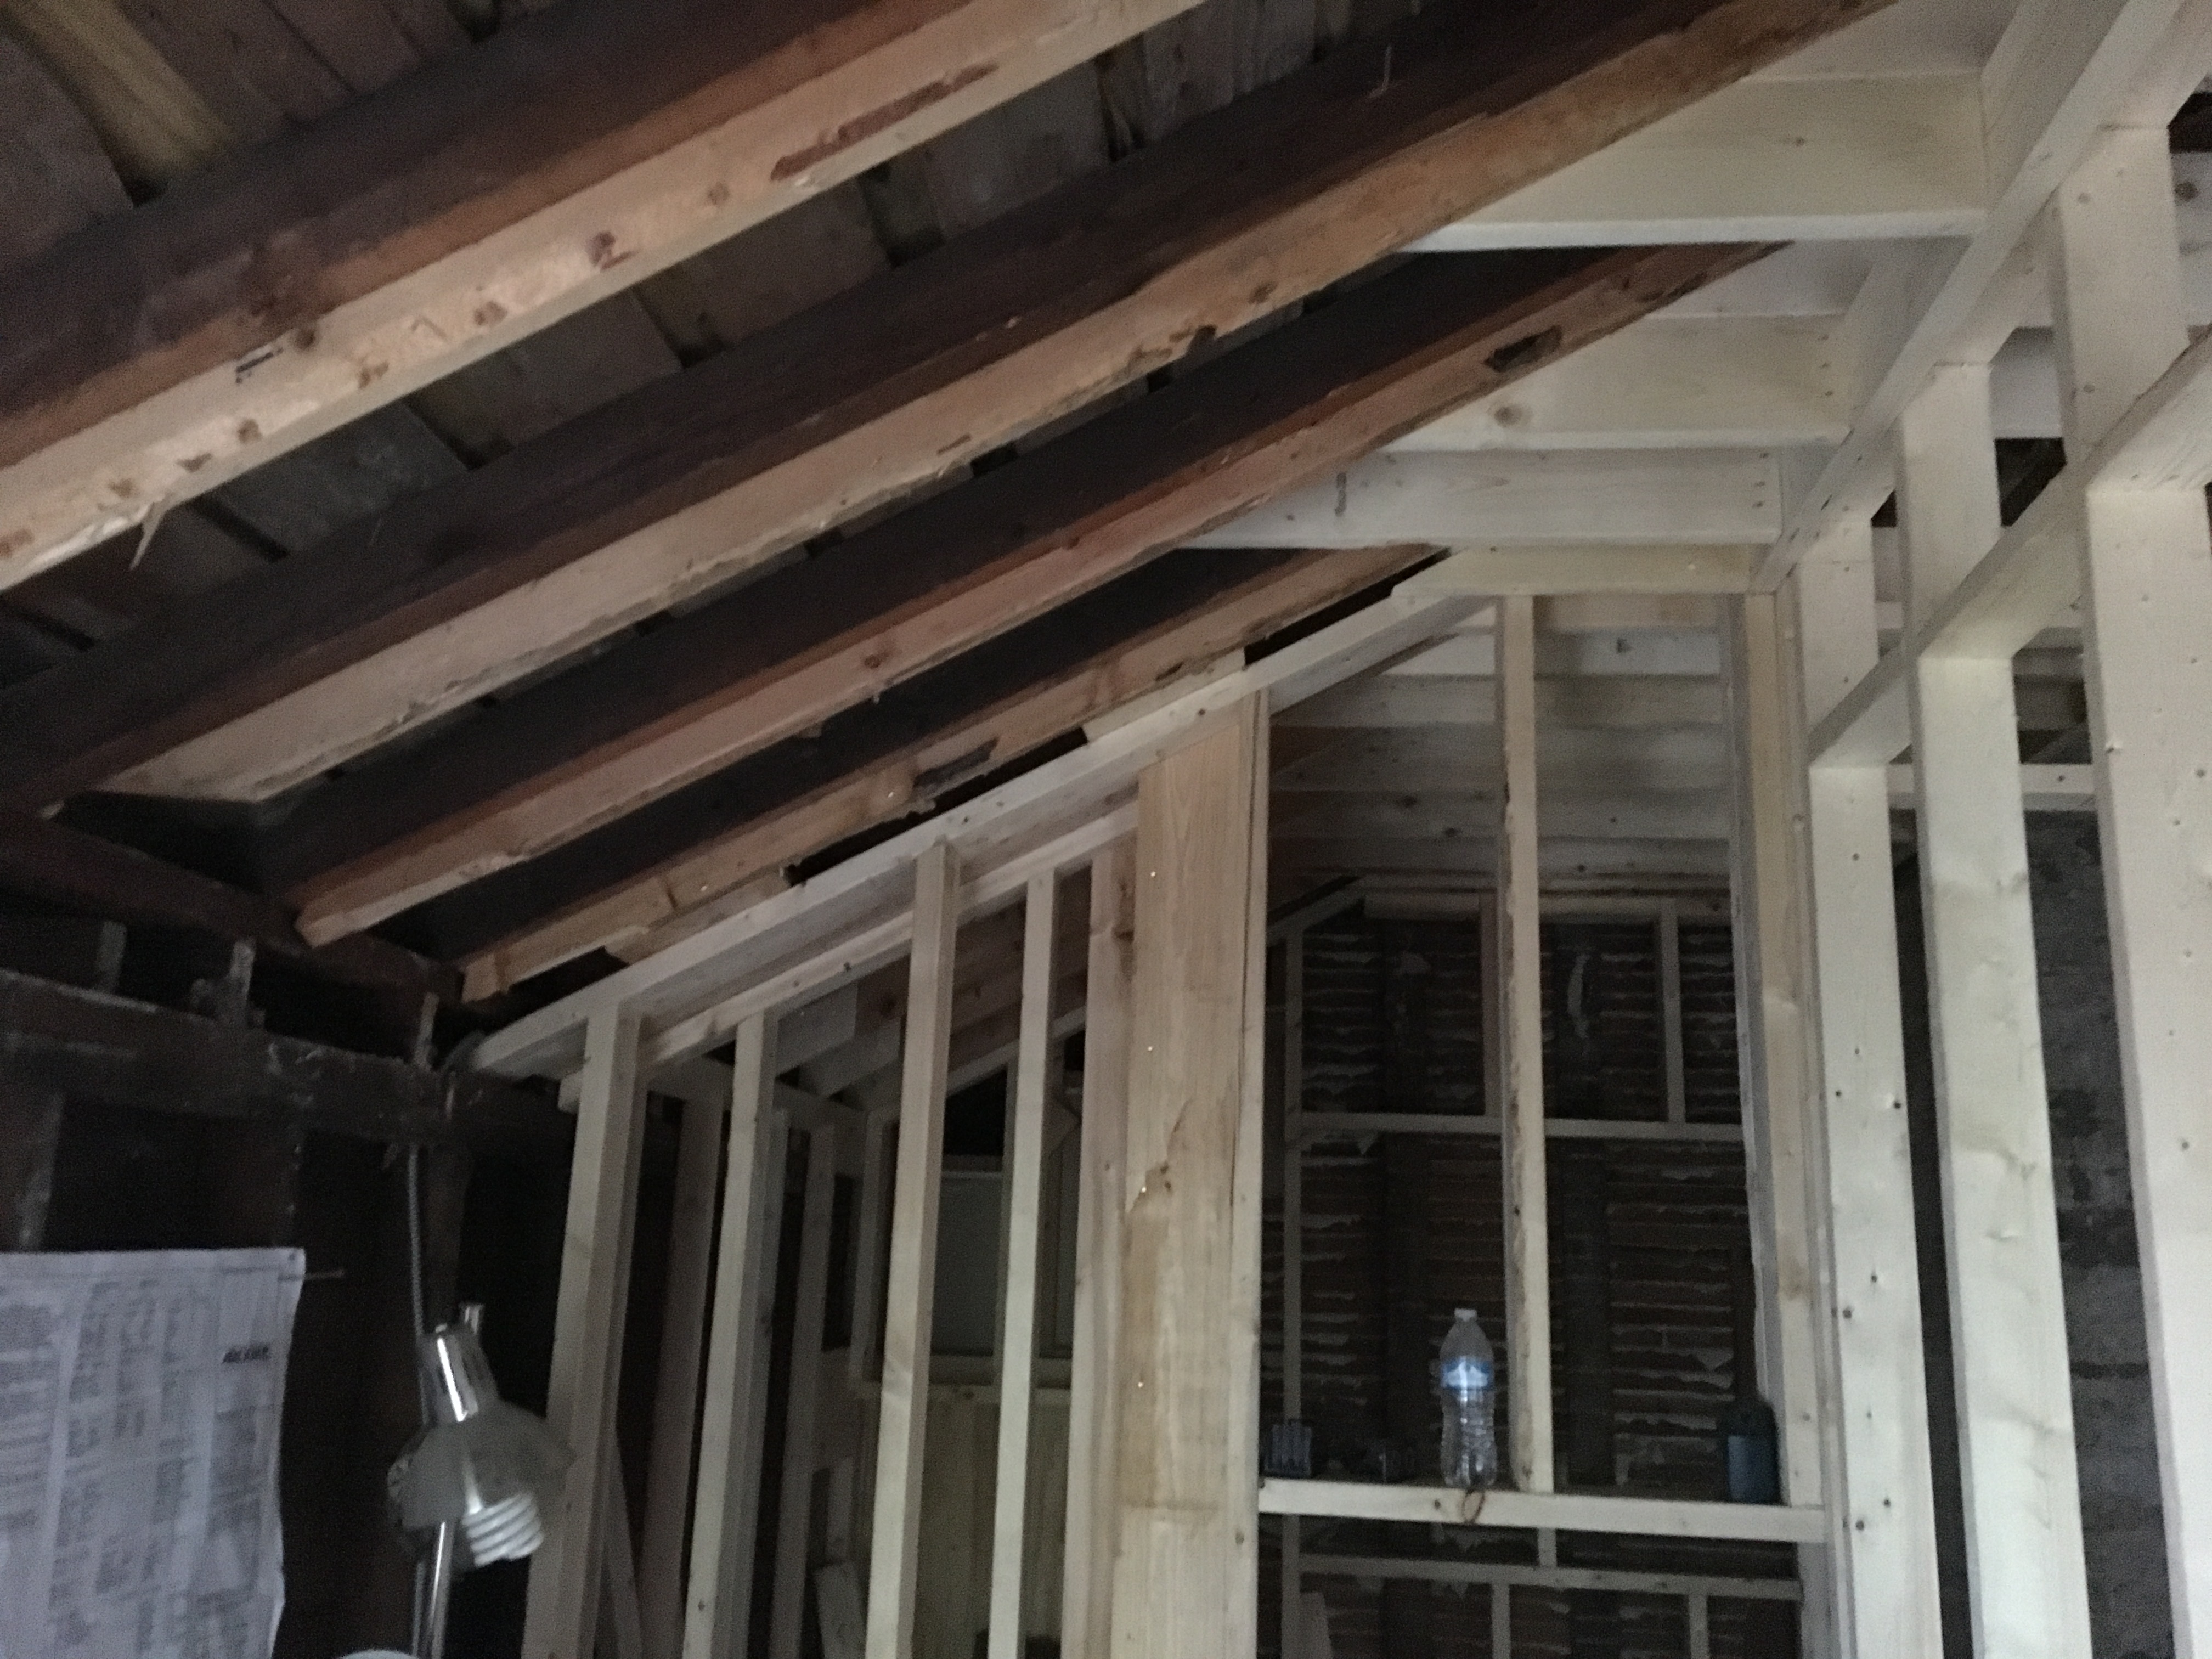
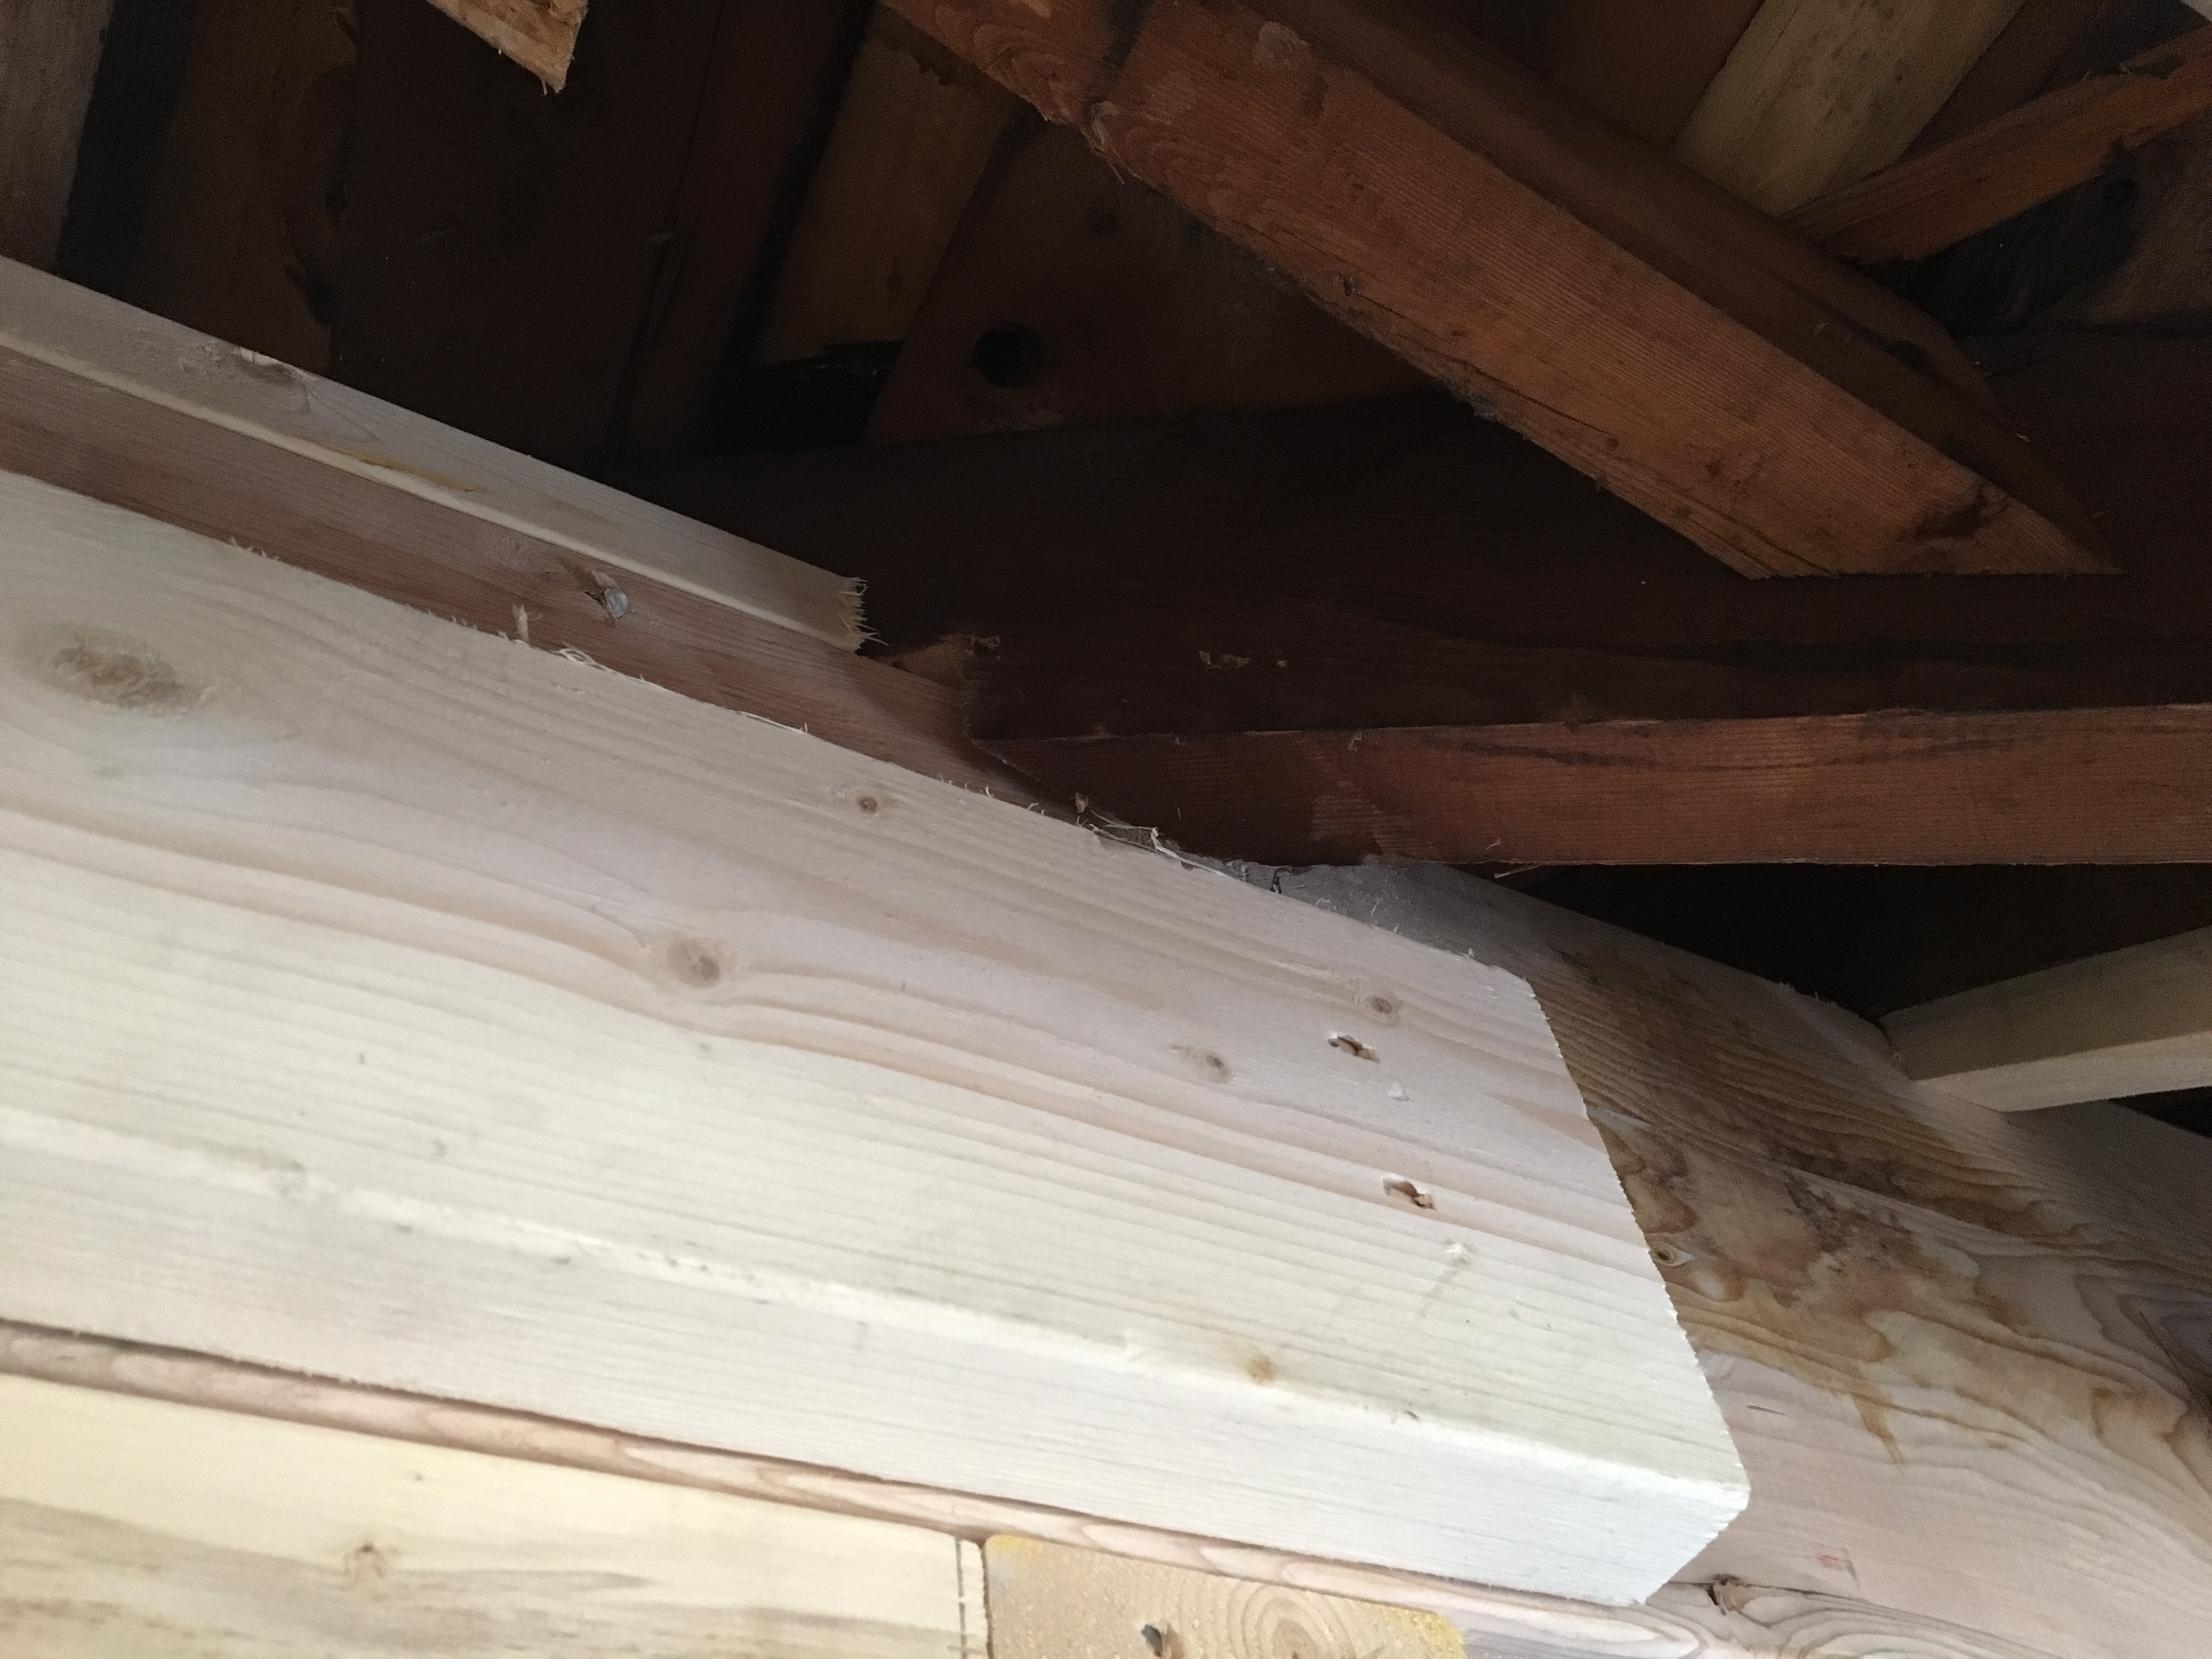
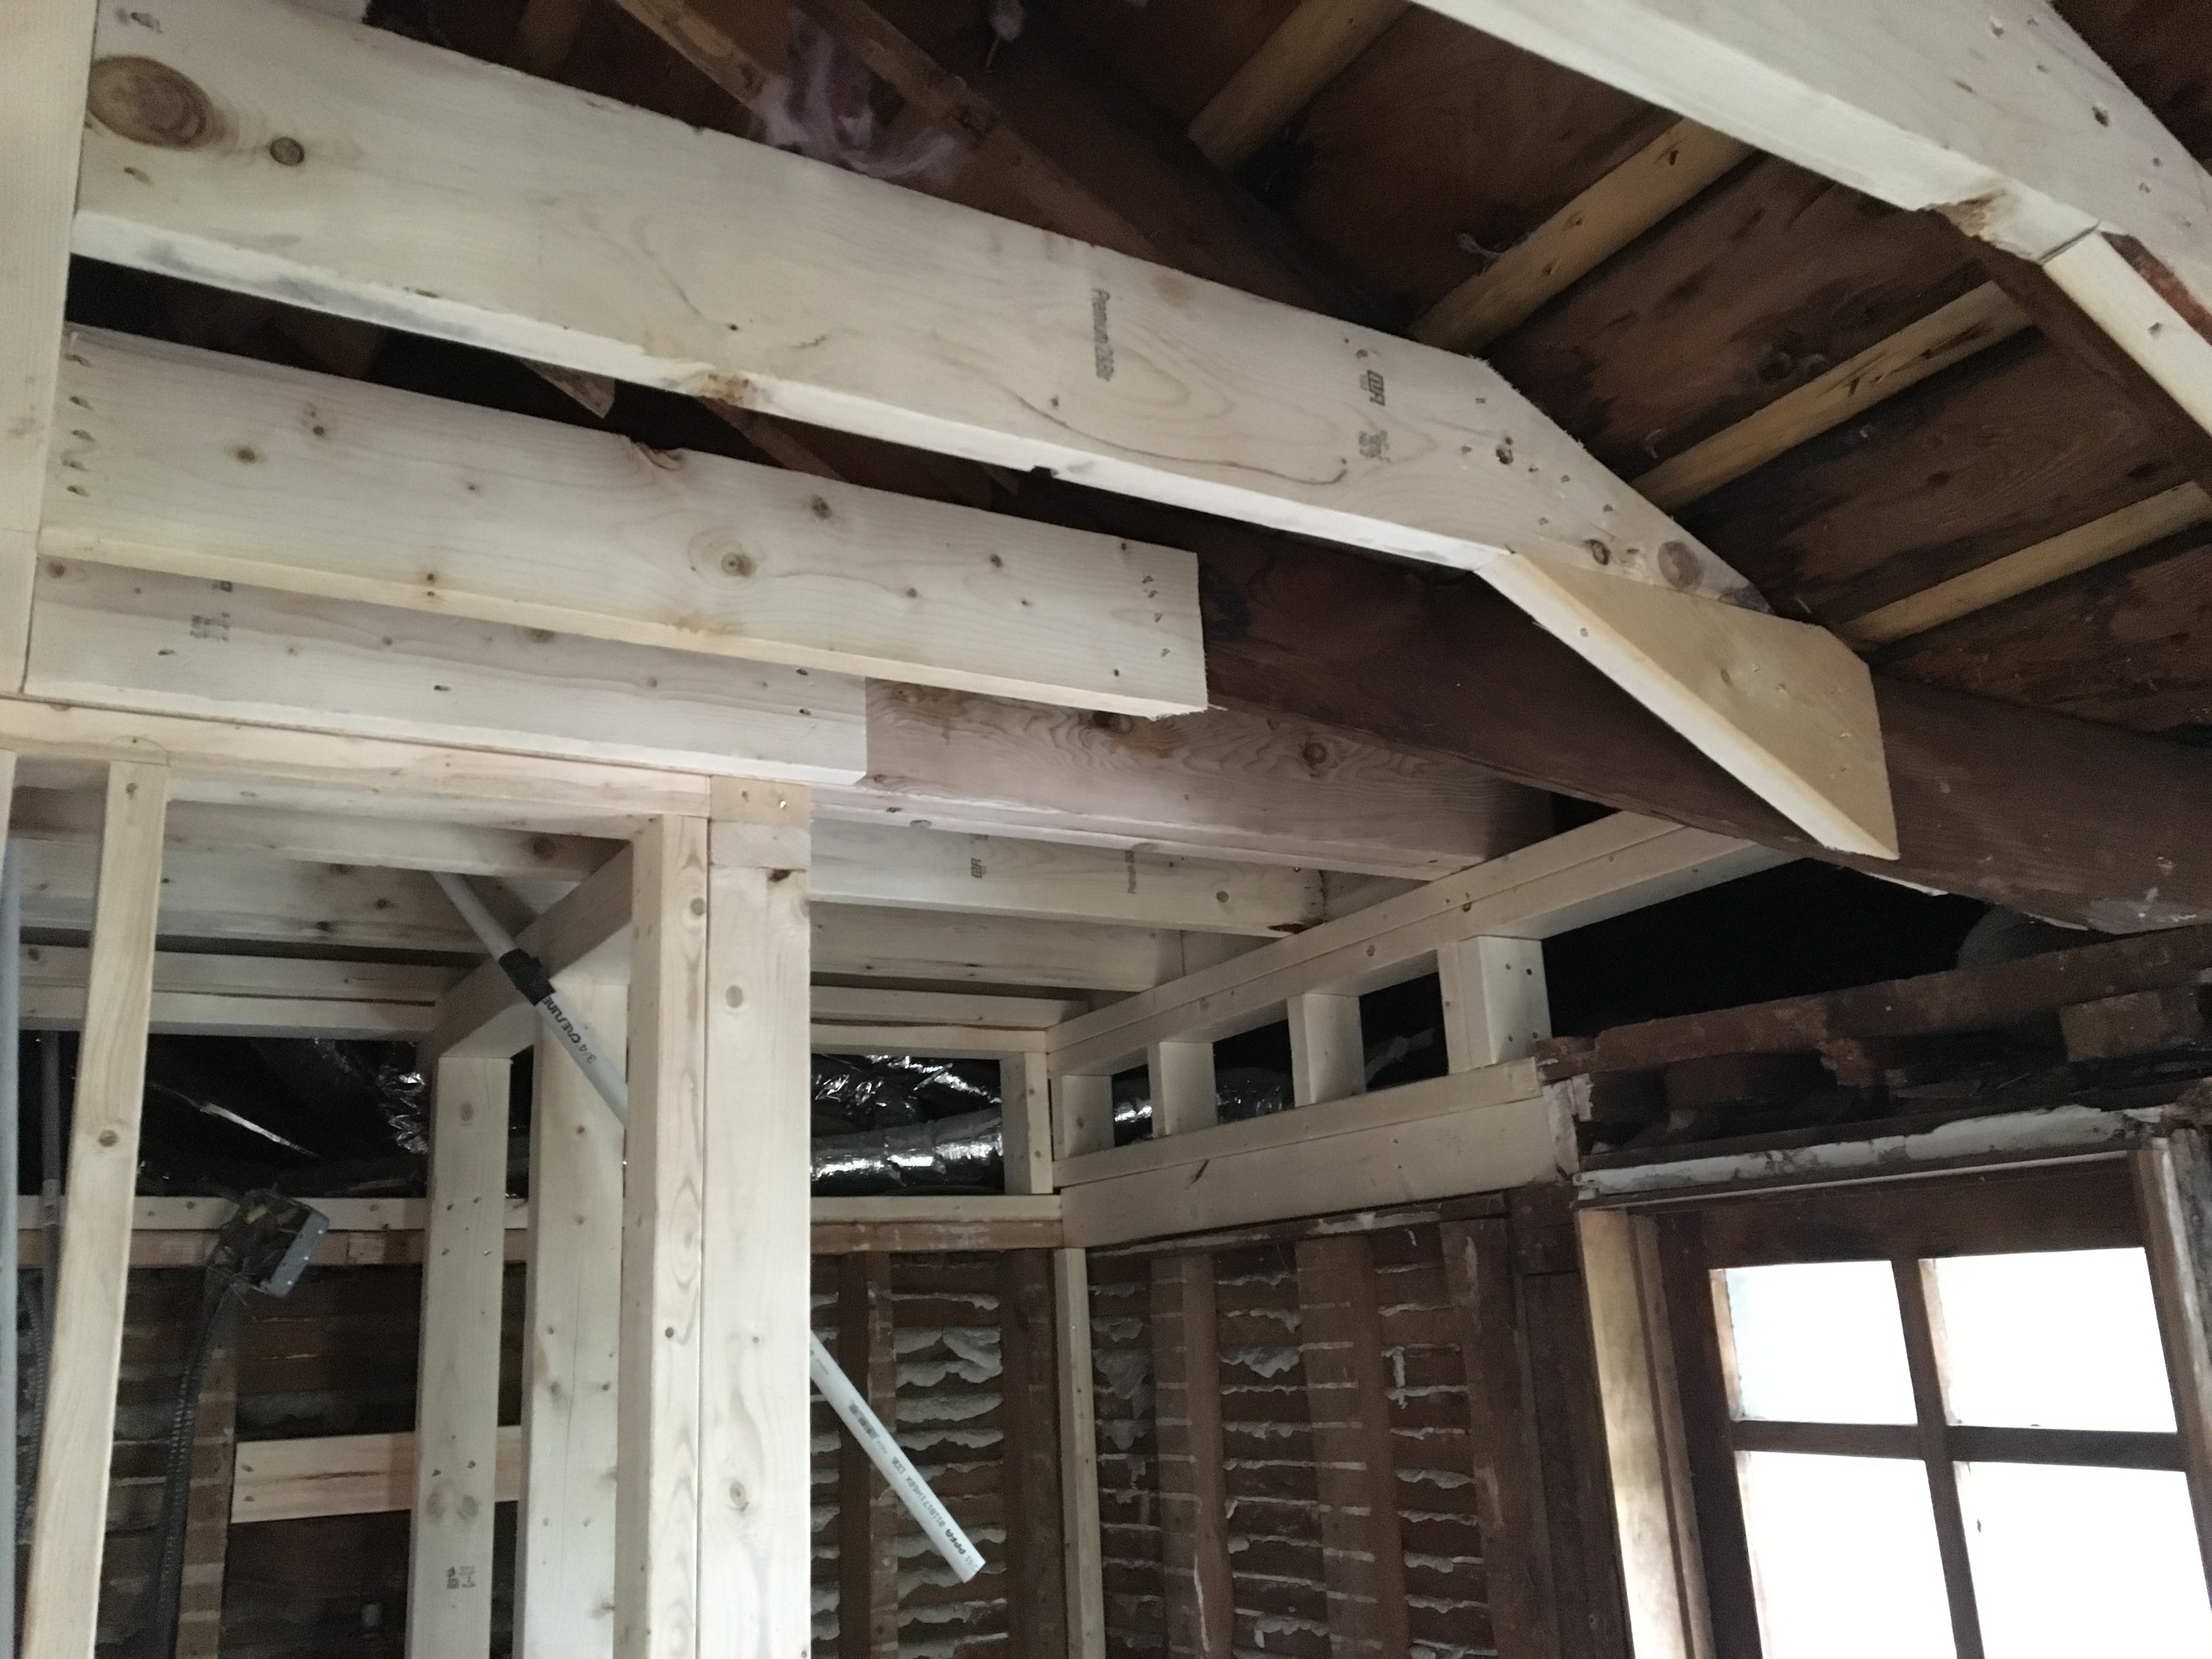
One of the roof rafters was severely notched. The carpenters built this header in the closet to support it.
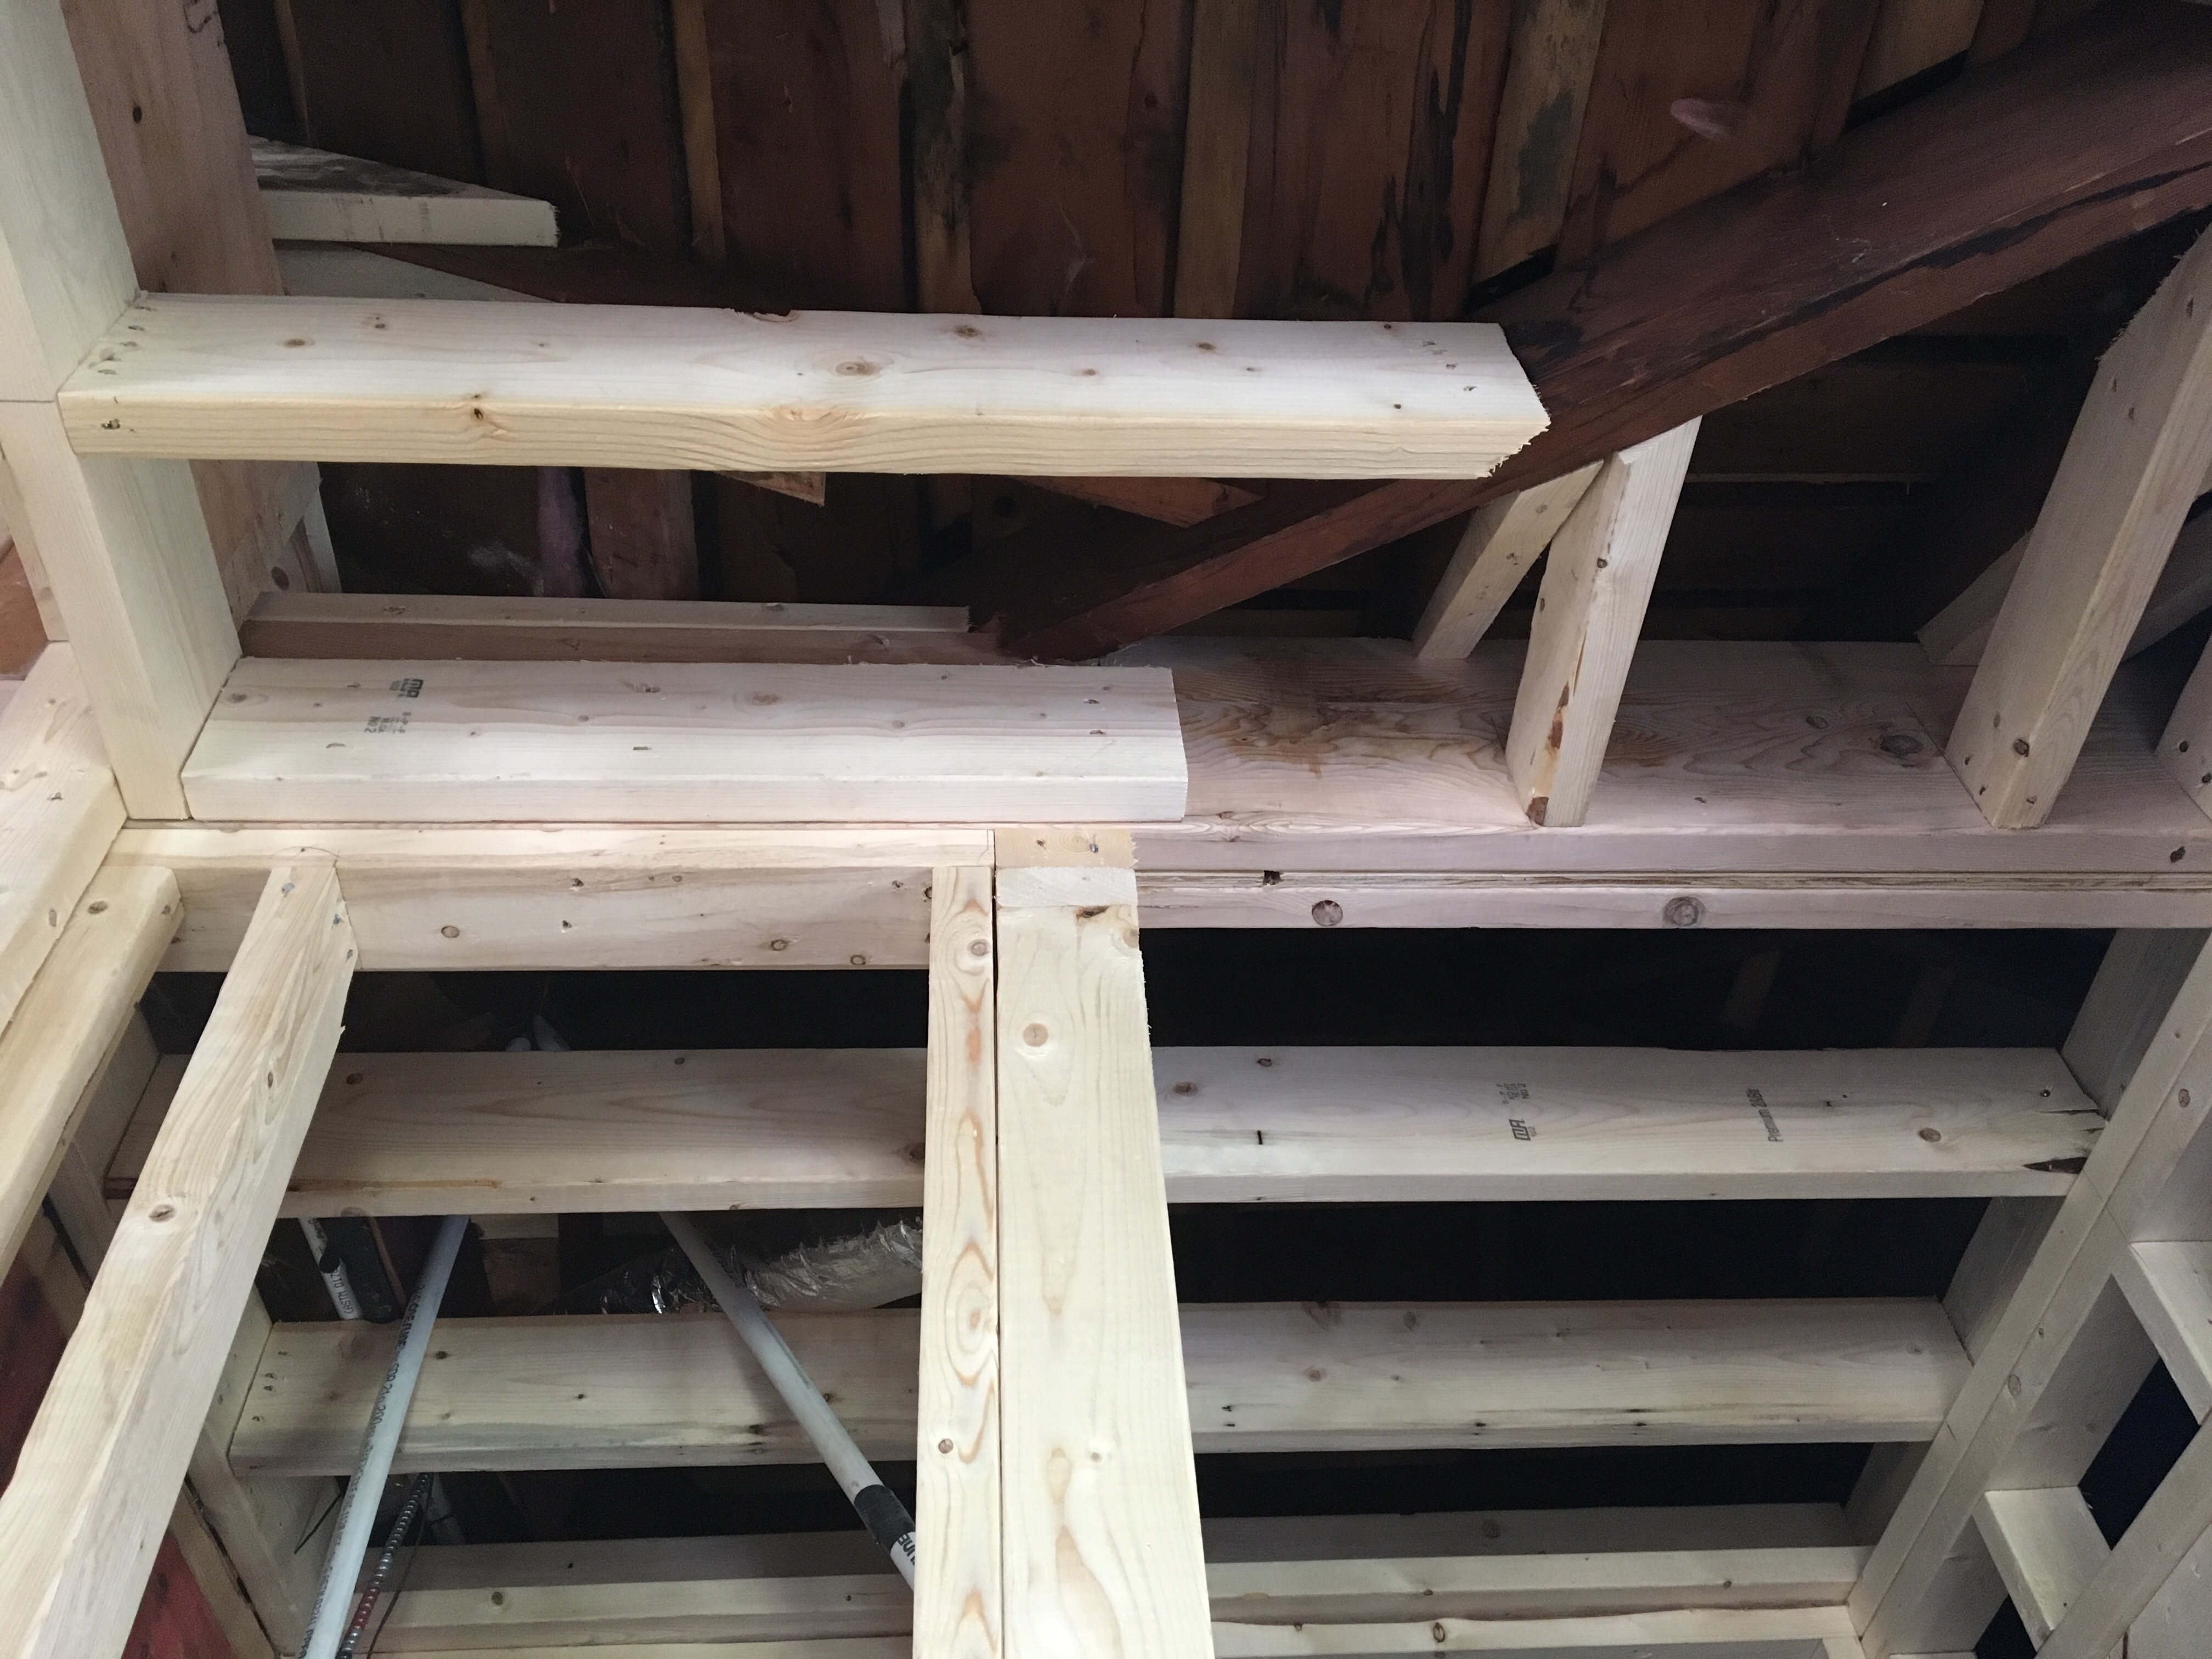
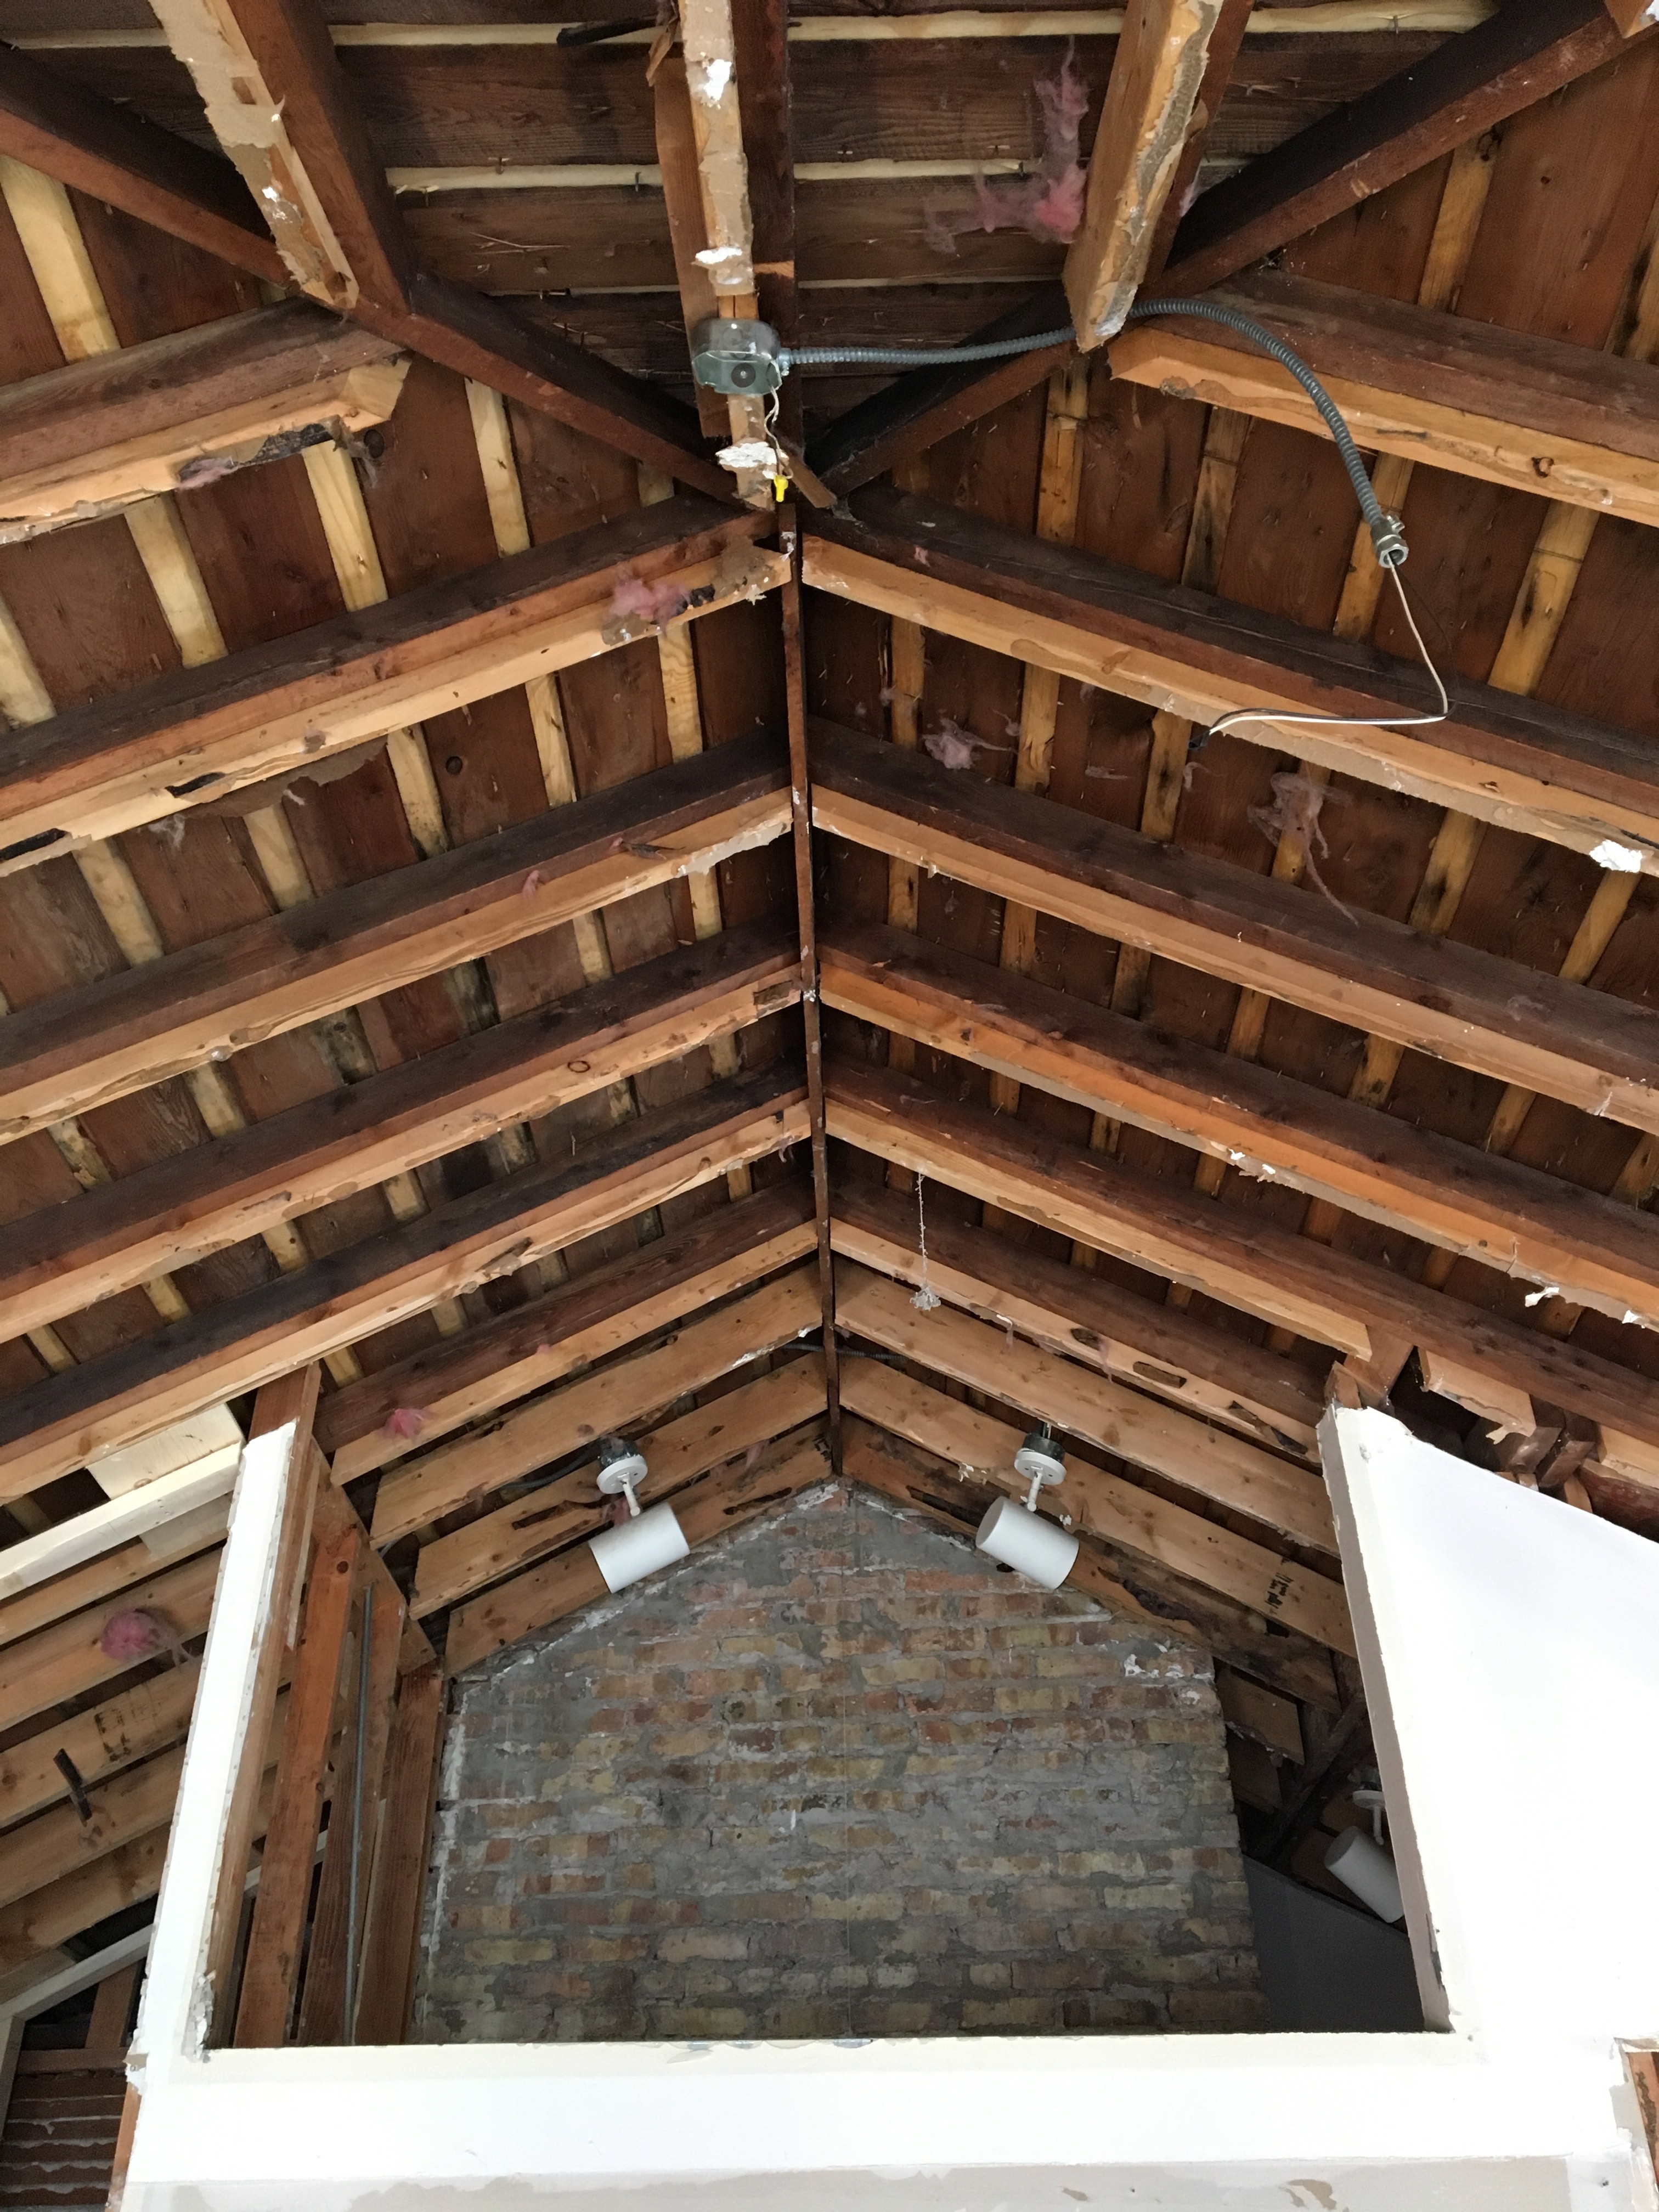
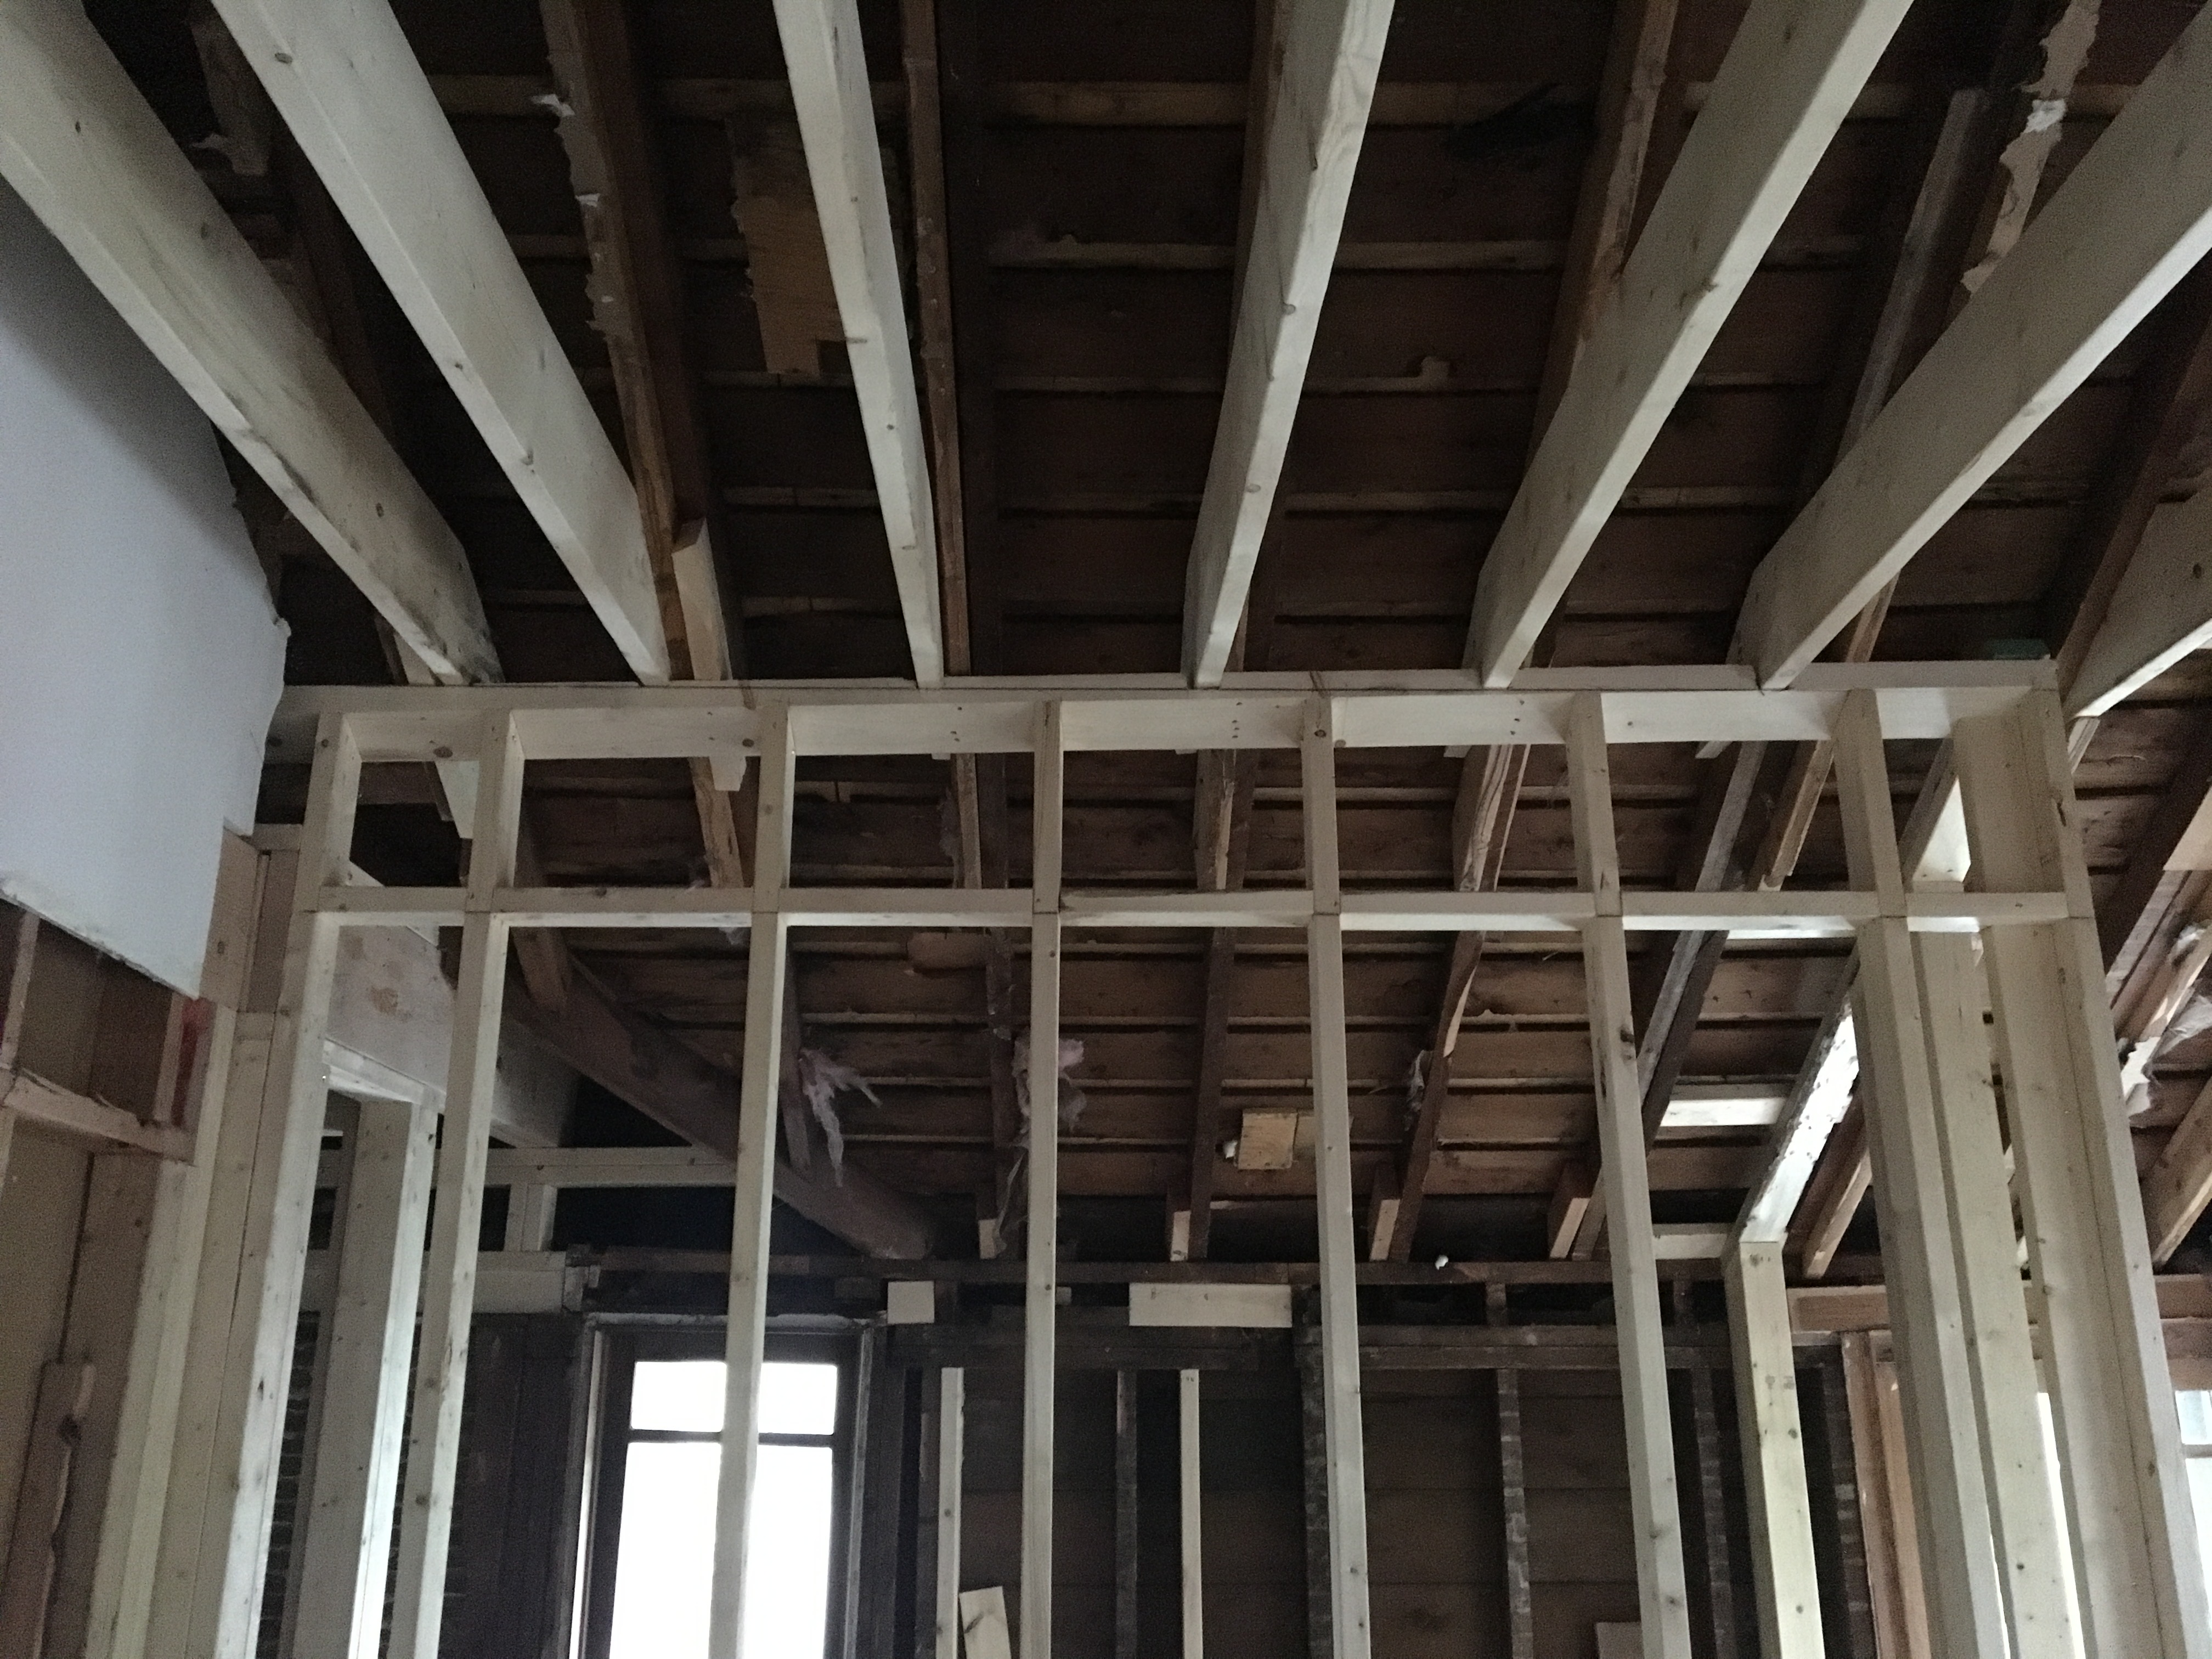
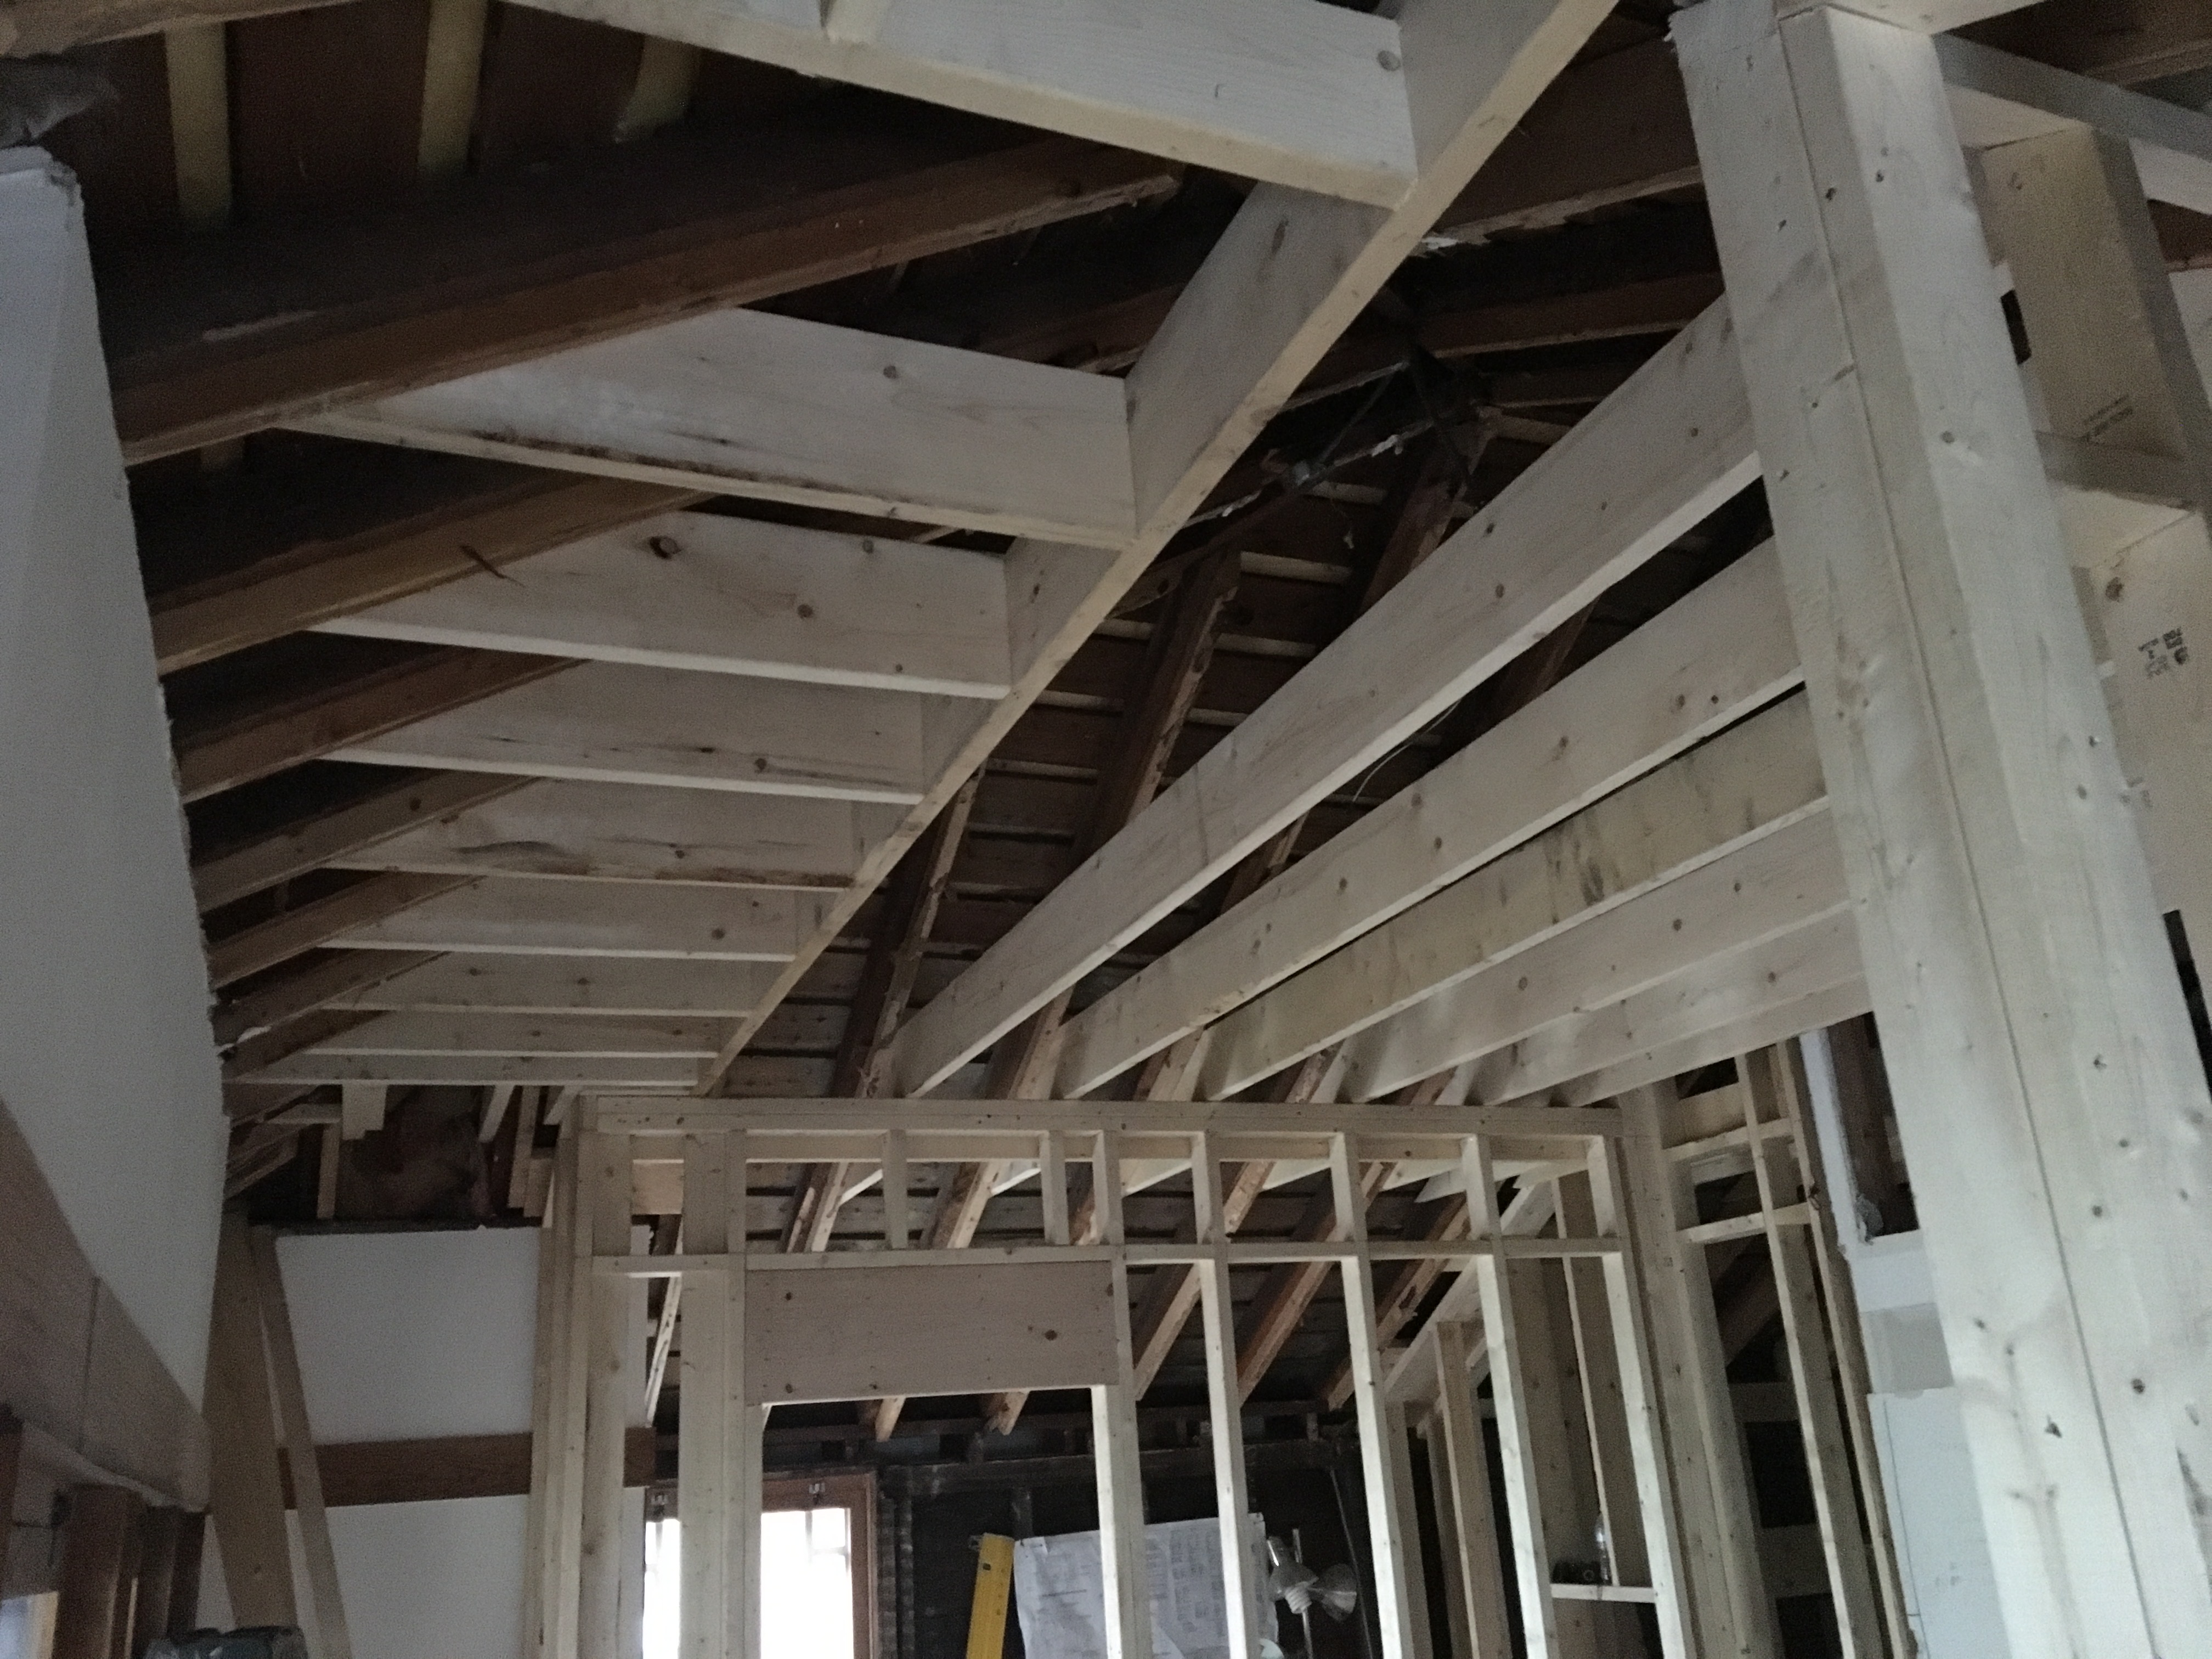
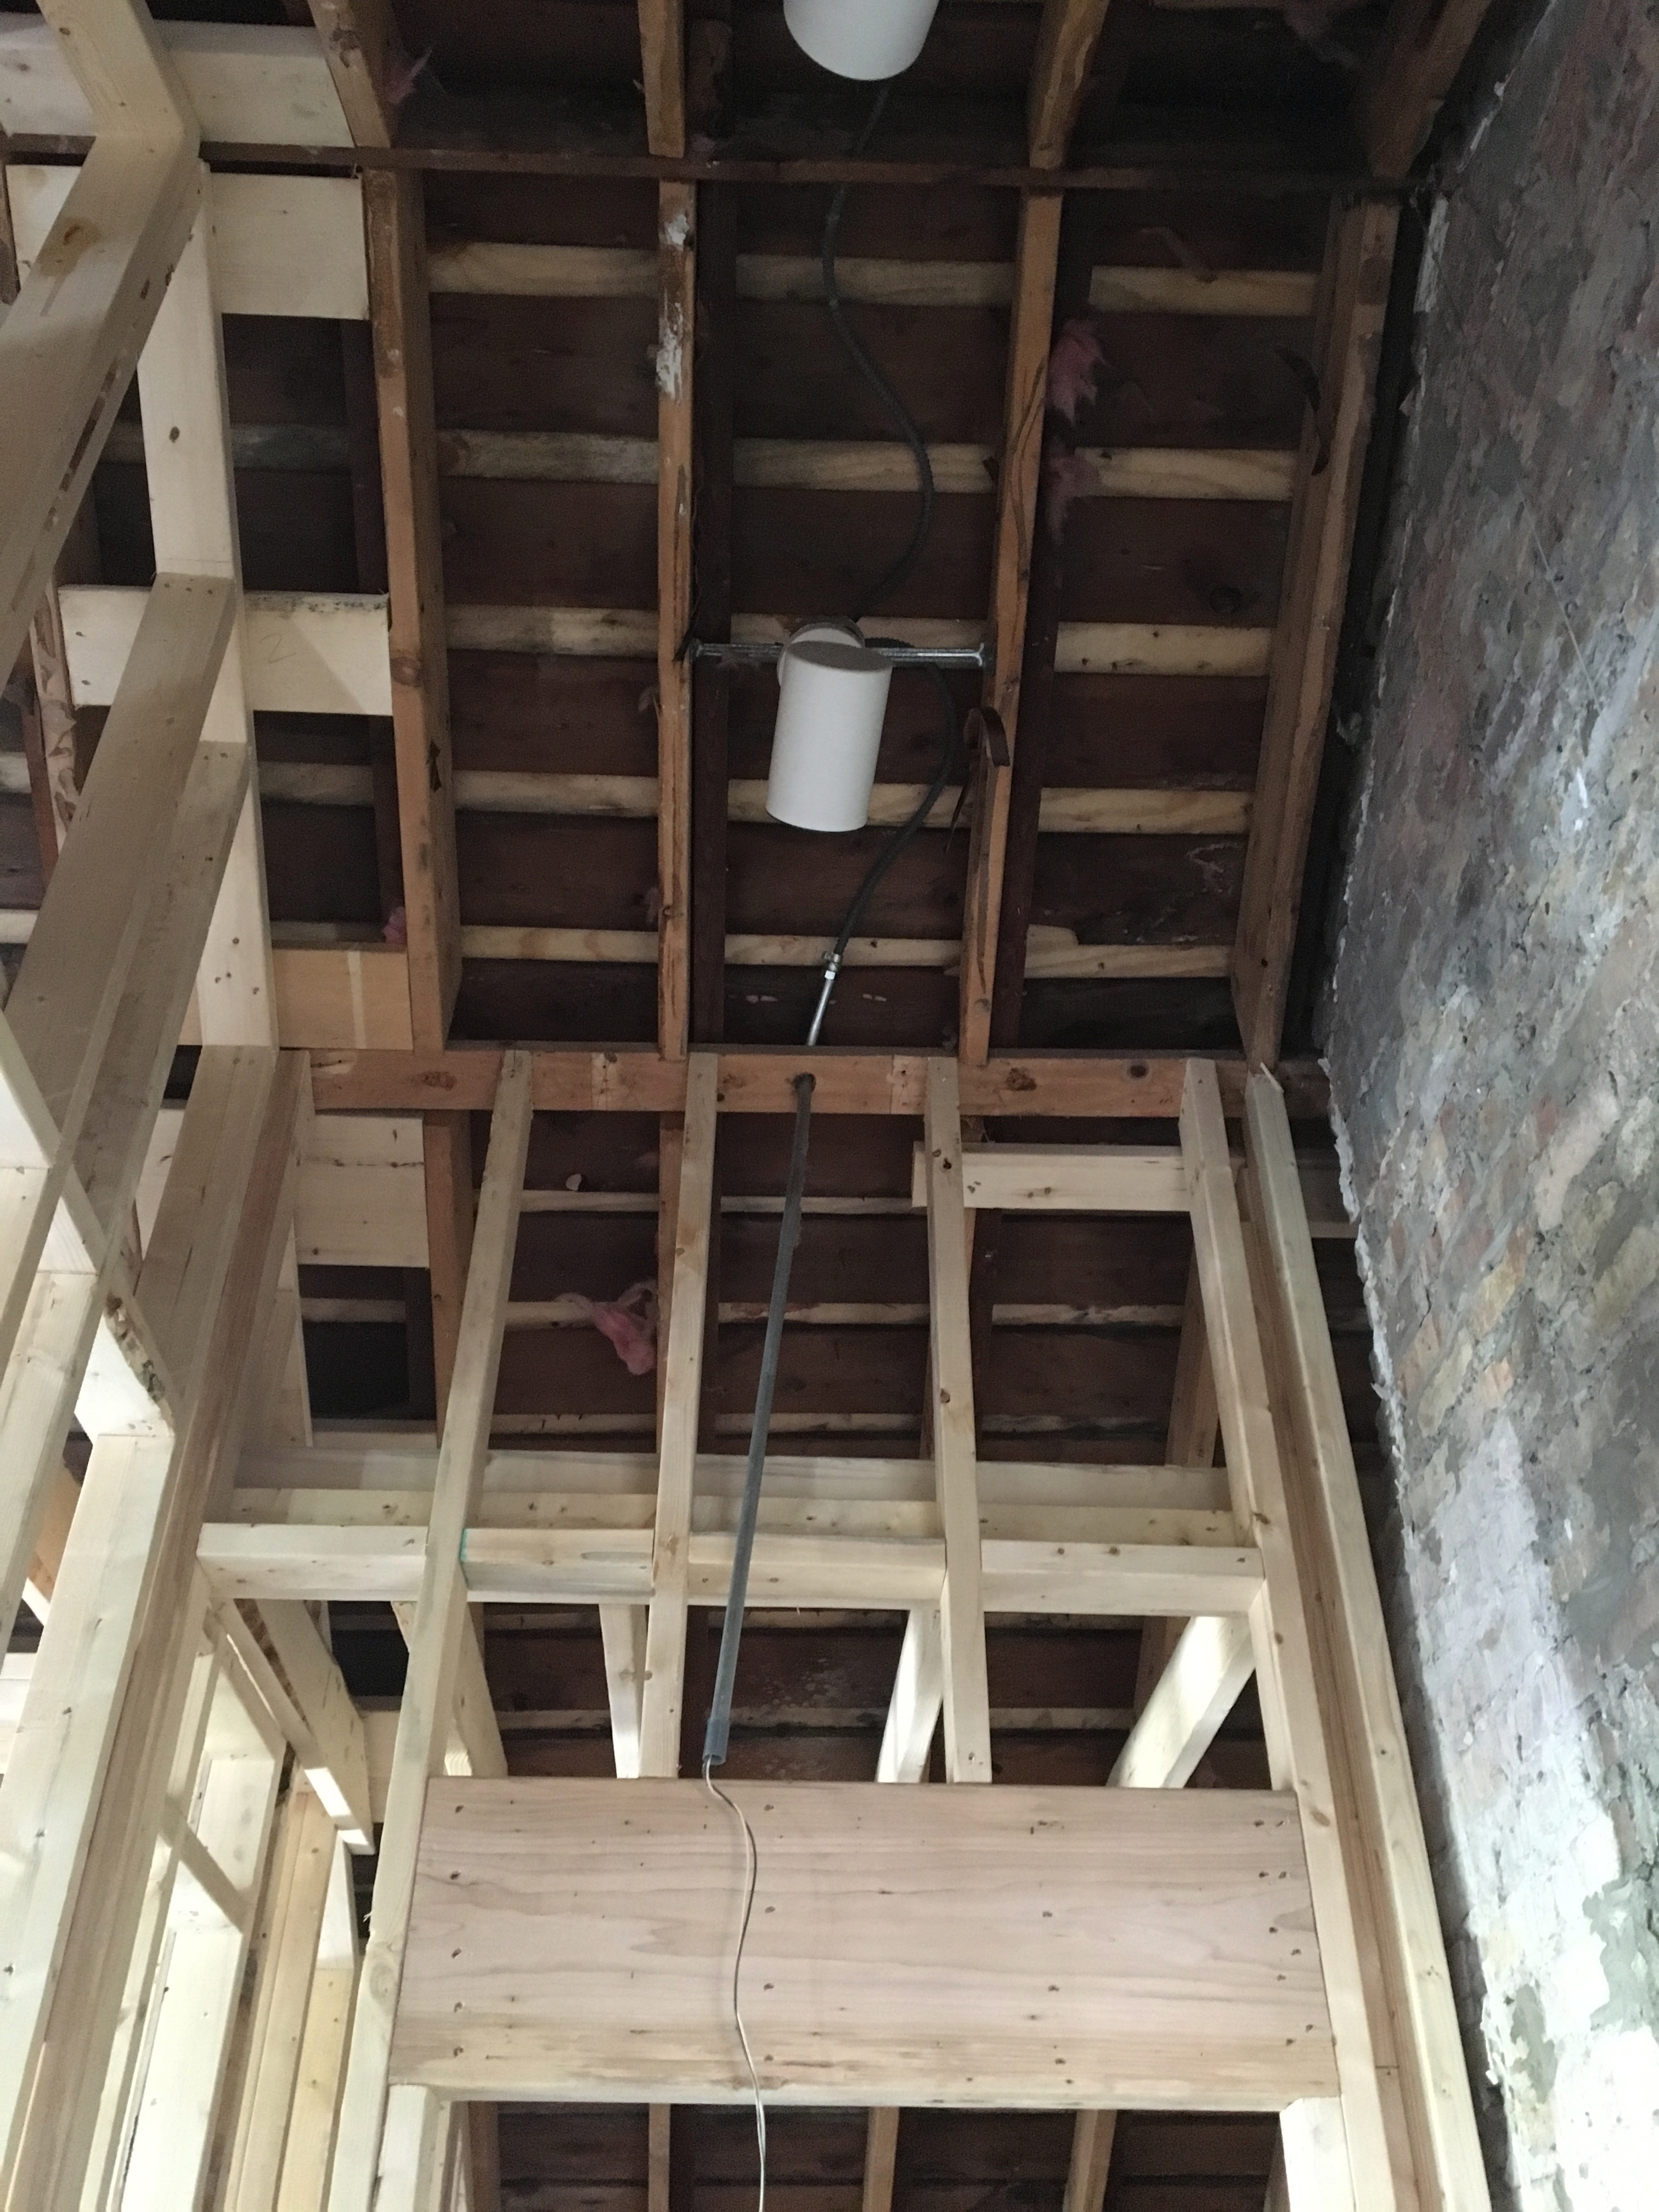
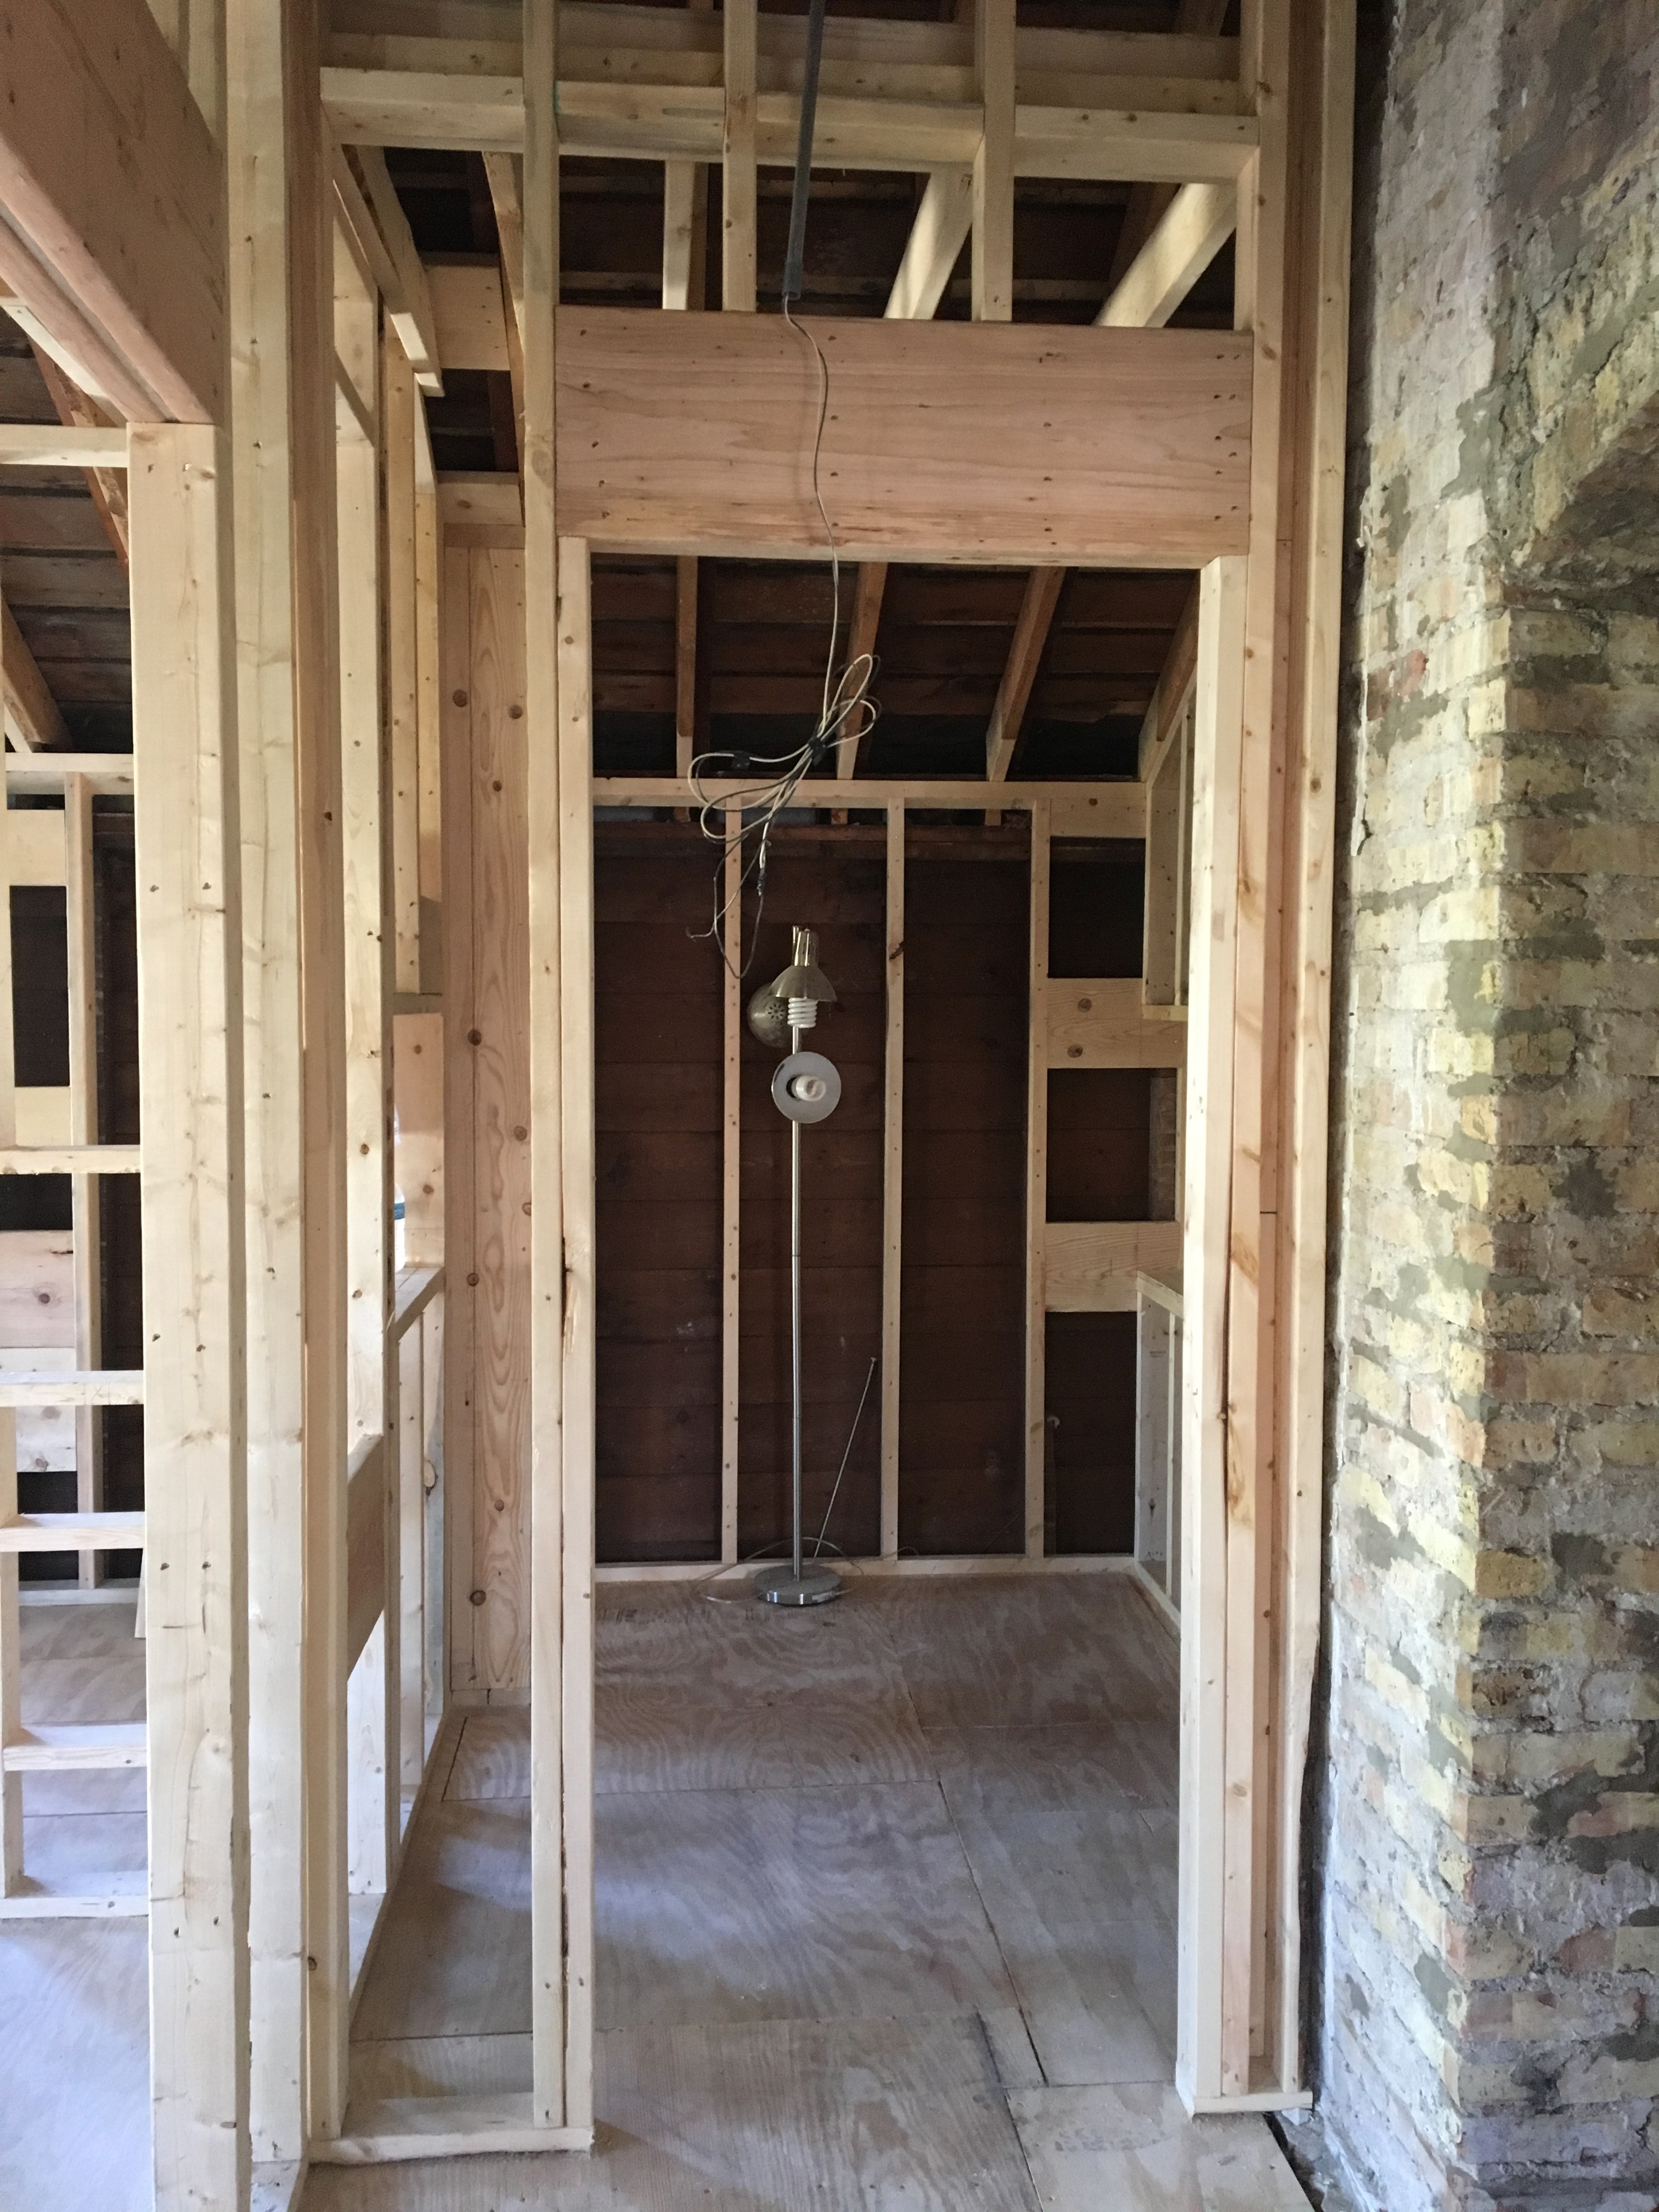
More photos of the ceiling taking shape.
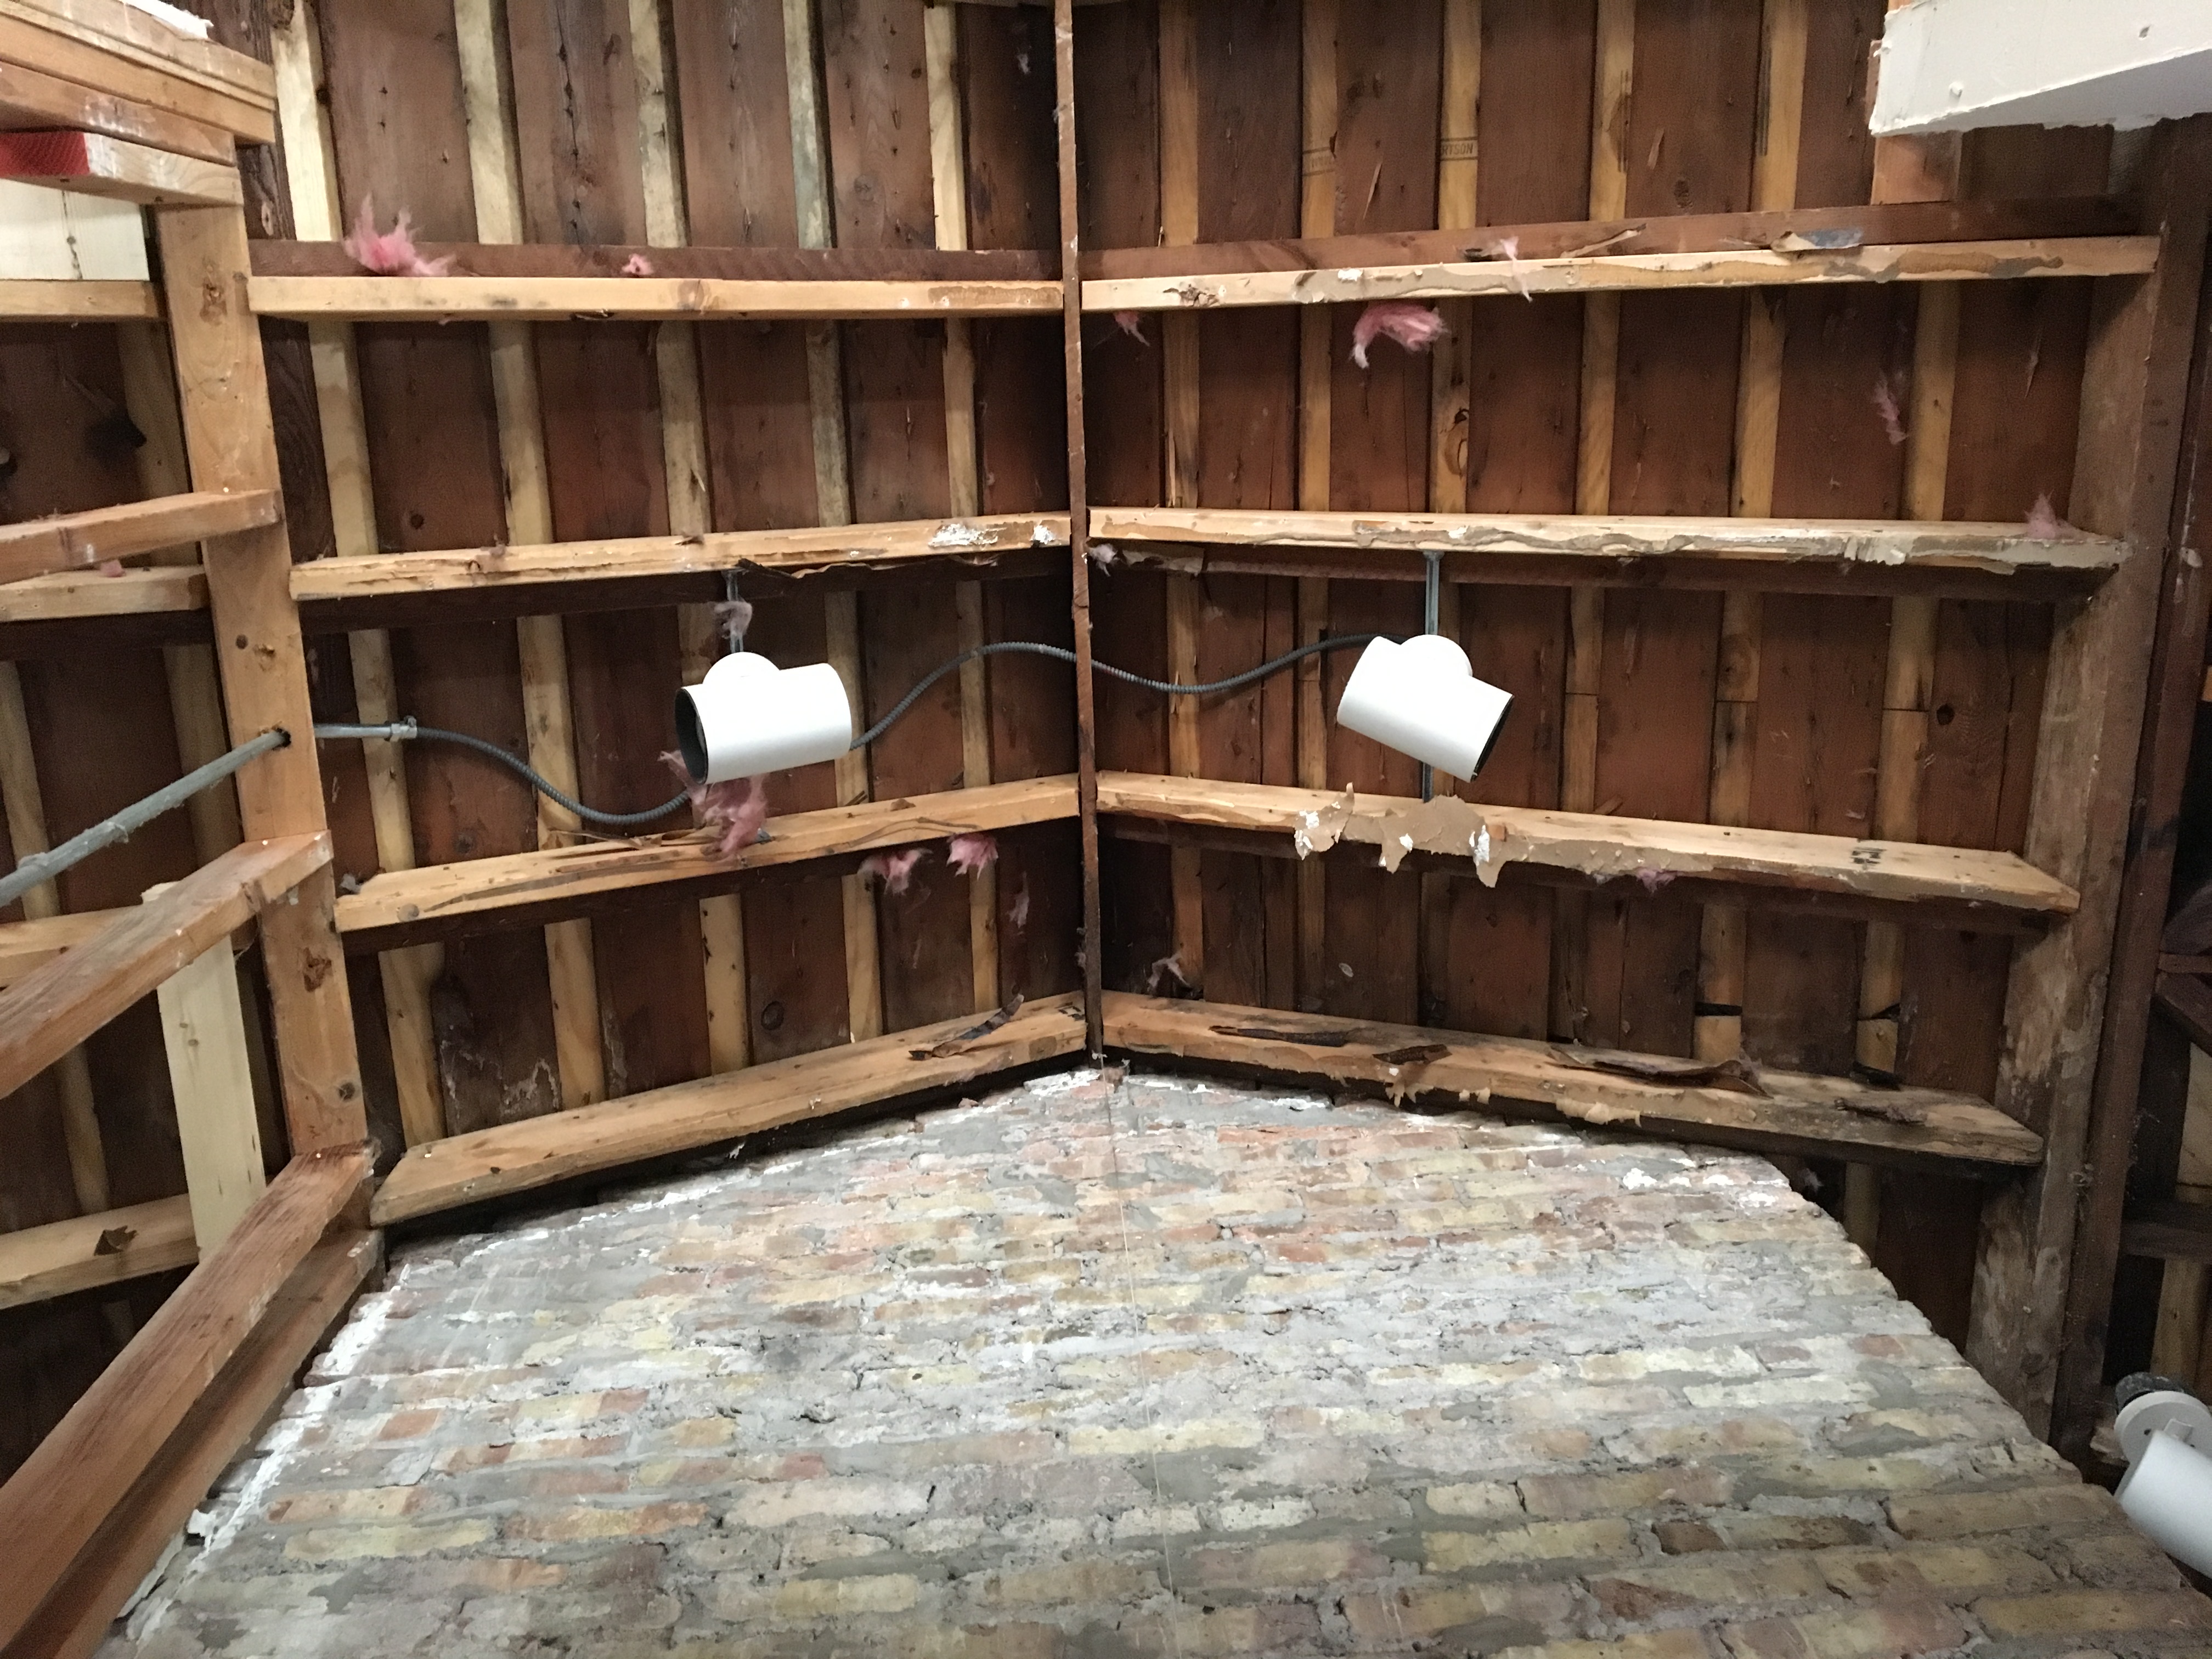
Ceiling for the master closet.
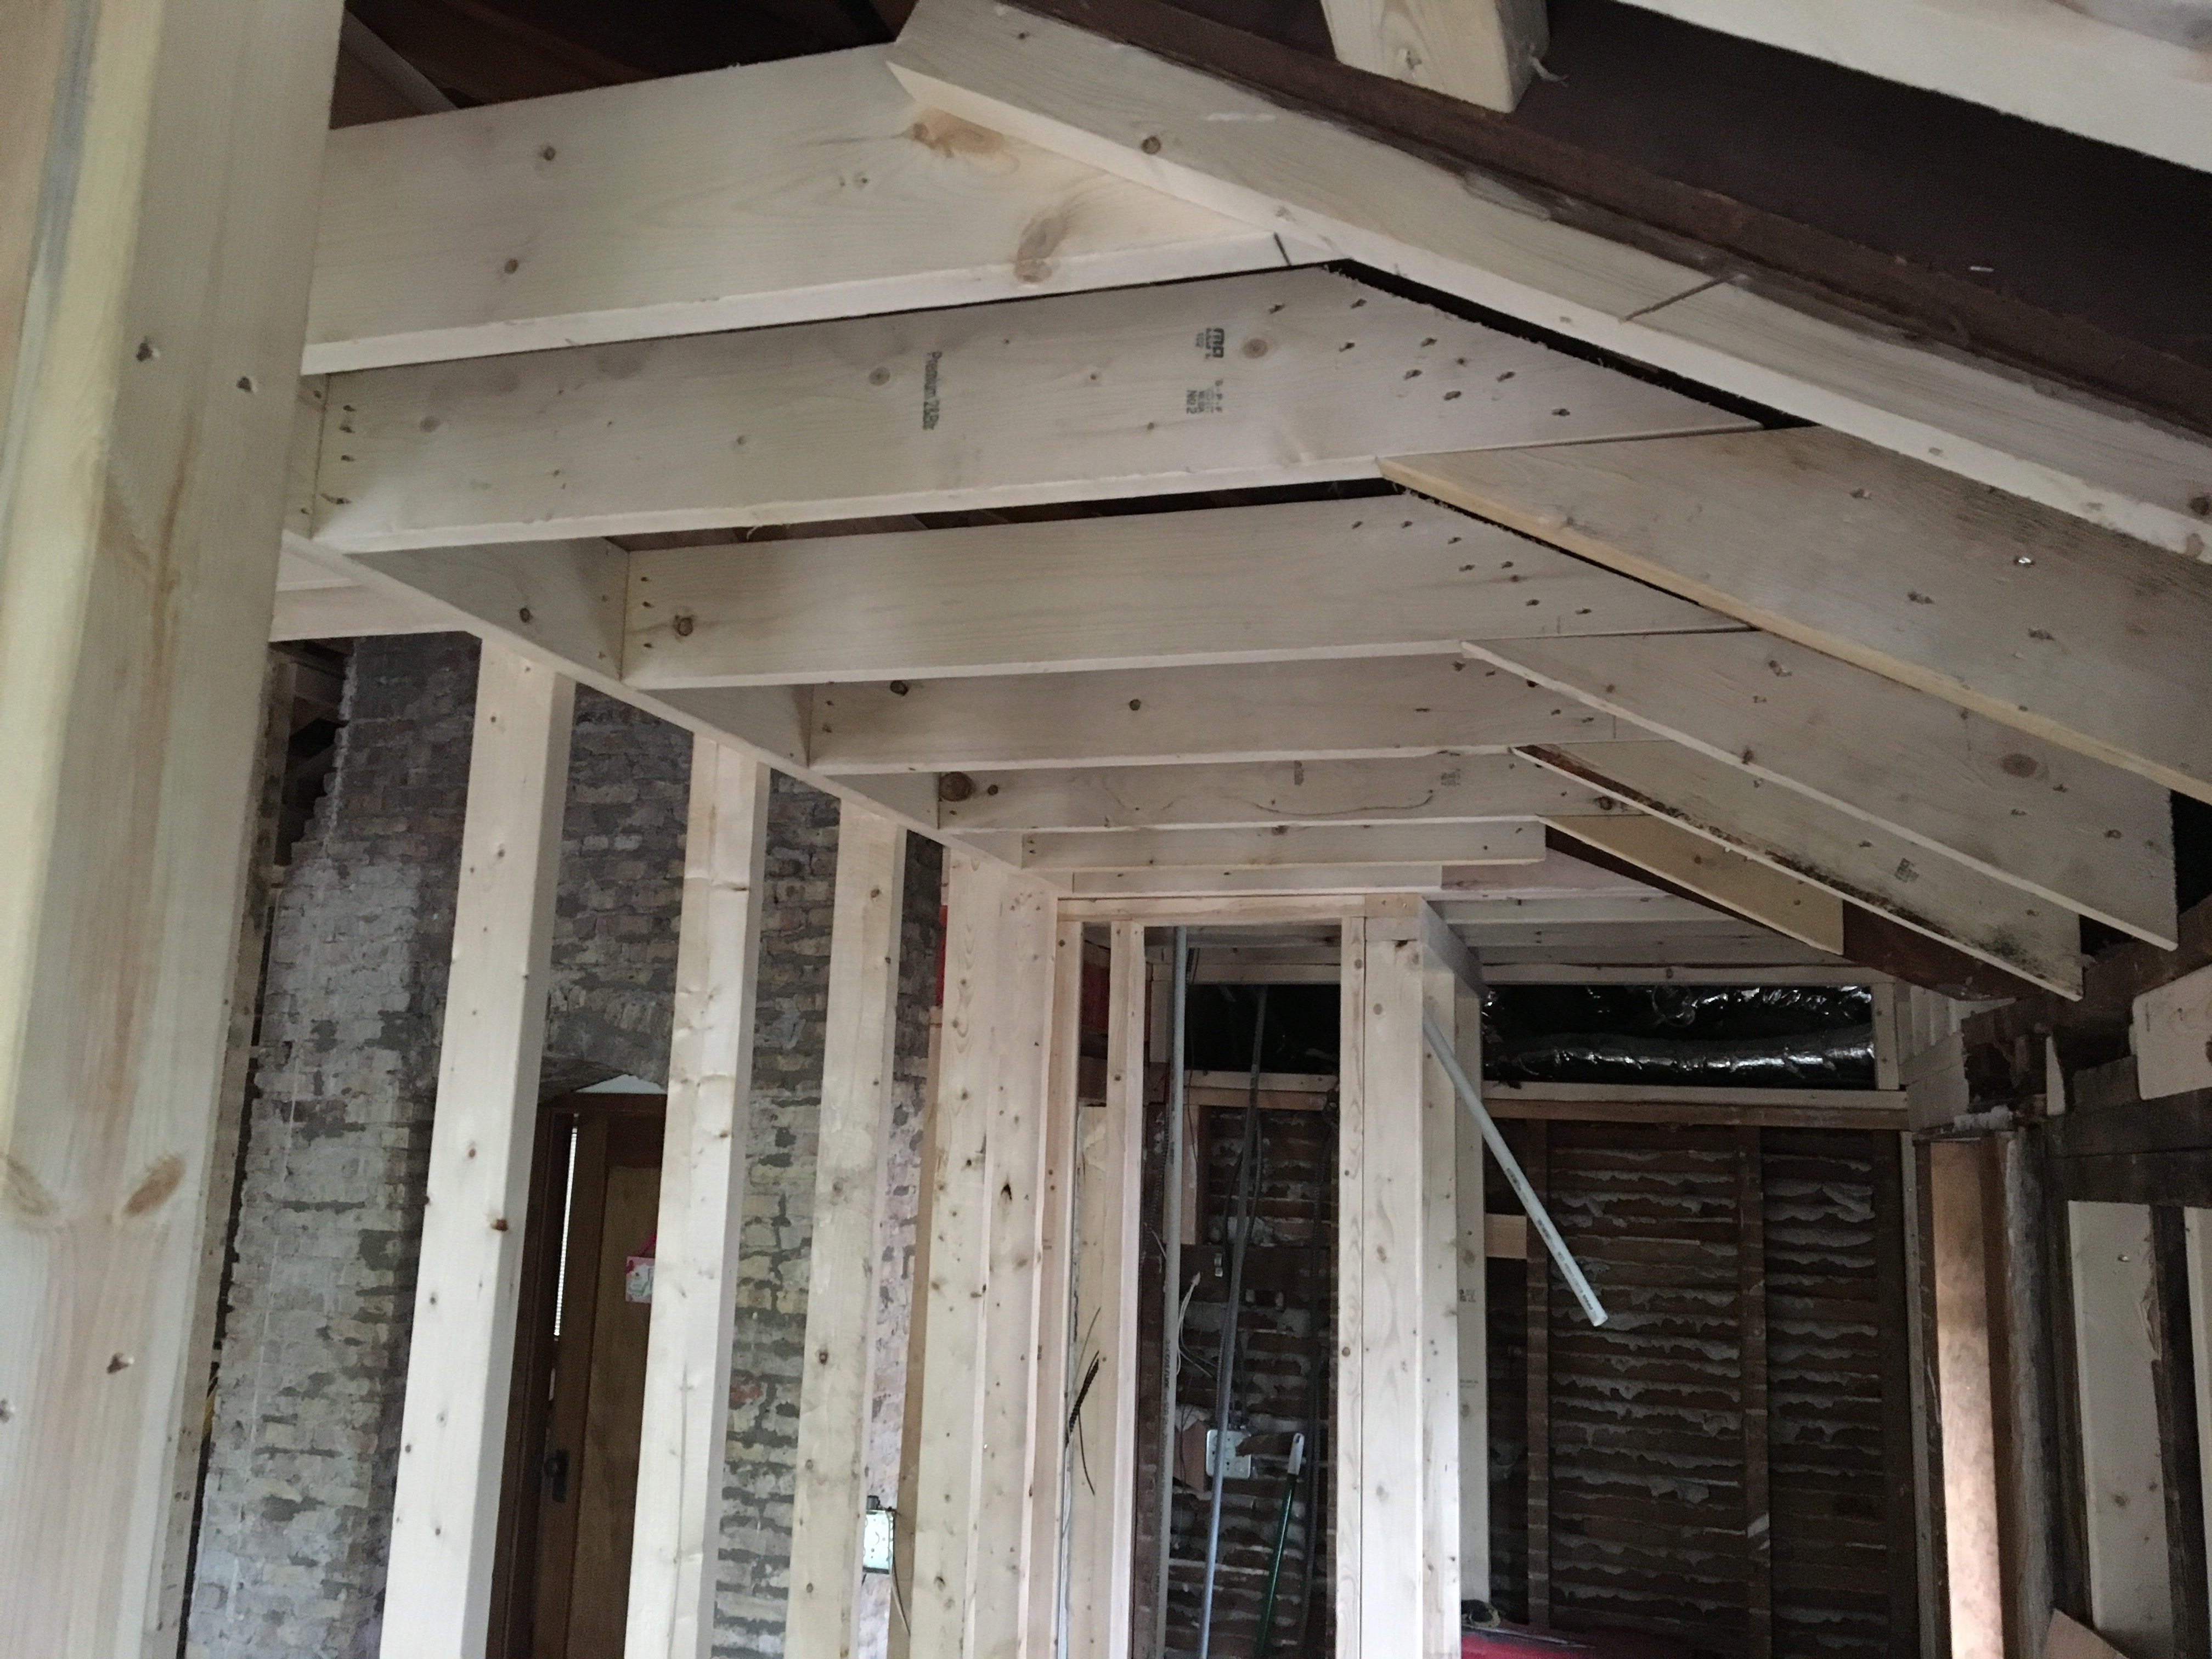
Ceiling for the master bathroom.
Ceiling for the hall closet.
Master closet.
Visible in the background of this photo (of the new closet ceiling) are the old SpacePak ducts. We will need to have these re-run into the new rooms.
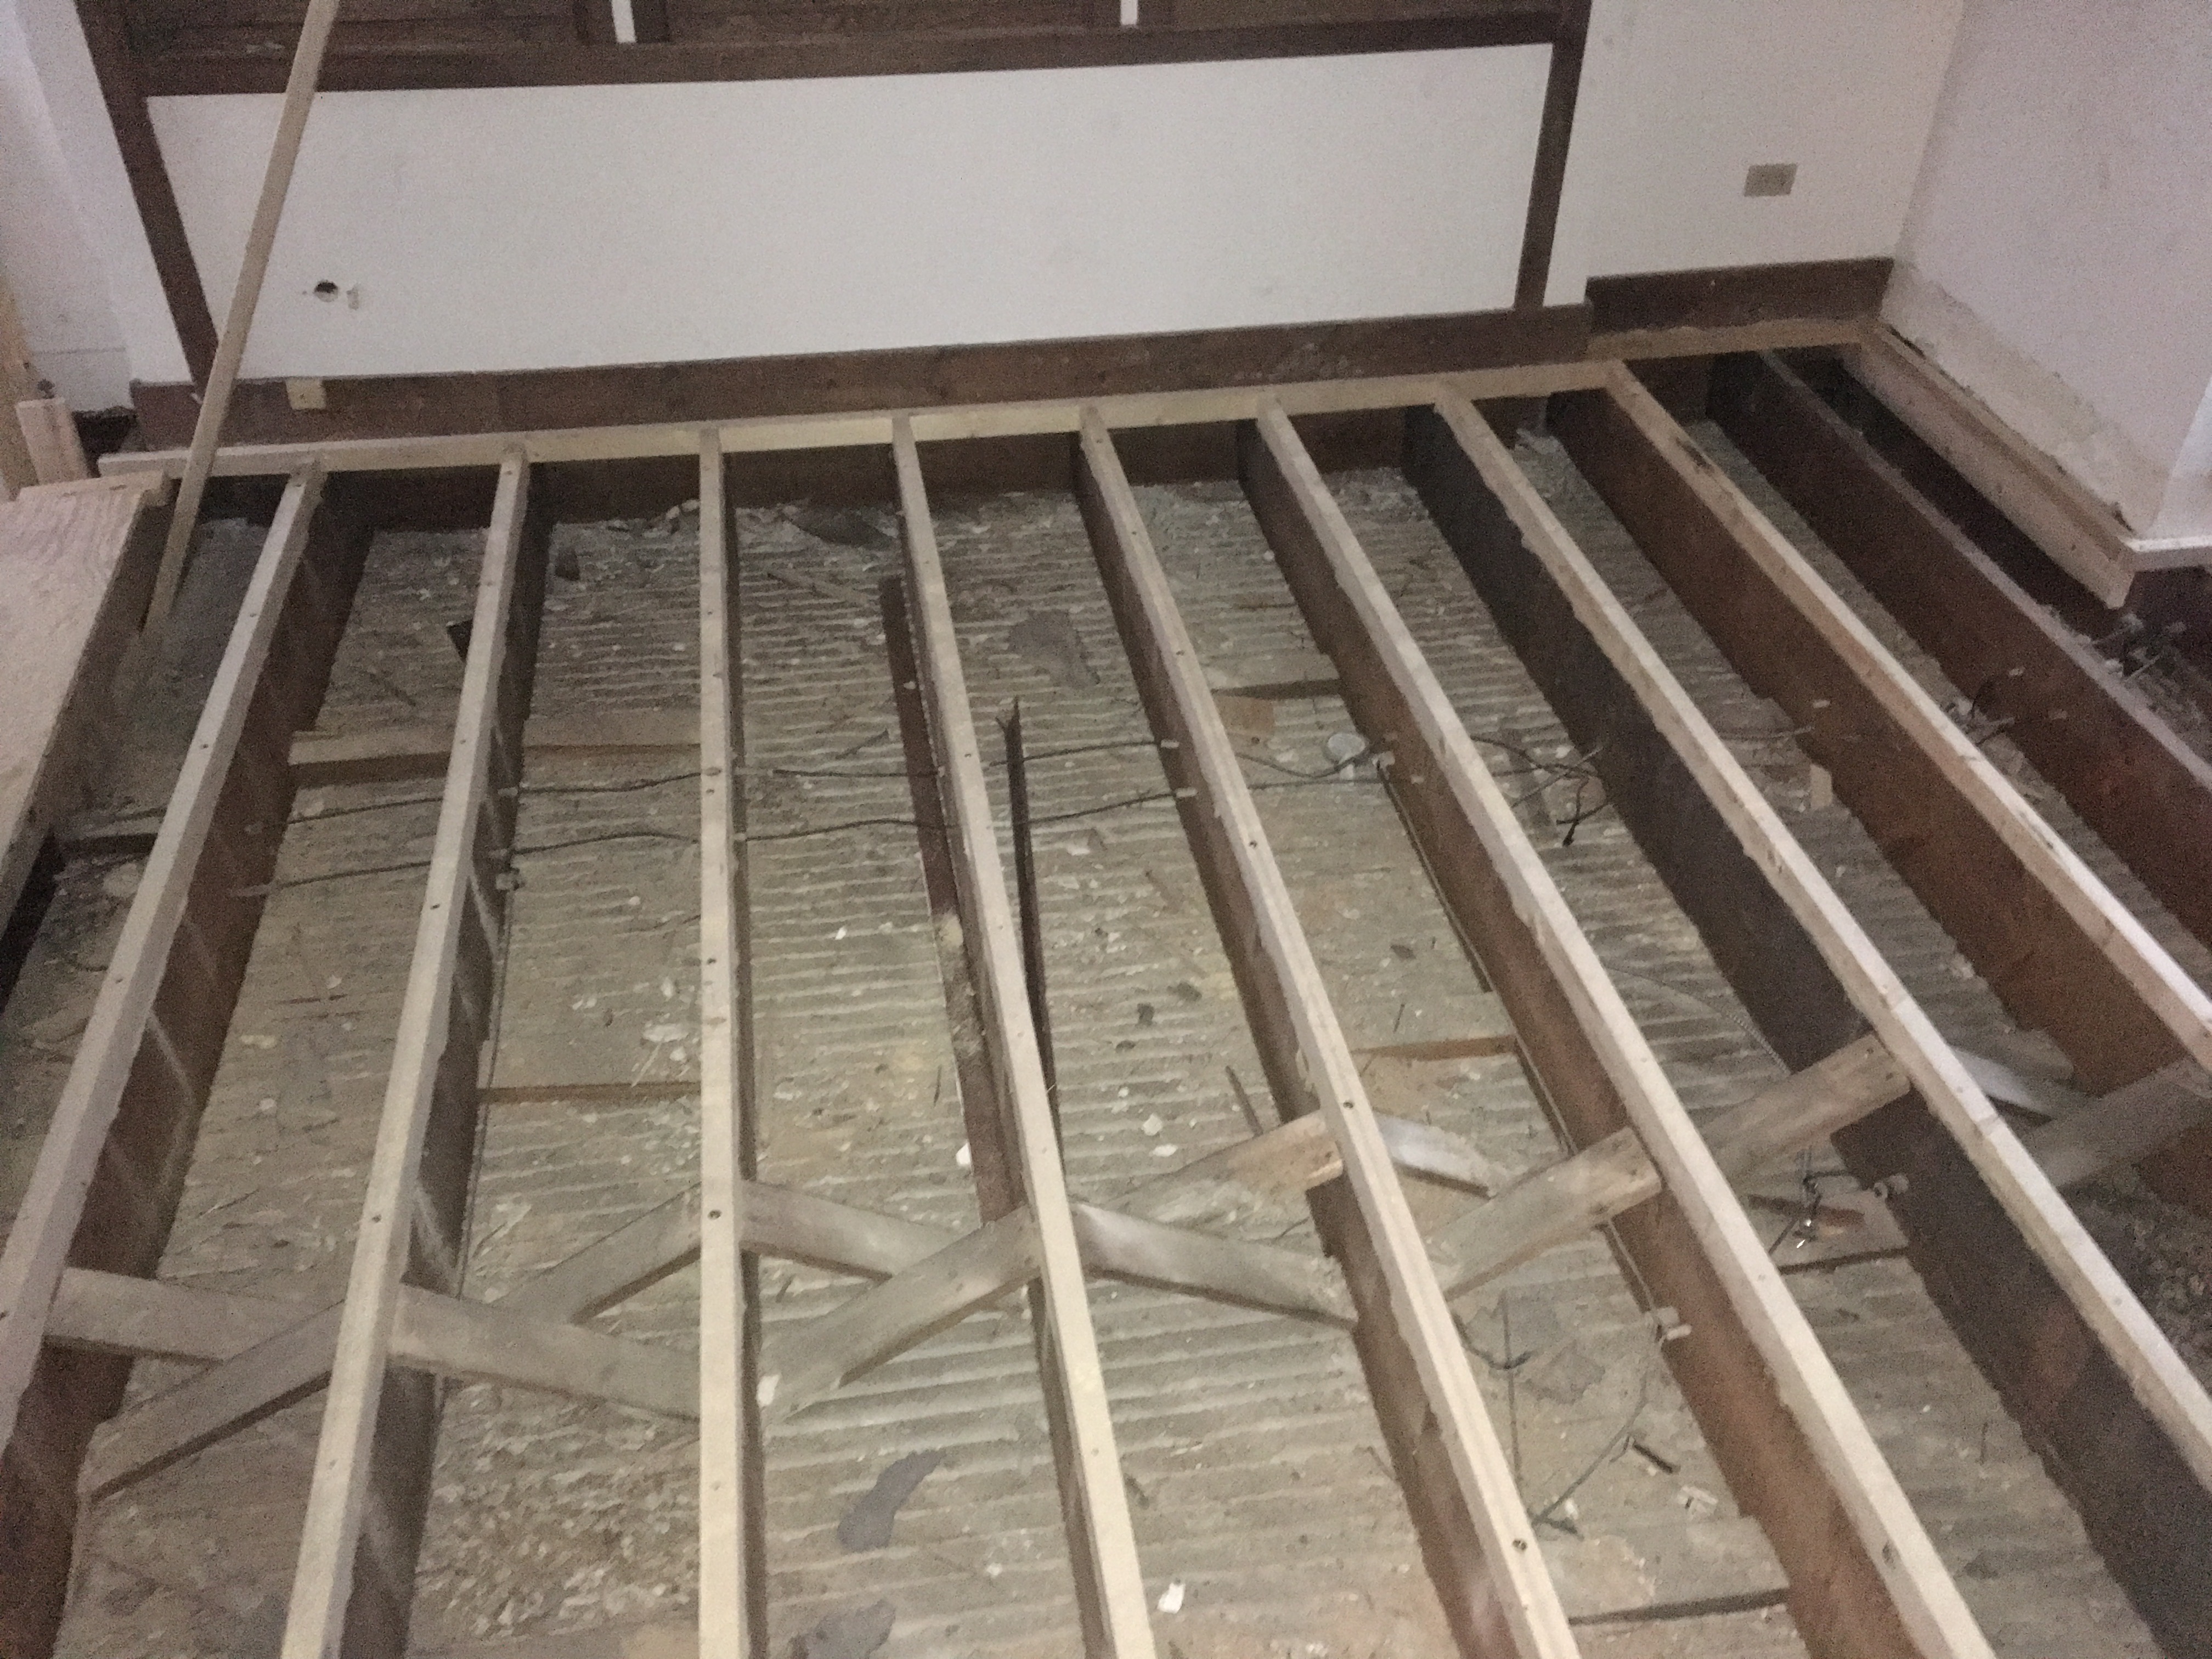
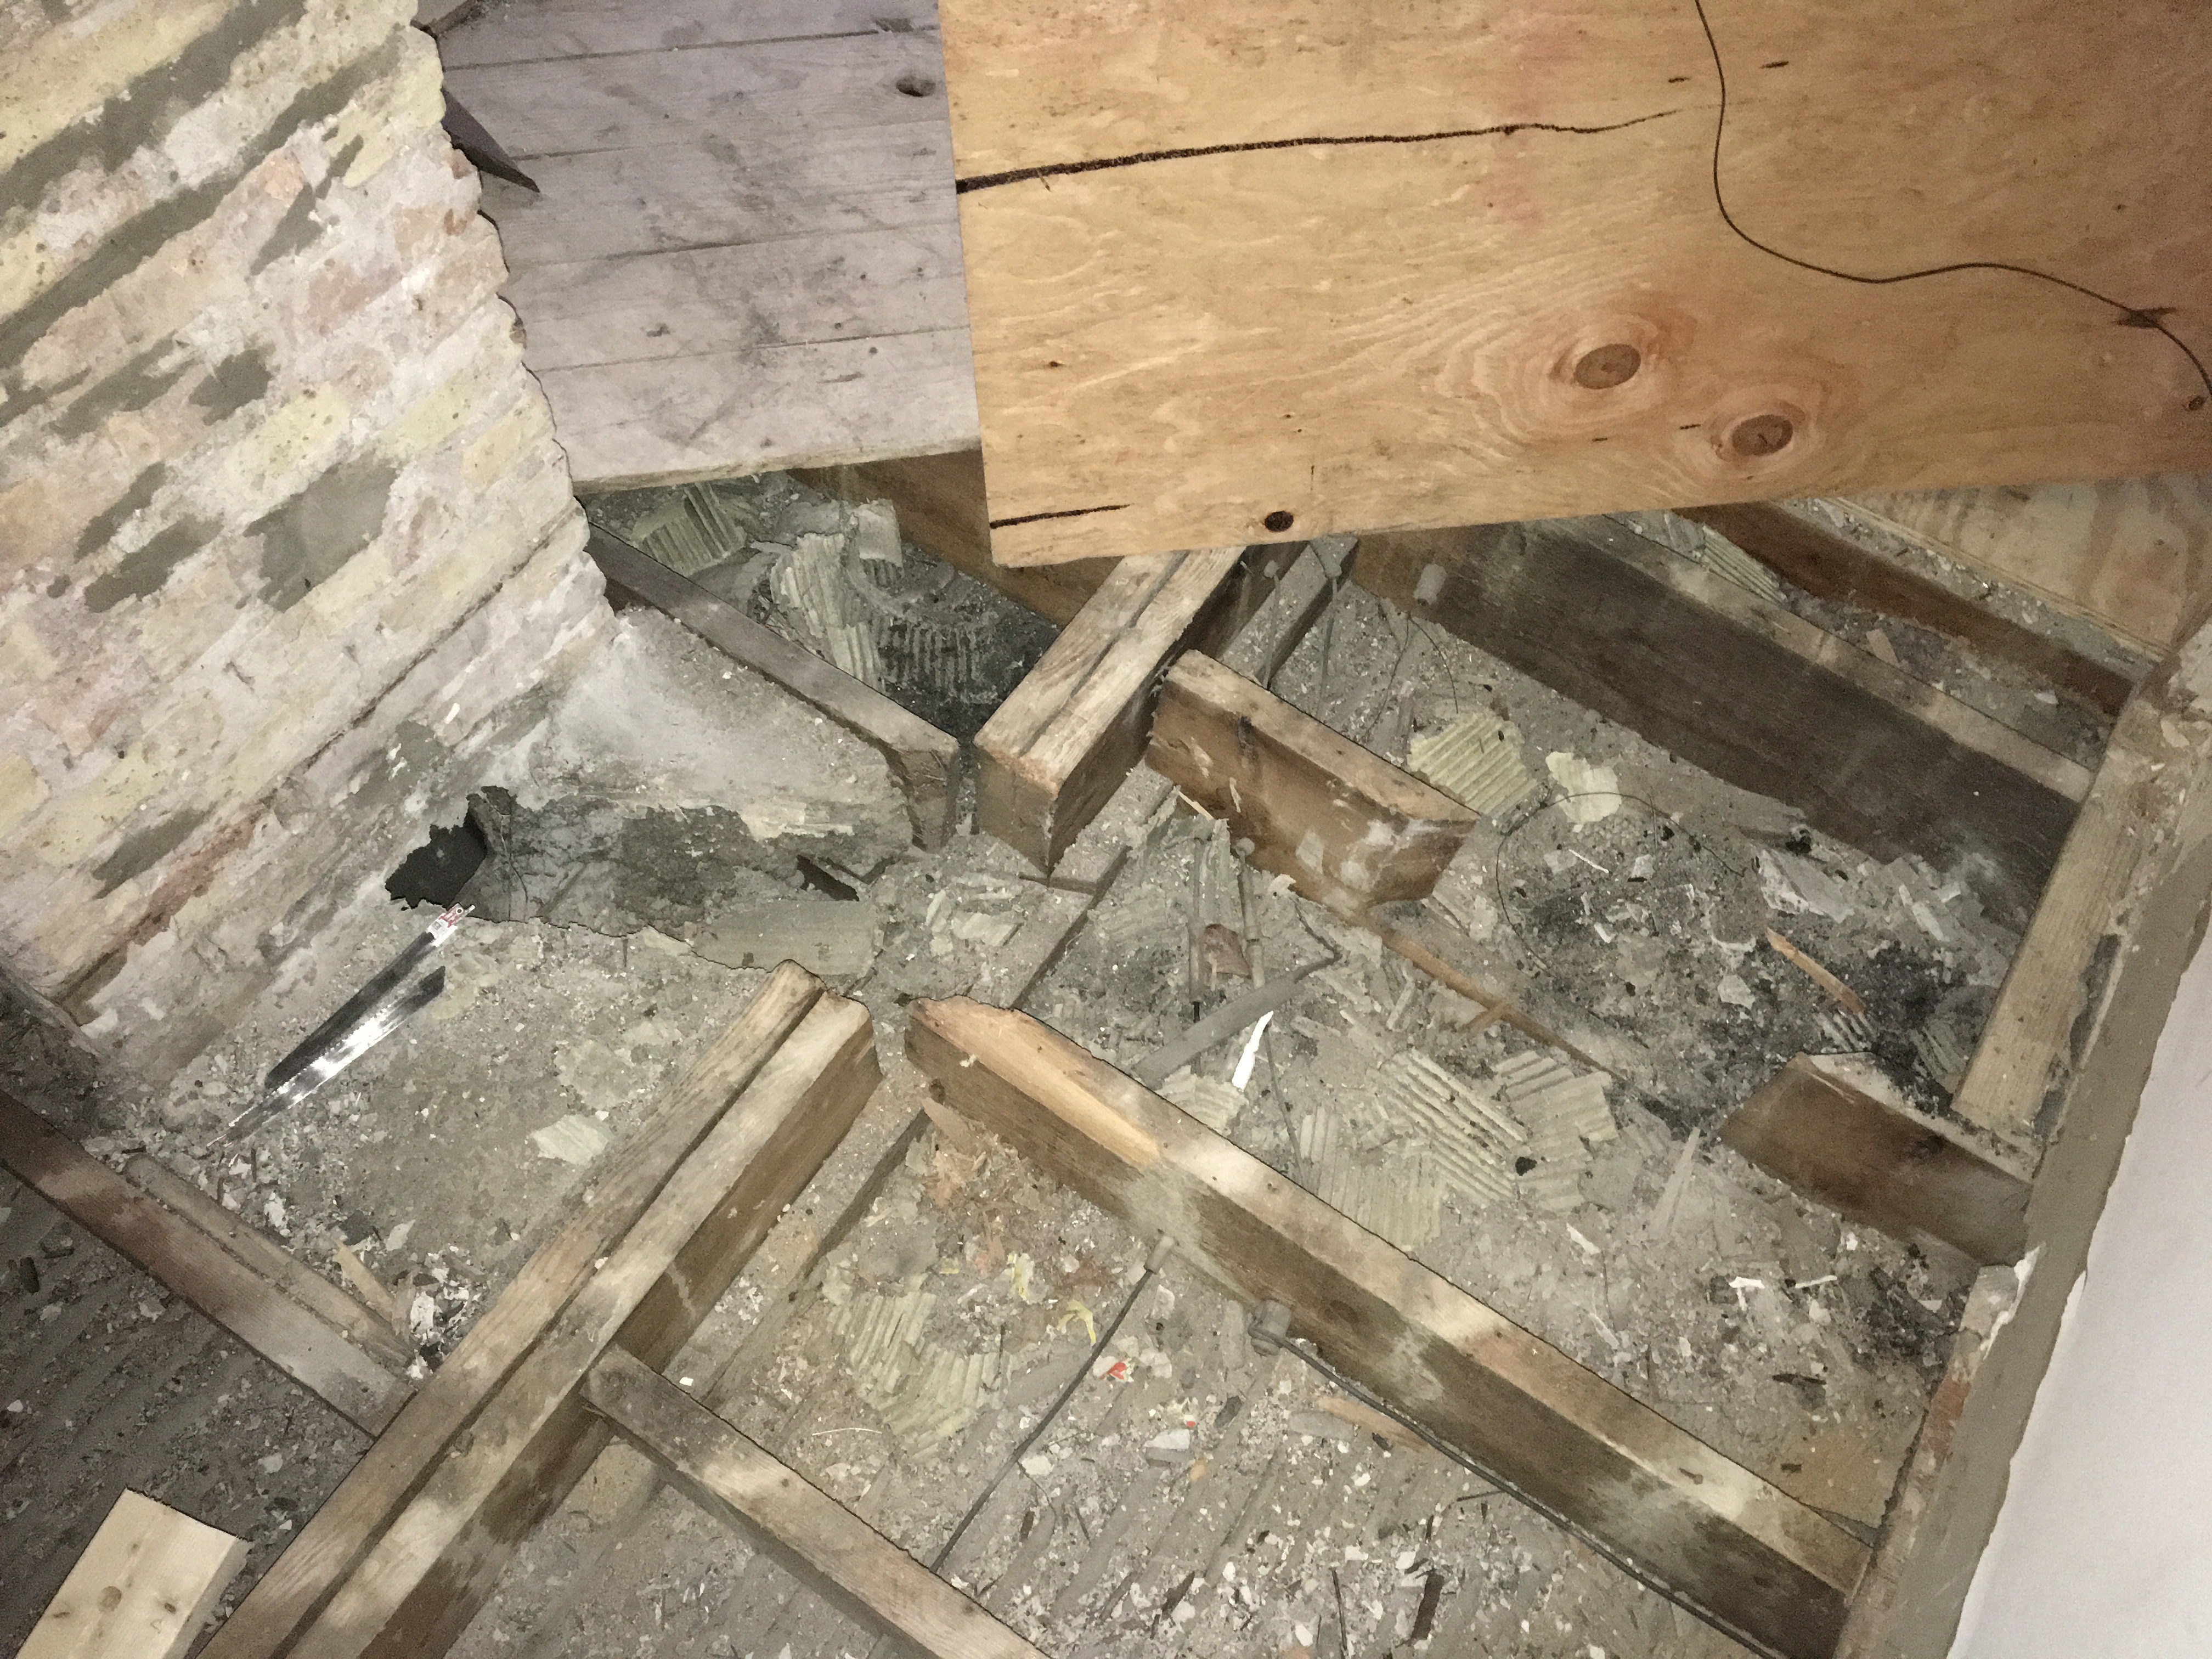
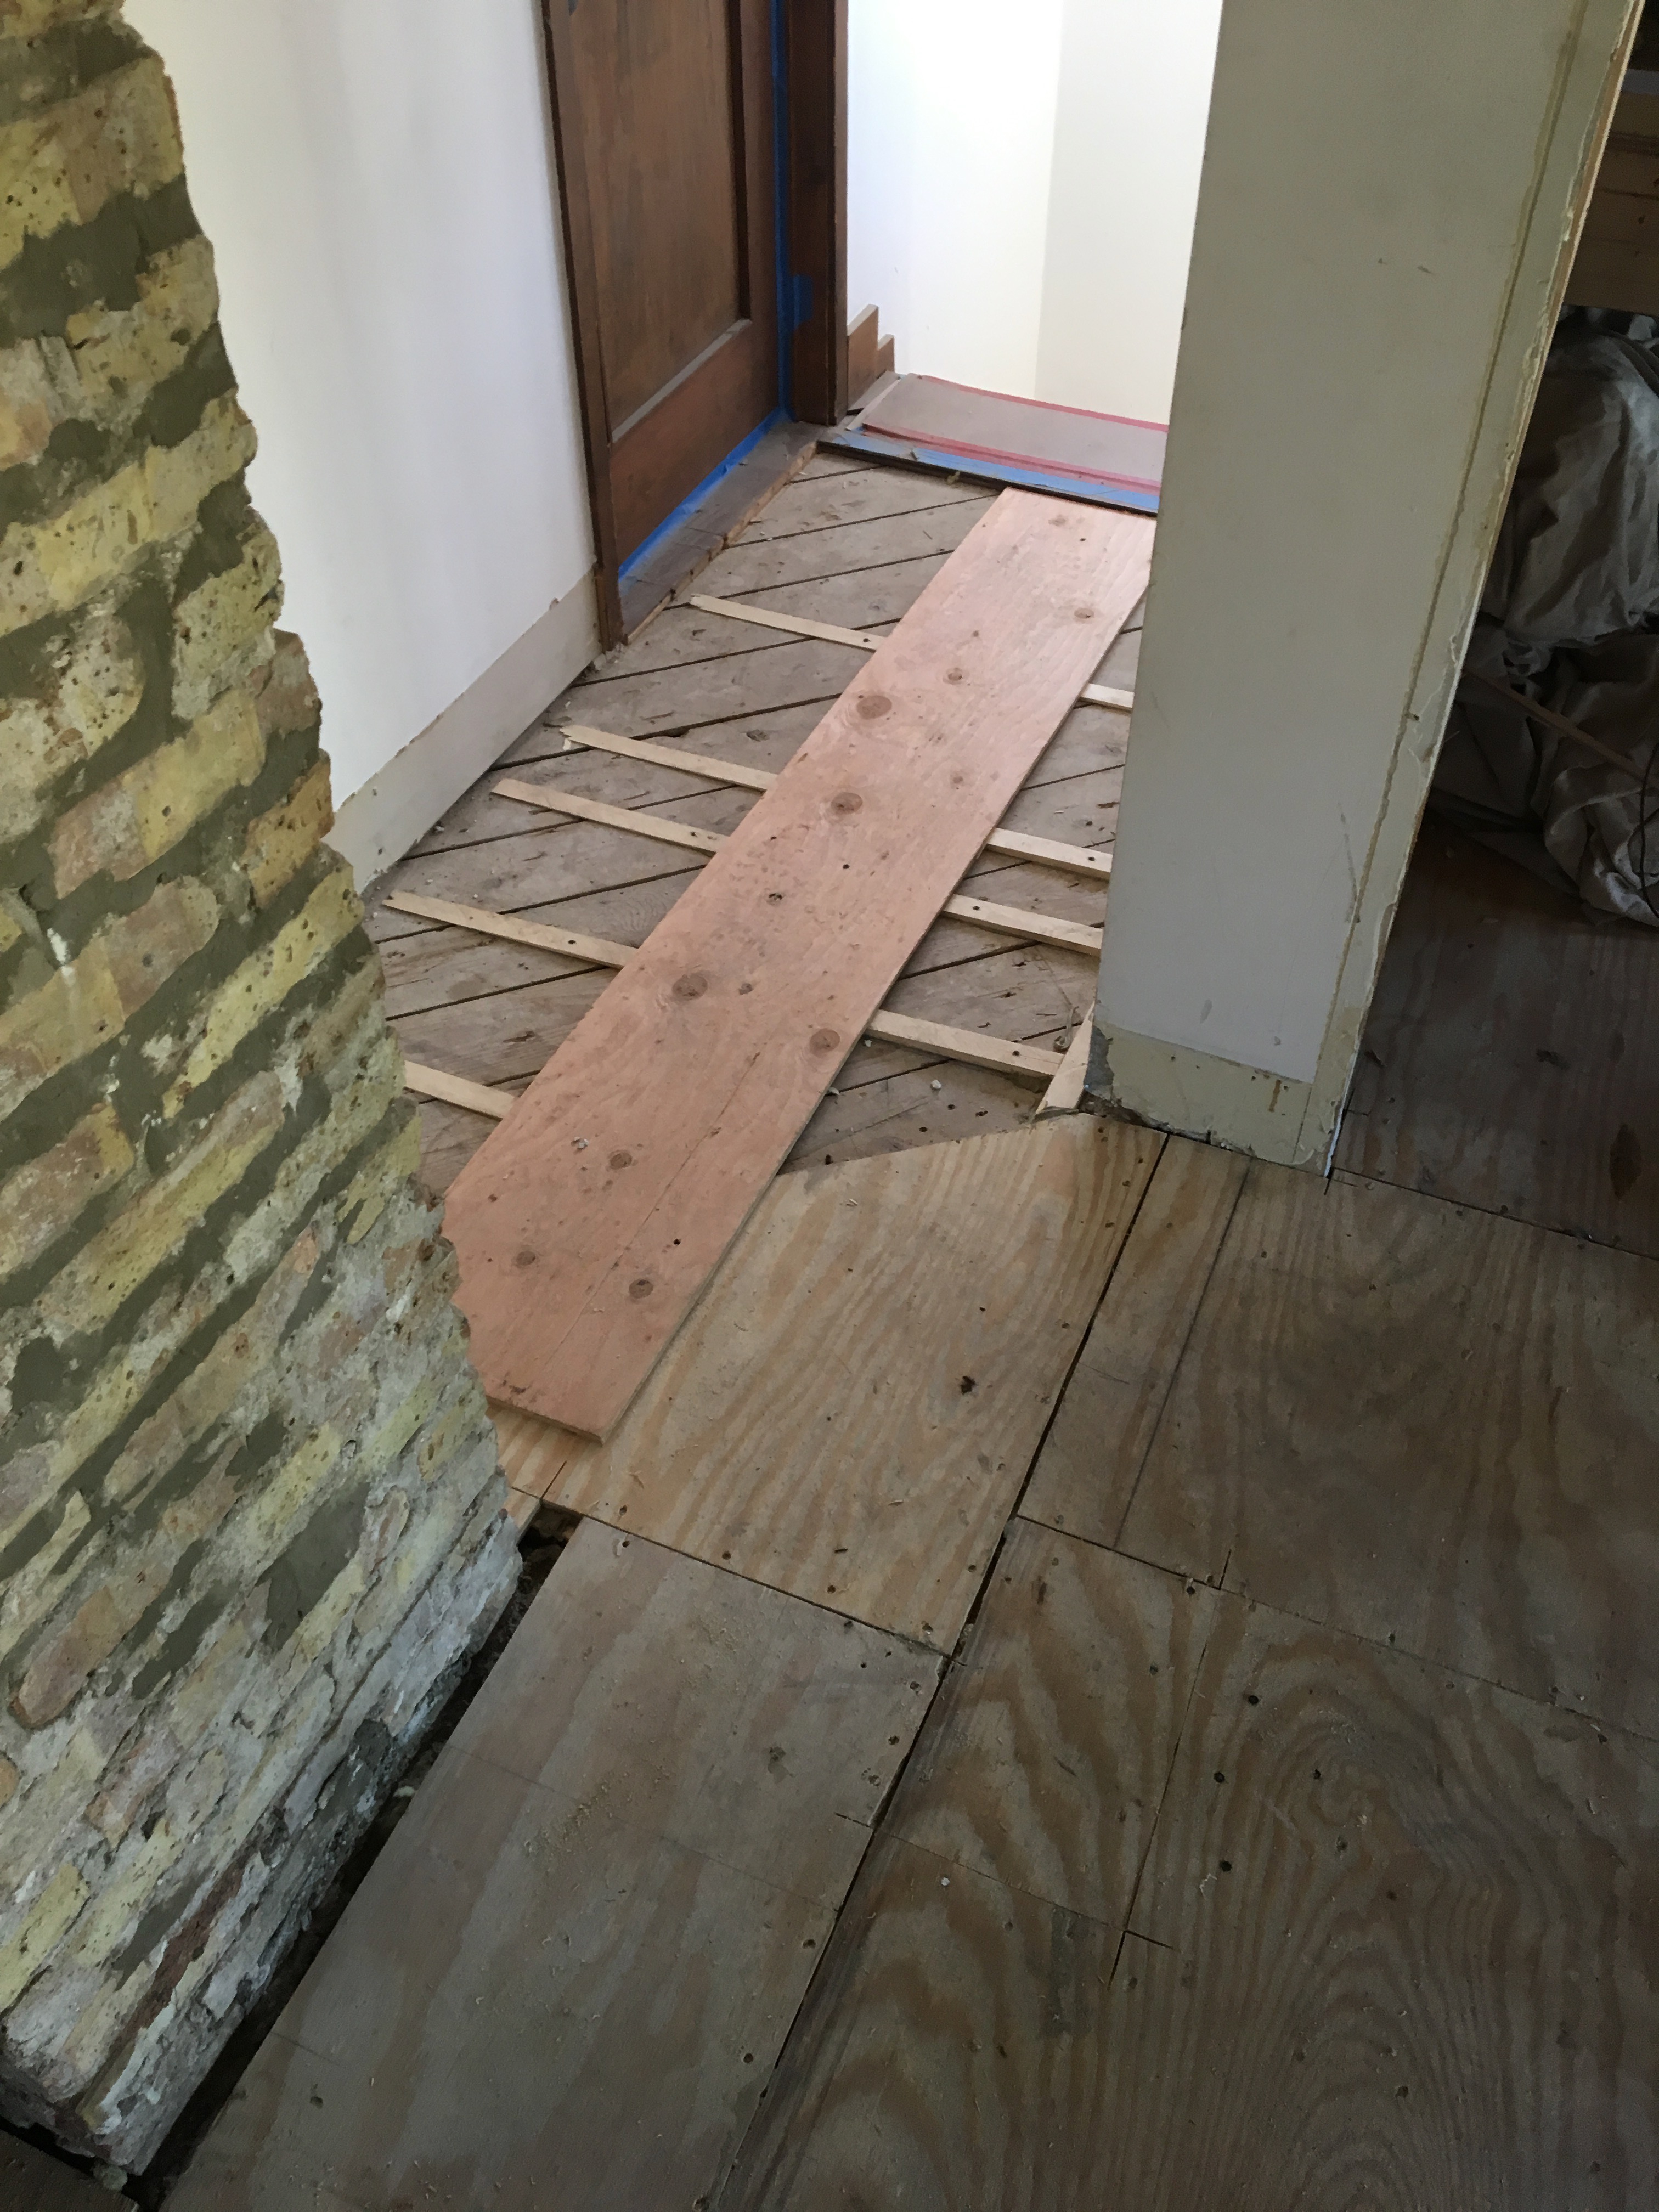
Our hallway had a giant vent pipe traveling underneath it to the chimney. Whoever installed it simply cut through these floor joists. The floor in this spot was sunken and spongy.
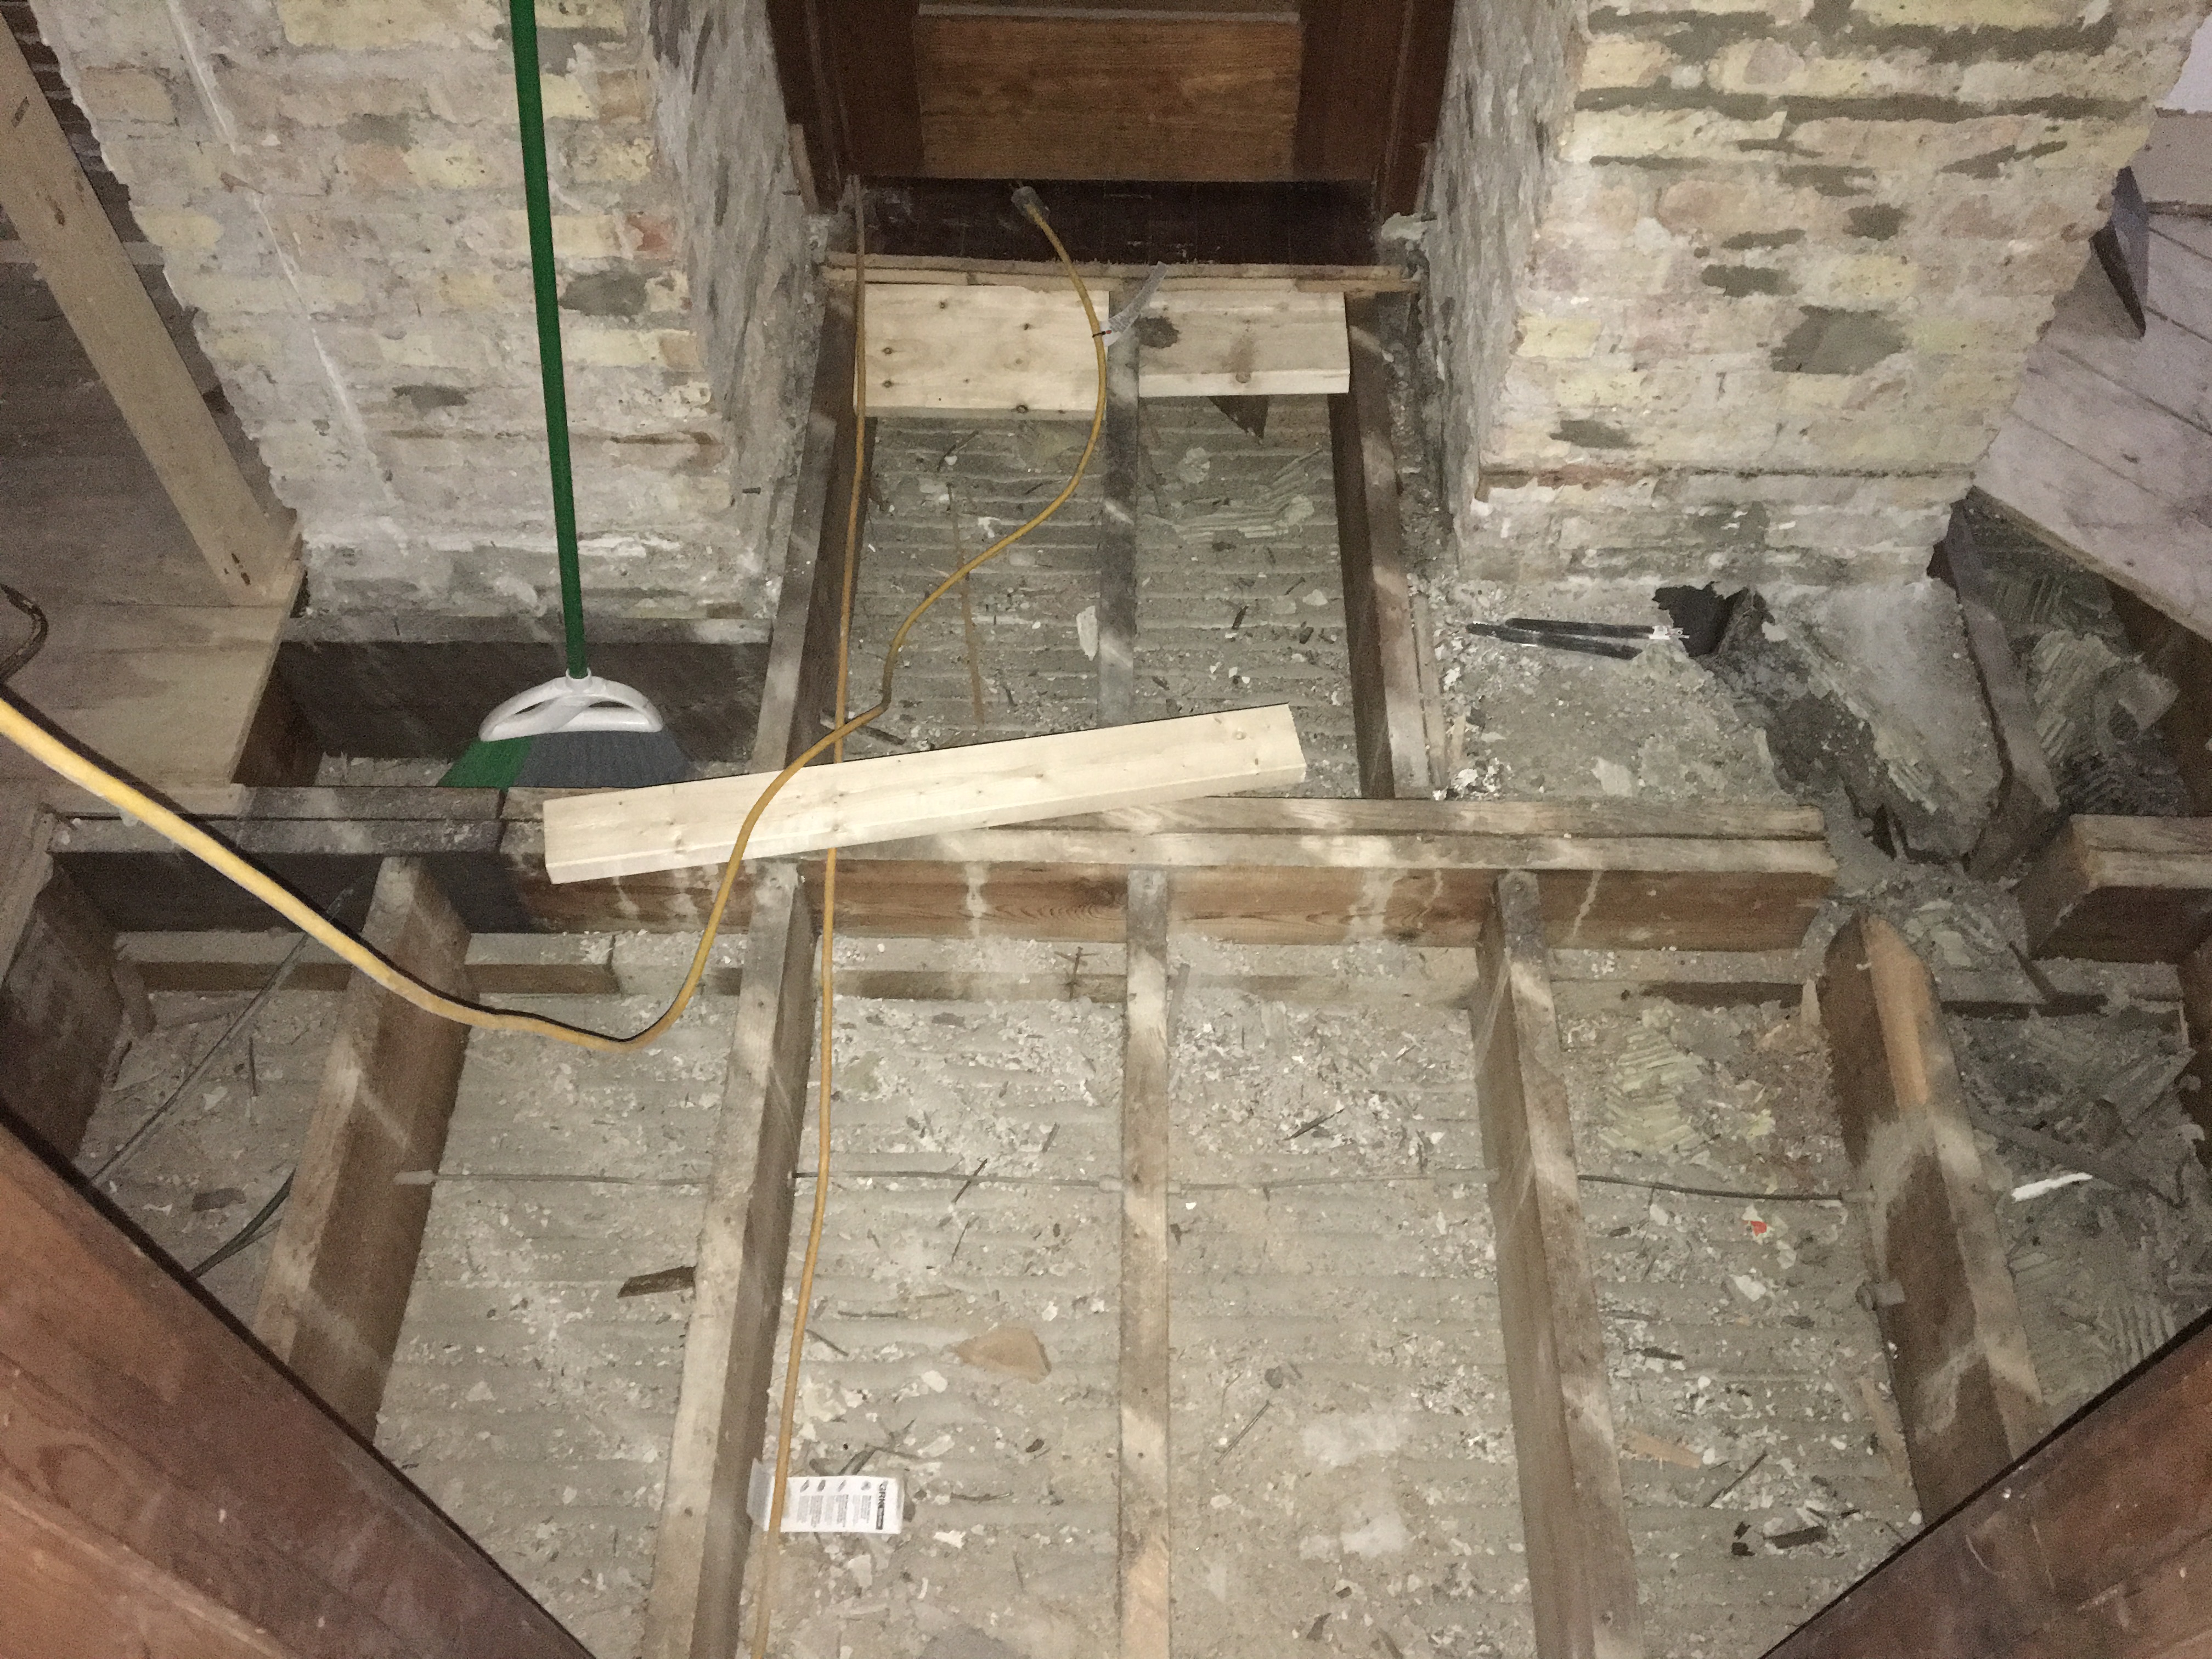
The hallway floor leading to the stairs cannot be completely leveled because we cannot change the existing stairs (they are not to code). So, we are gently sloping the hallway from the now level area (master bedroom and bathrooms) to the stairs.
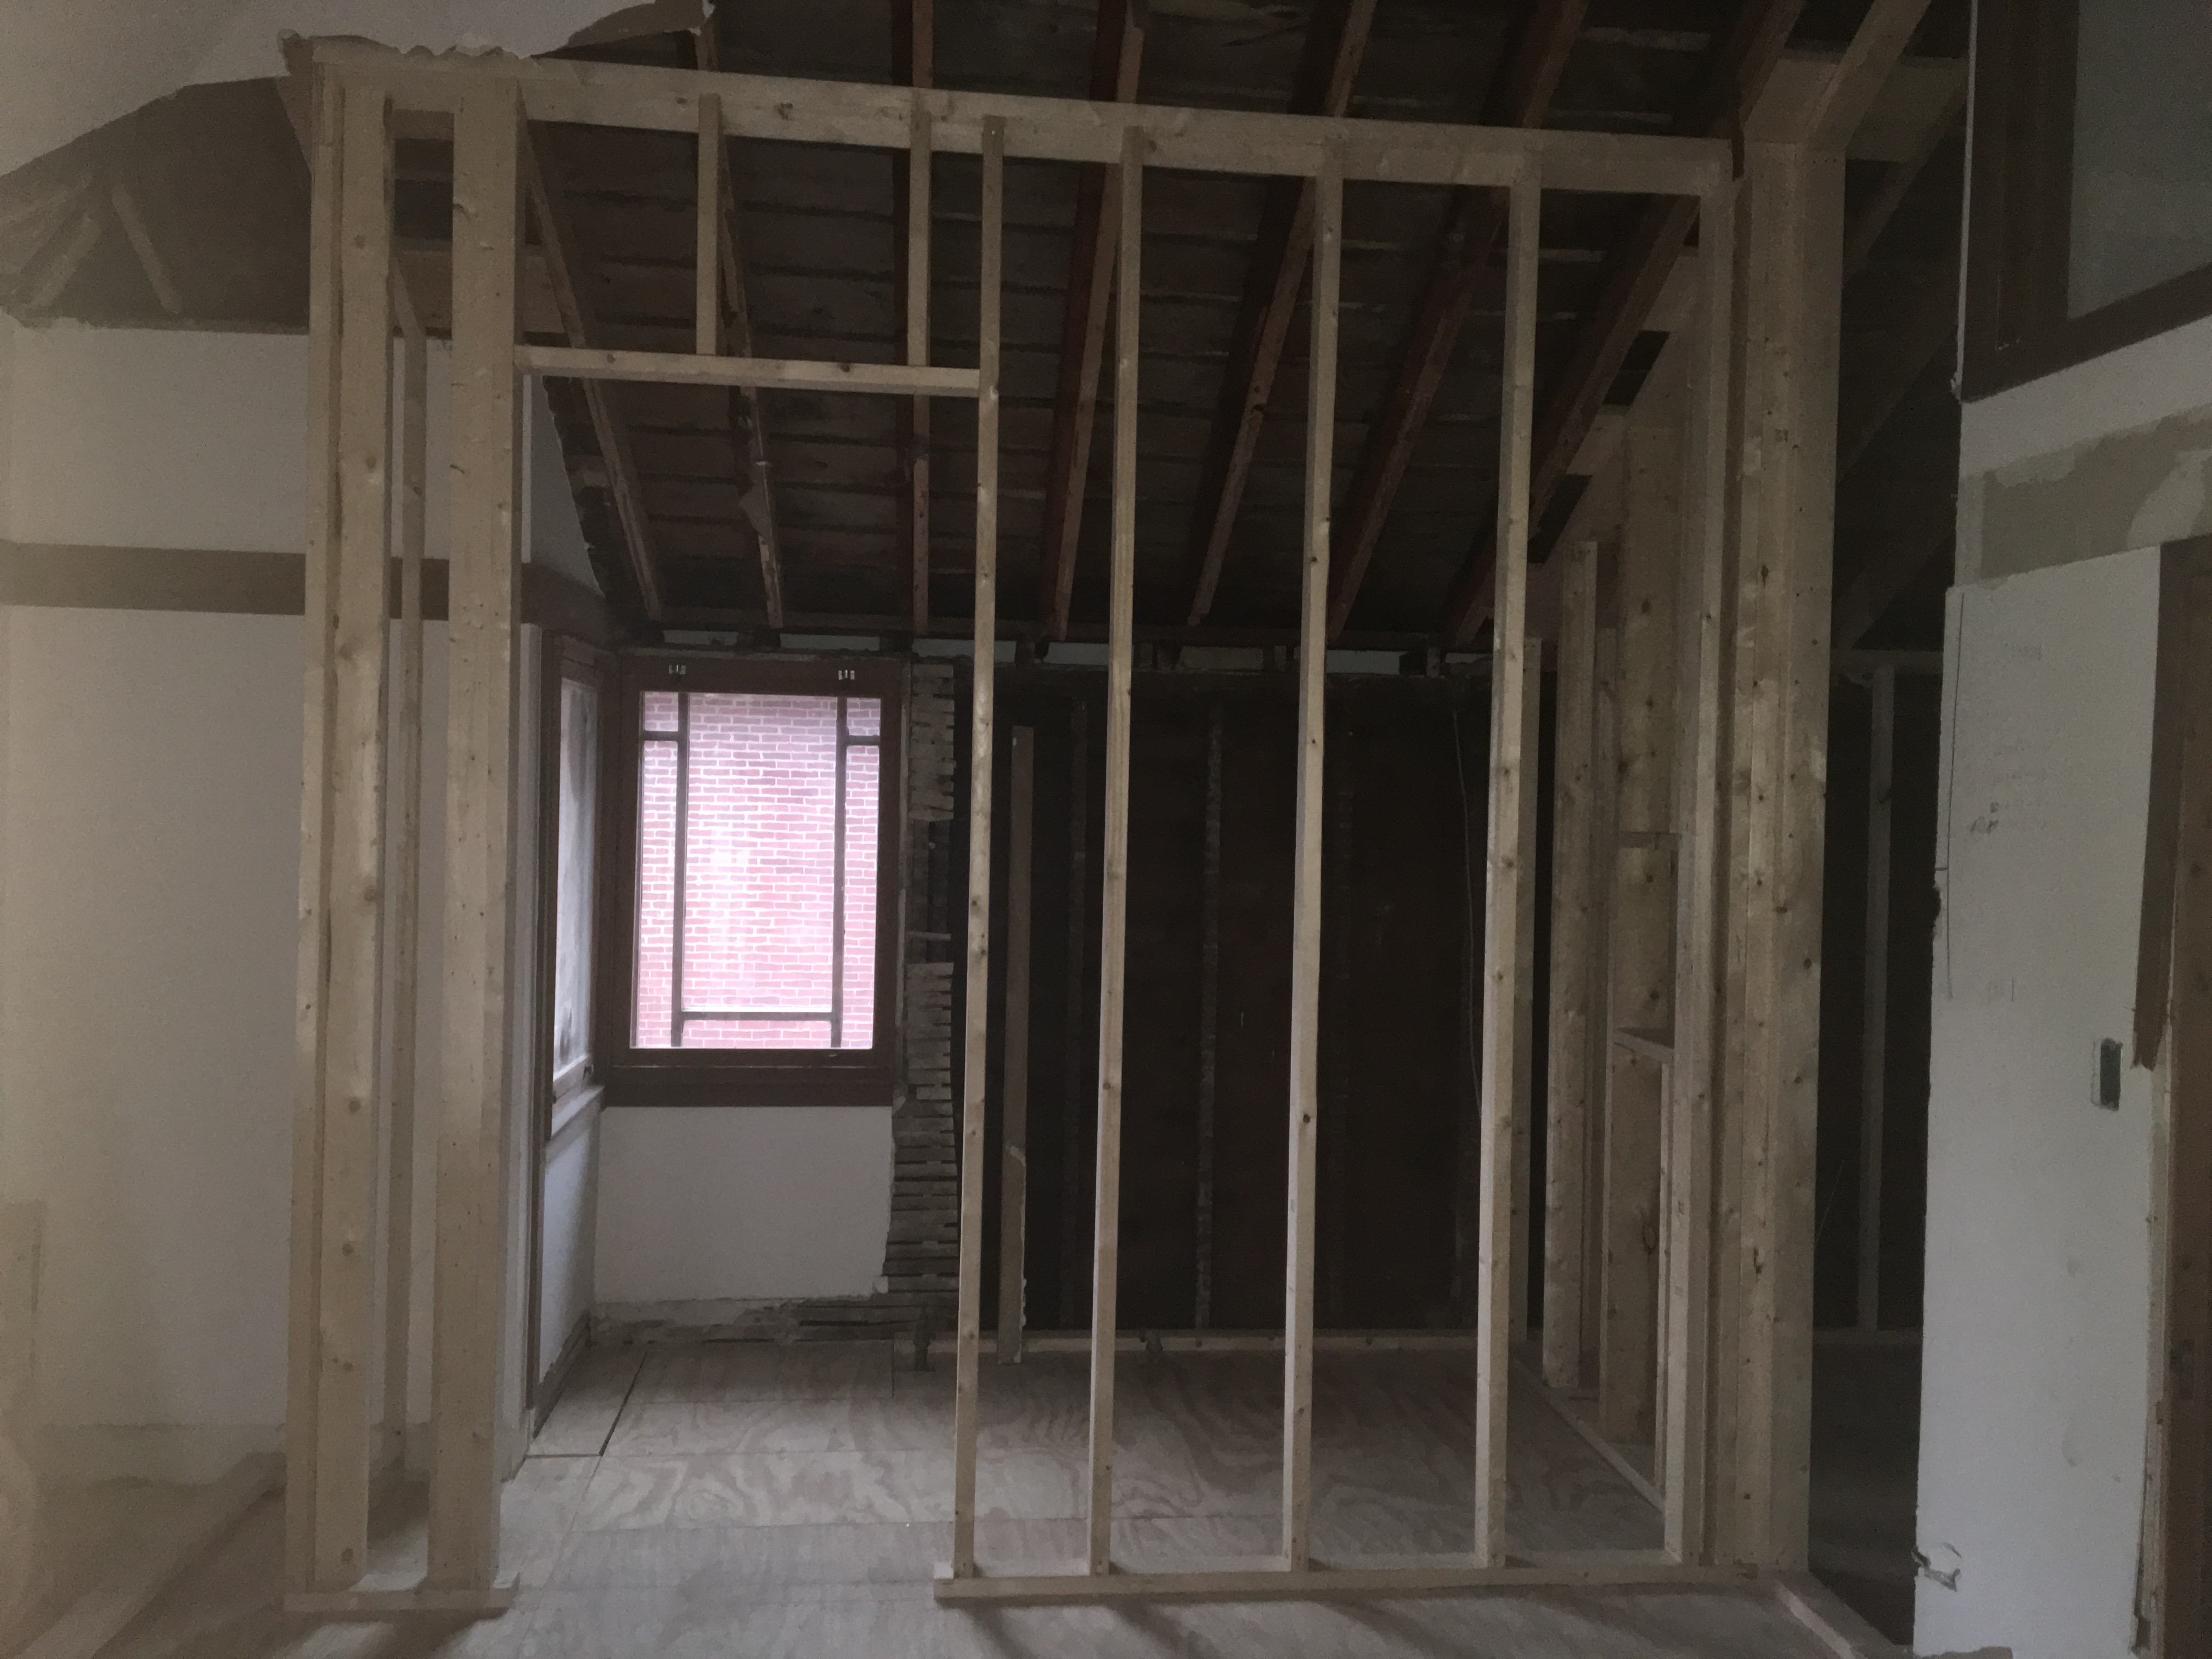
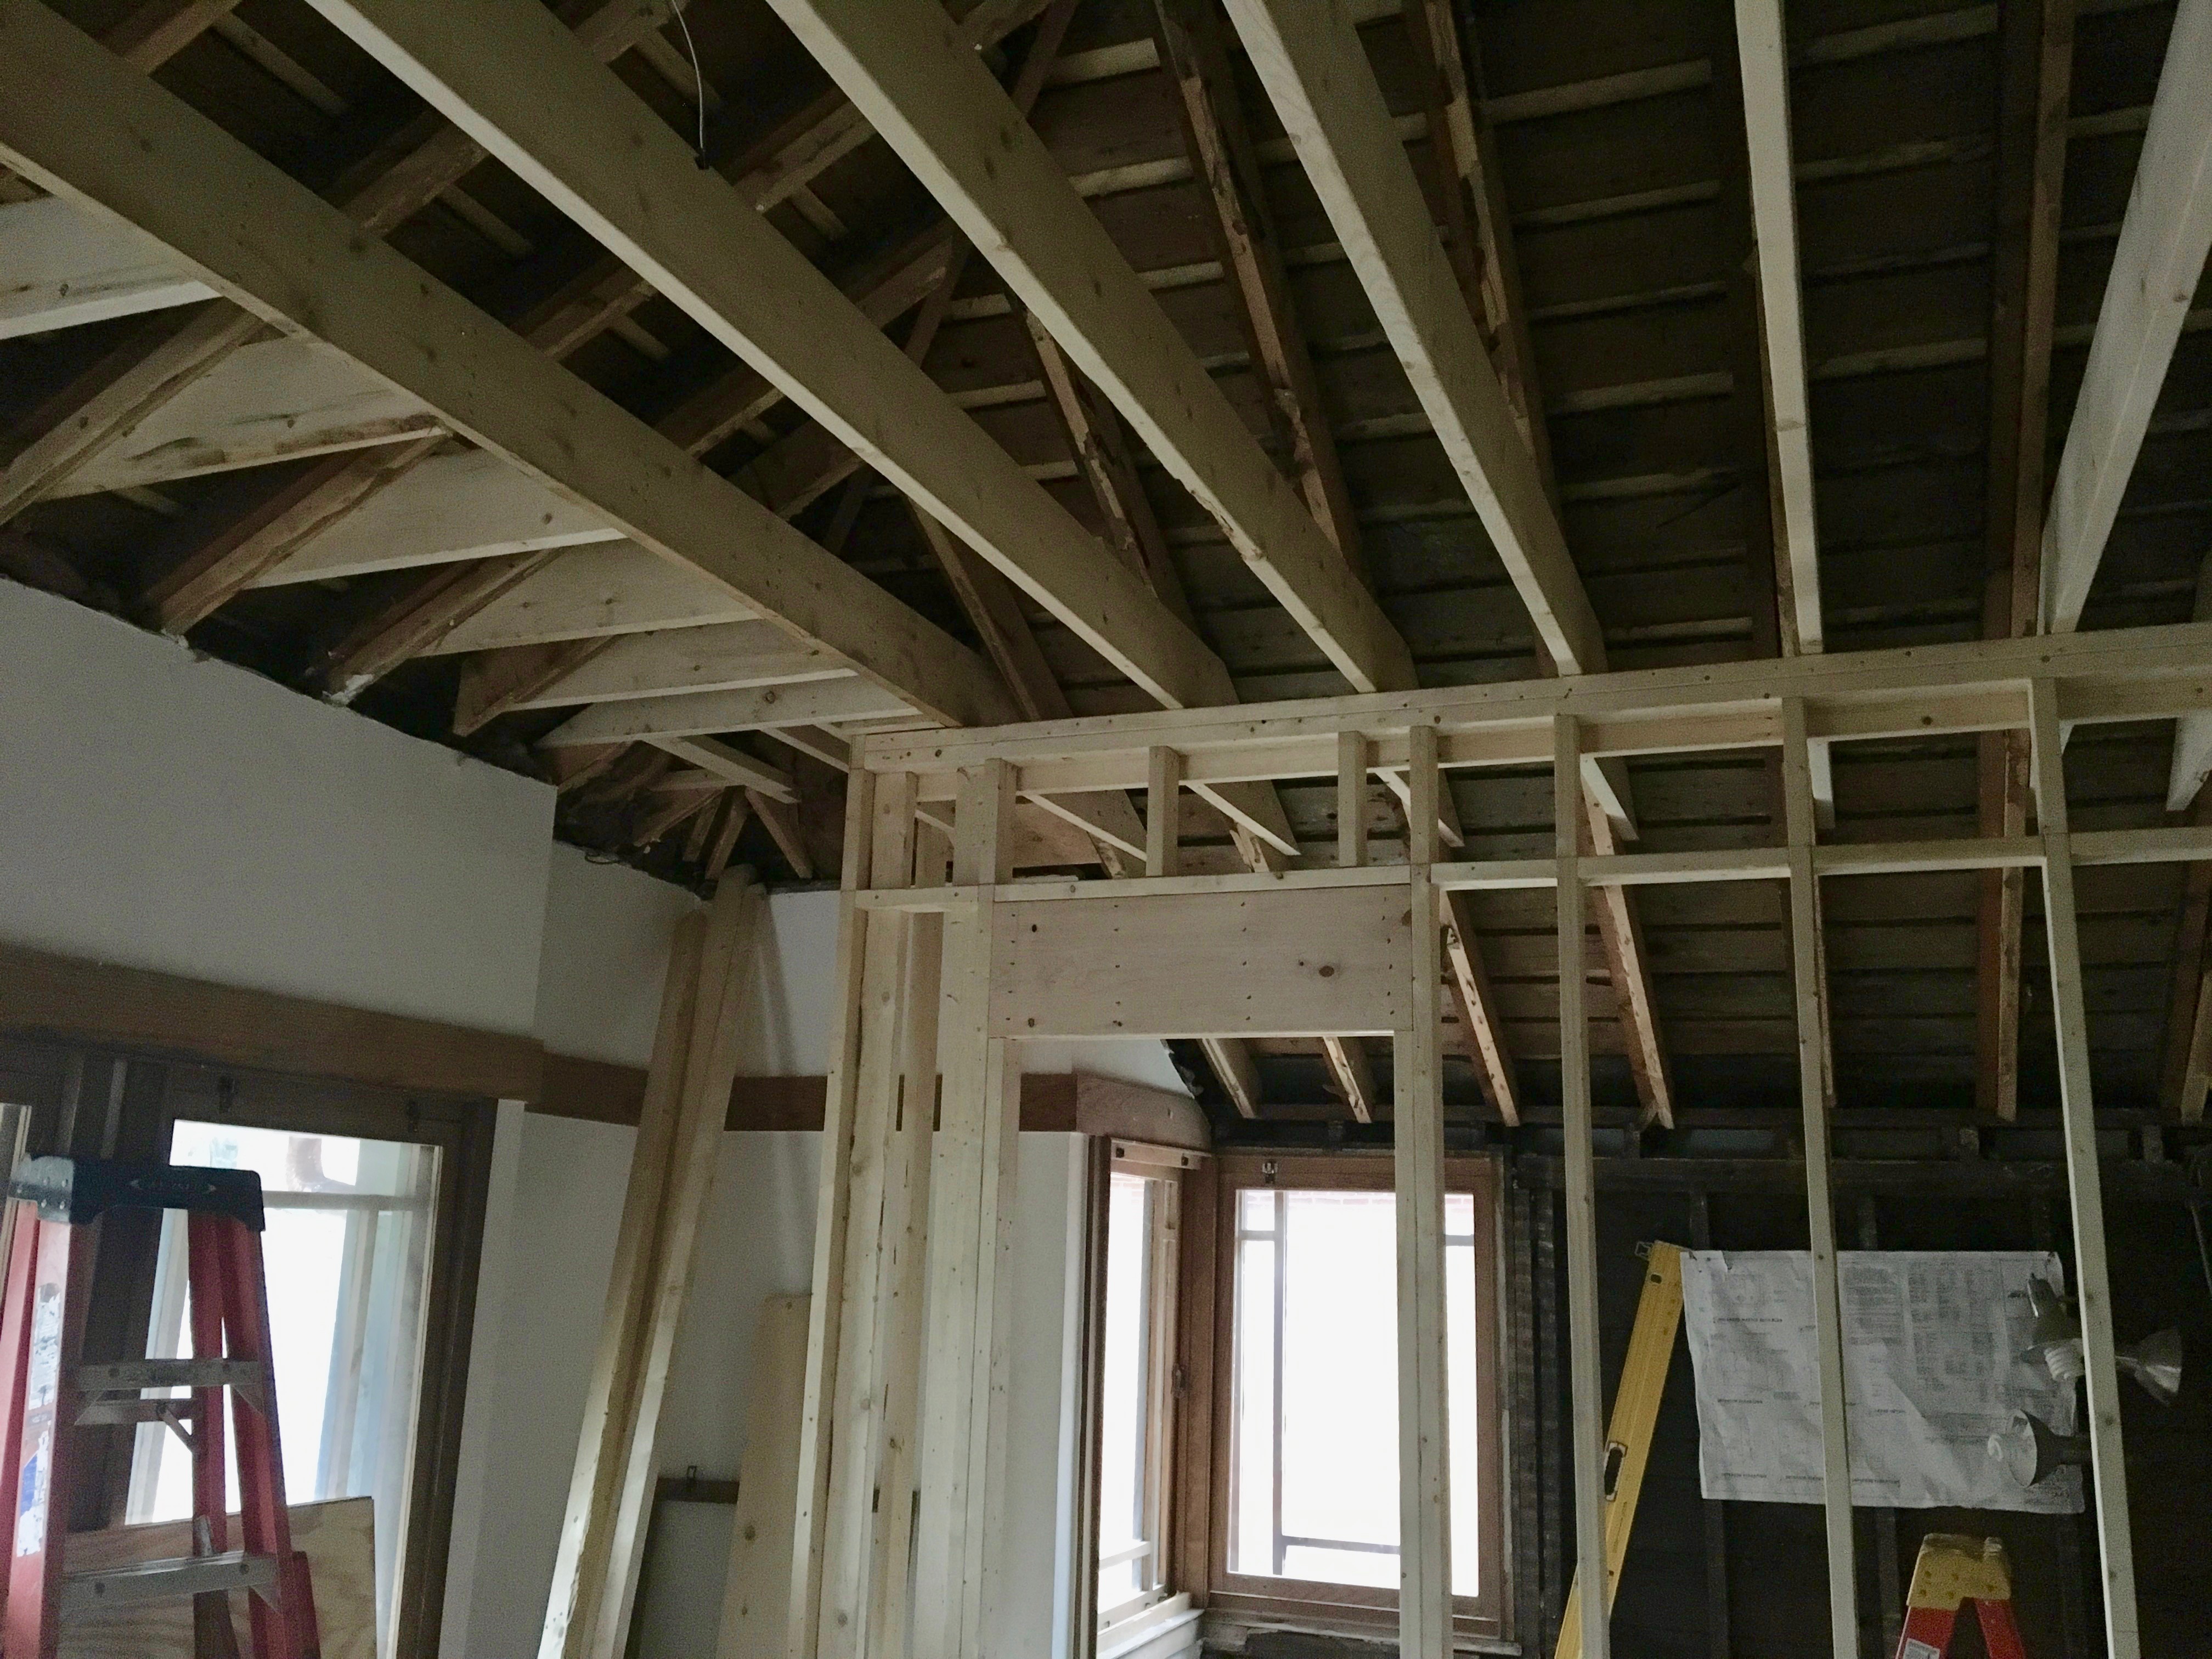
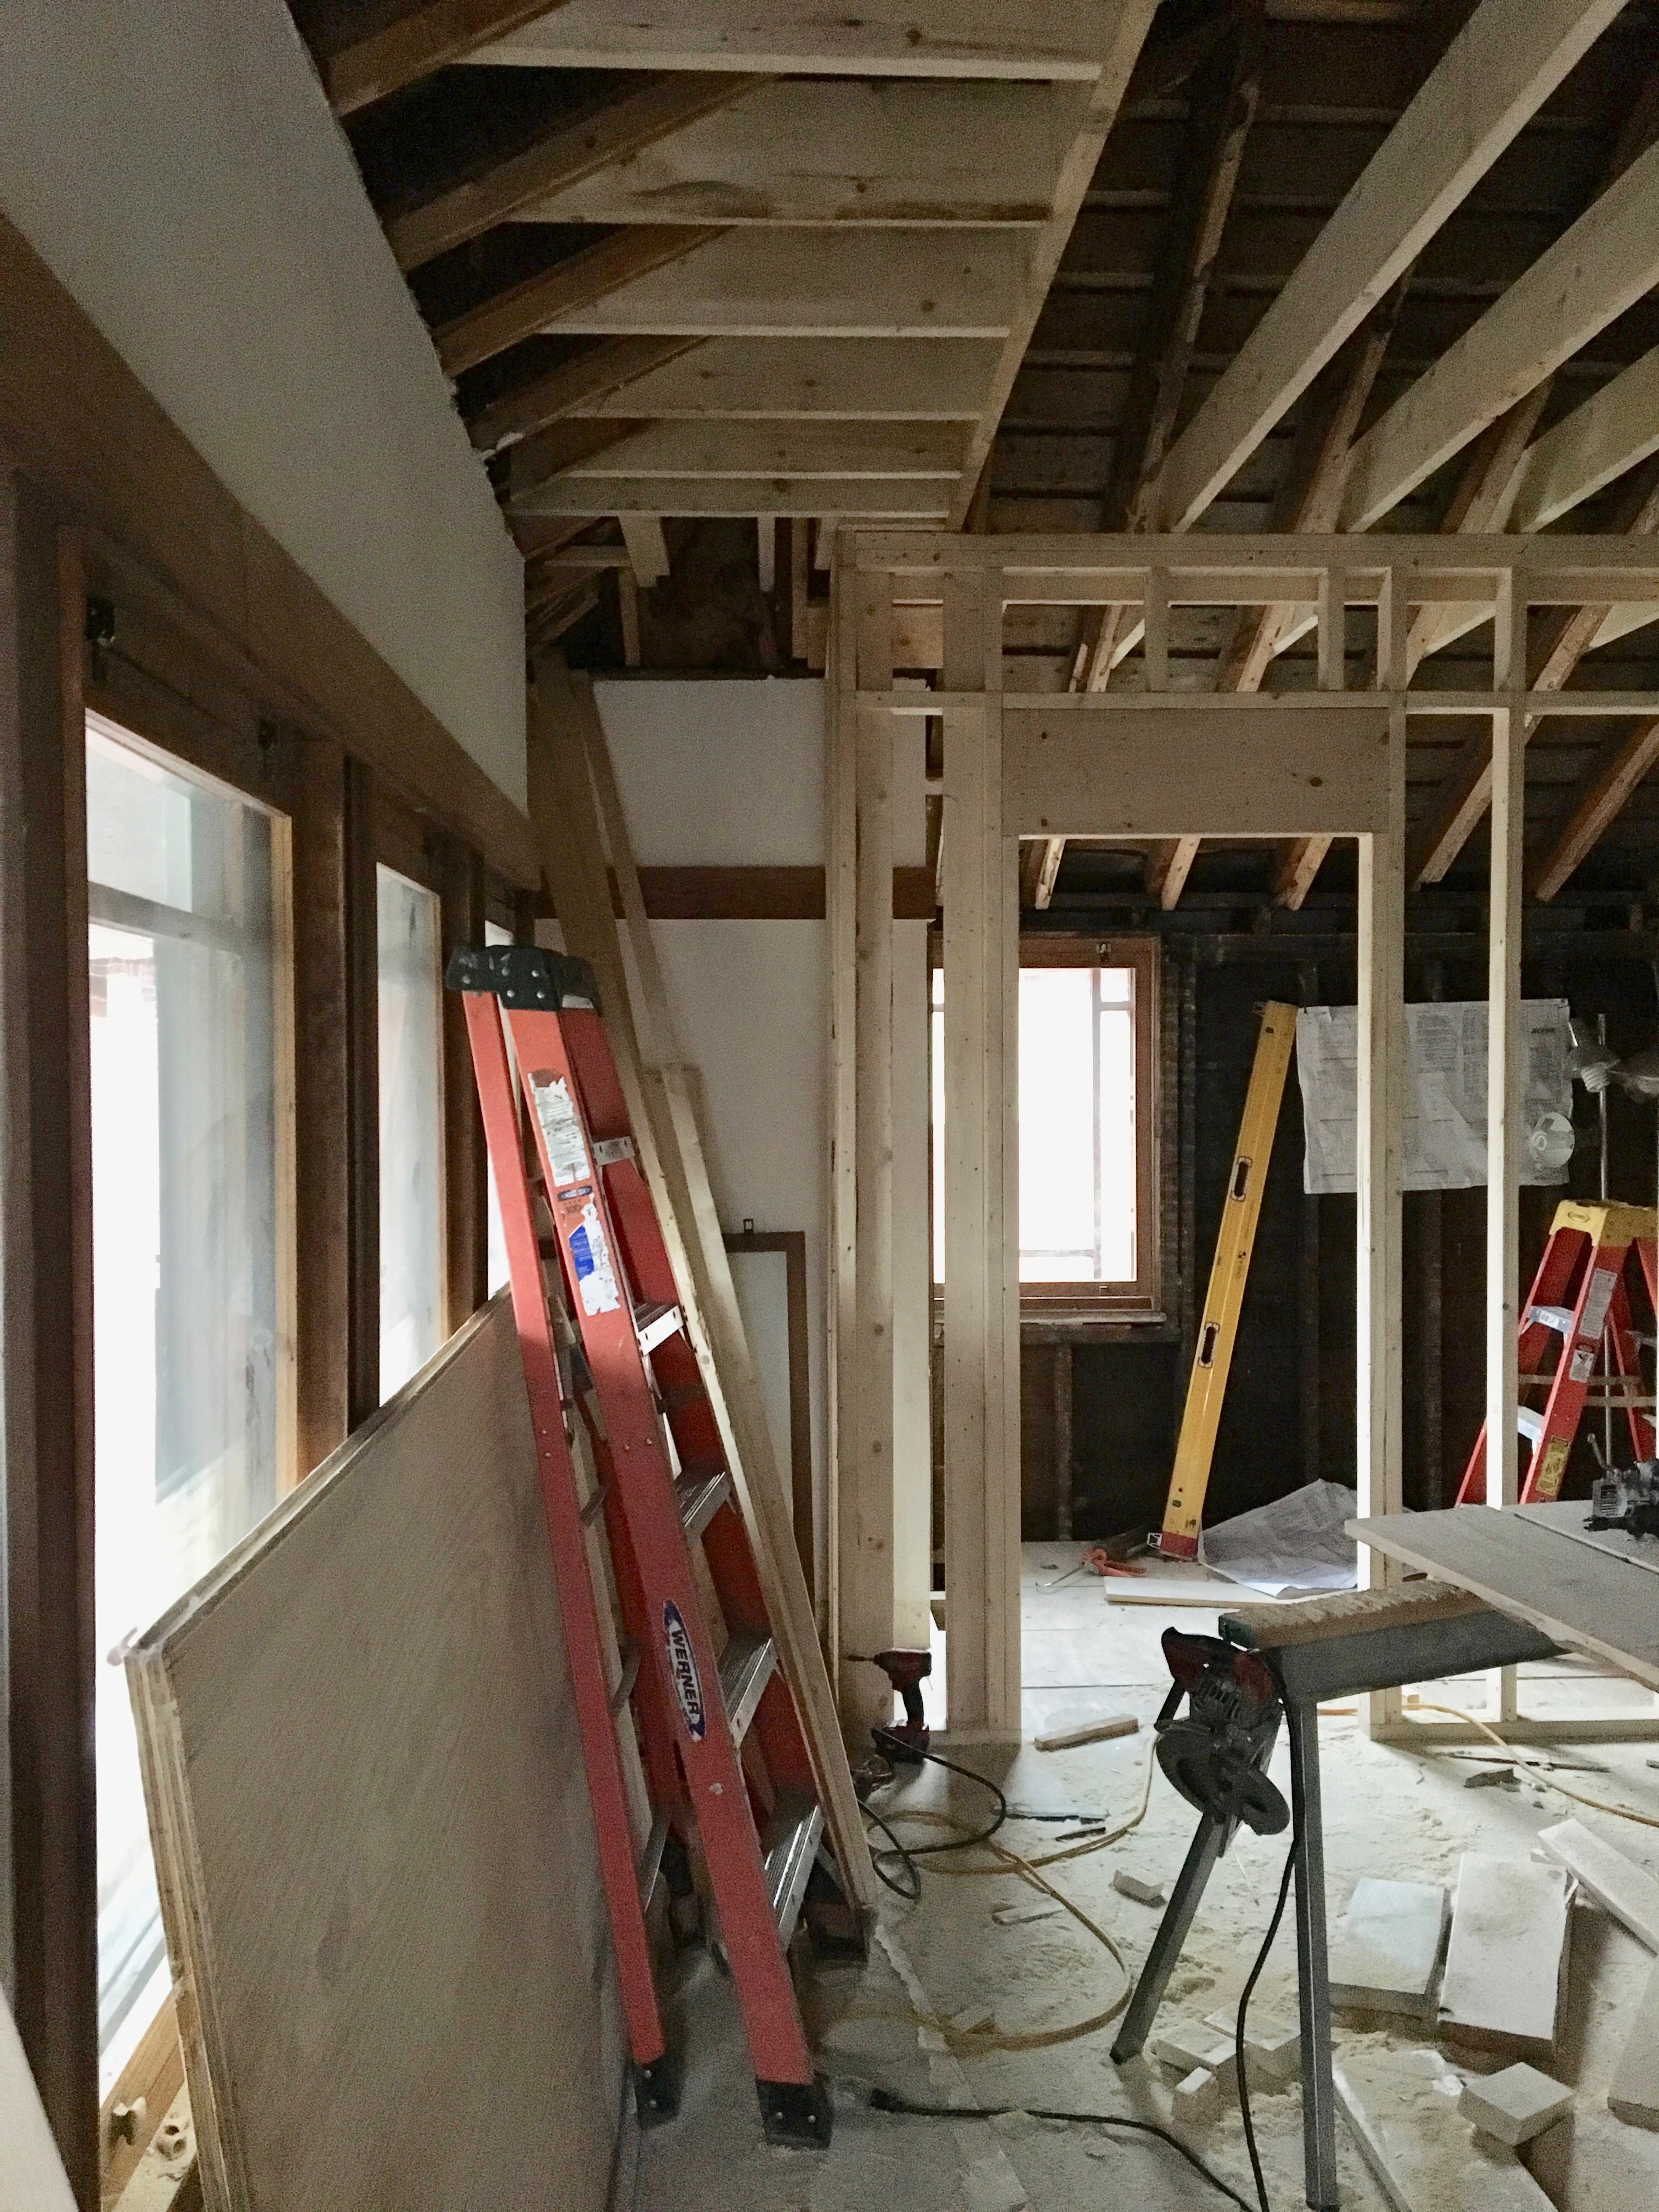
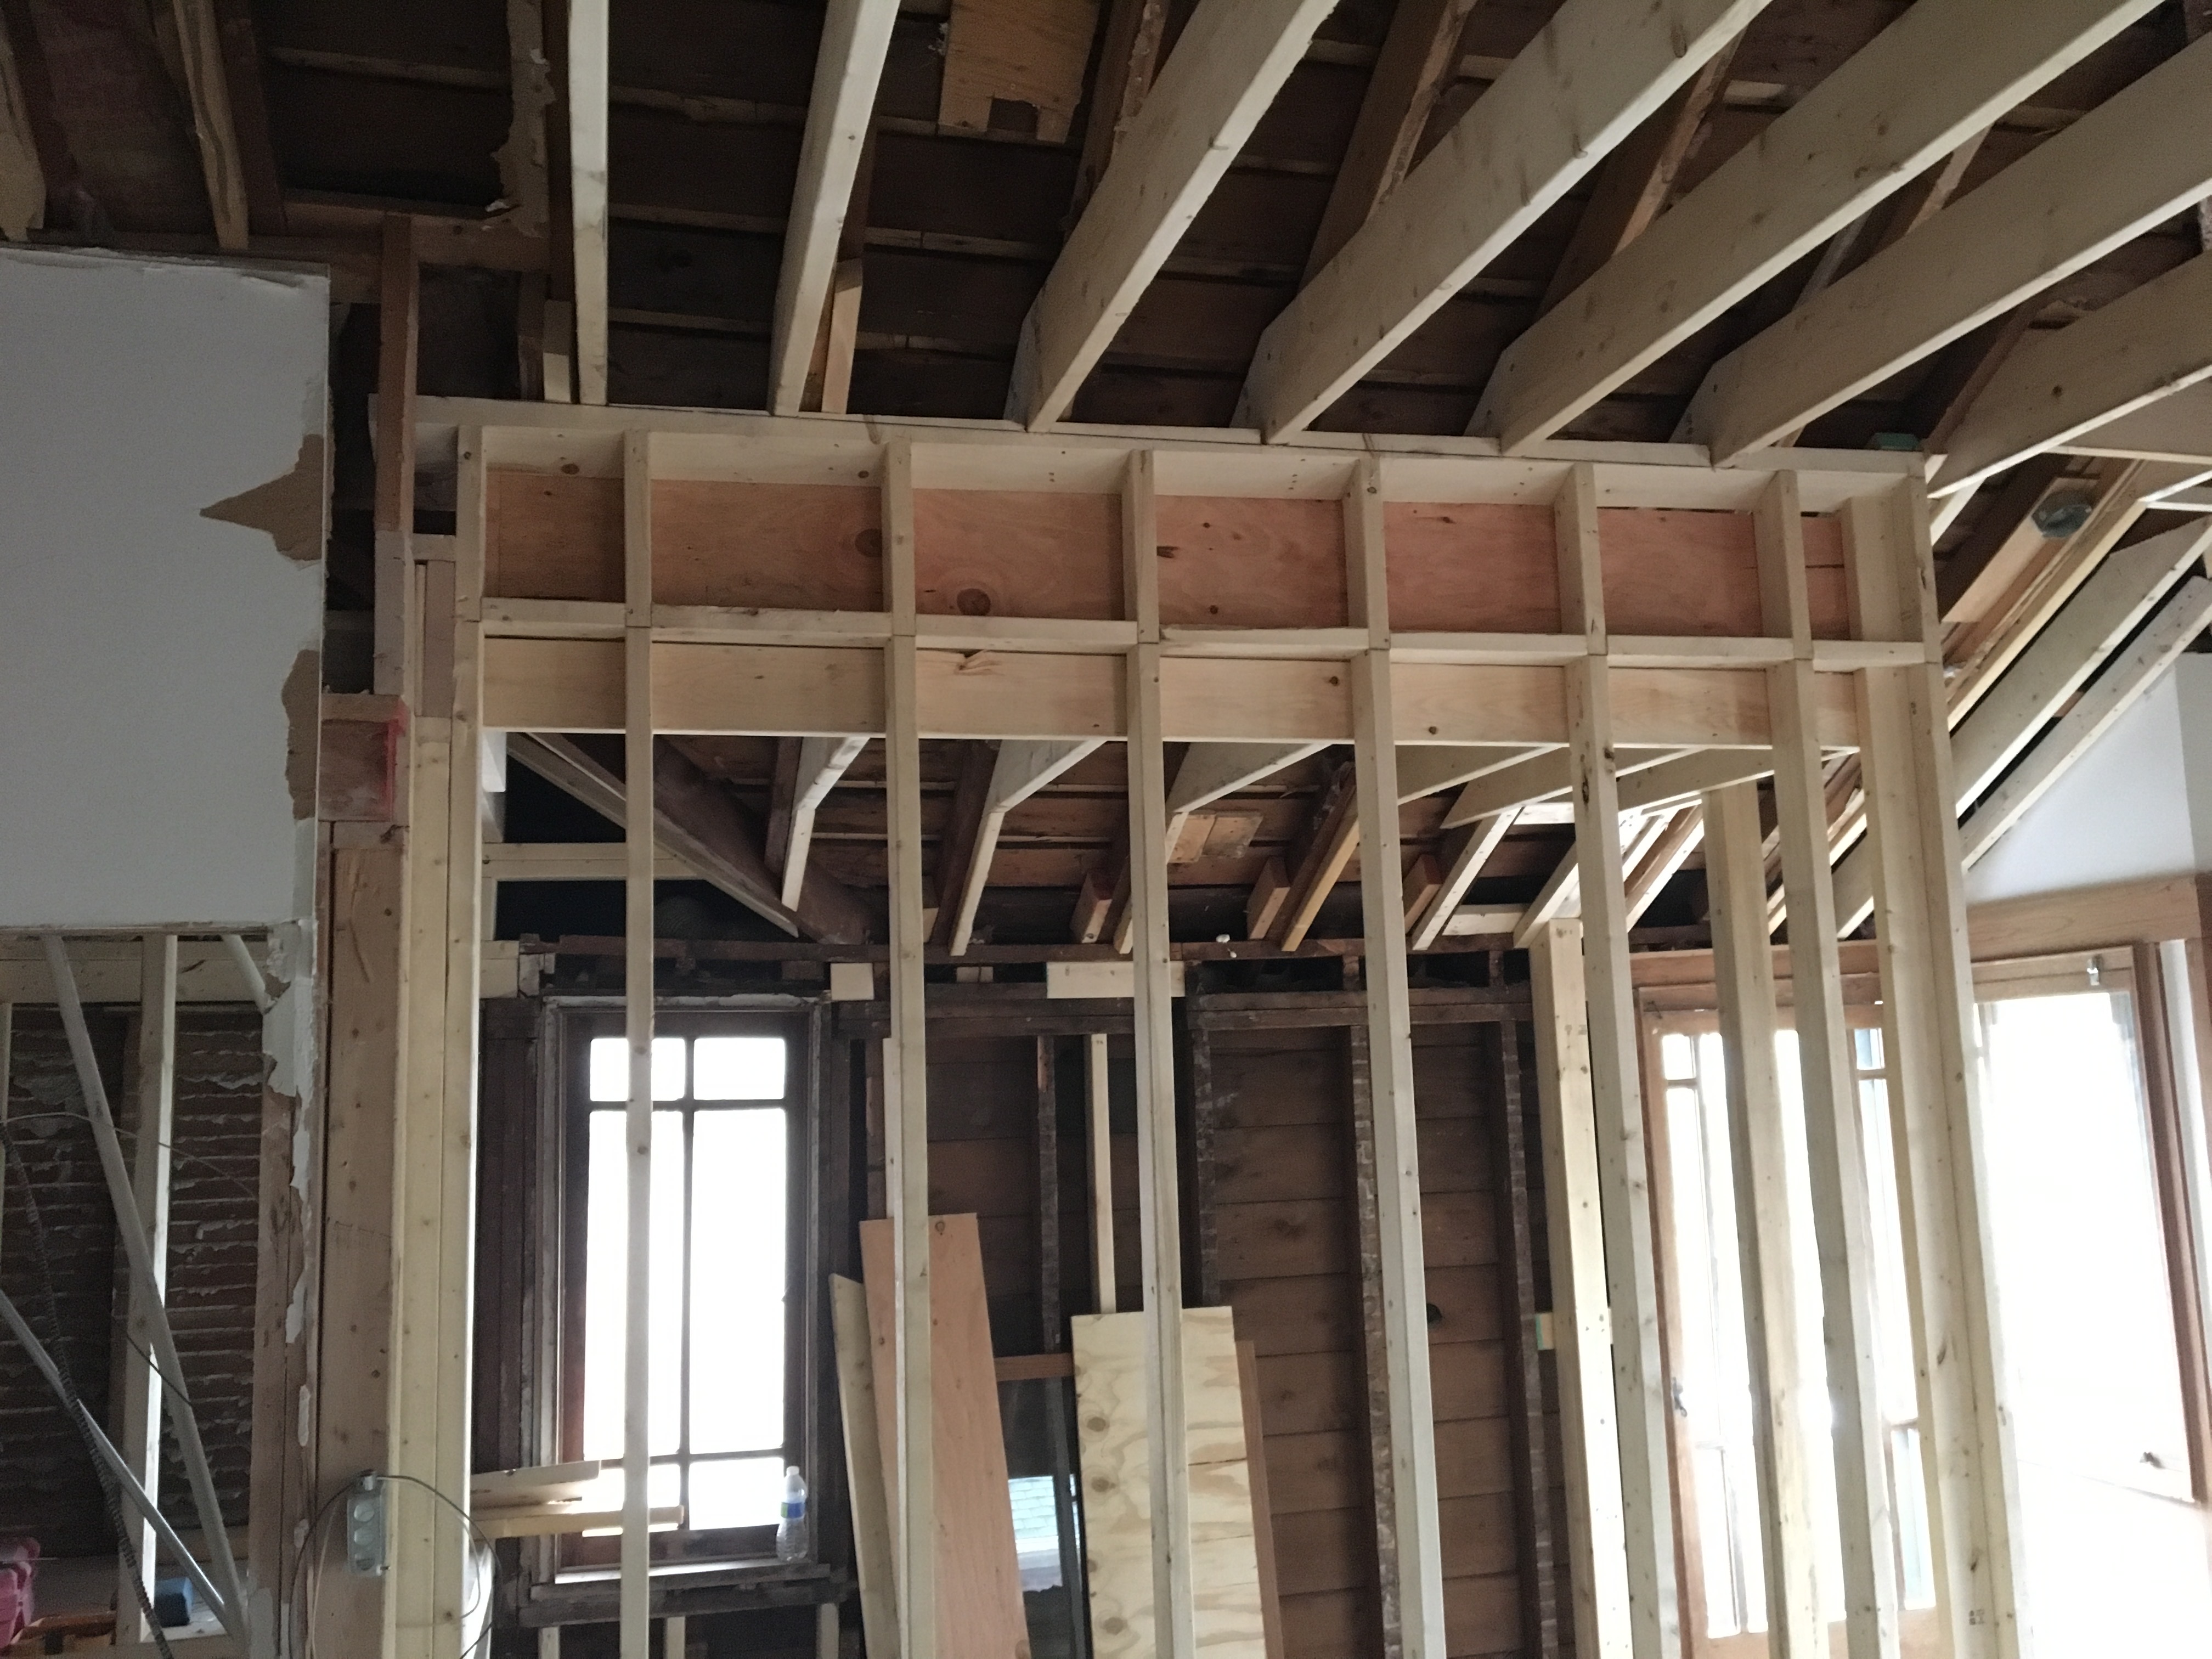
When the carpenters started leveling the hallway, they realized that the door the master bedroom would need to be removed and raised about an inch and a half. They suggested it would be faster to just knock down the wall and rebuild it, so that is what we did. We centered the door to the door directly across the hall. It is not centered under the roof ridge, because the chimney is slight off-center.

New hallway wall, looking up. Here, it is quite apparent that the door doesn’t align with the ridge, but neither does the chimney.
We will keep the cathedral ceiling in place in the hallway.
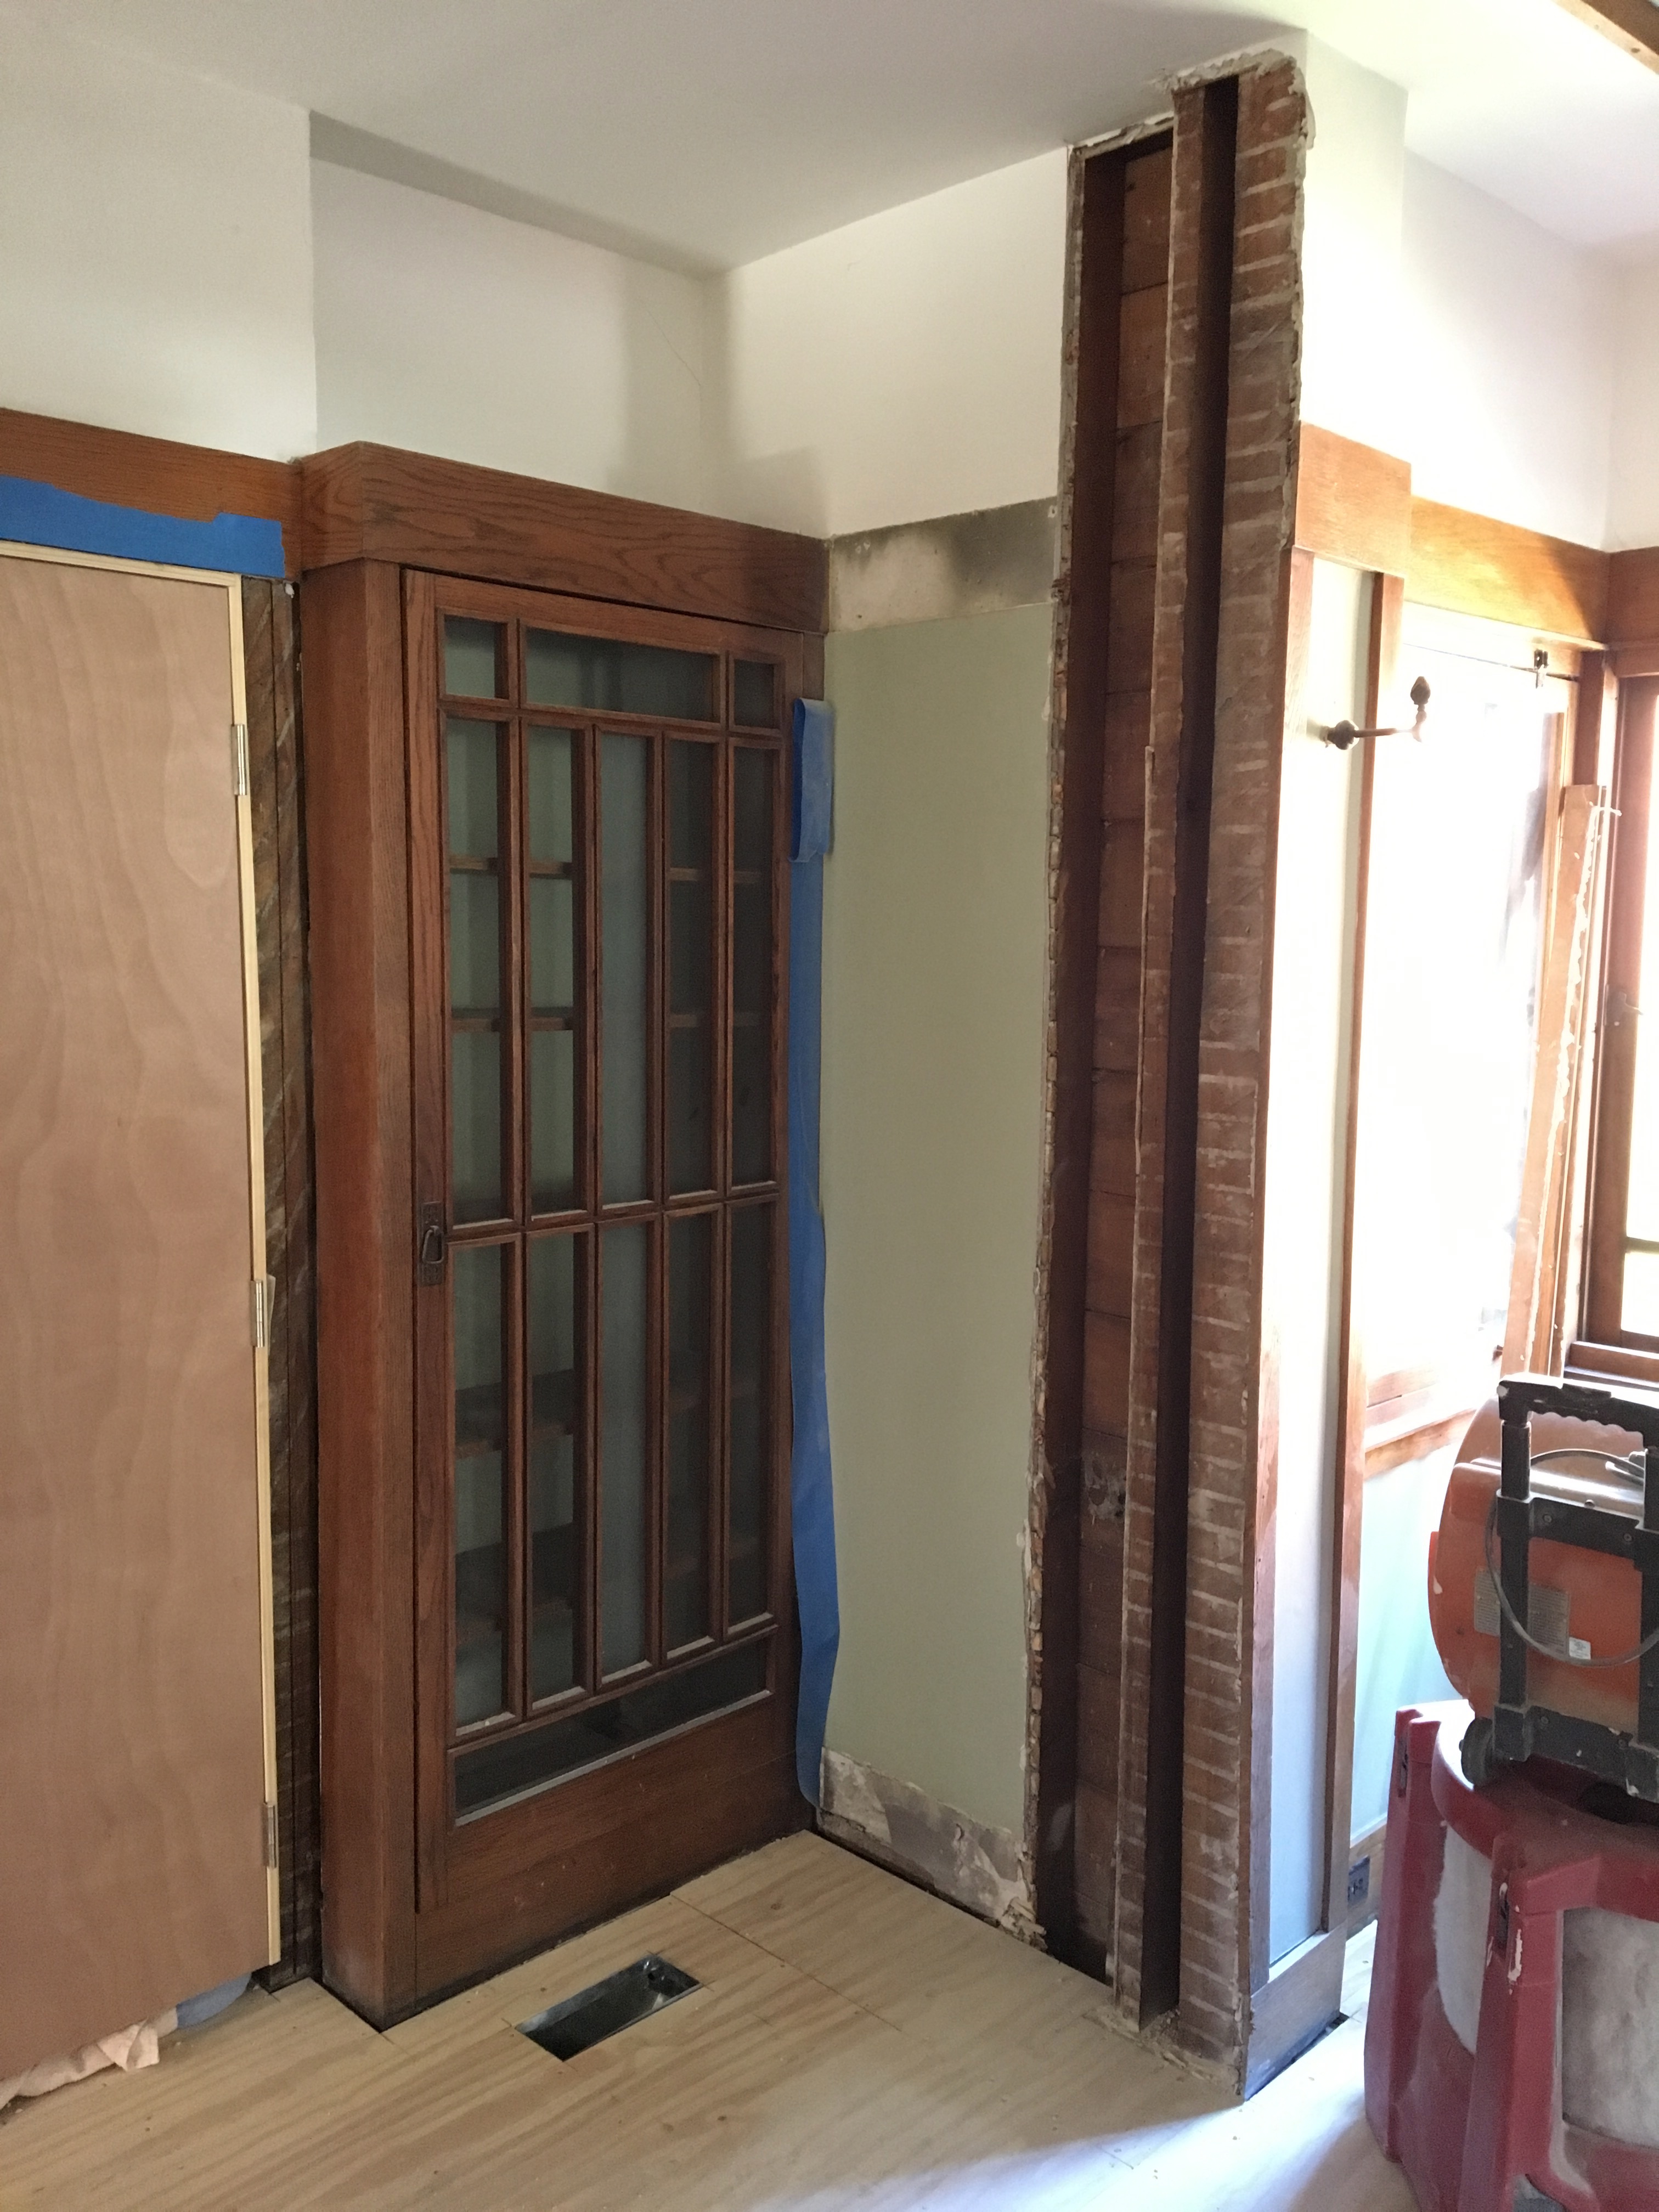
New door to the hall bathroom.
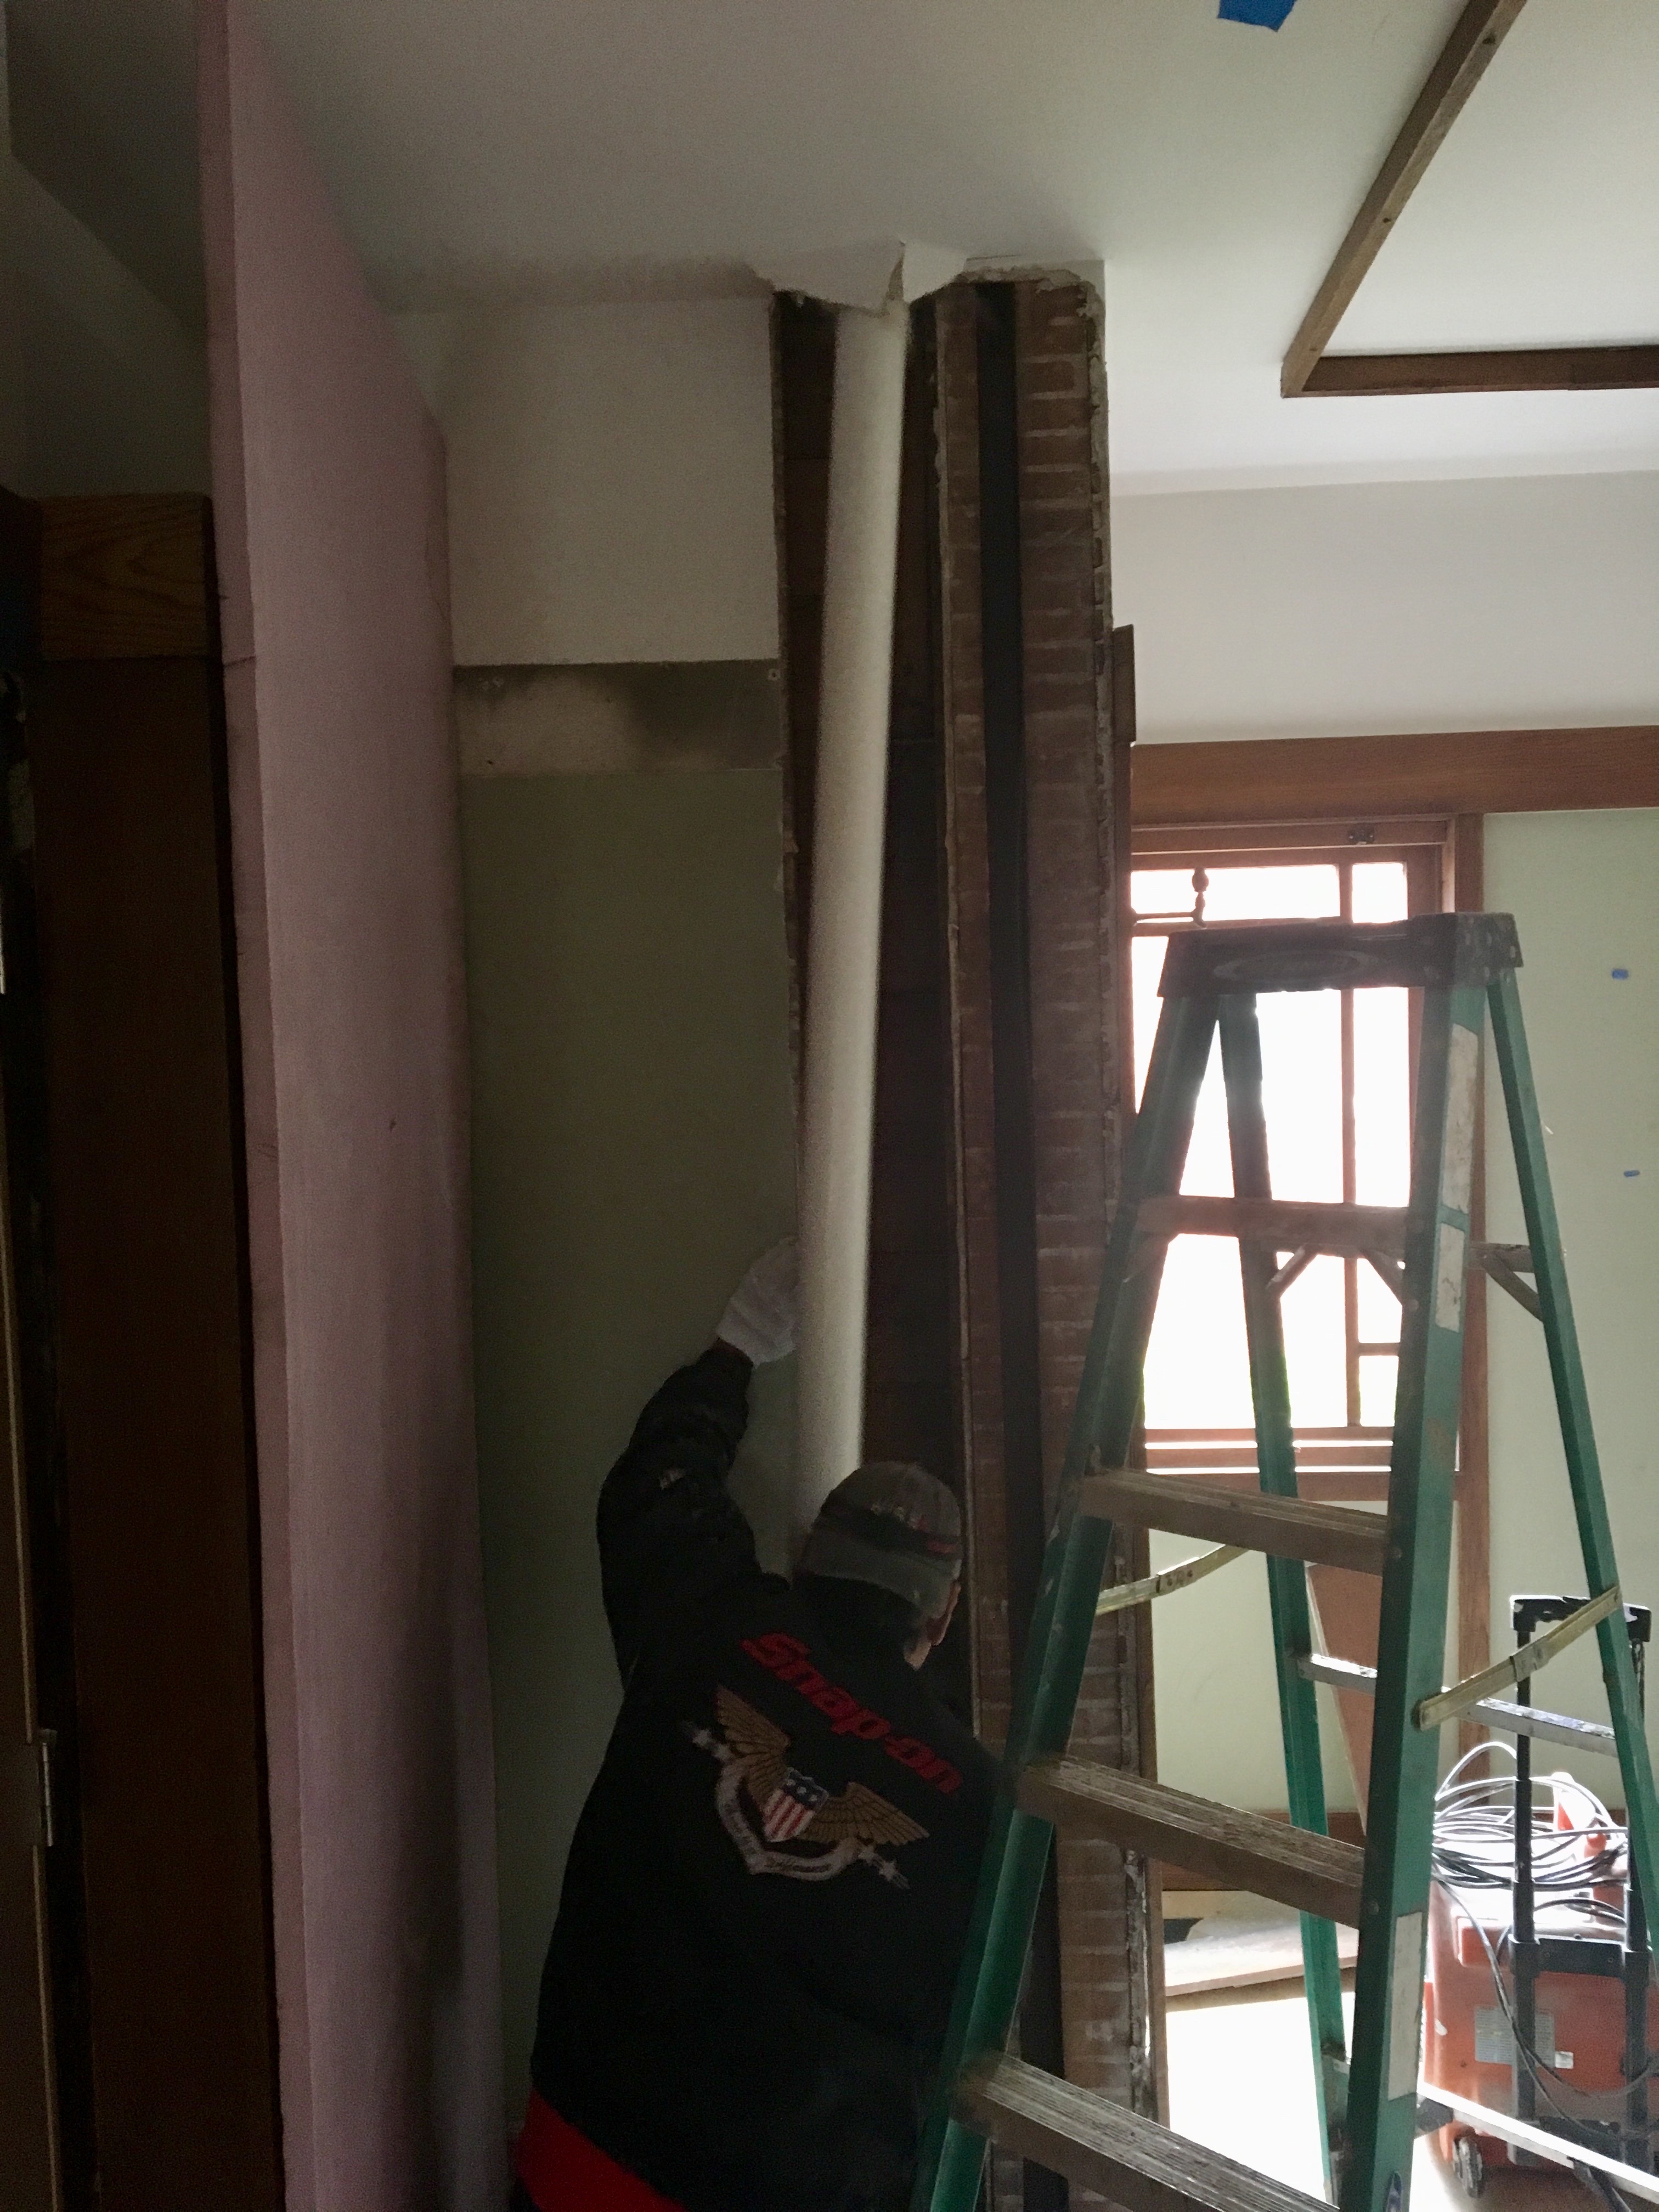
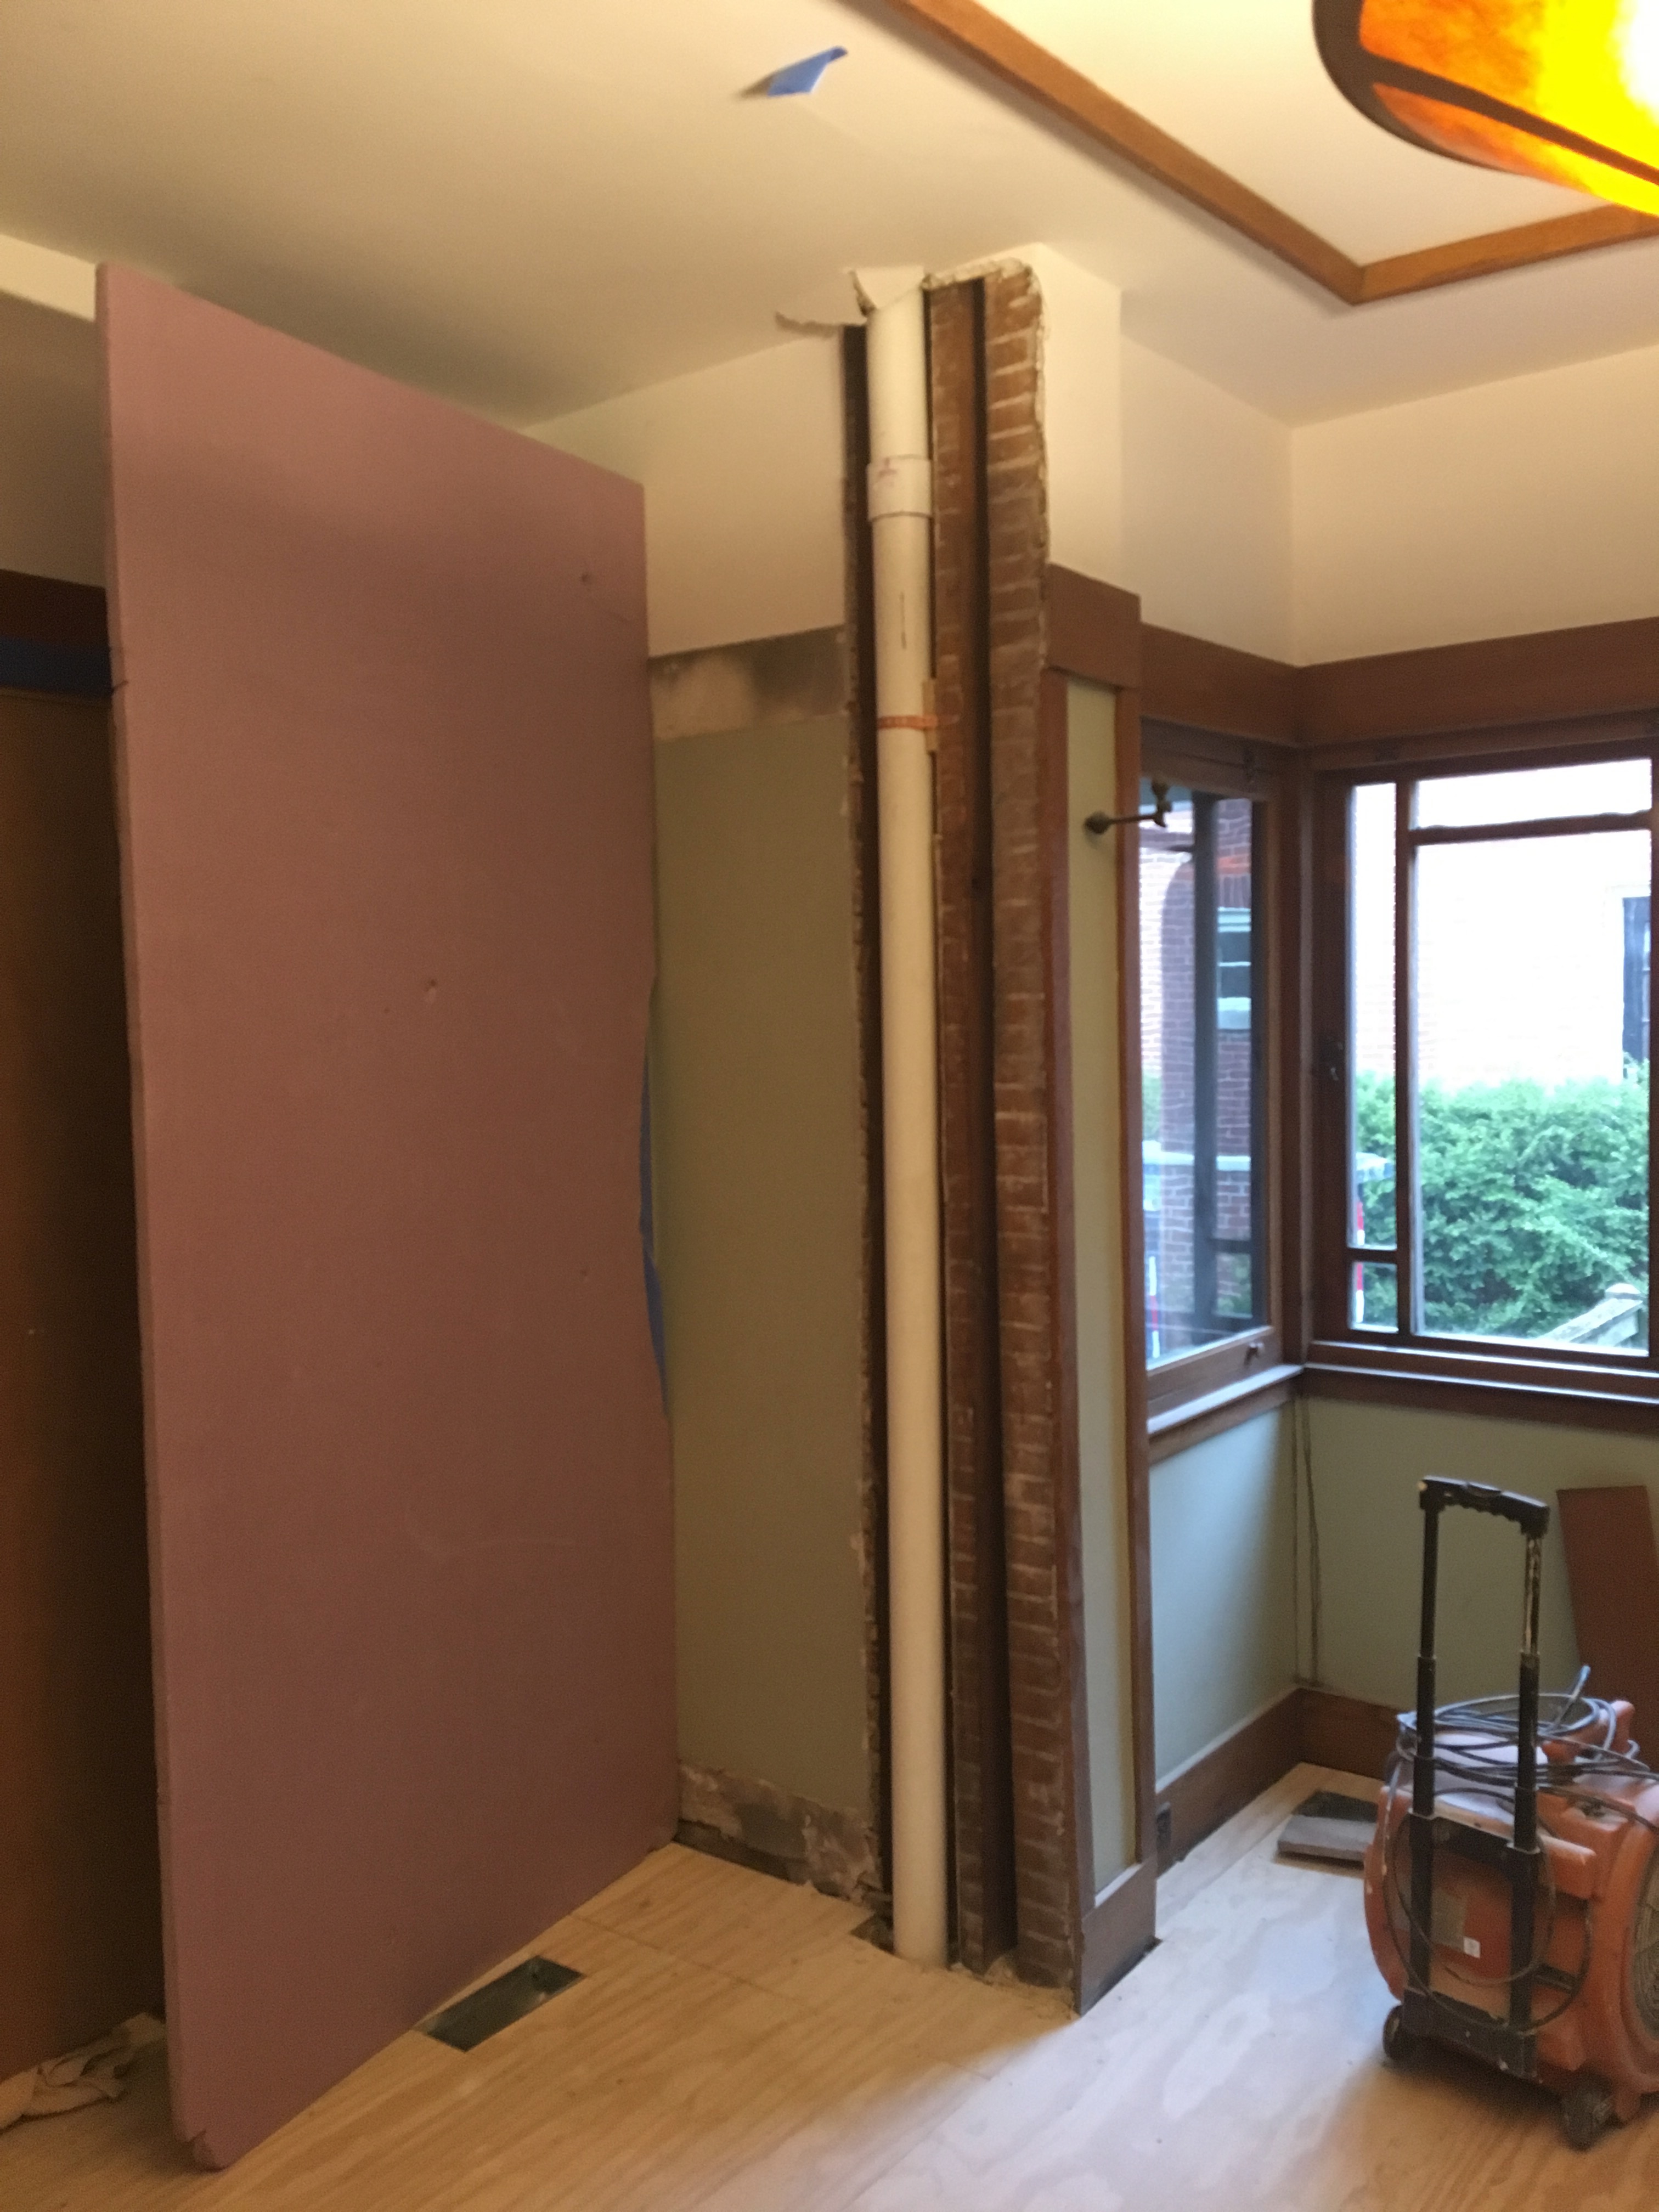
The plumbers have been struggling to determine where to run the drains from the new second floor bathrooms. In our original plans, we were going to run them behind our built-in cabinet. We felt it was better to break into this corner wall rather than lose usable space in the built-in (and risk having the plumbers destroy it in the process). Here, the wall is opened up where we will run the waste pipe.
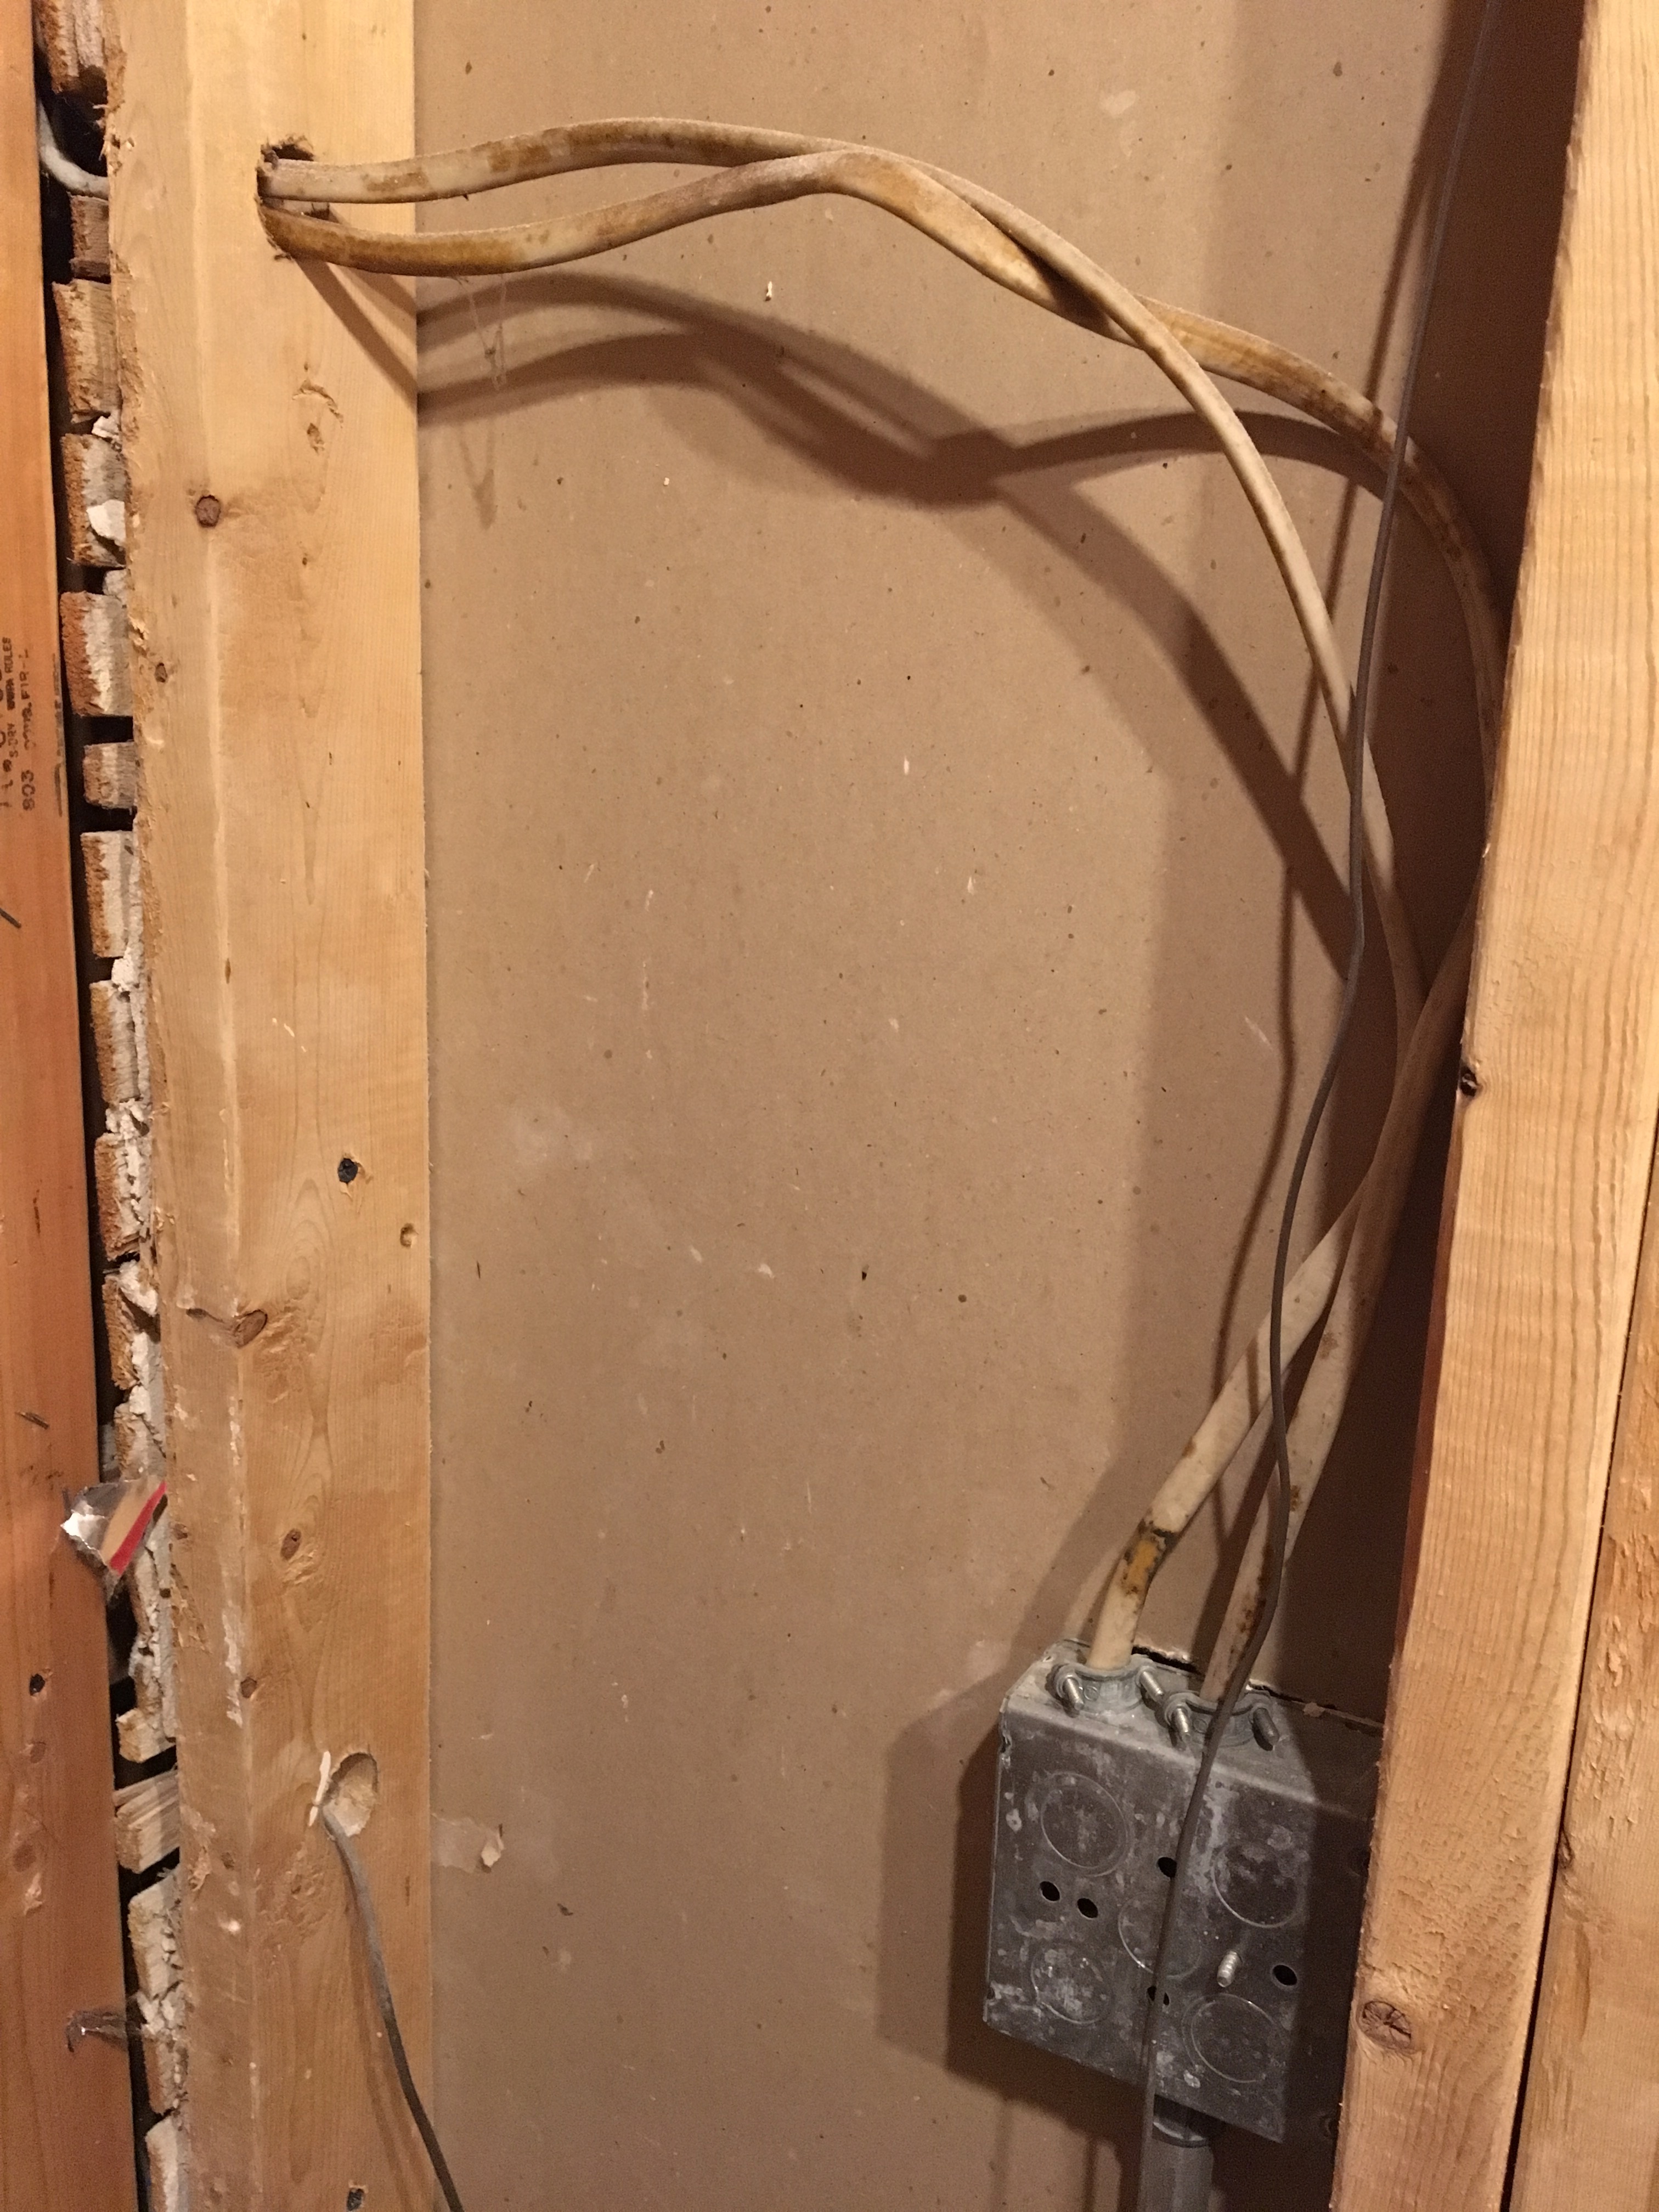
Demolition of the powder room was never completed (our builder thought we wanted to keep the old wall tile). So, they have opened it, and we found this NM (Romex) wiring, which leads to the front door lights. This wiring is not to code in our area and must be replaced with conduit.
The plumber laughed at these double loop vents in the powder room. He said, “This kind of plumbing is not in the book!” He wants to tear all of this out and run a new vent up to the roof.
We may need to relocate these can lights in the powder room ceiling.


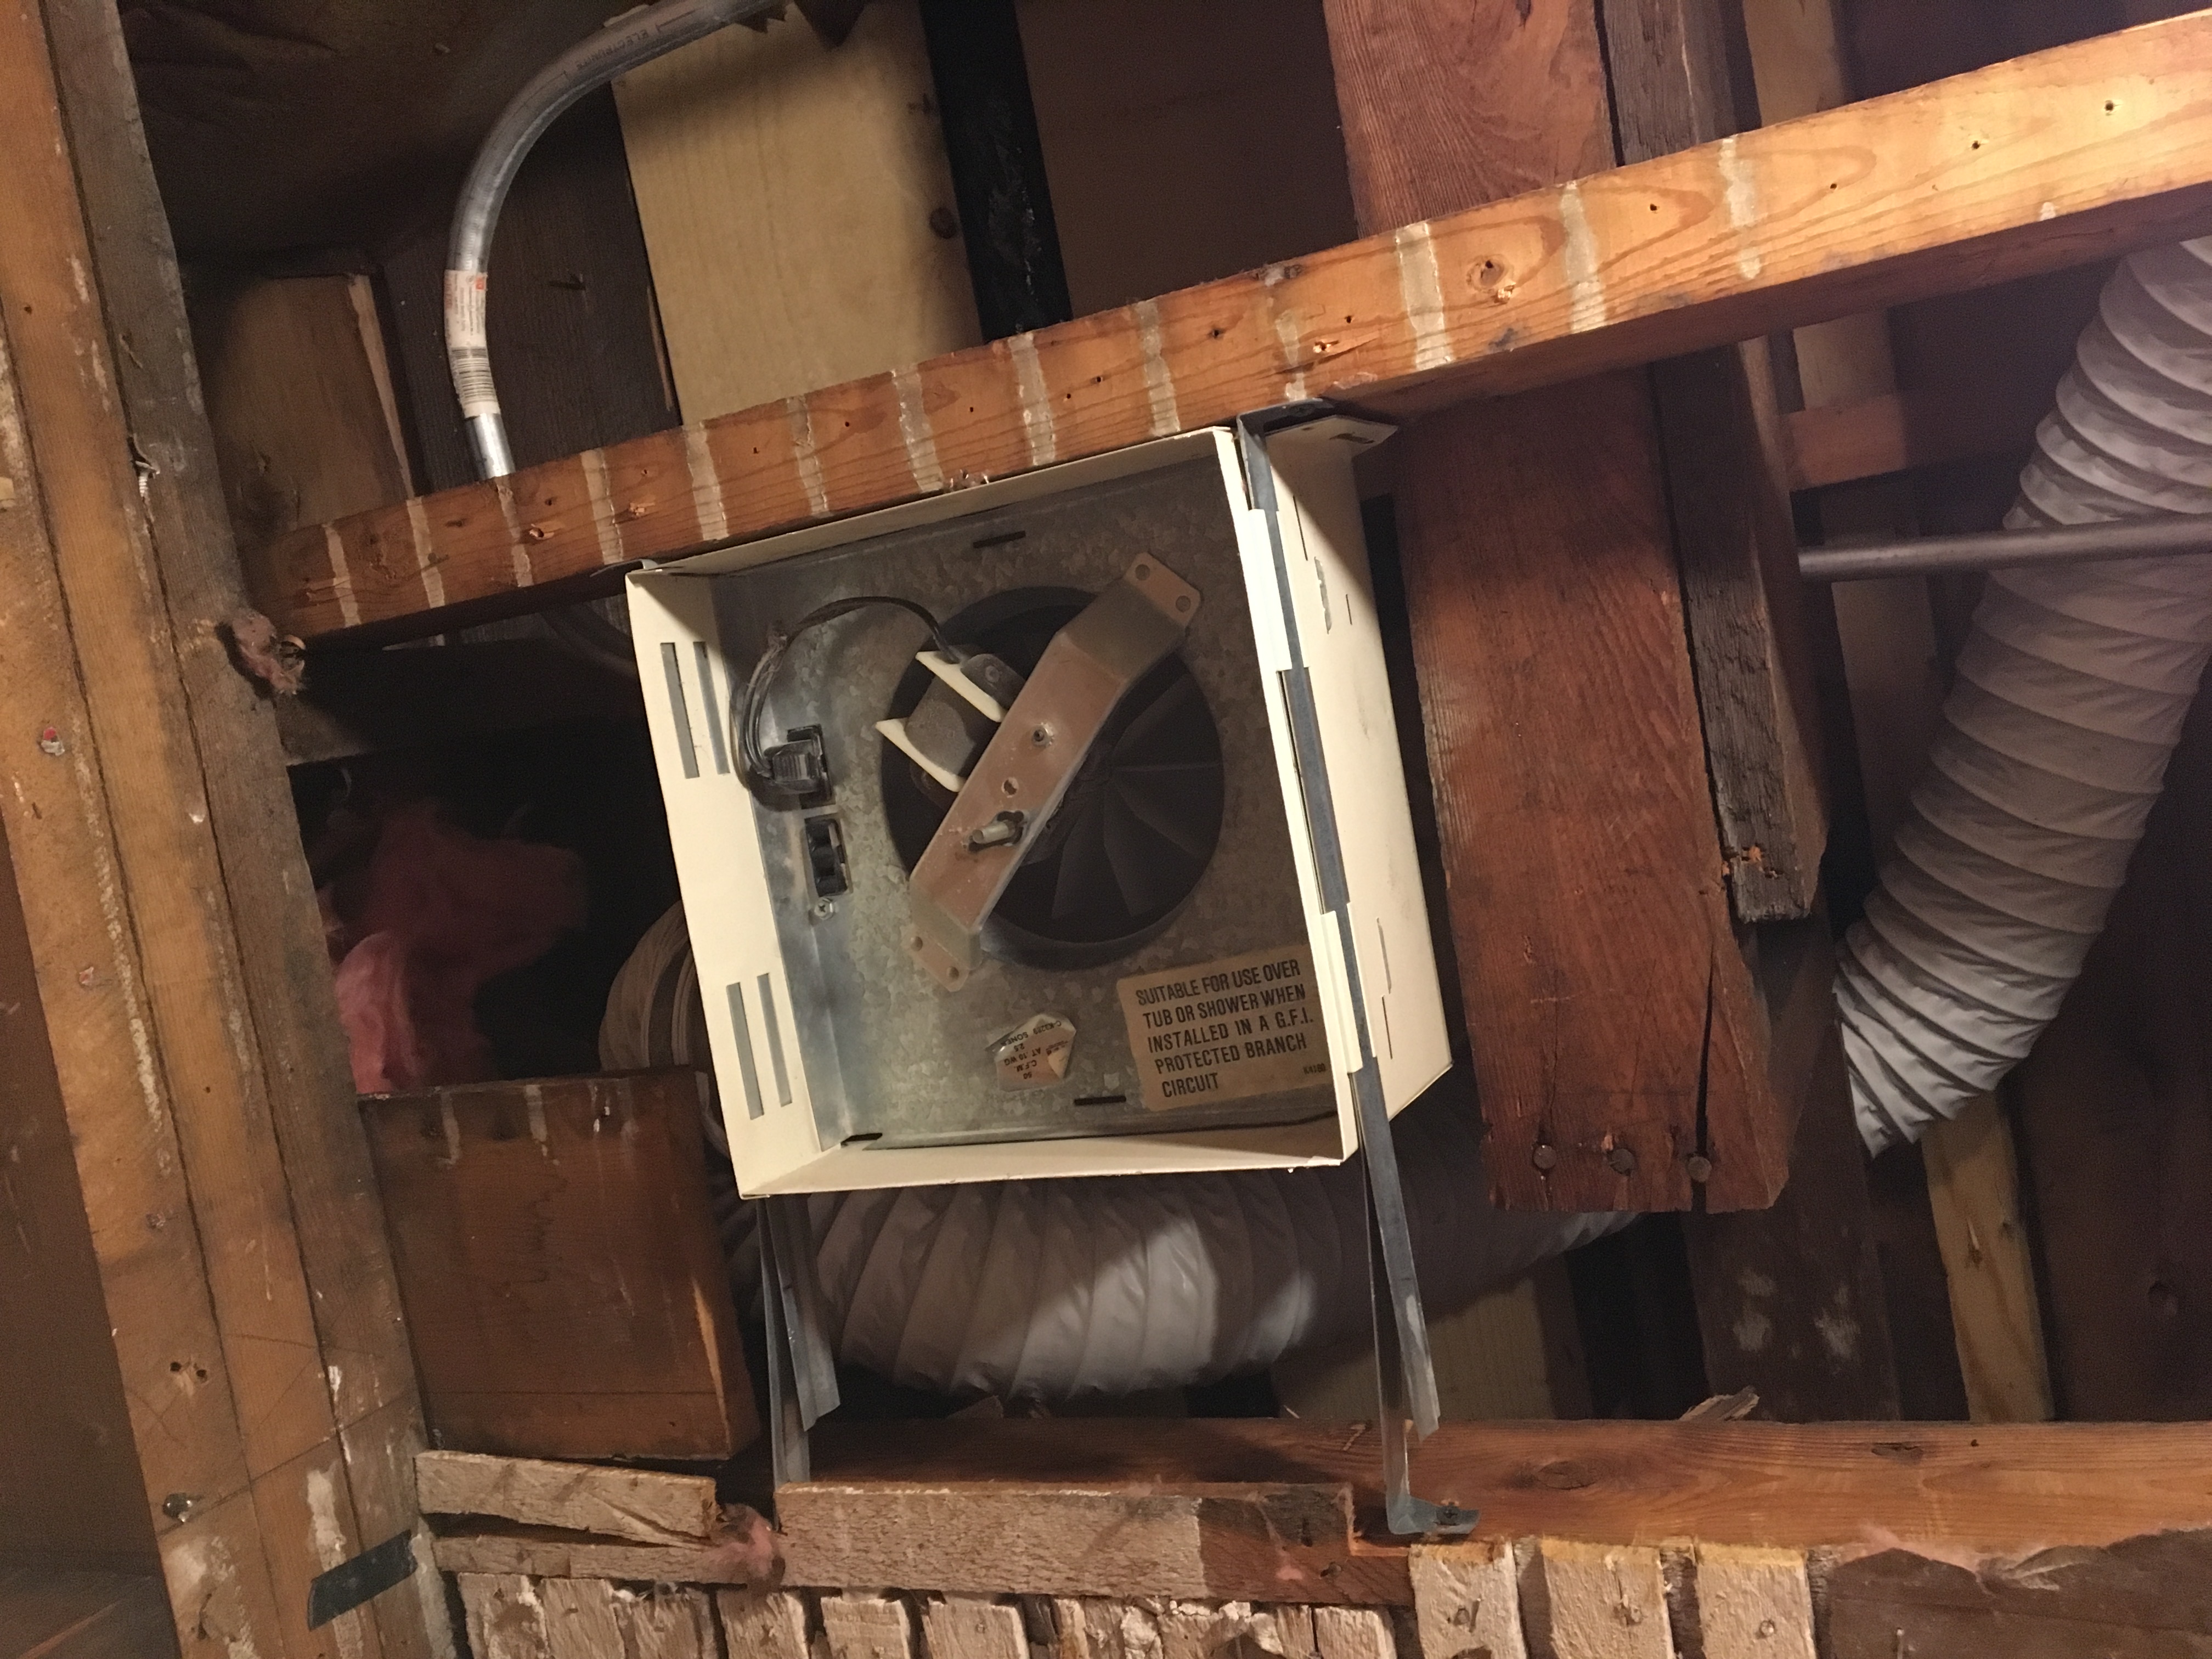
This bathroom fan will need to be replaced. Evidently that flexible duct is too long.
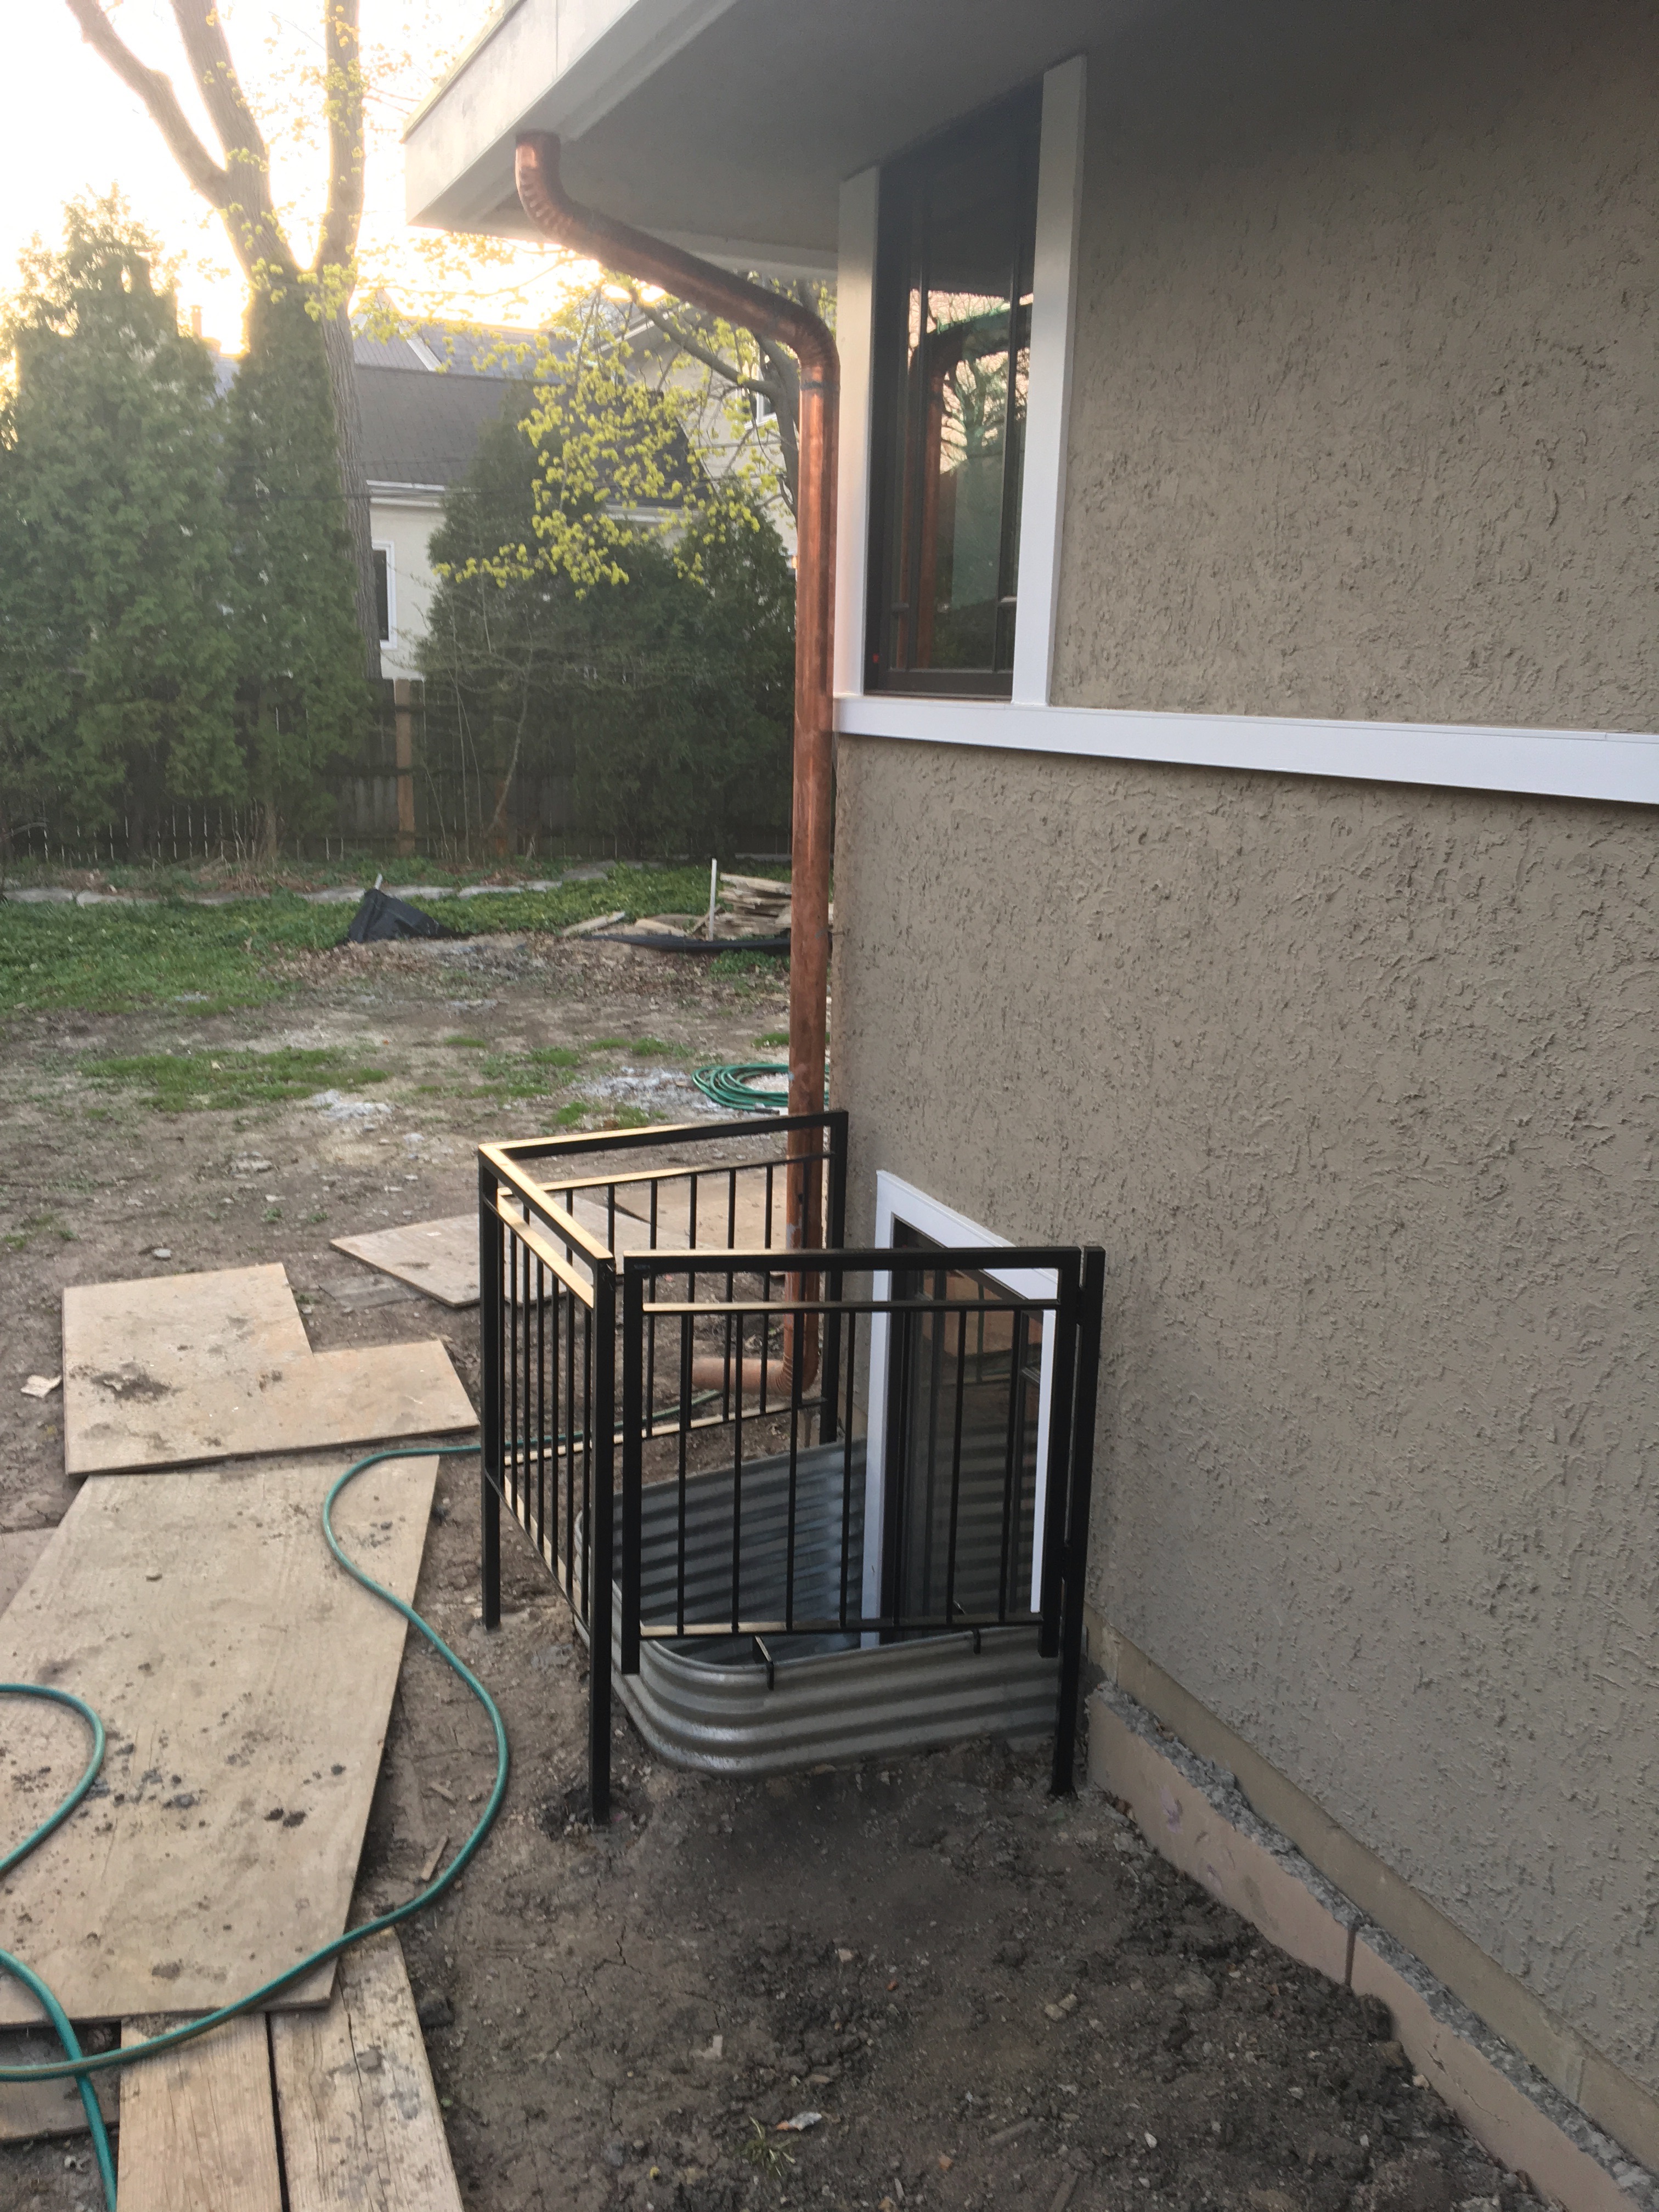
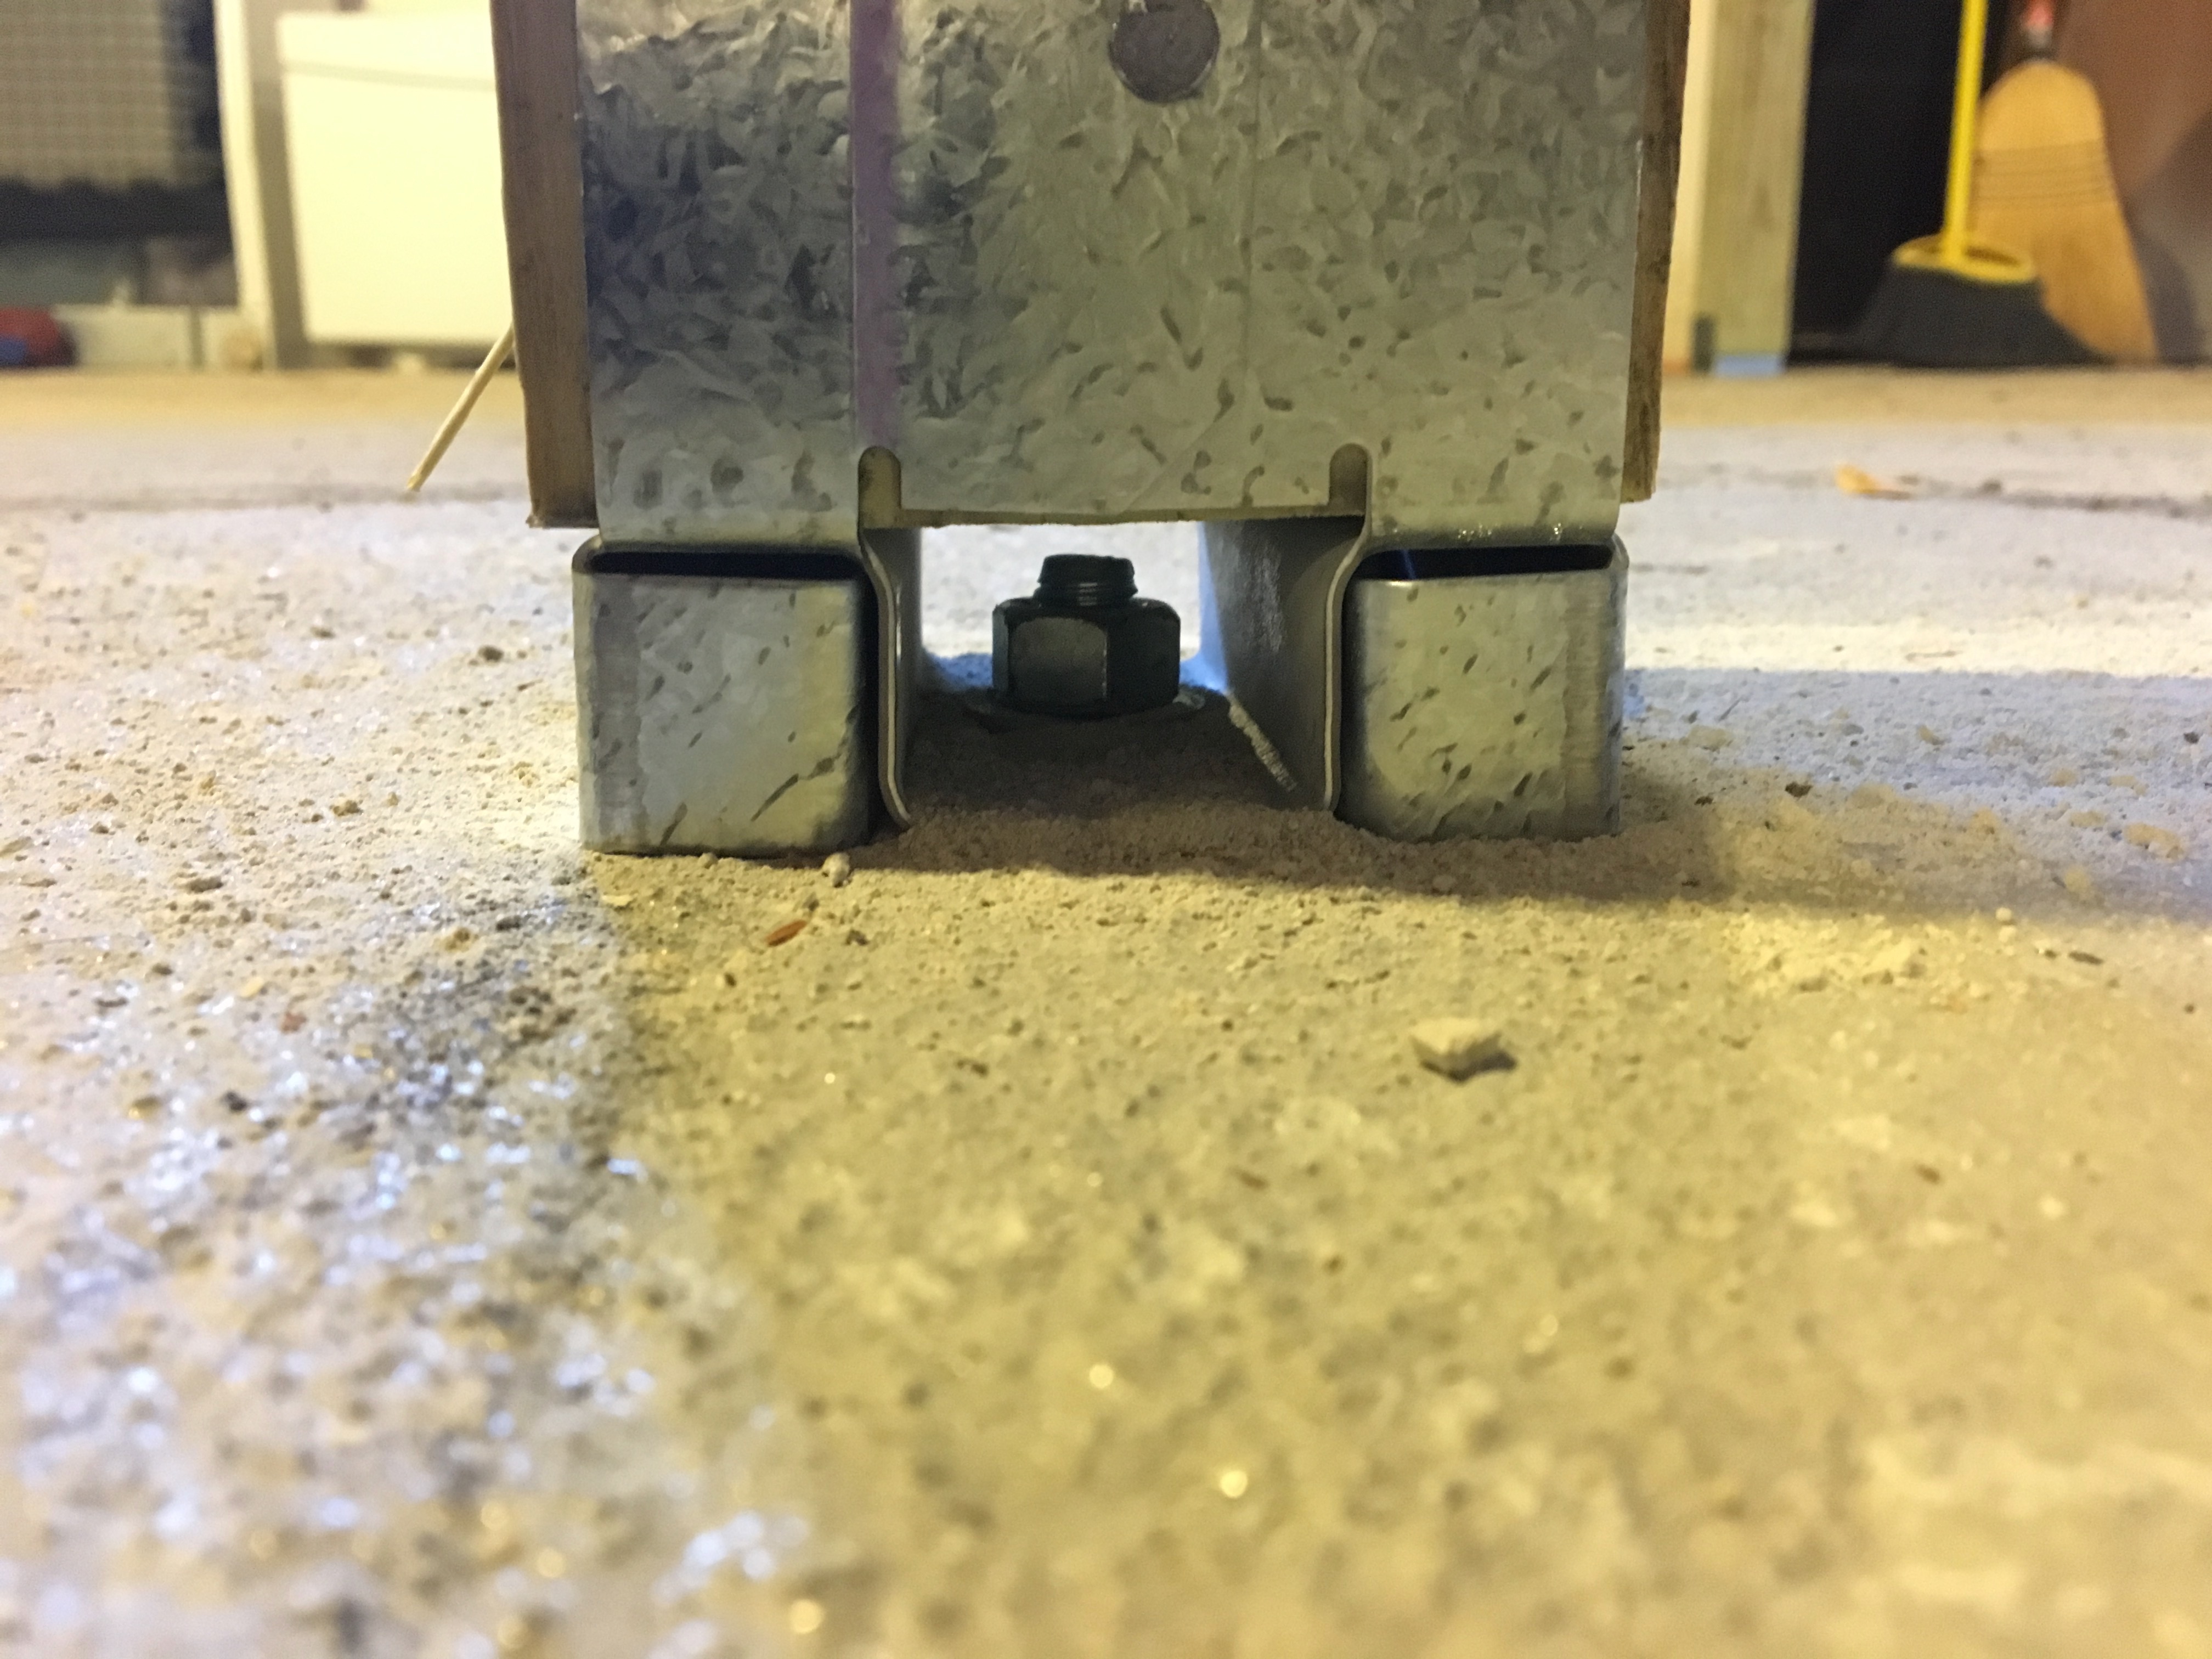
Meanwhile, the concrete crew came out and poured concrete footings for our new posts (and patched the hole they made over a year ago when they replaced some old cast iron pipe with PVC).
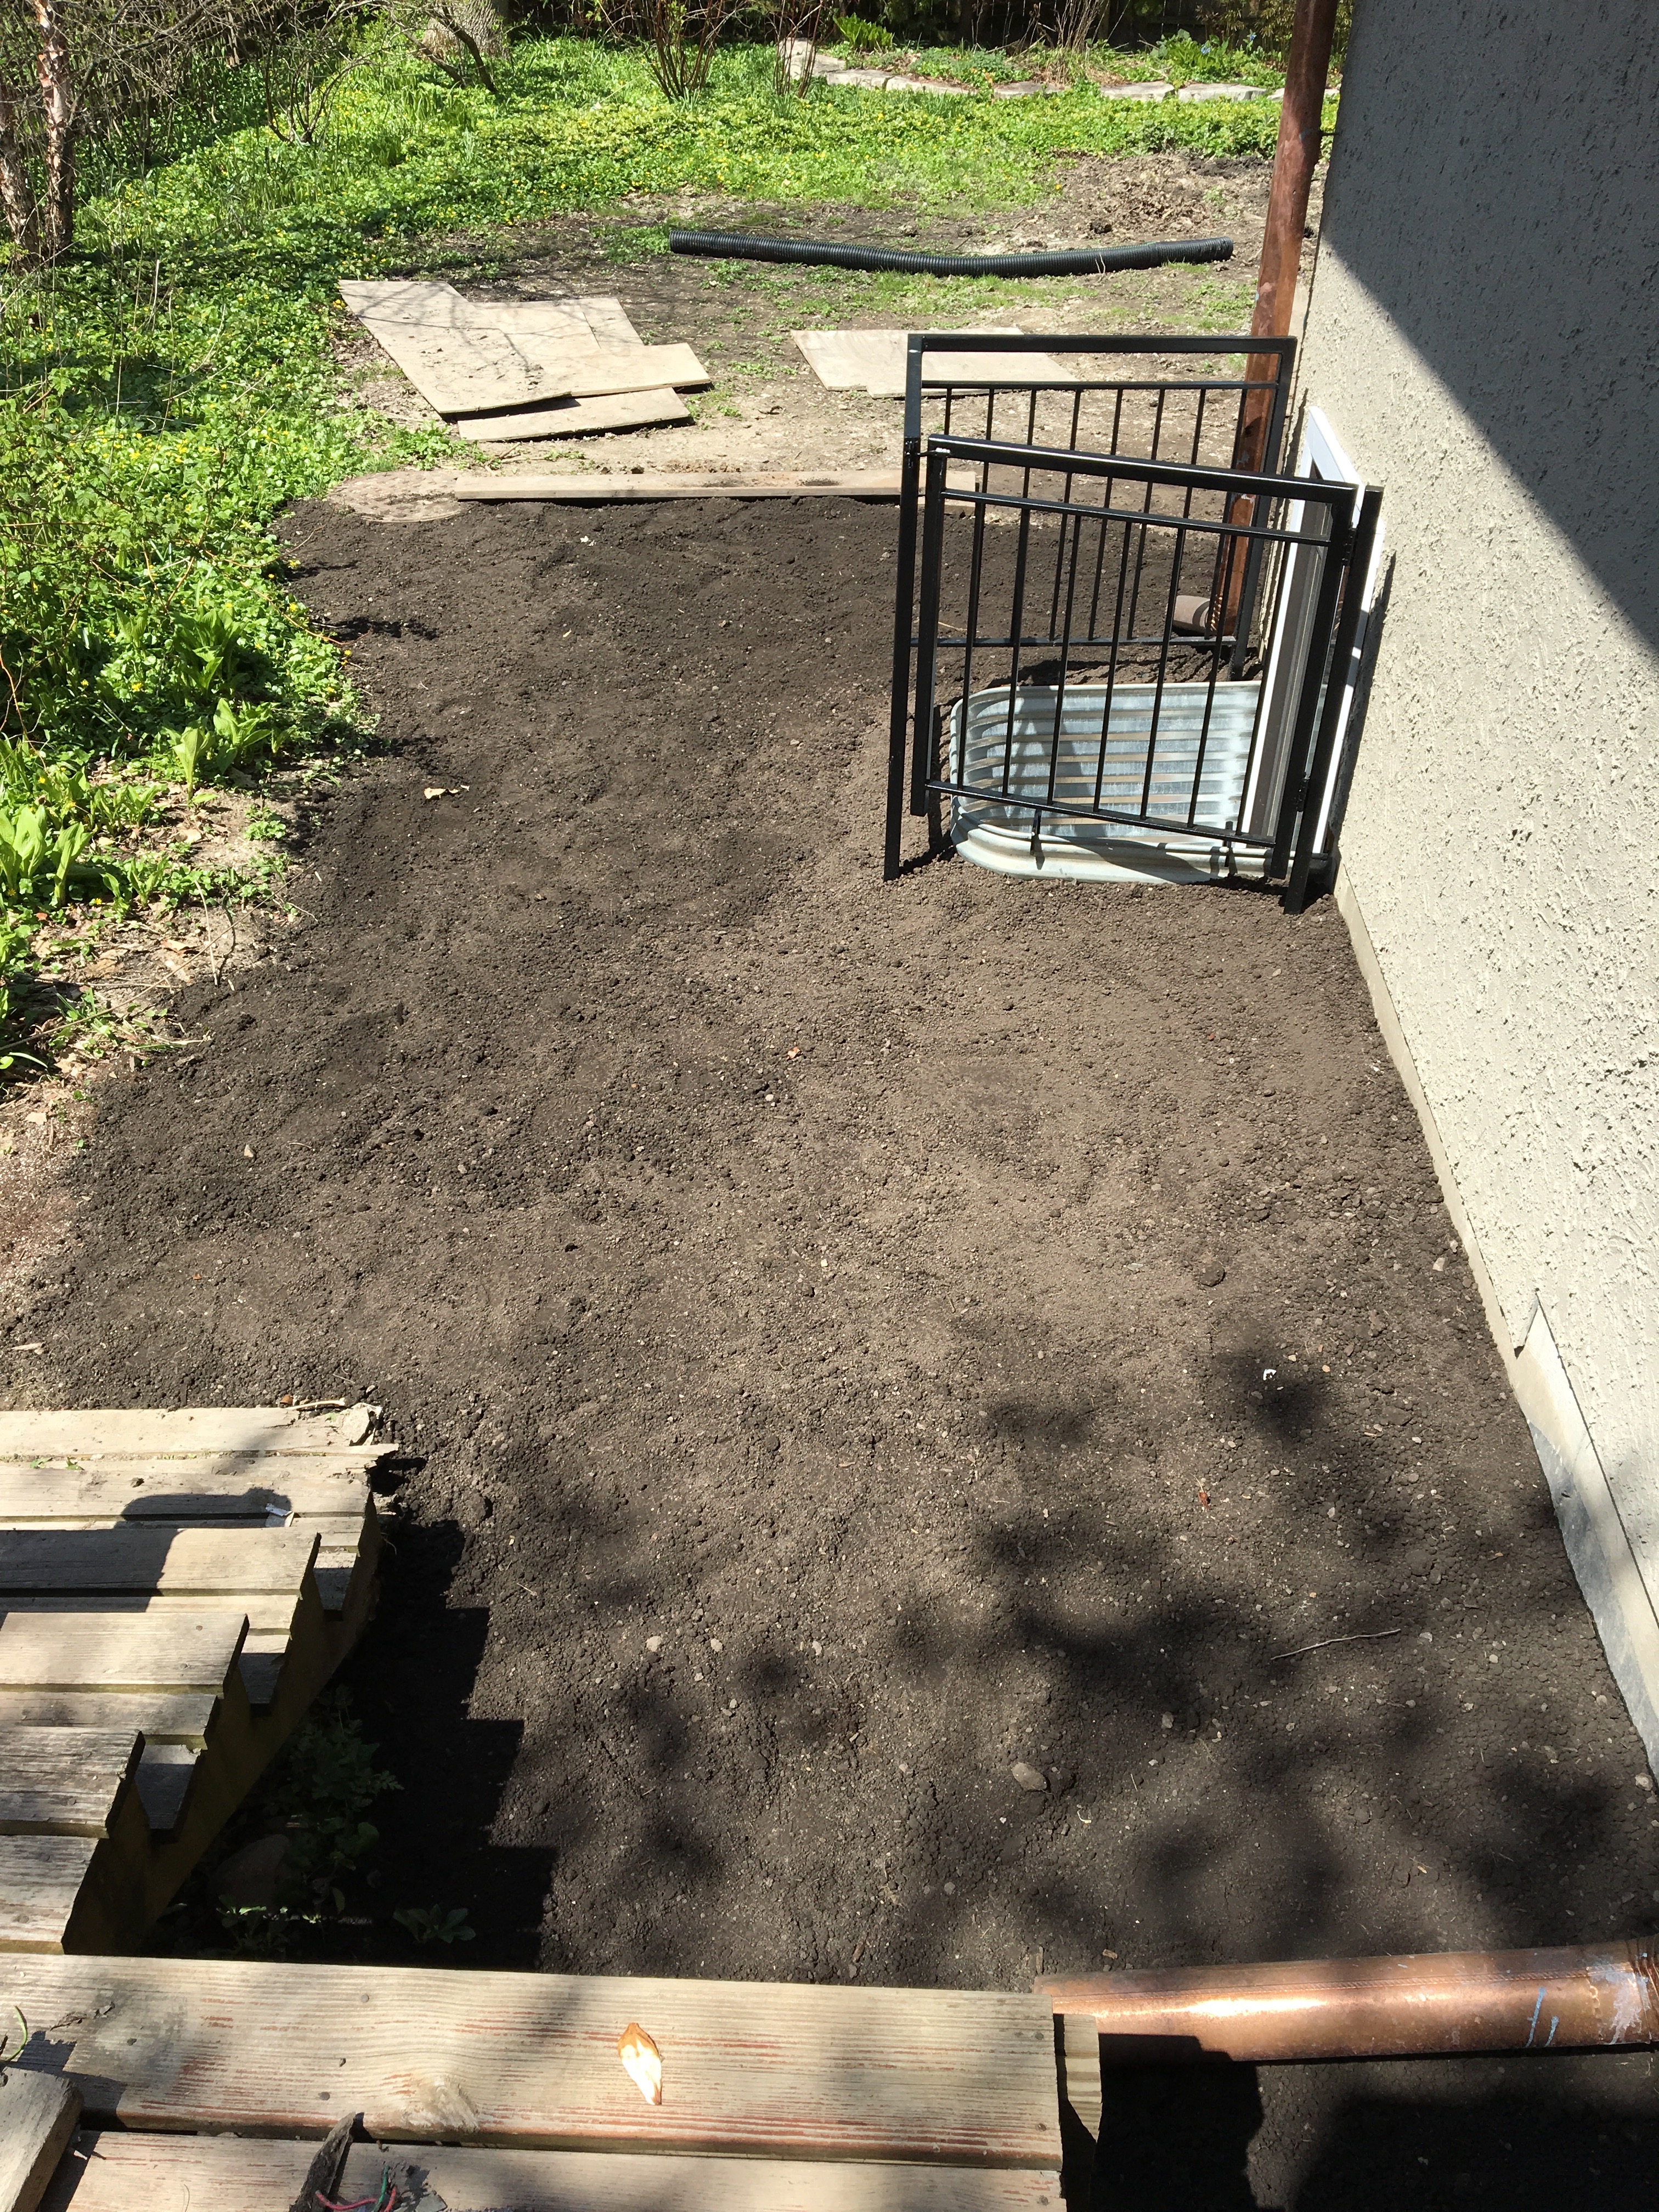
They also installed this safety fence and gate around the egress window.
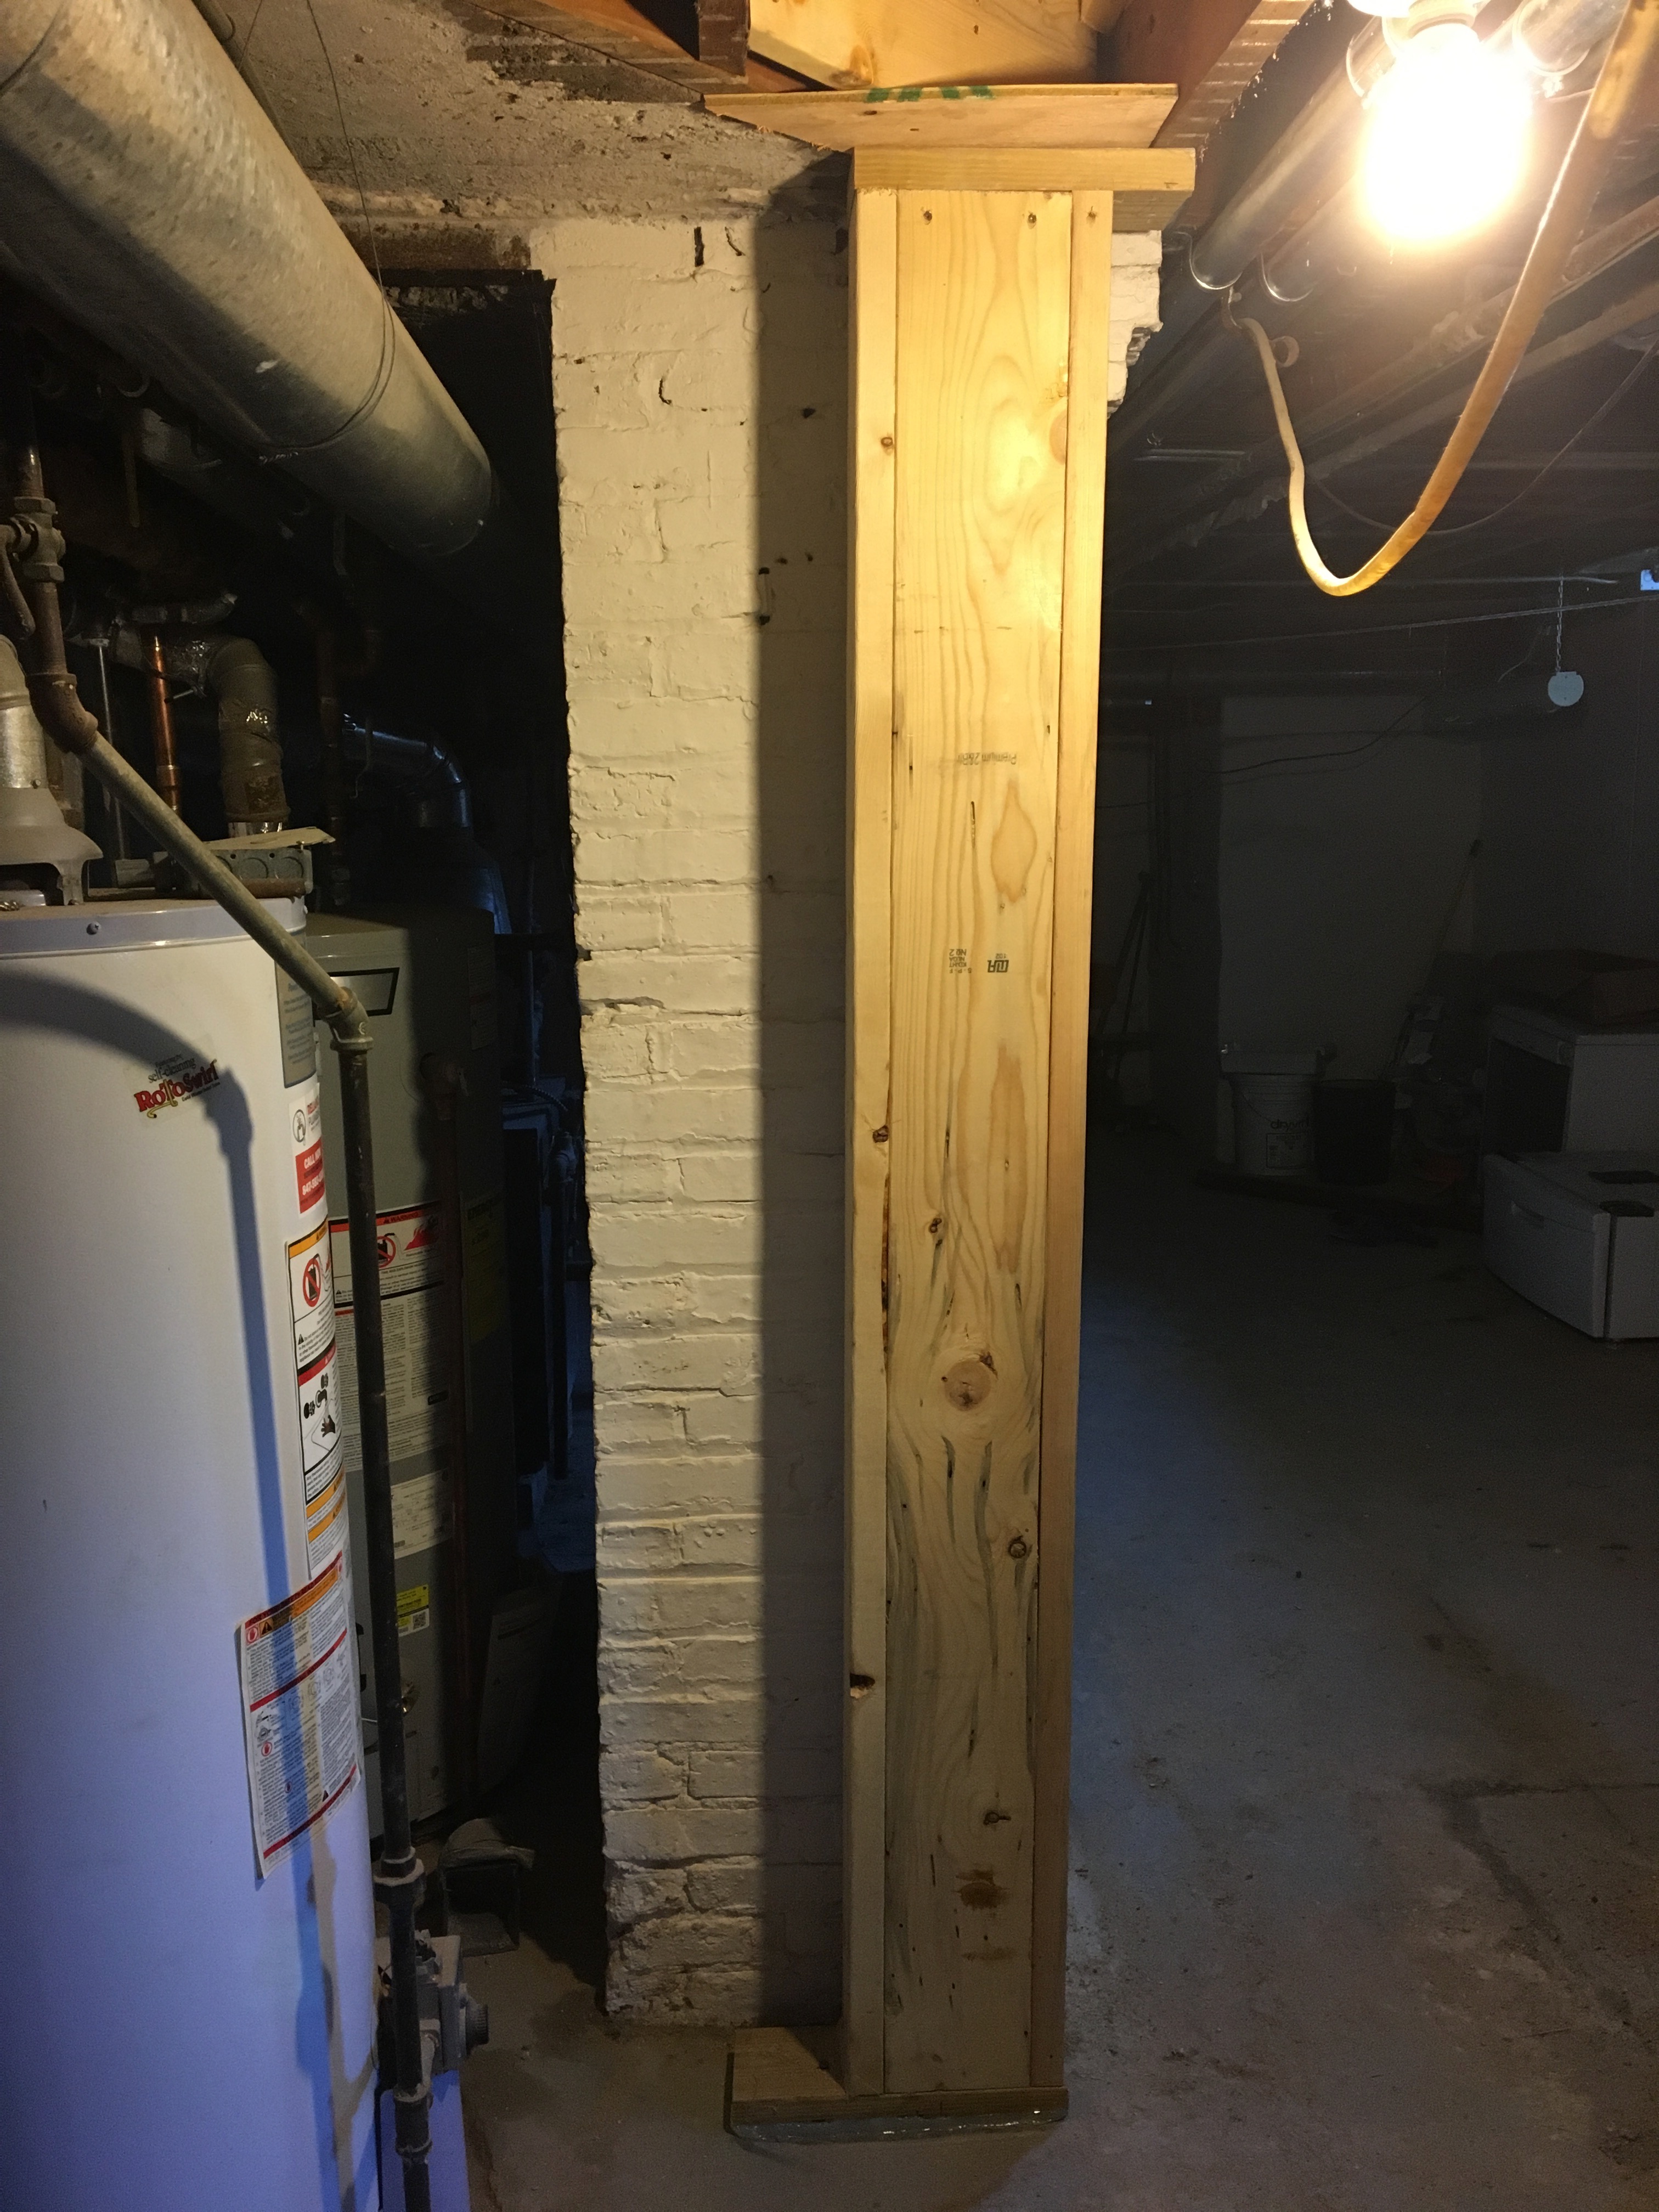
The carpenter installed new support posts, and removed the old ones. The right-most post in the photo below must have rotted out at some point, and someone chopped it in half. It has now been re-installed.
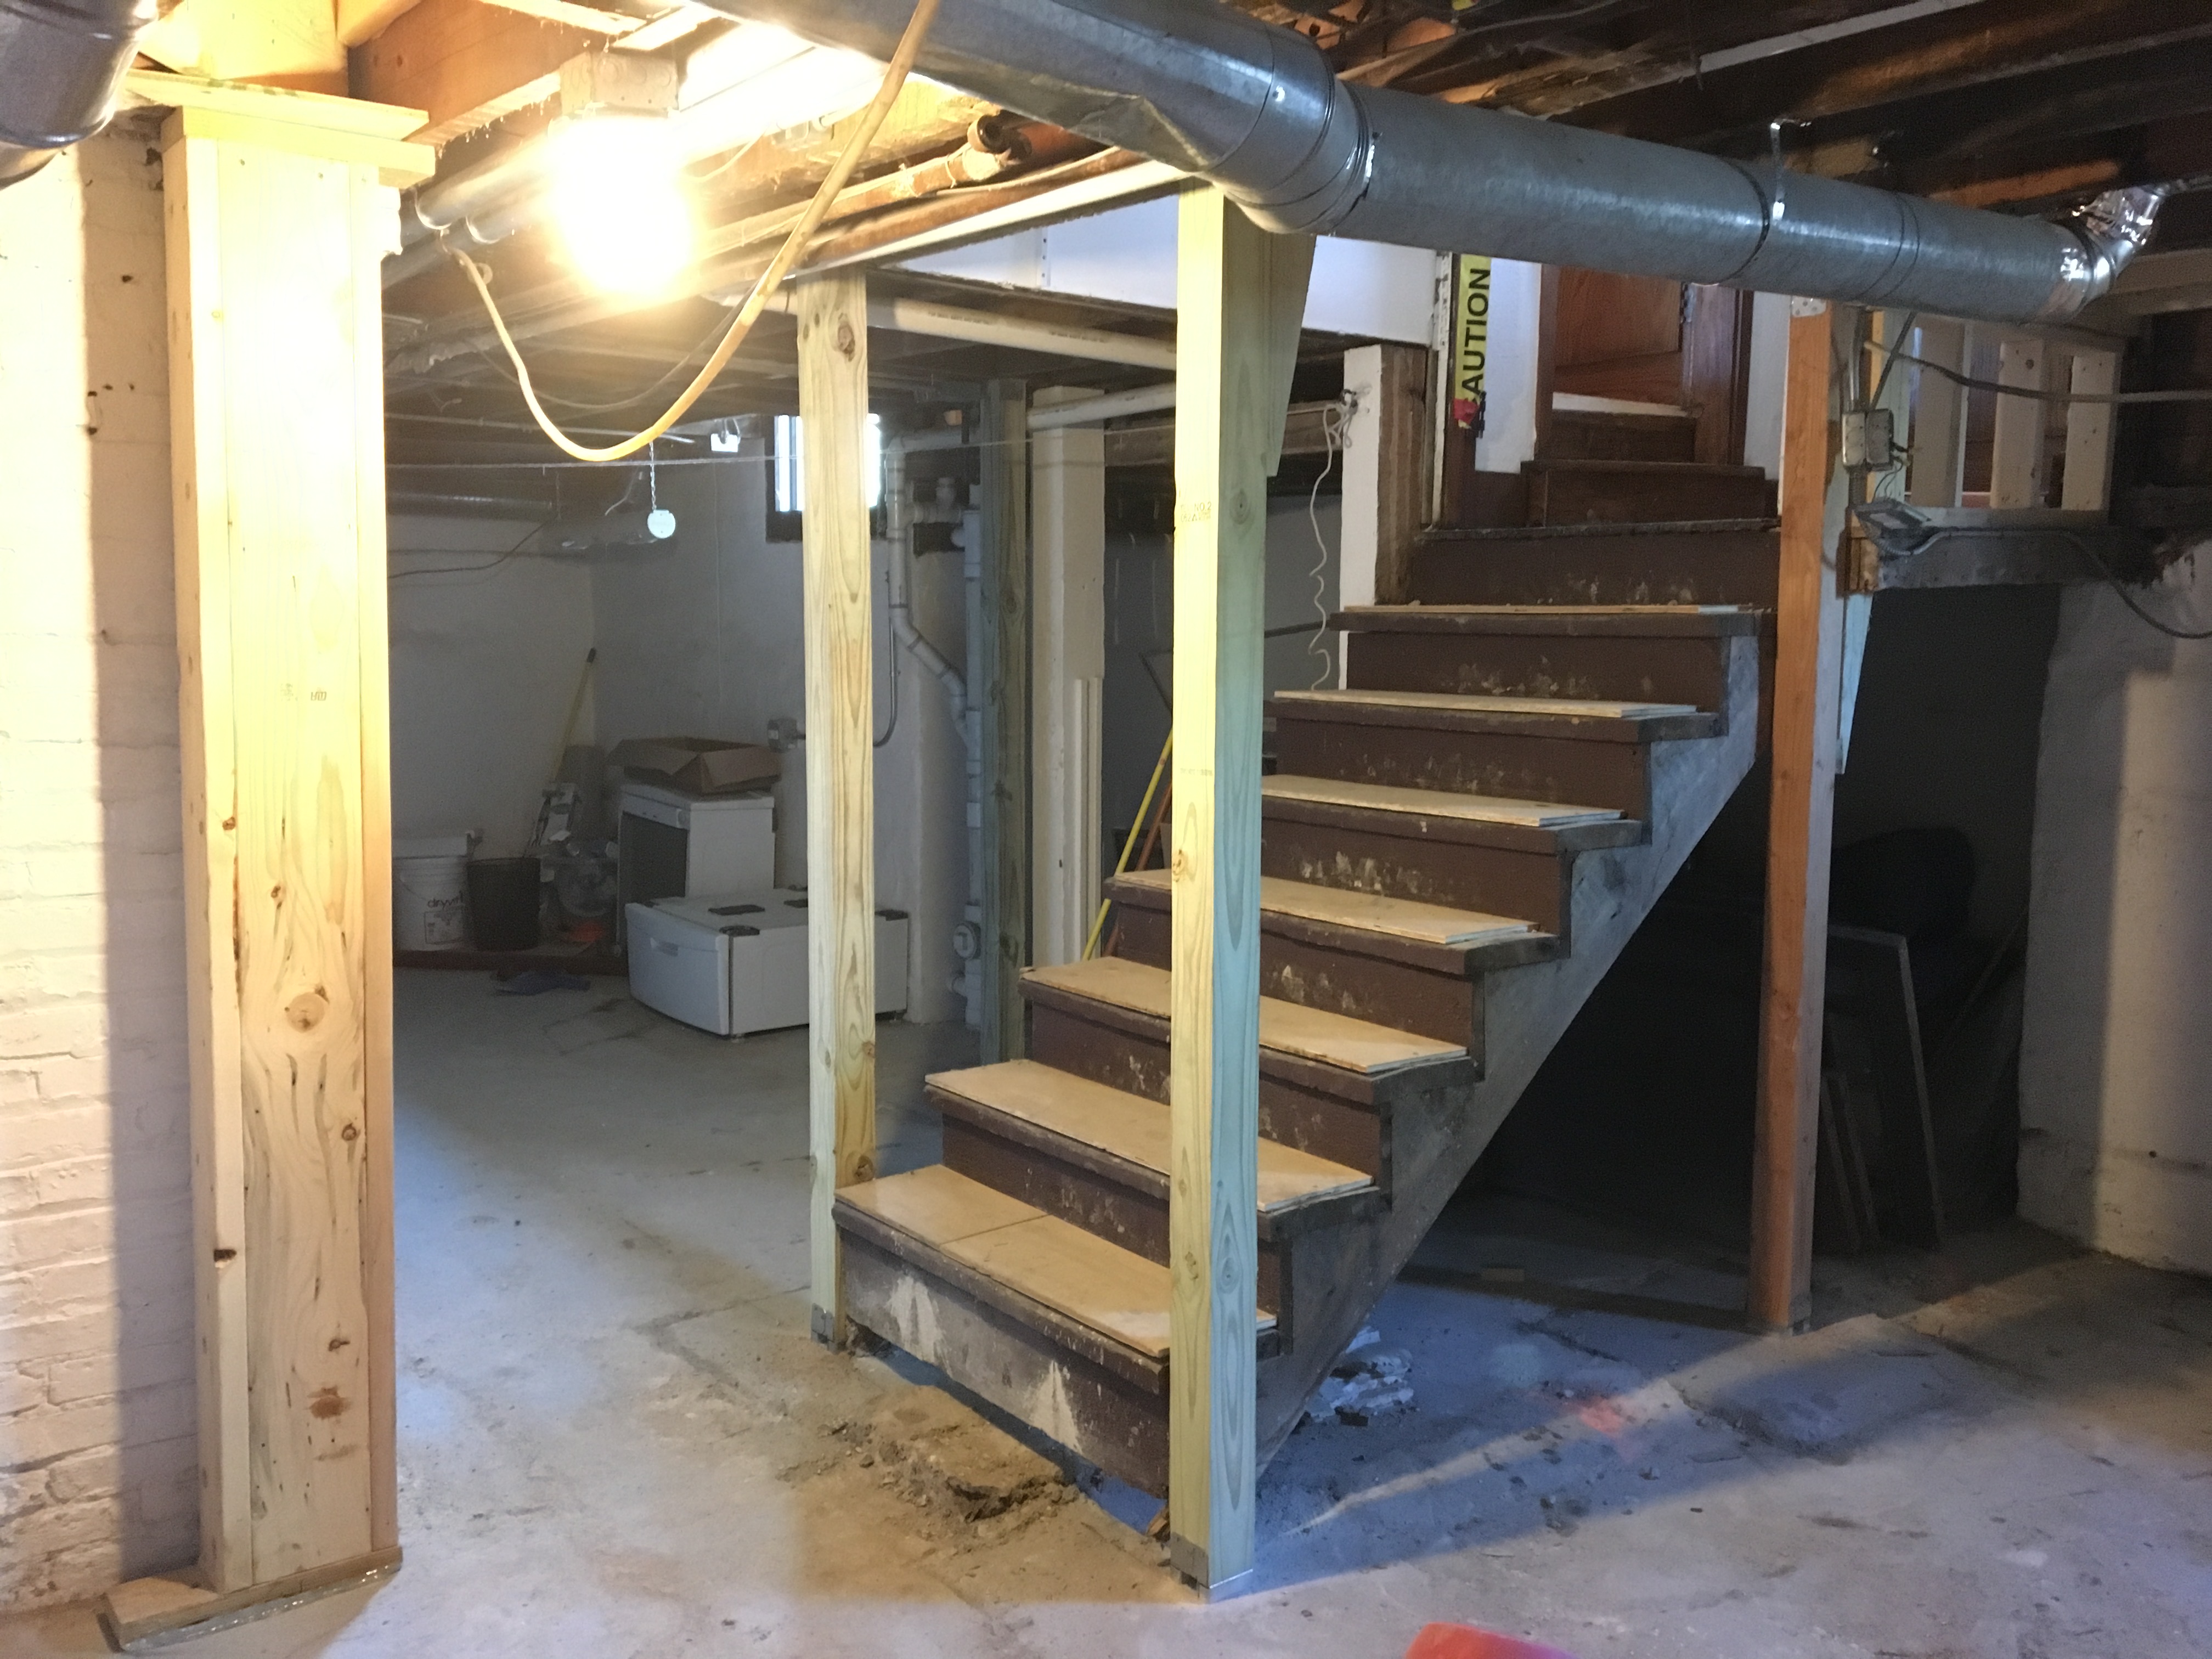
These two posts are supporting the end of the wall that is between the dining room and old kitchen (new office).


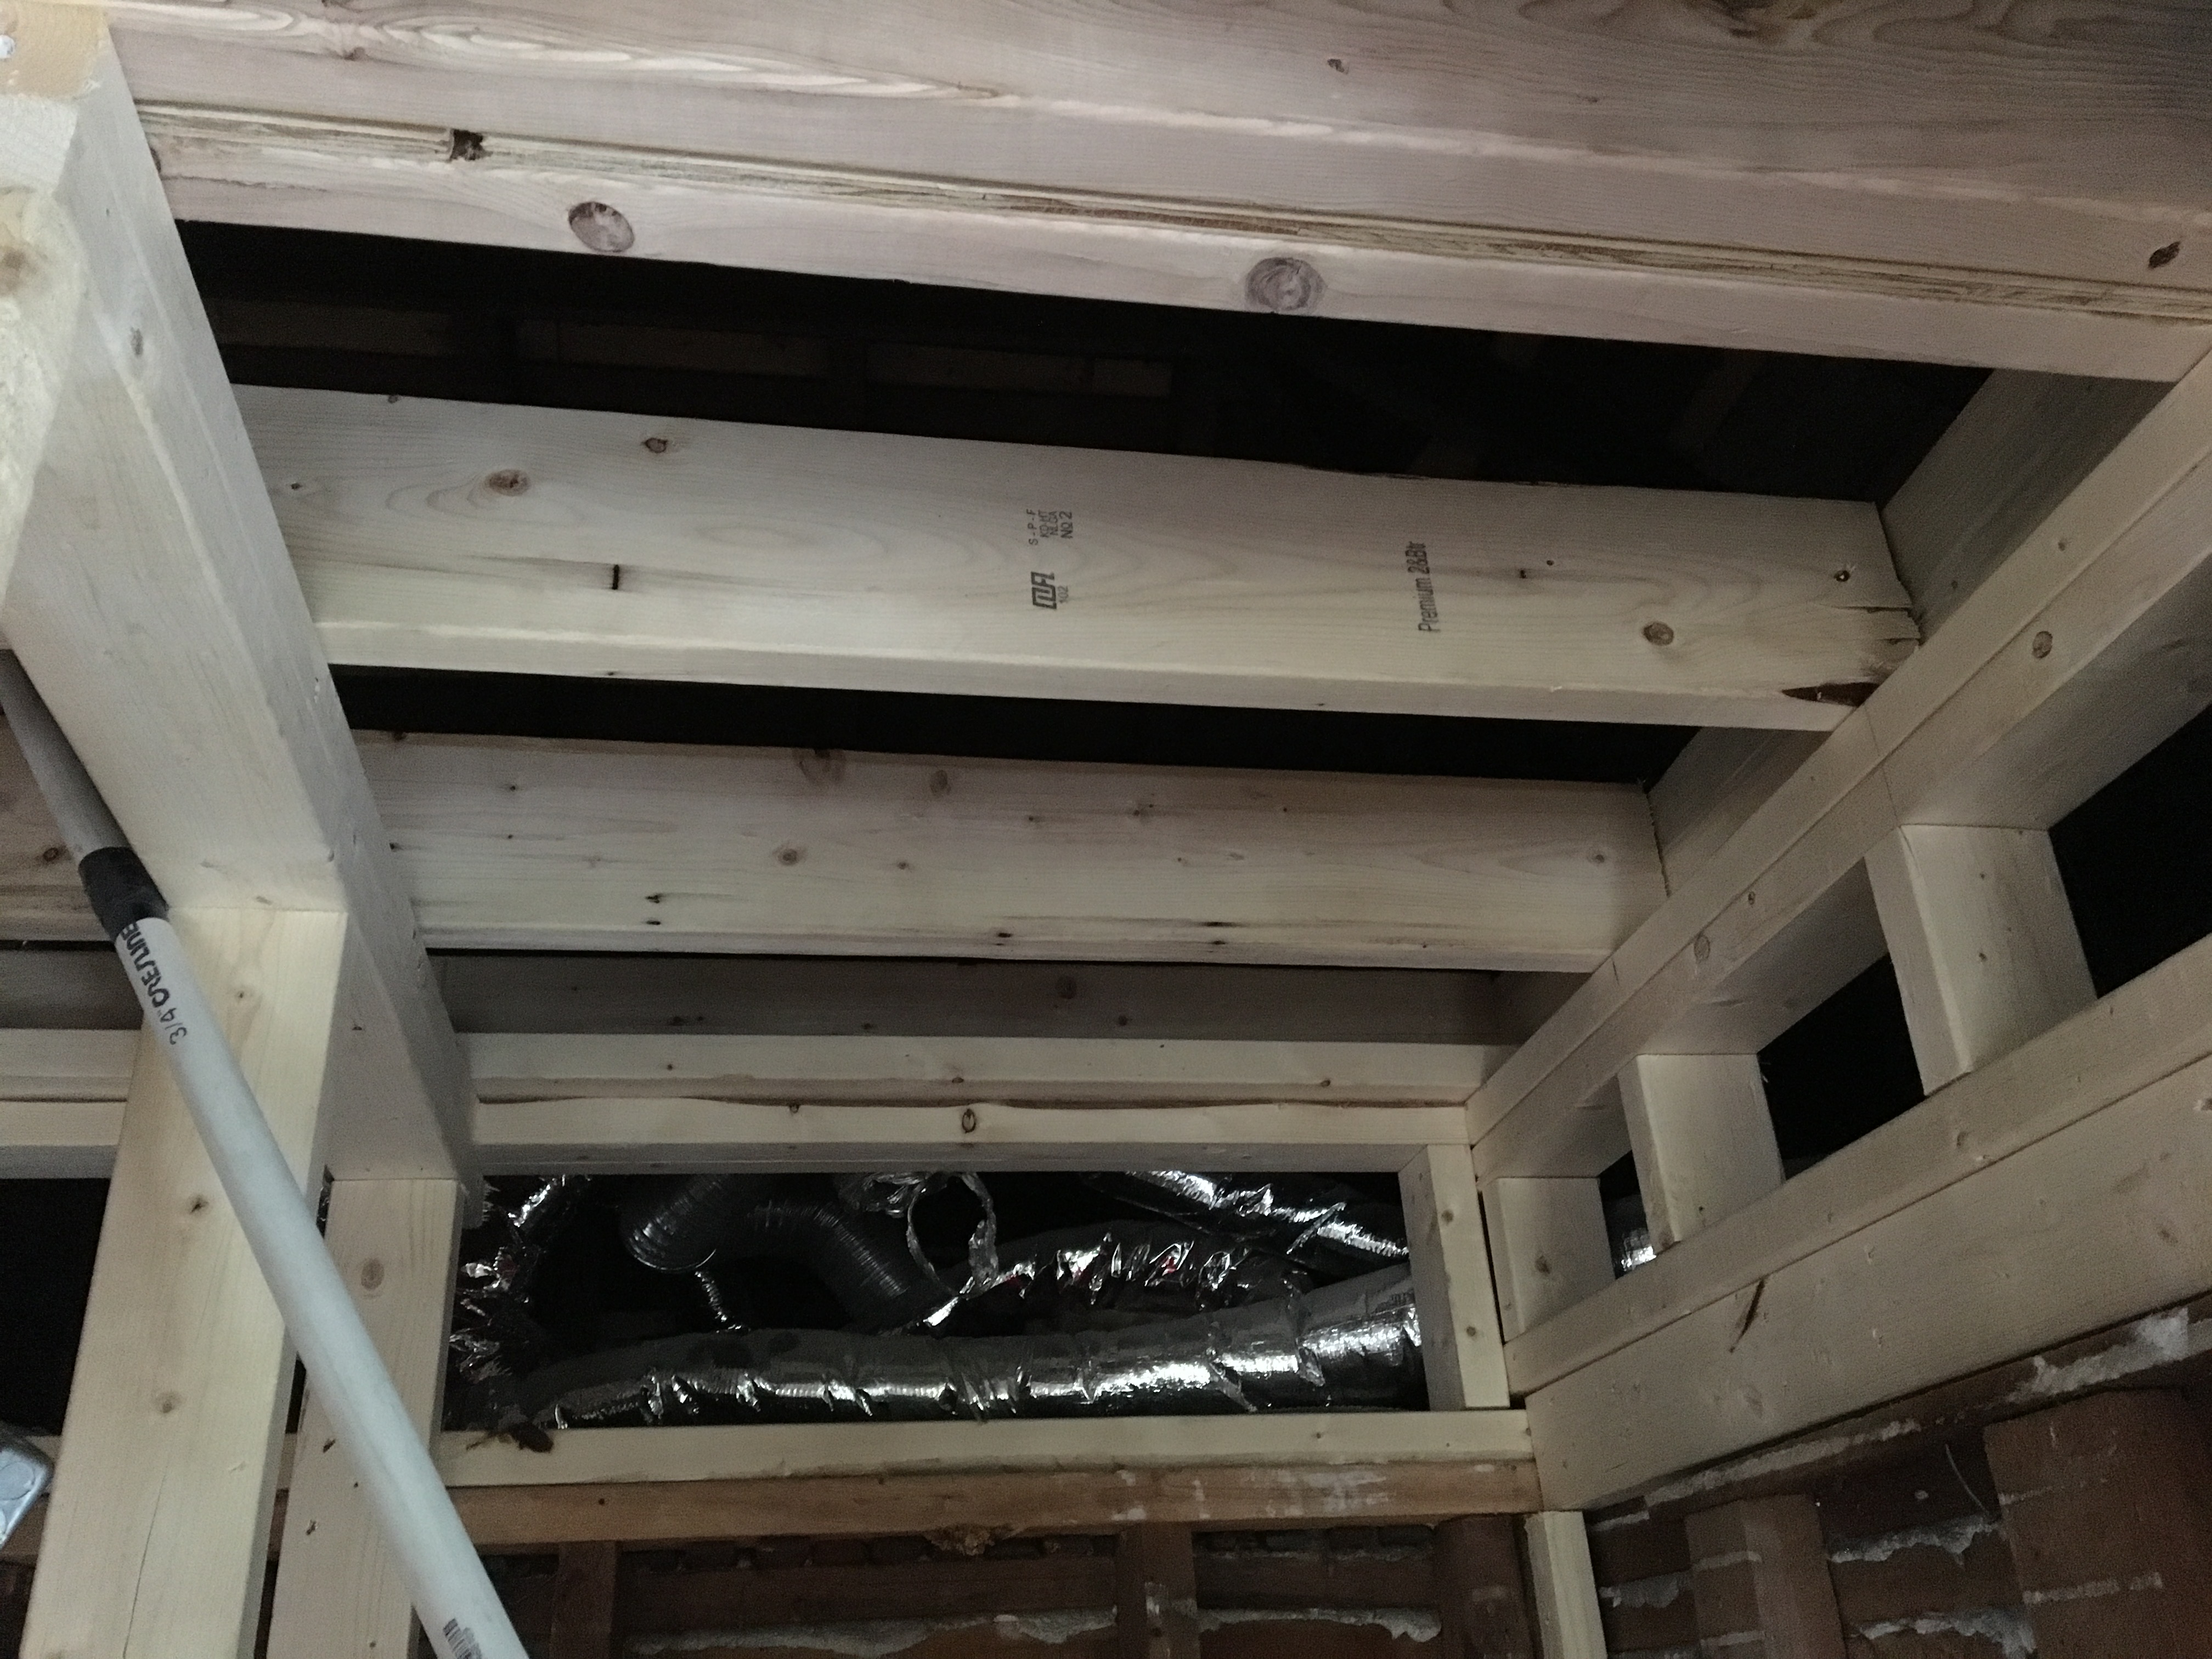
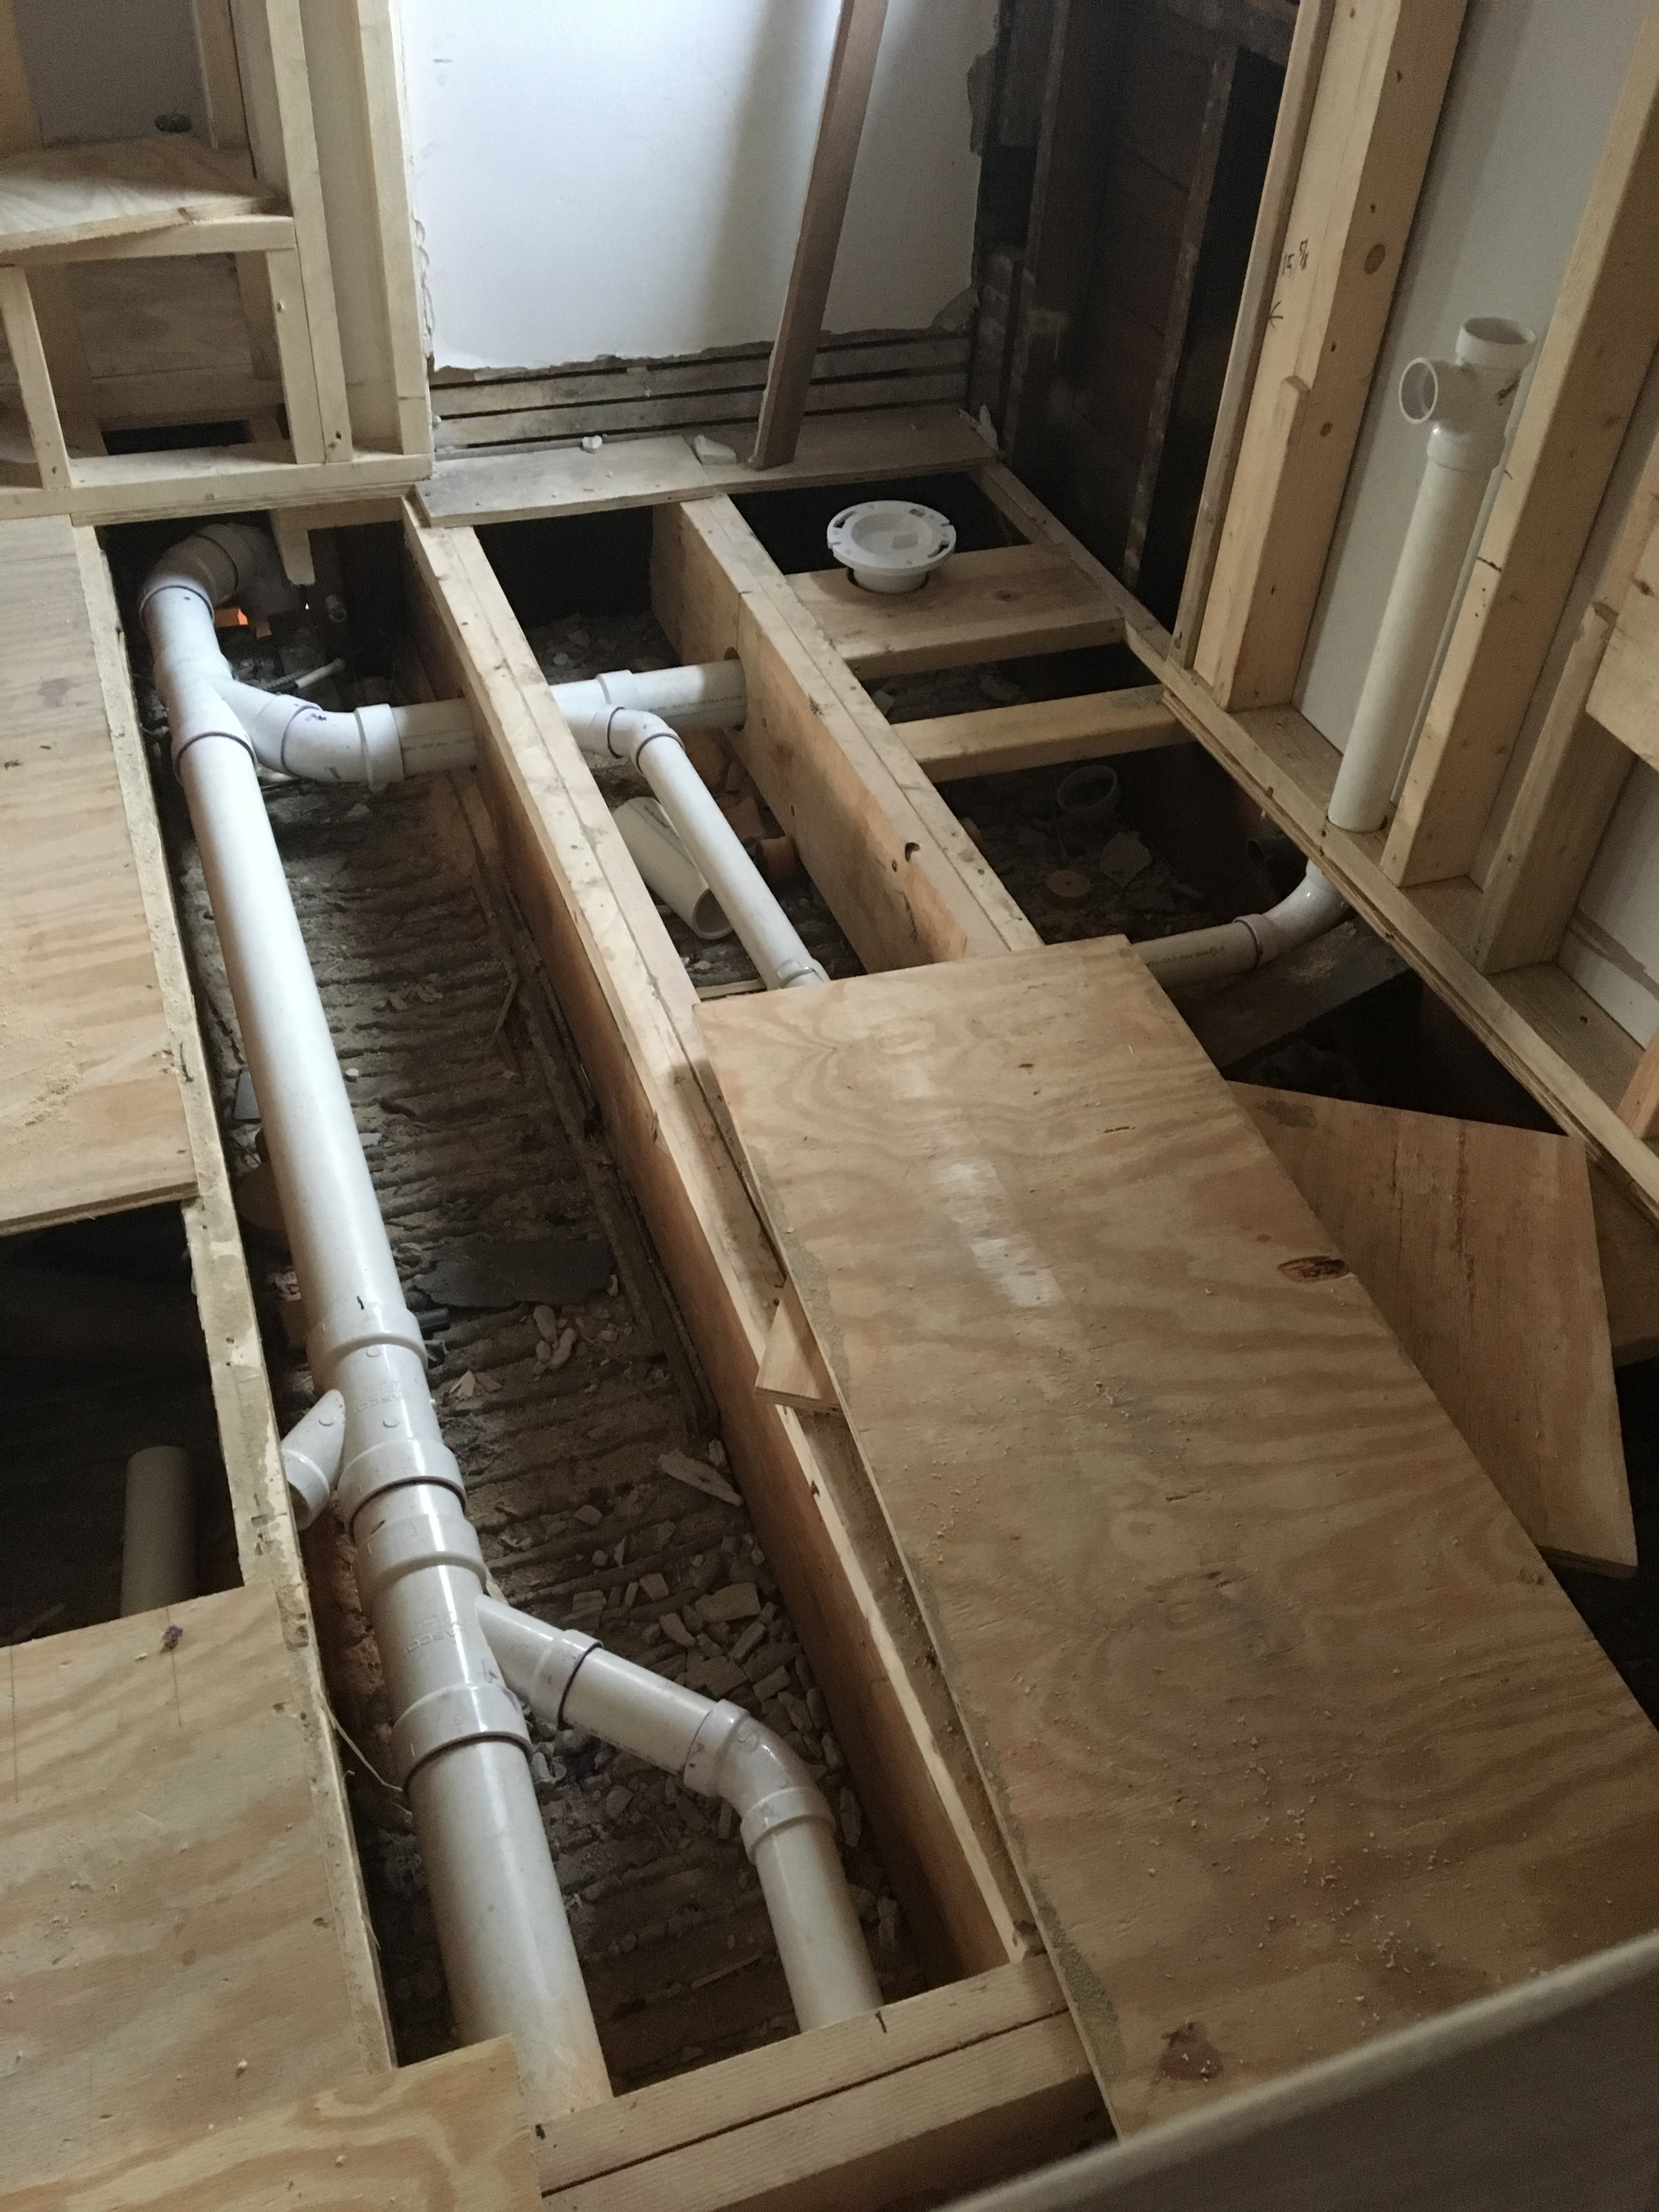
The plumbers have started rouging in the plumbing, which involves cutting some joists. The carpenters planned for this and doubled them up where they would be cut. The carpenters will be back out to reinforce these joists and close up the floor after it is inspected.
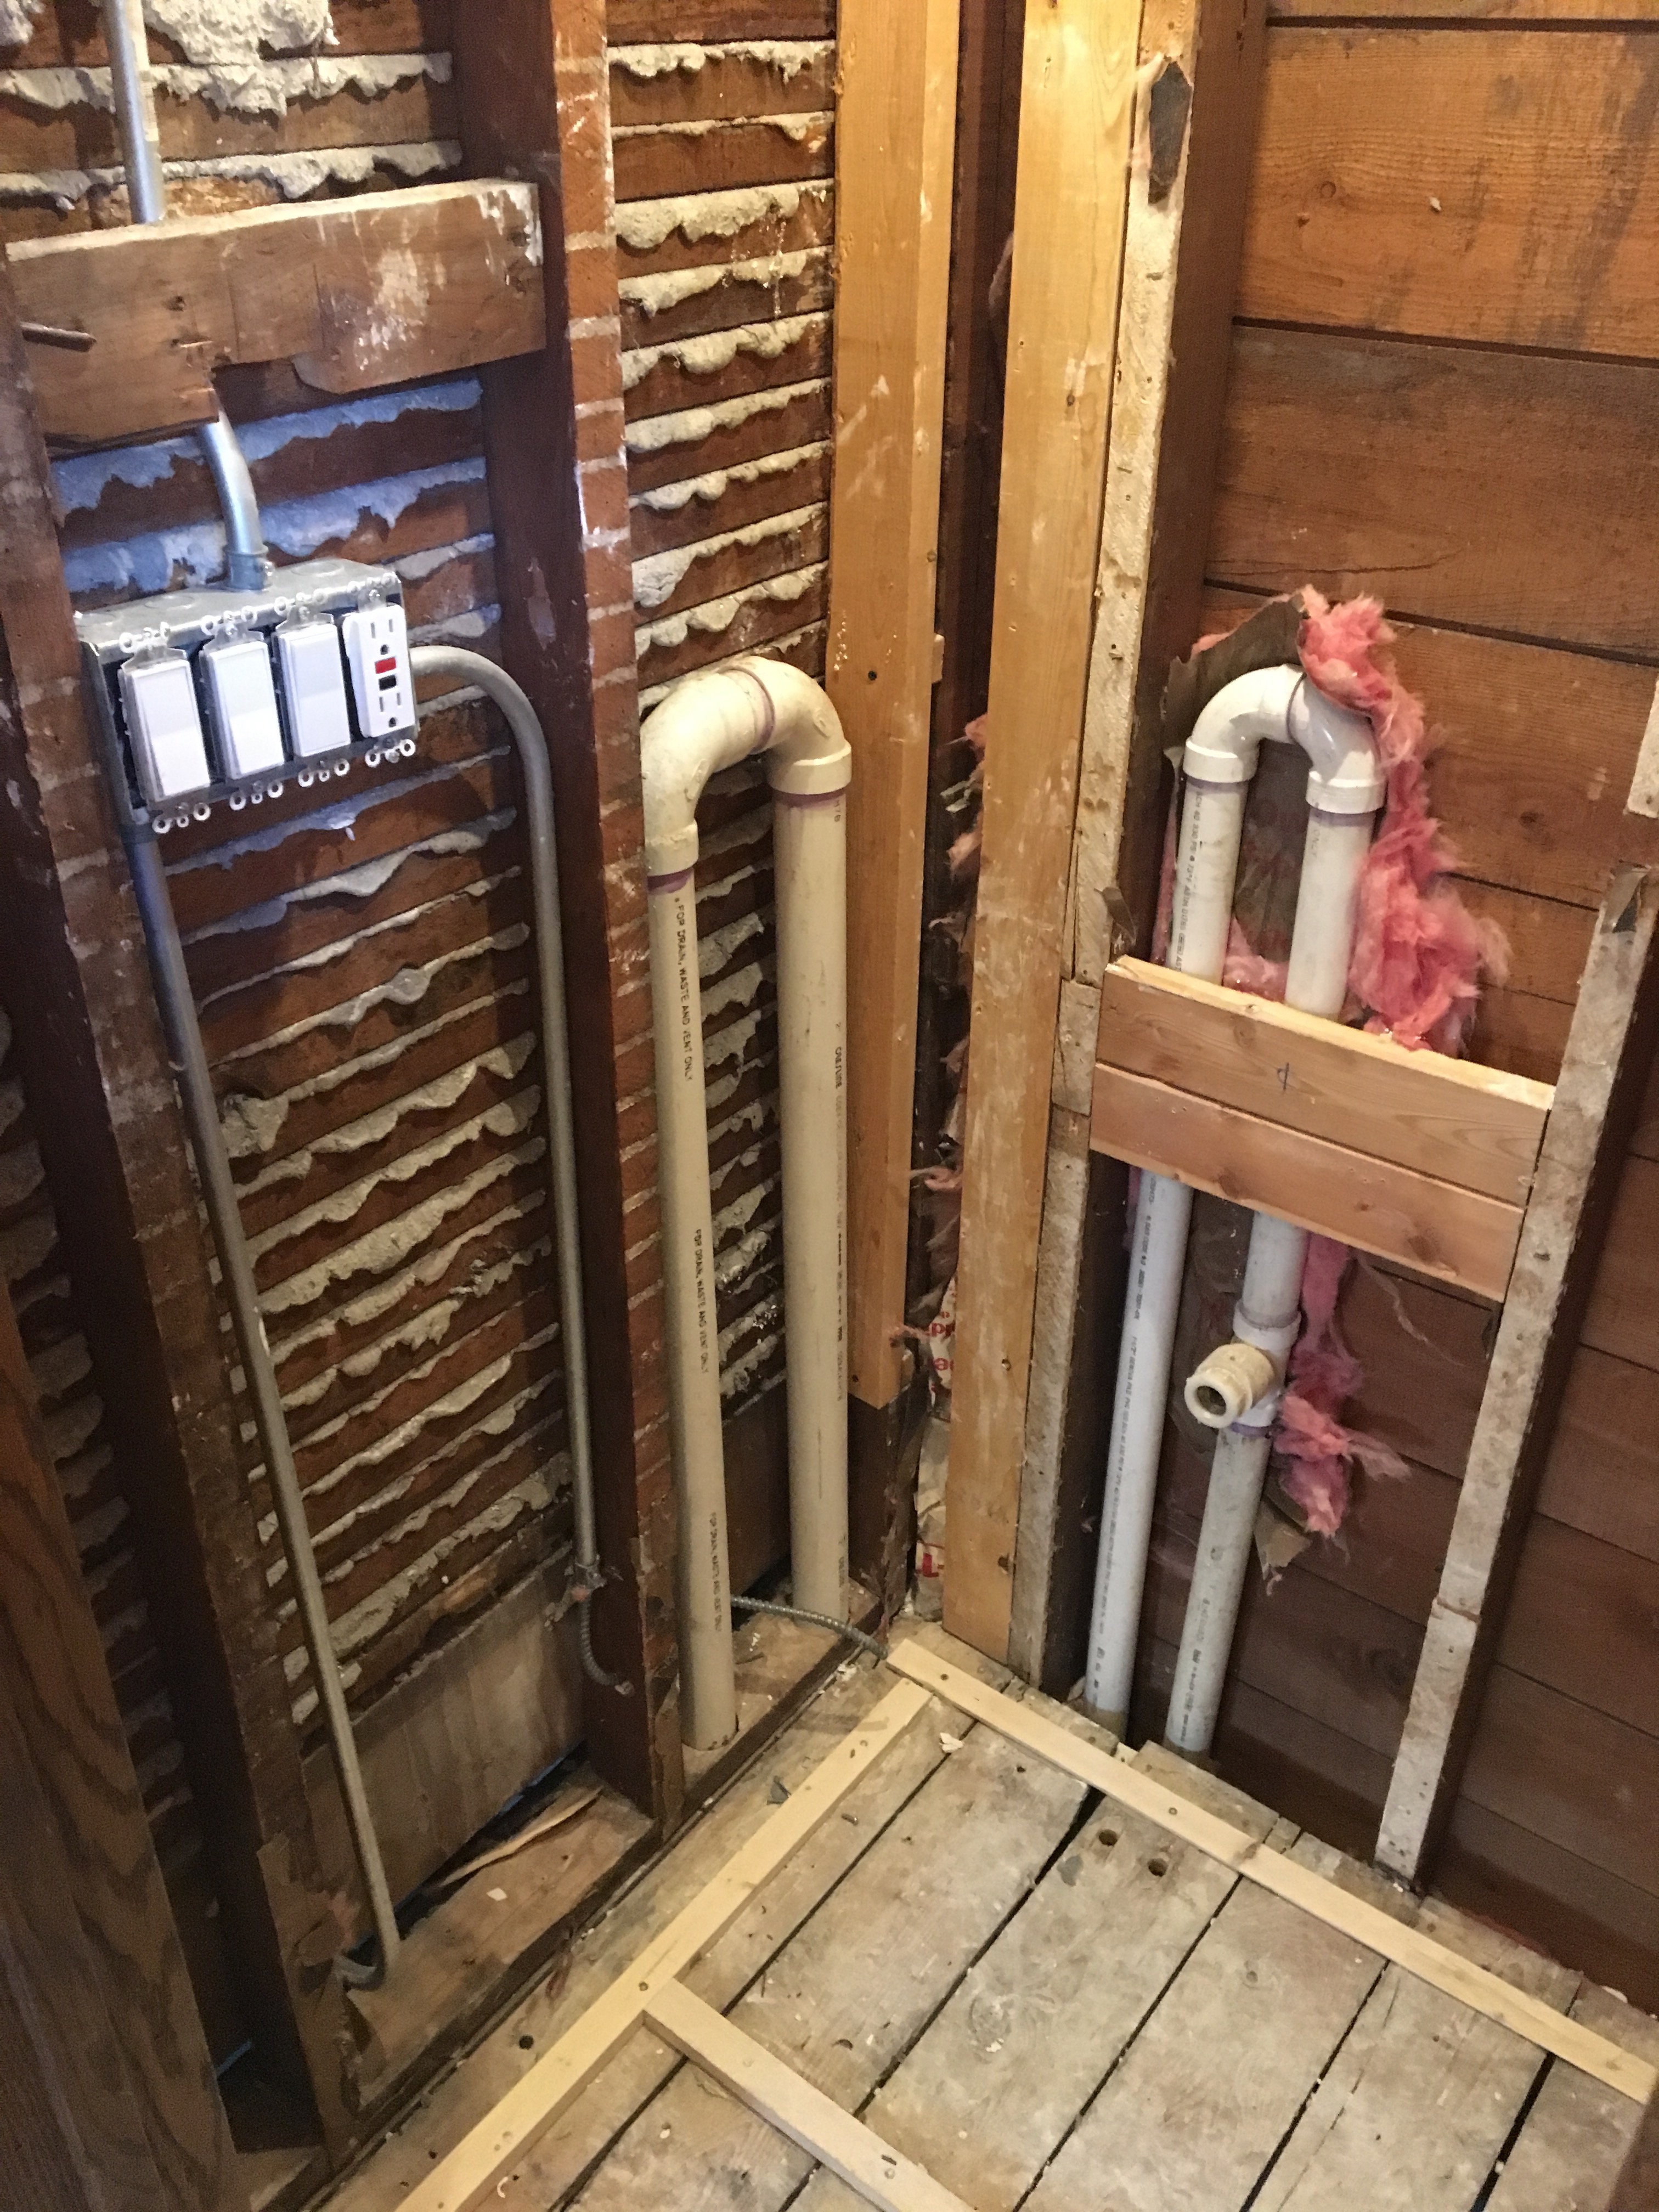
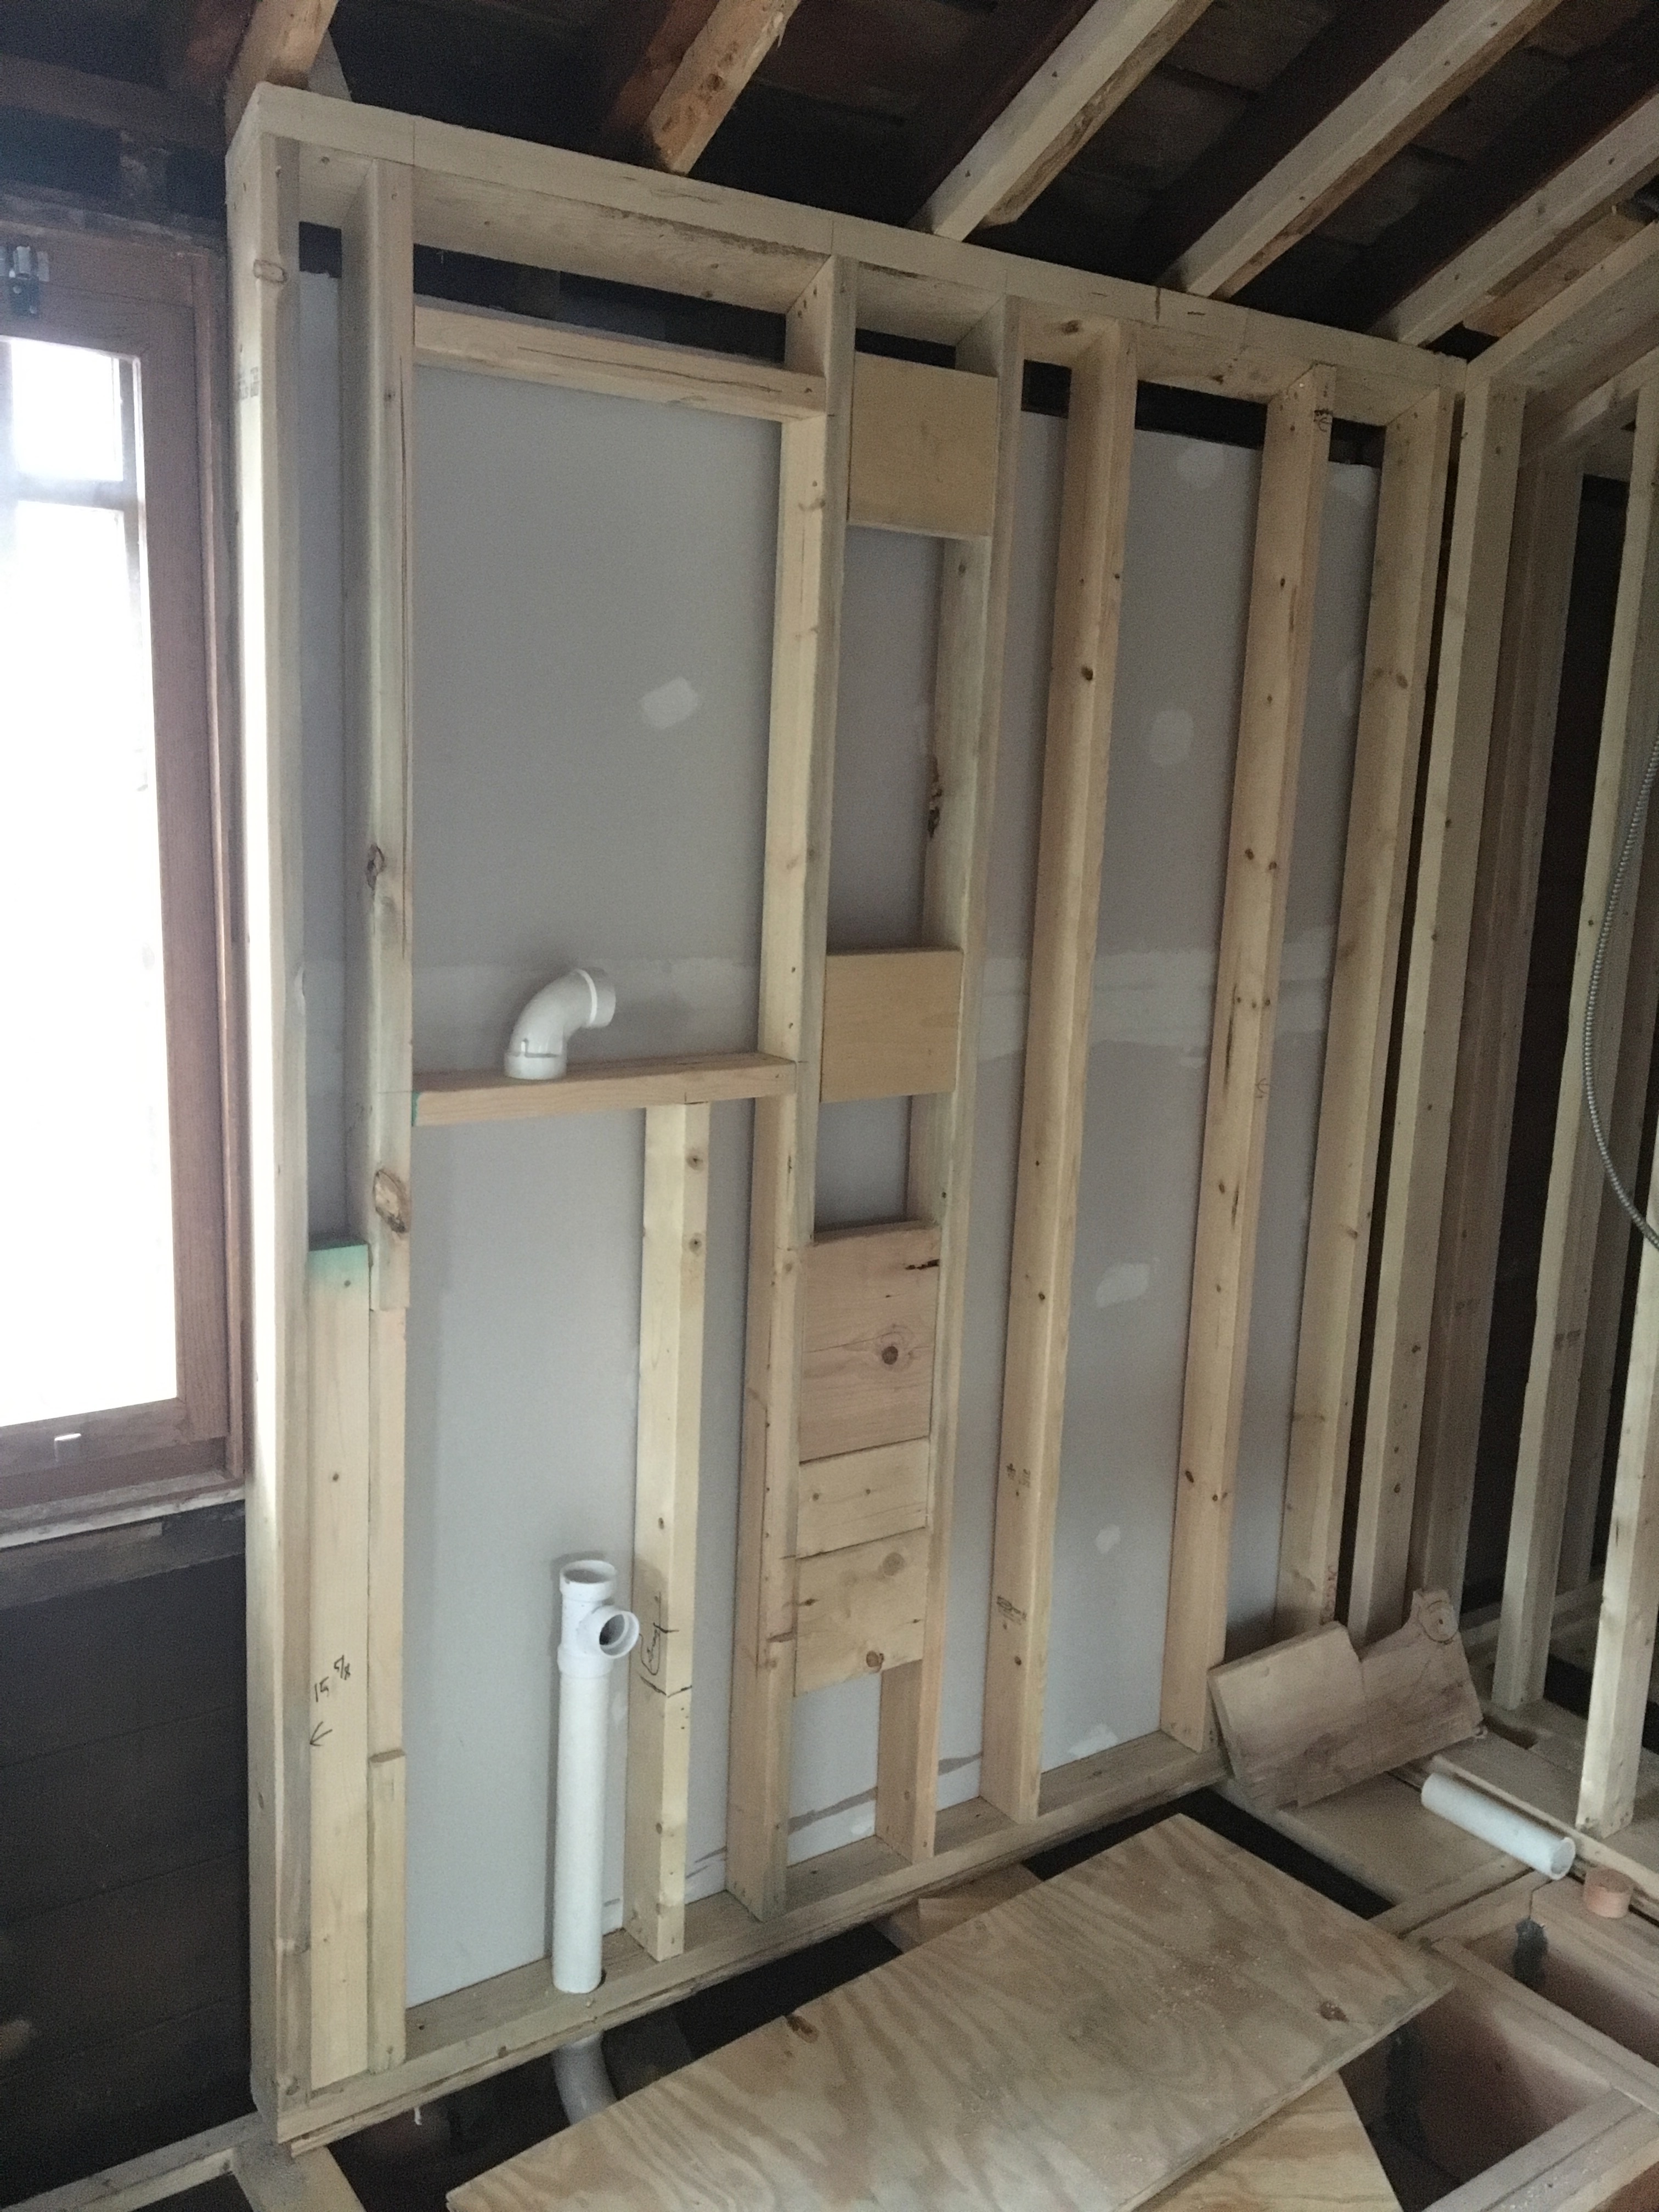
Since plumbing cannot be installed on an outside wall, we have to build out a second wall on top of the outside wall. The outside wall behind here was insulated with pink R15 fiberglass batt insulation and closed up with drywall, and then a second wall for the plumbing was re-installed. (The box at the left is for the master bathroom’s medicine cabinet.)
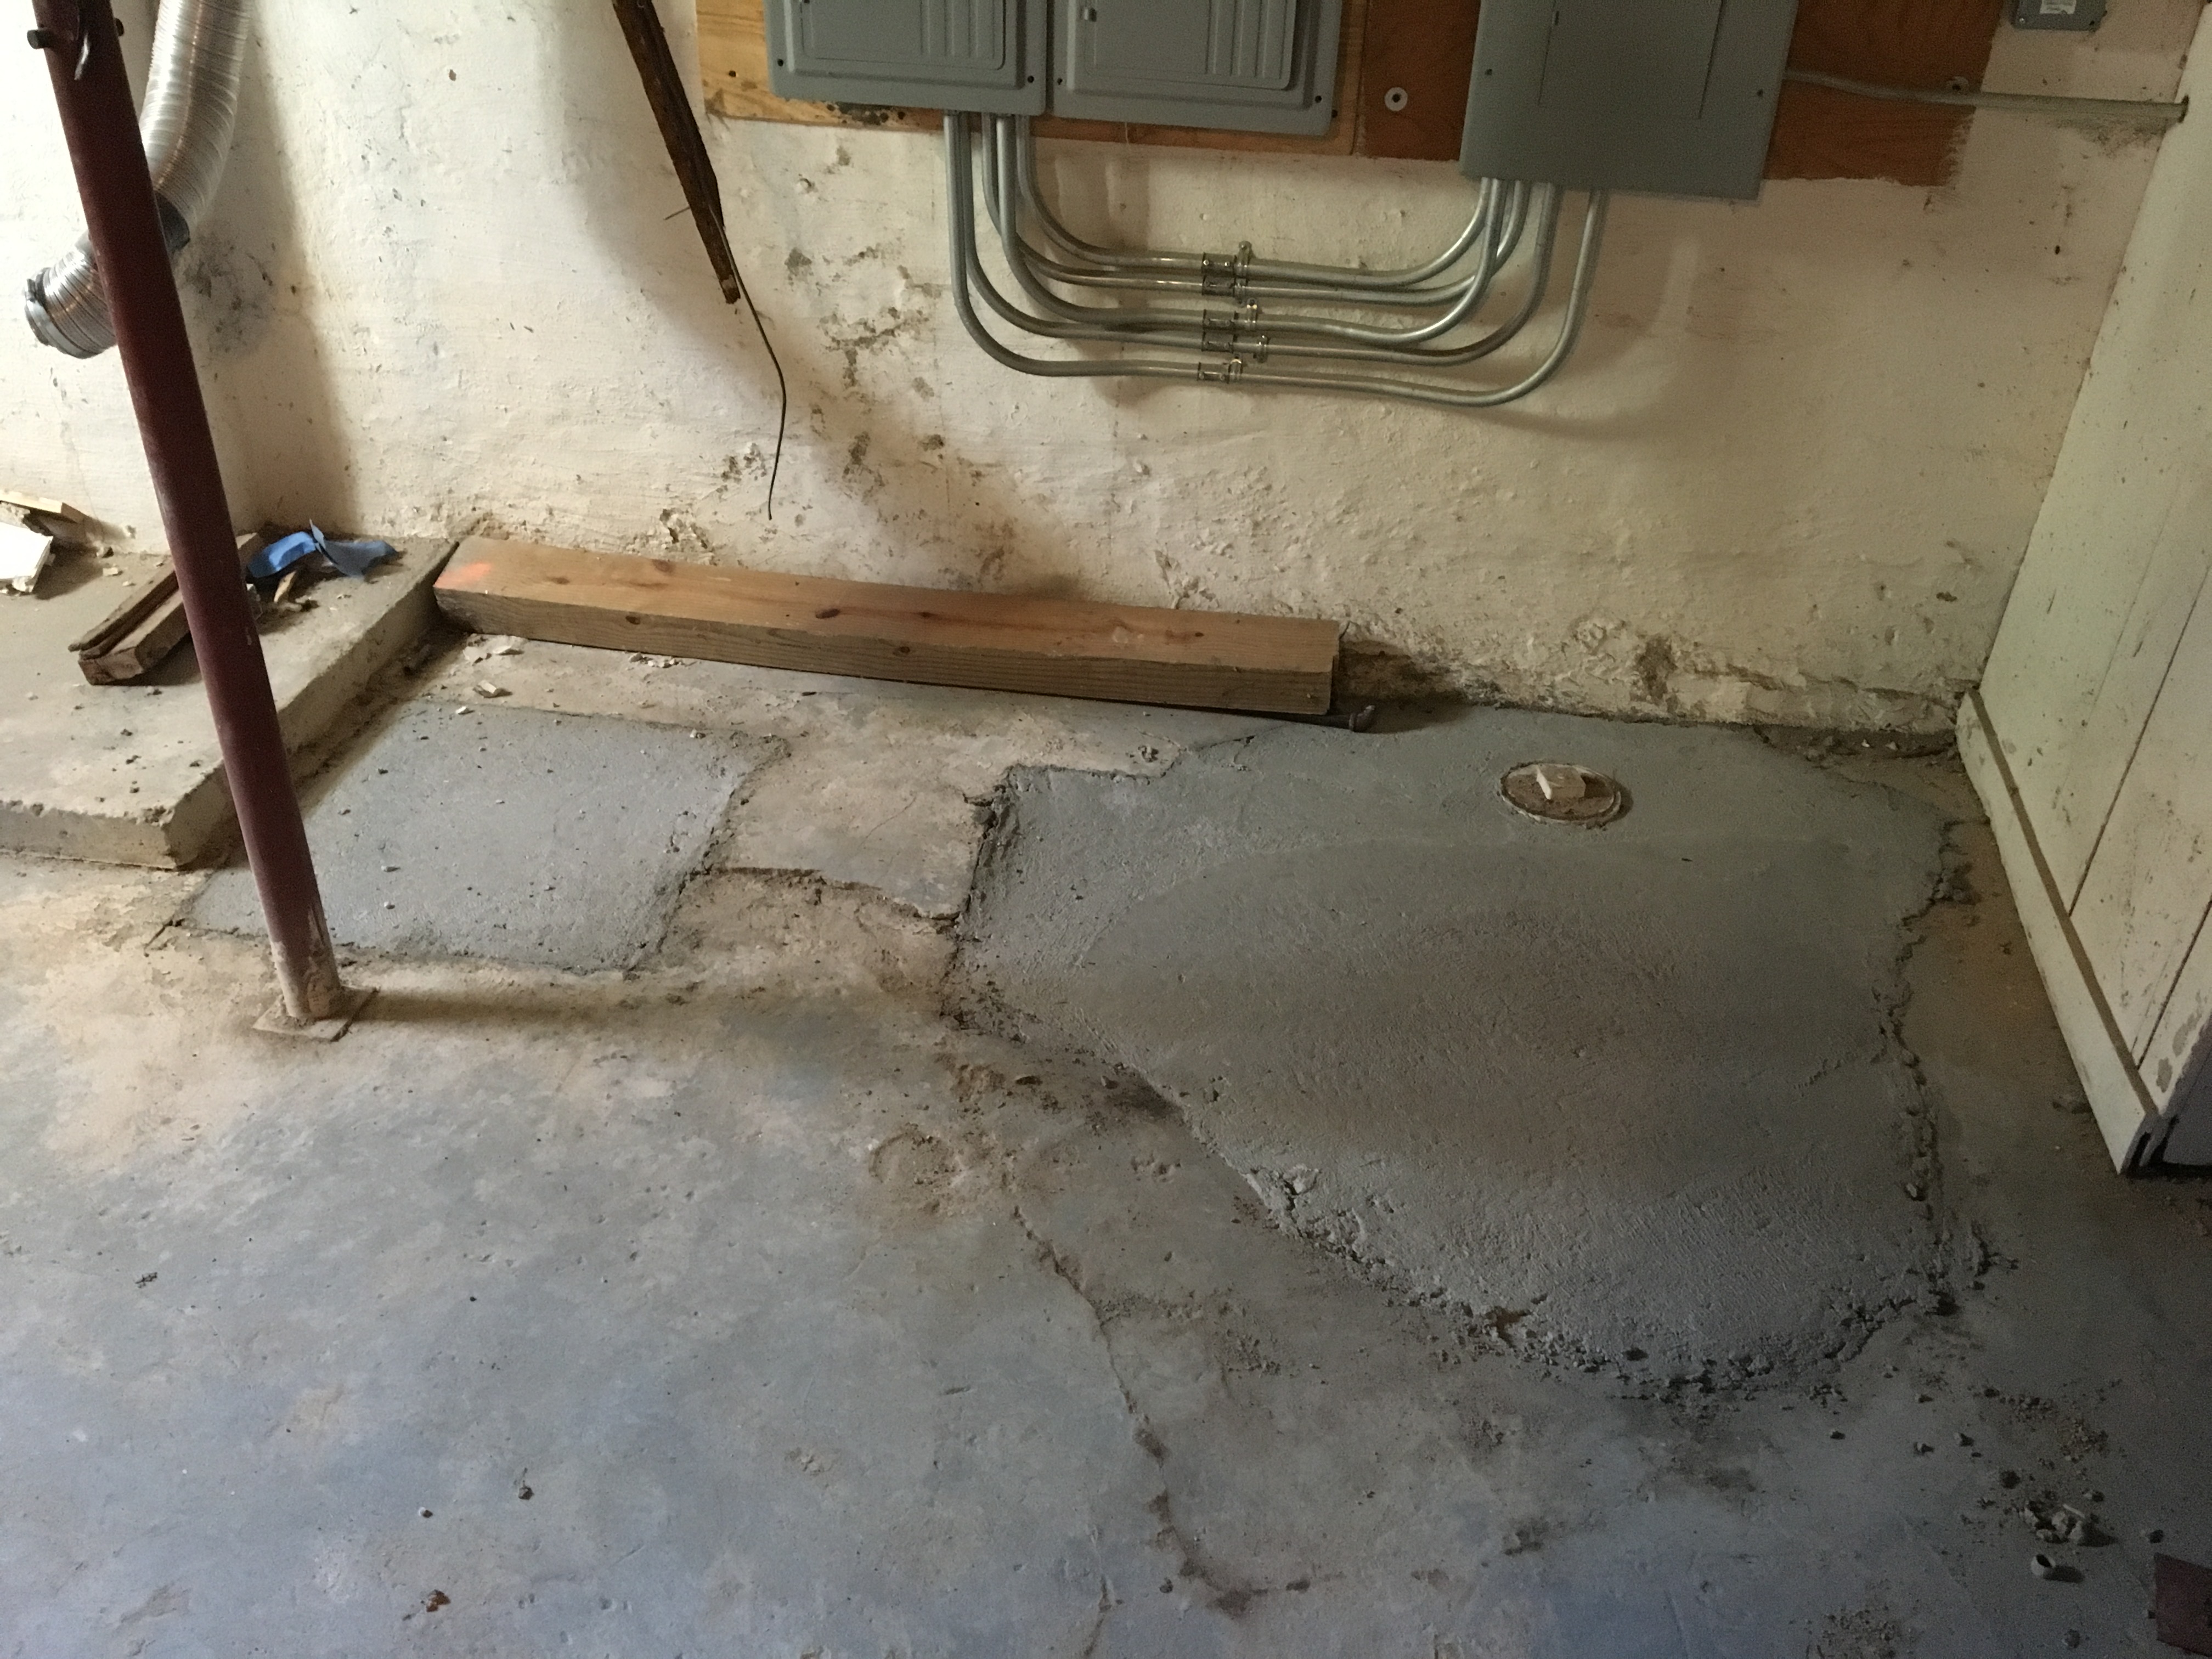
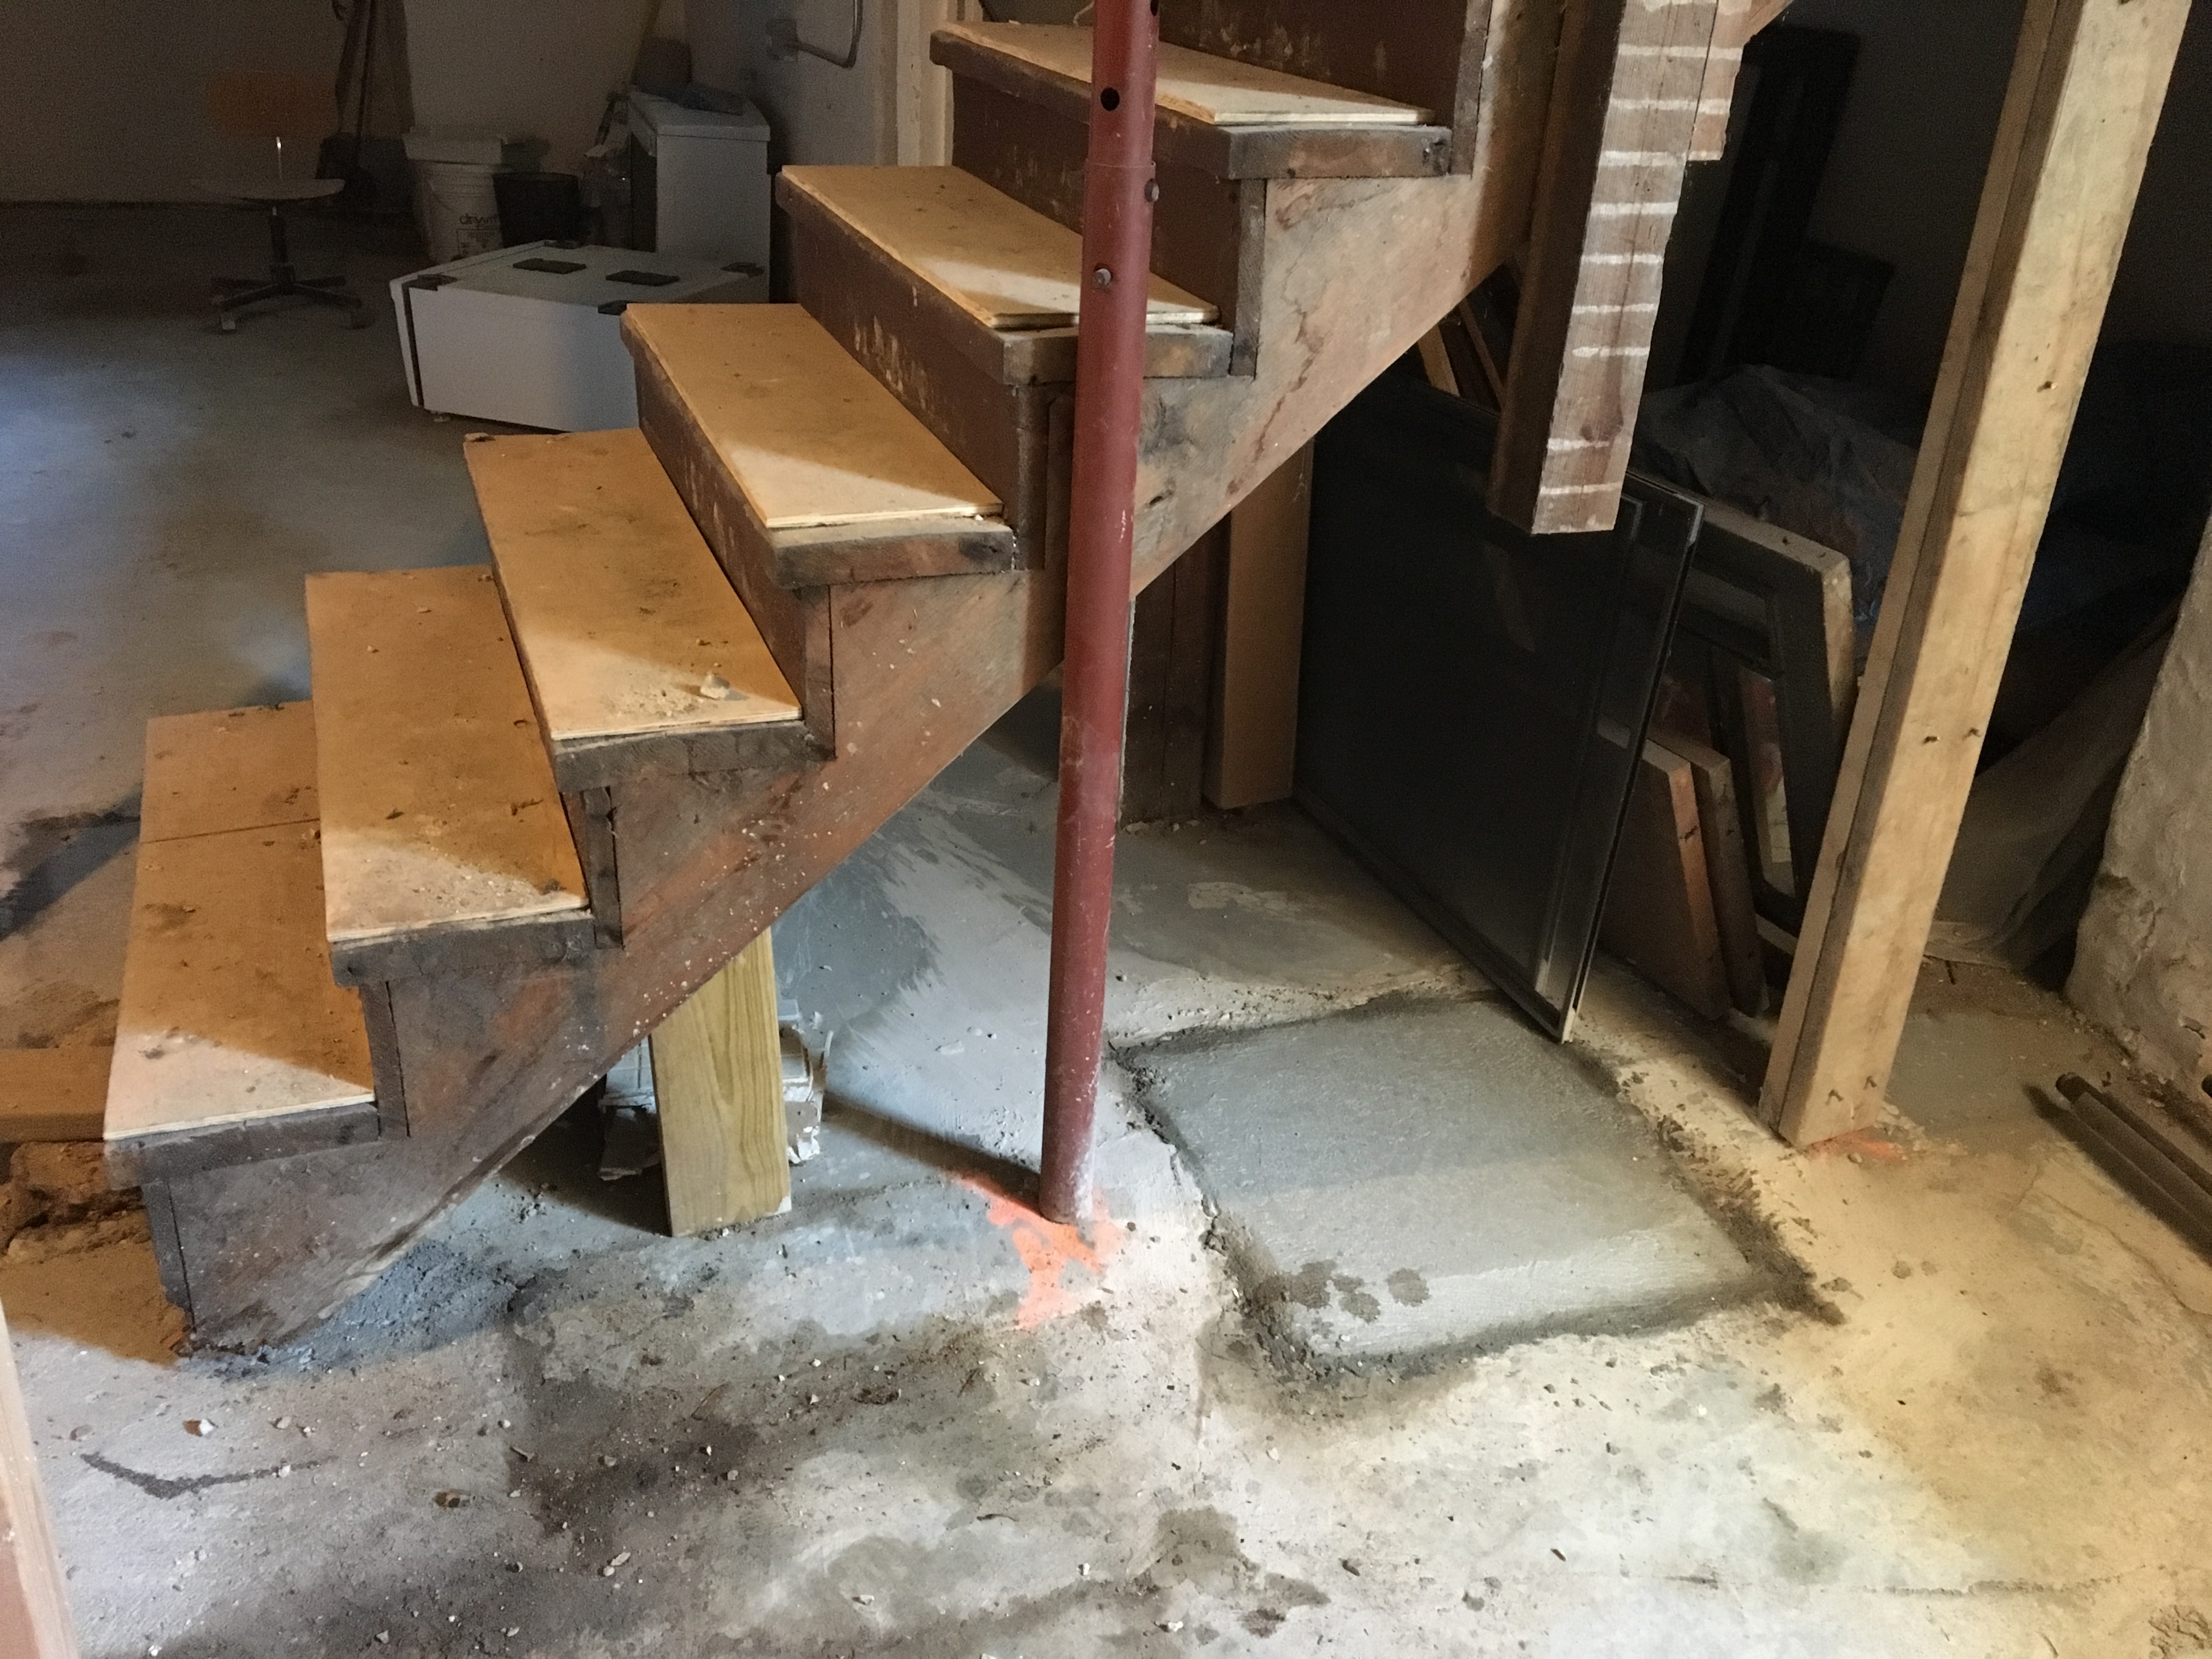
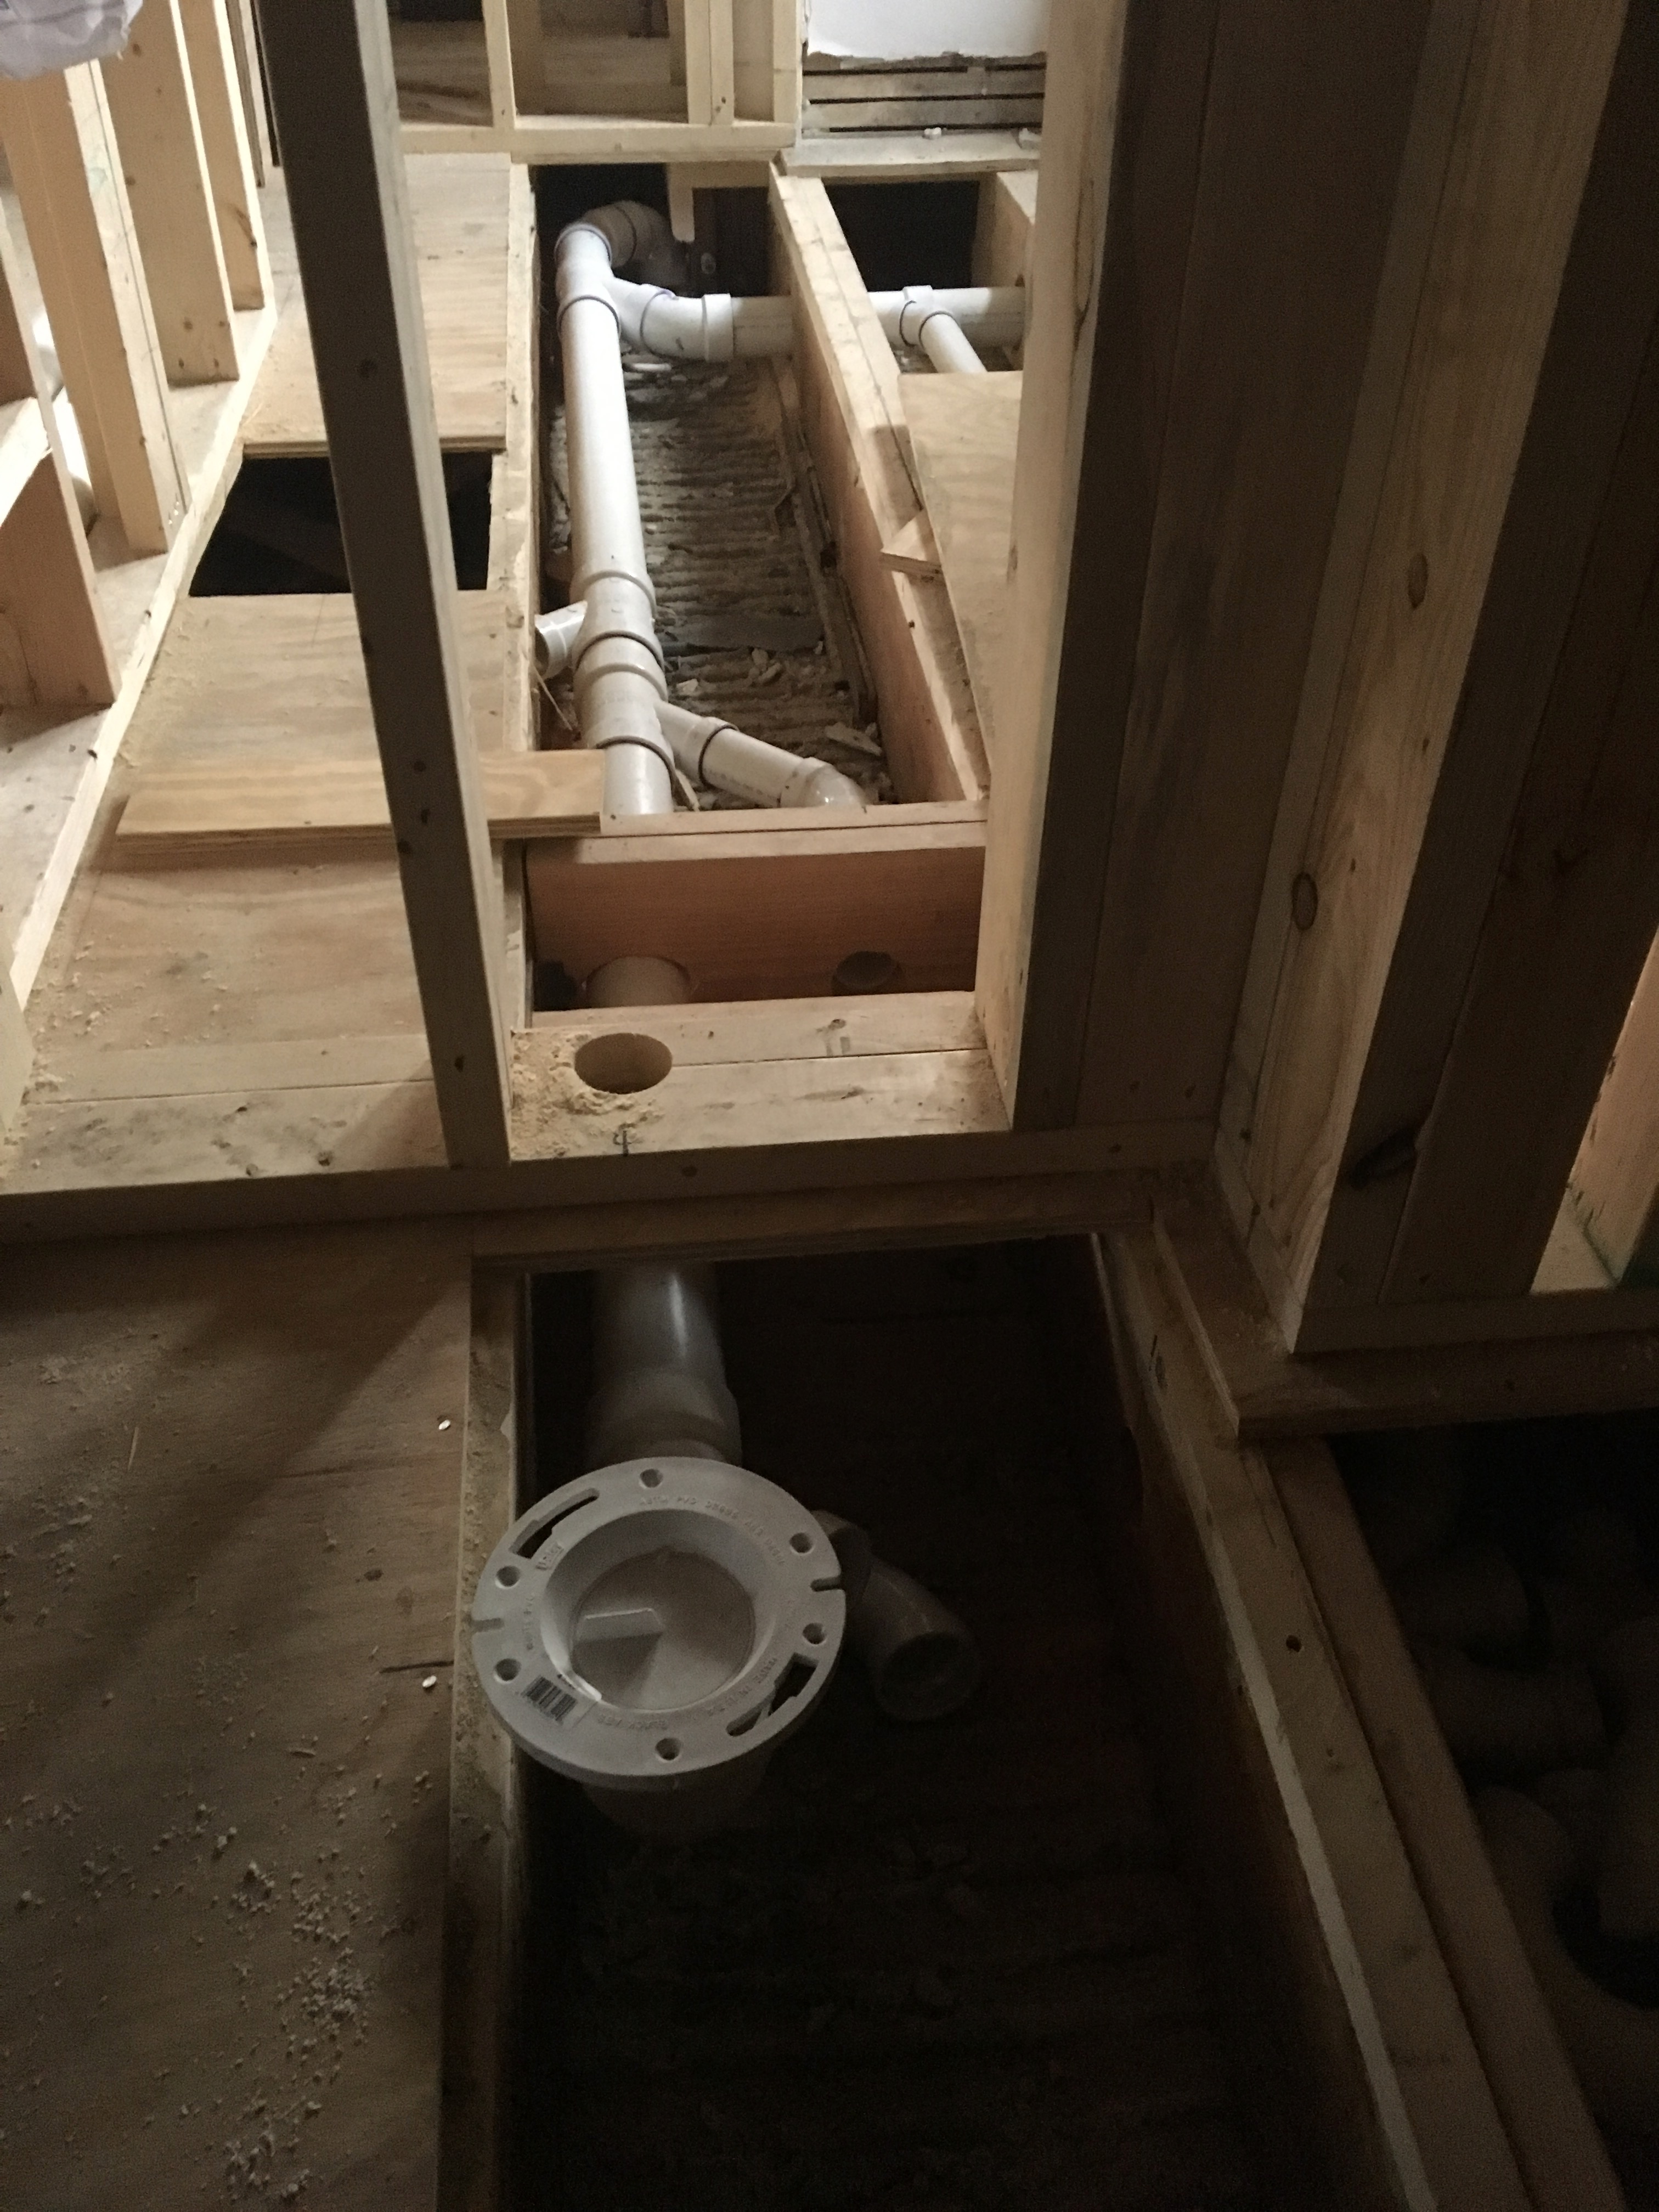
The plumbers struggled to run the drain pipe down to our basement.
The drain turns and descends into the “pump room” of our new basement. Here, a hole was cut between our old house and the addition.

The drain is the bottom-most pipe in the photo below. It was a tight squeeze!
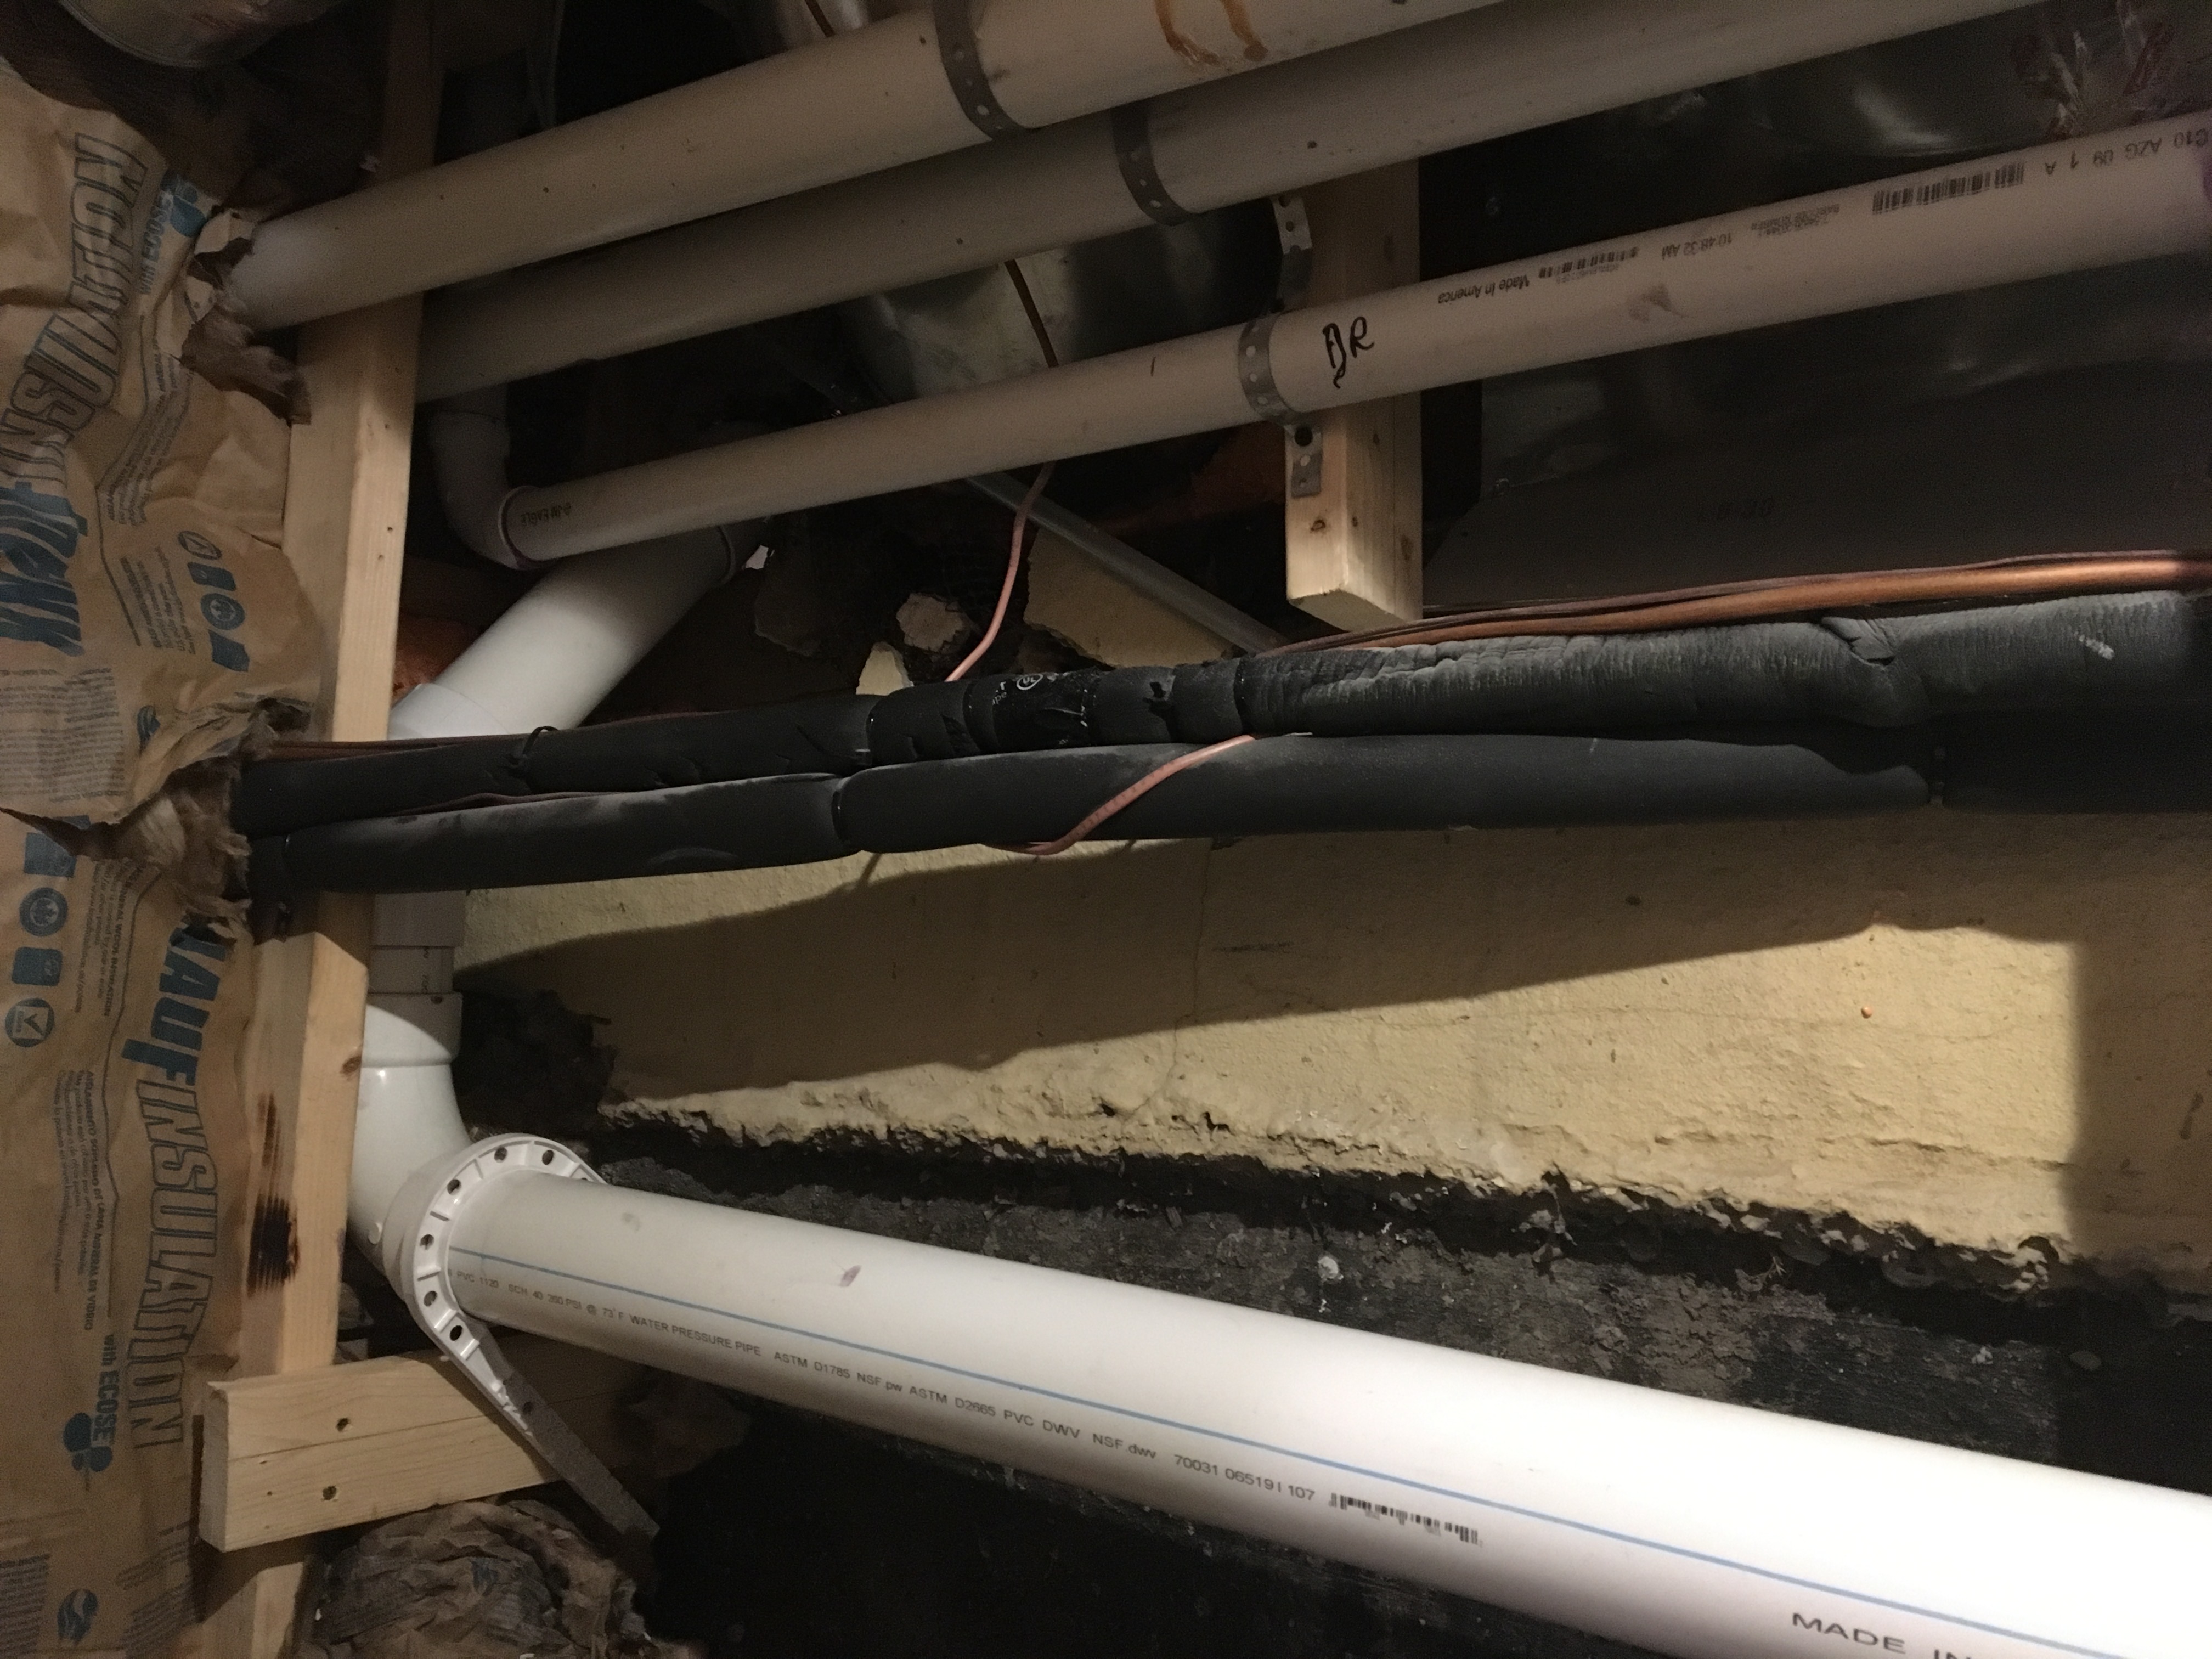
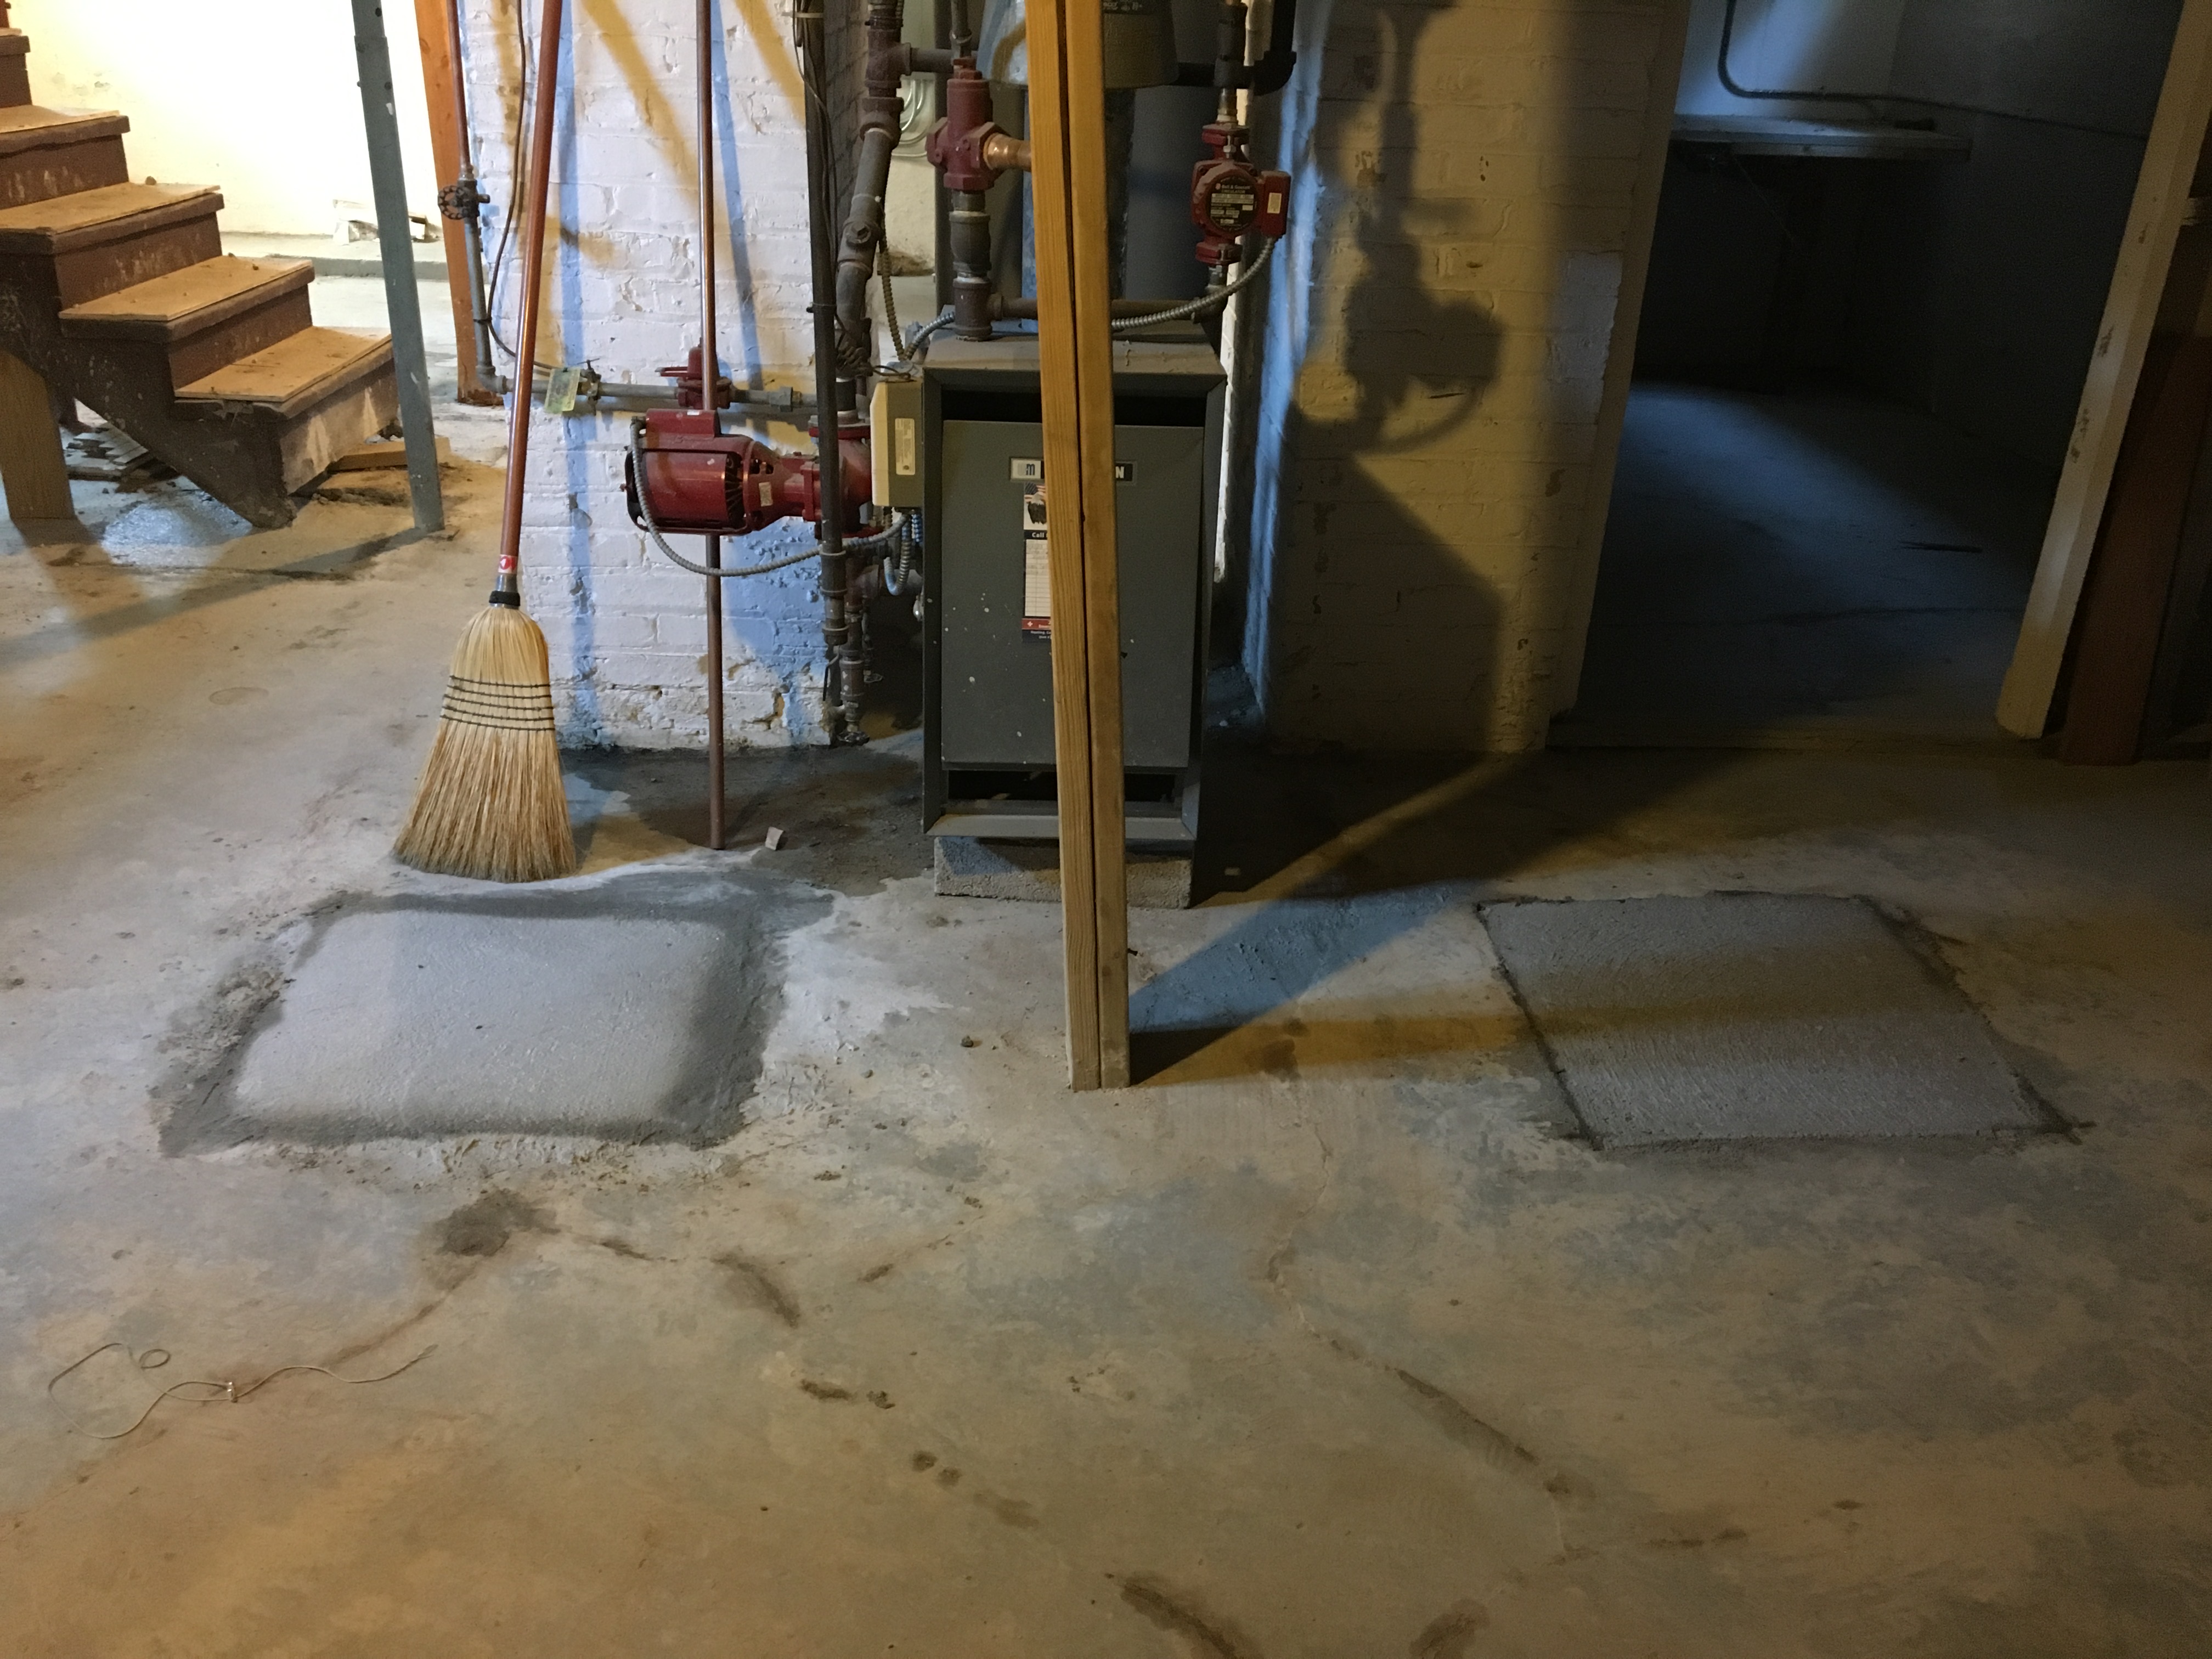
The “pump room.” The top-most 4″ PVC pipe is the new drain pipe. Below it is the drain for our kitchen sinks. Below that is the ejector pit discharge.

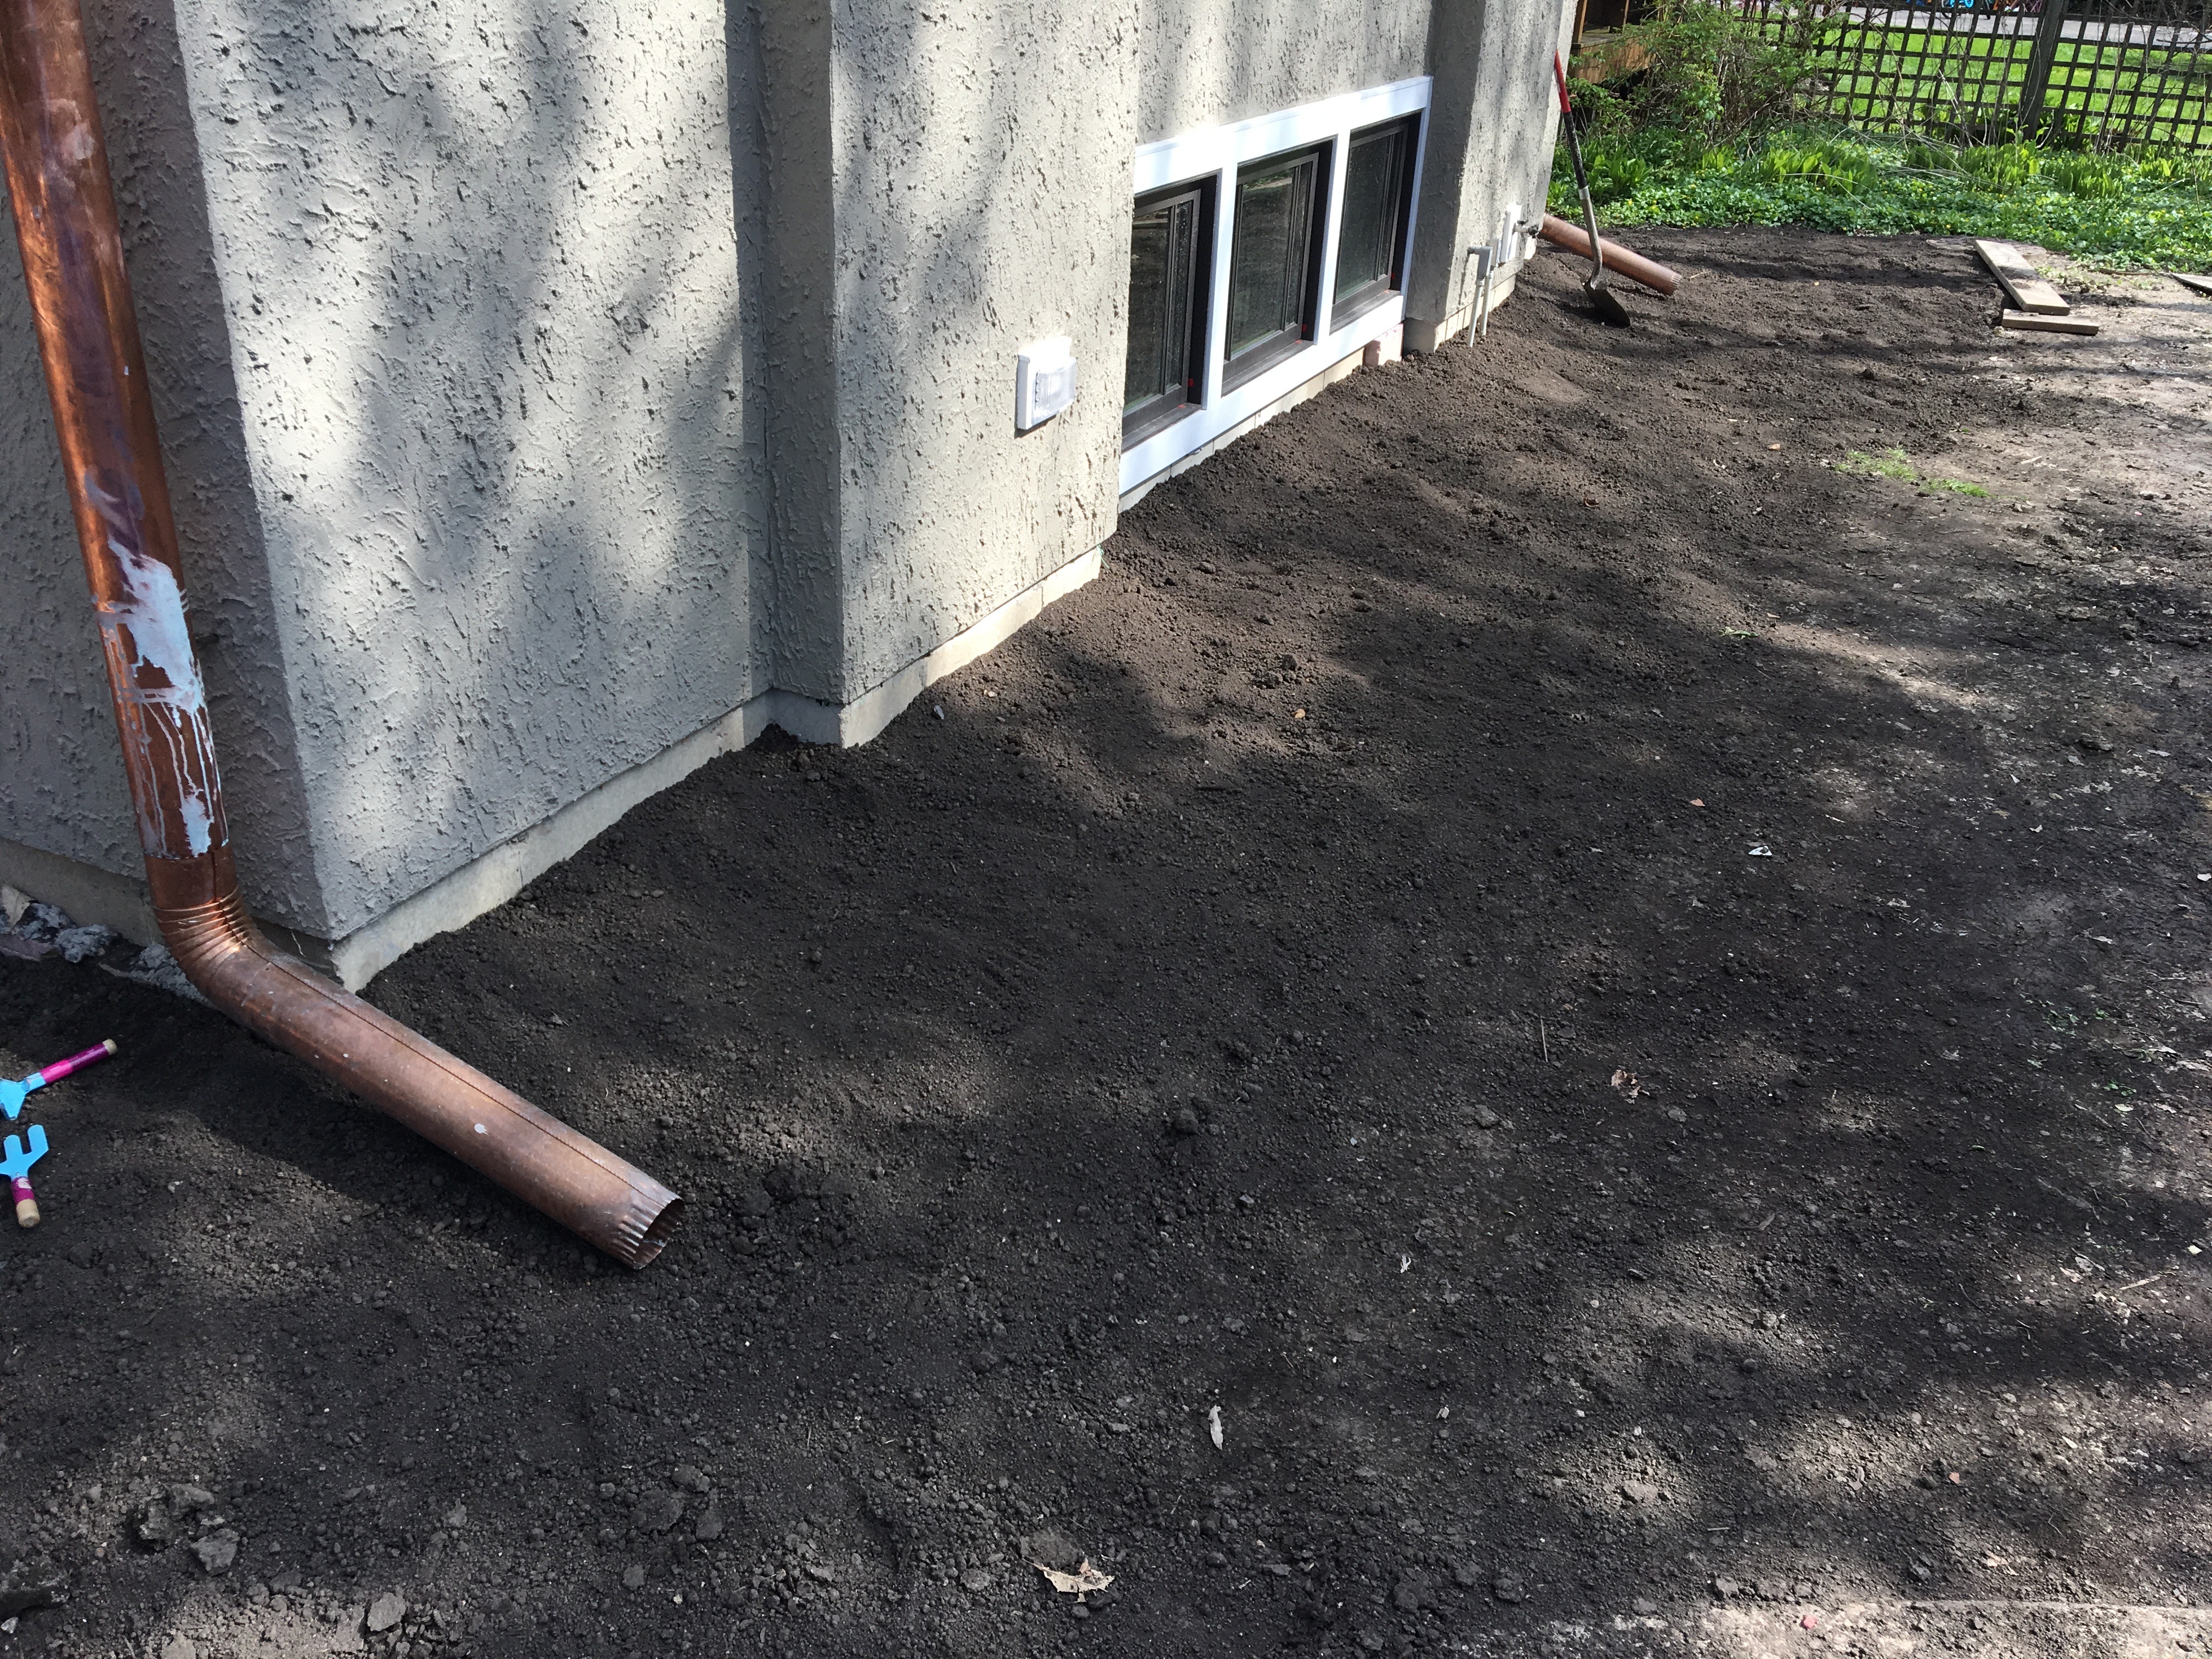
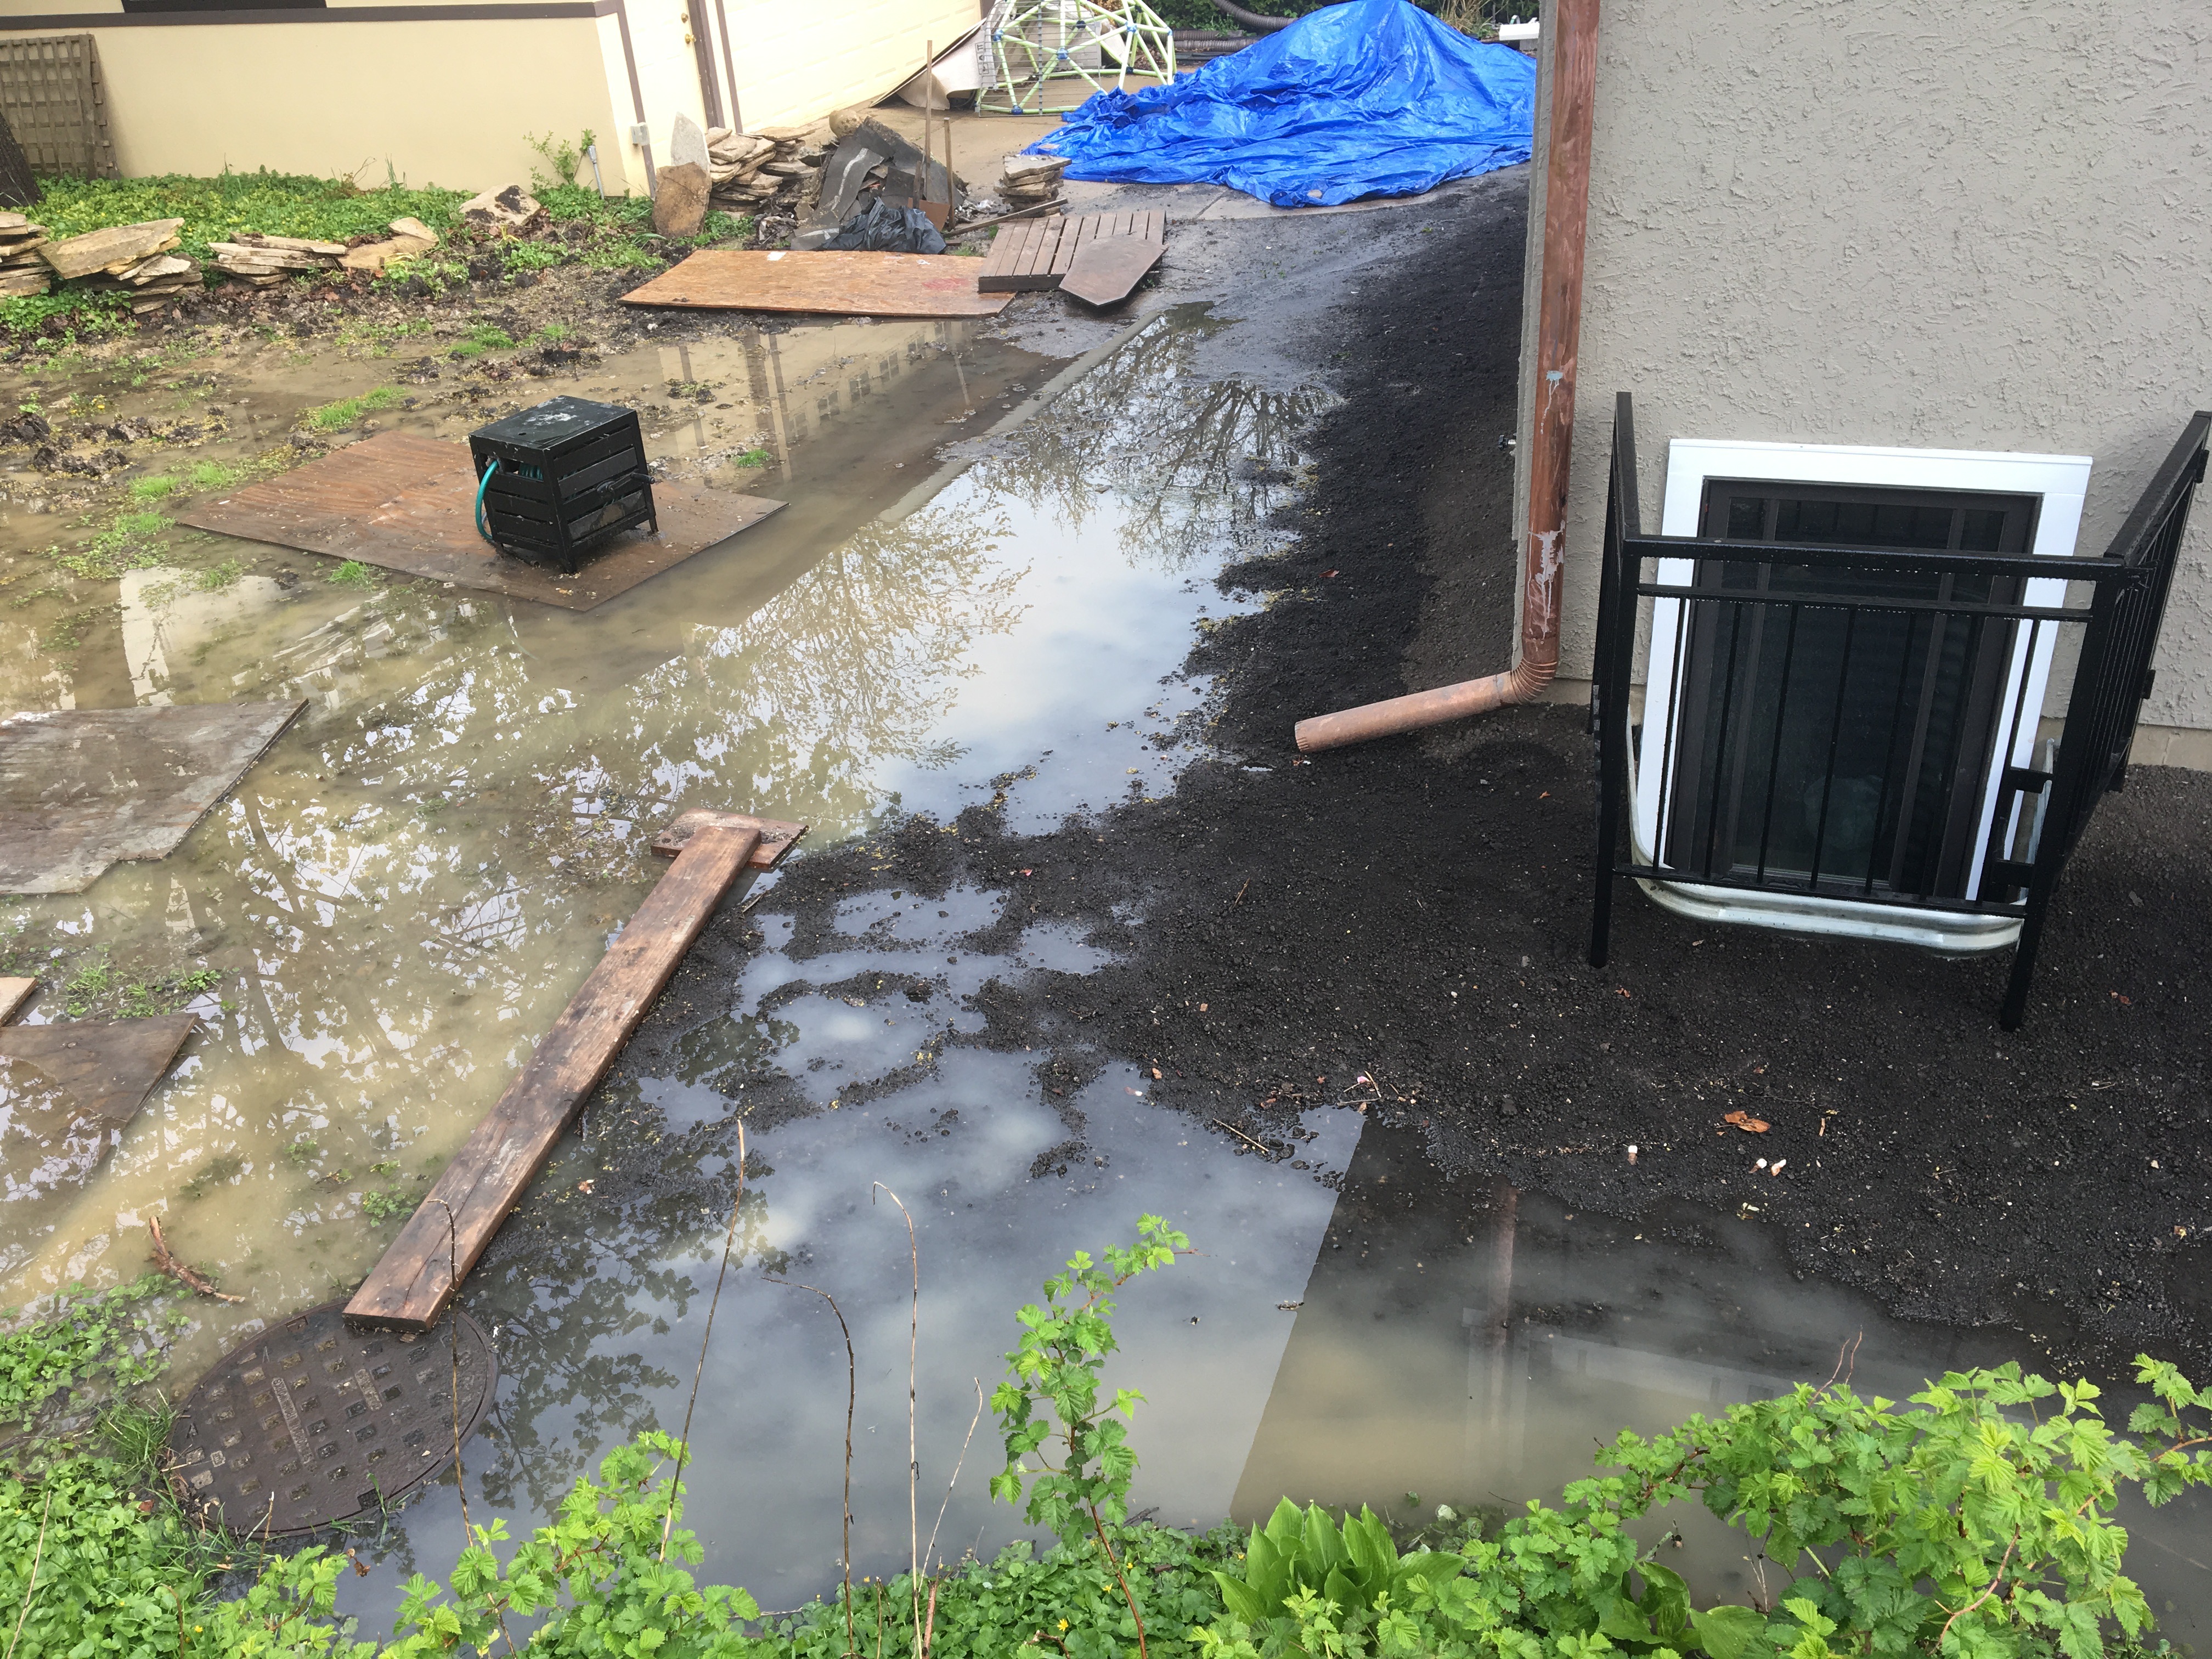
In May of last year, we had significant problems with flooding in the then-unfinished basement. Now that the basement is finished, I wanted to keep ponding water away from the foundation. Here is a photo of a recent rain storm in late April.
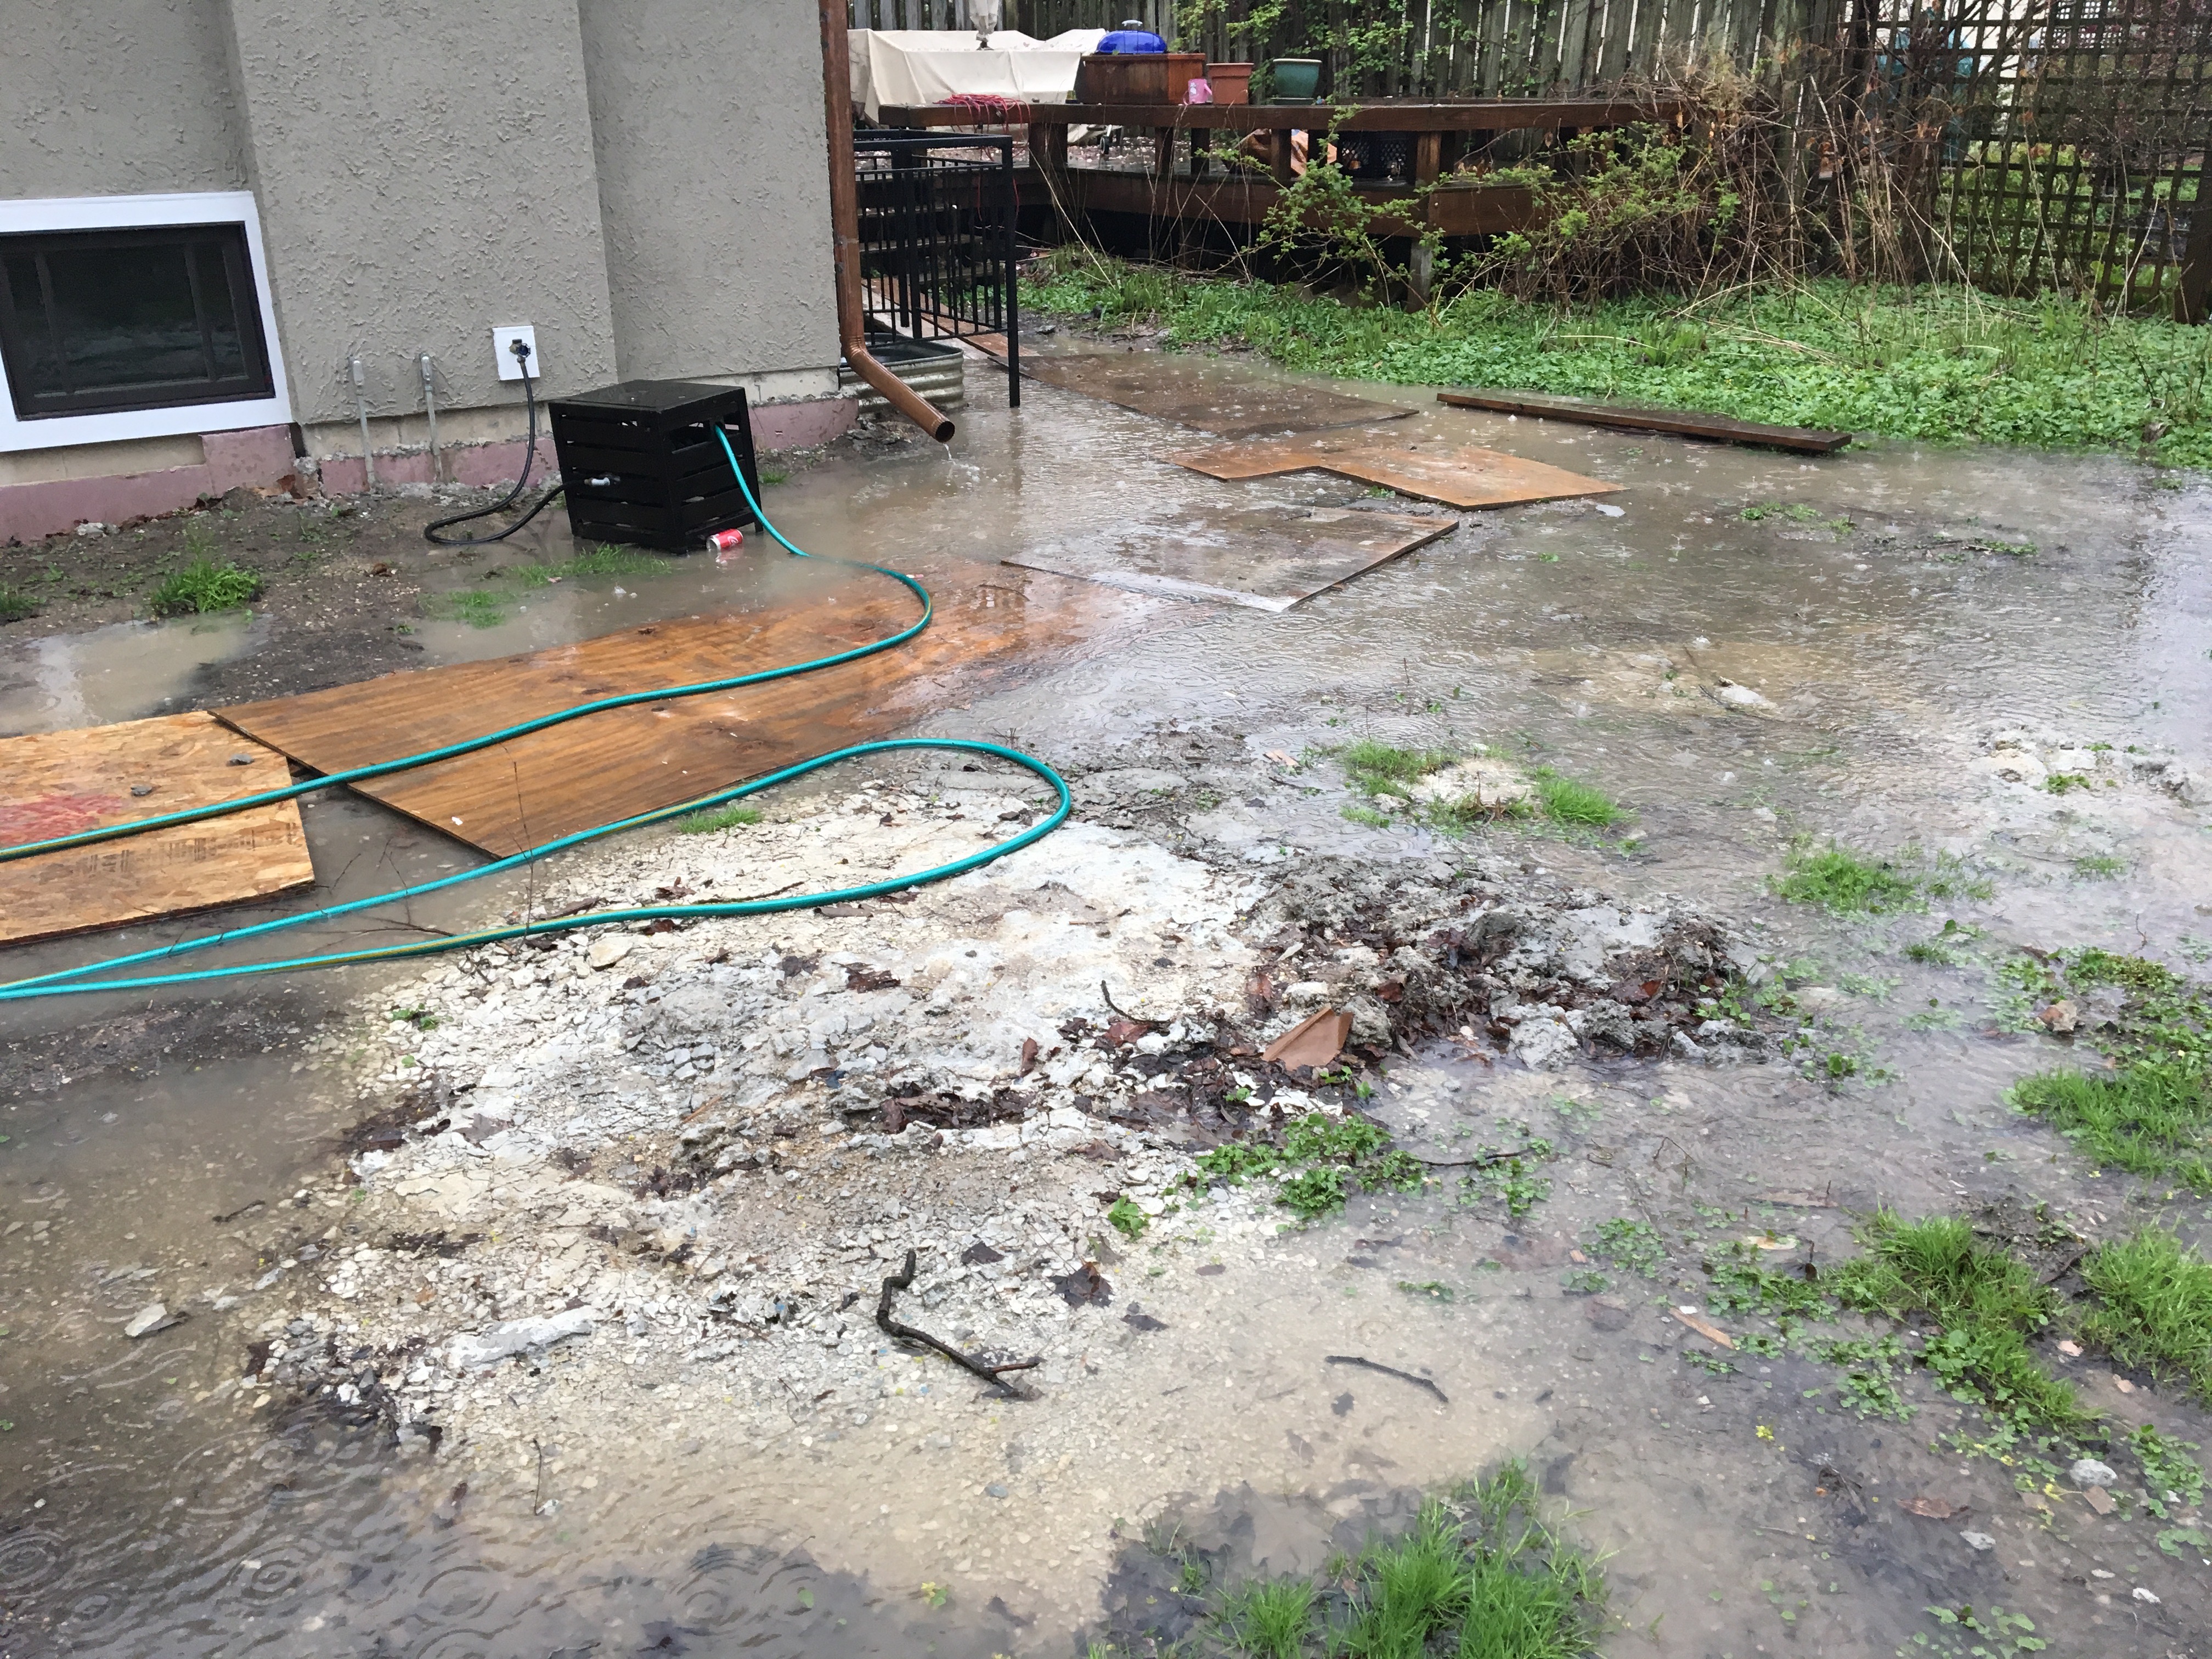

So, we brought in a truckload of dirt (7 cubic yards) and got out our shovels.

The objective was to build up the dirt around the foundation to keep the water away.
Last night, we had 1.5″ of rain, which quickly turned the back yard into a pond. The dirt (and sump pumps) have so far kept the basement dry.


There is still a little more dirt to spread, but so far so good.
Your pictures are very thorough. What a lot of work! But I can see it coming together finally. Once the drywall goes up, I’ll have a better handle on it. Good thing there are so many plumbers and carpenters who know what they are doing (we can only hope). Amazing how often joists were cut and shortcuts taken in the past. Security is knowing that, when it is finally finished, your family will be snug and safe for generations ahead.
Thanks!
We are fortunate. This is an excellent carpenter. Still, even the carpenter made a couple mistakes. I have learned from experience with the addition that I must double-check all of their work against the plans. In this case, they forgot one medicine cabinet in the hall bathroom (their mistake), and missed a bathroom shower niche (the plans the builder printed were the wrong version).
Last night, I went around and measured the locations of the plumbing drains and supply lines against the plans to make sure we have enough space to install the fixtures. This was a problem in the addition bathroom because the toilet has a closed back and blocked the supply line they had installed, so it had to be moved.
Now I know. Double-check everything, because it’s much harder to change it once a particular trade leaves and/or they close up walls.
It does sound like this is a good carpenter. I imagine the work is done much better when they know someone competent is checking everything. Think of how much more time you will have once this is all done. It is rather scary thinking of all the problems that existed before– you’d think something might have happened.
Good work on the dirt outside — hopefully no sore backs!